When you click on links to various merchants on this site and make a purchase, this can result in this site earning a commission. Affiliate programs and affiliations include, but are not limited to, the eBay Partner Network.
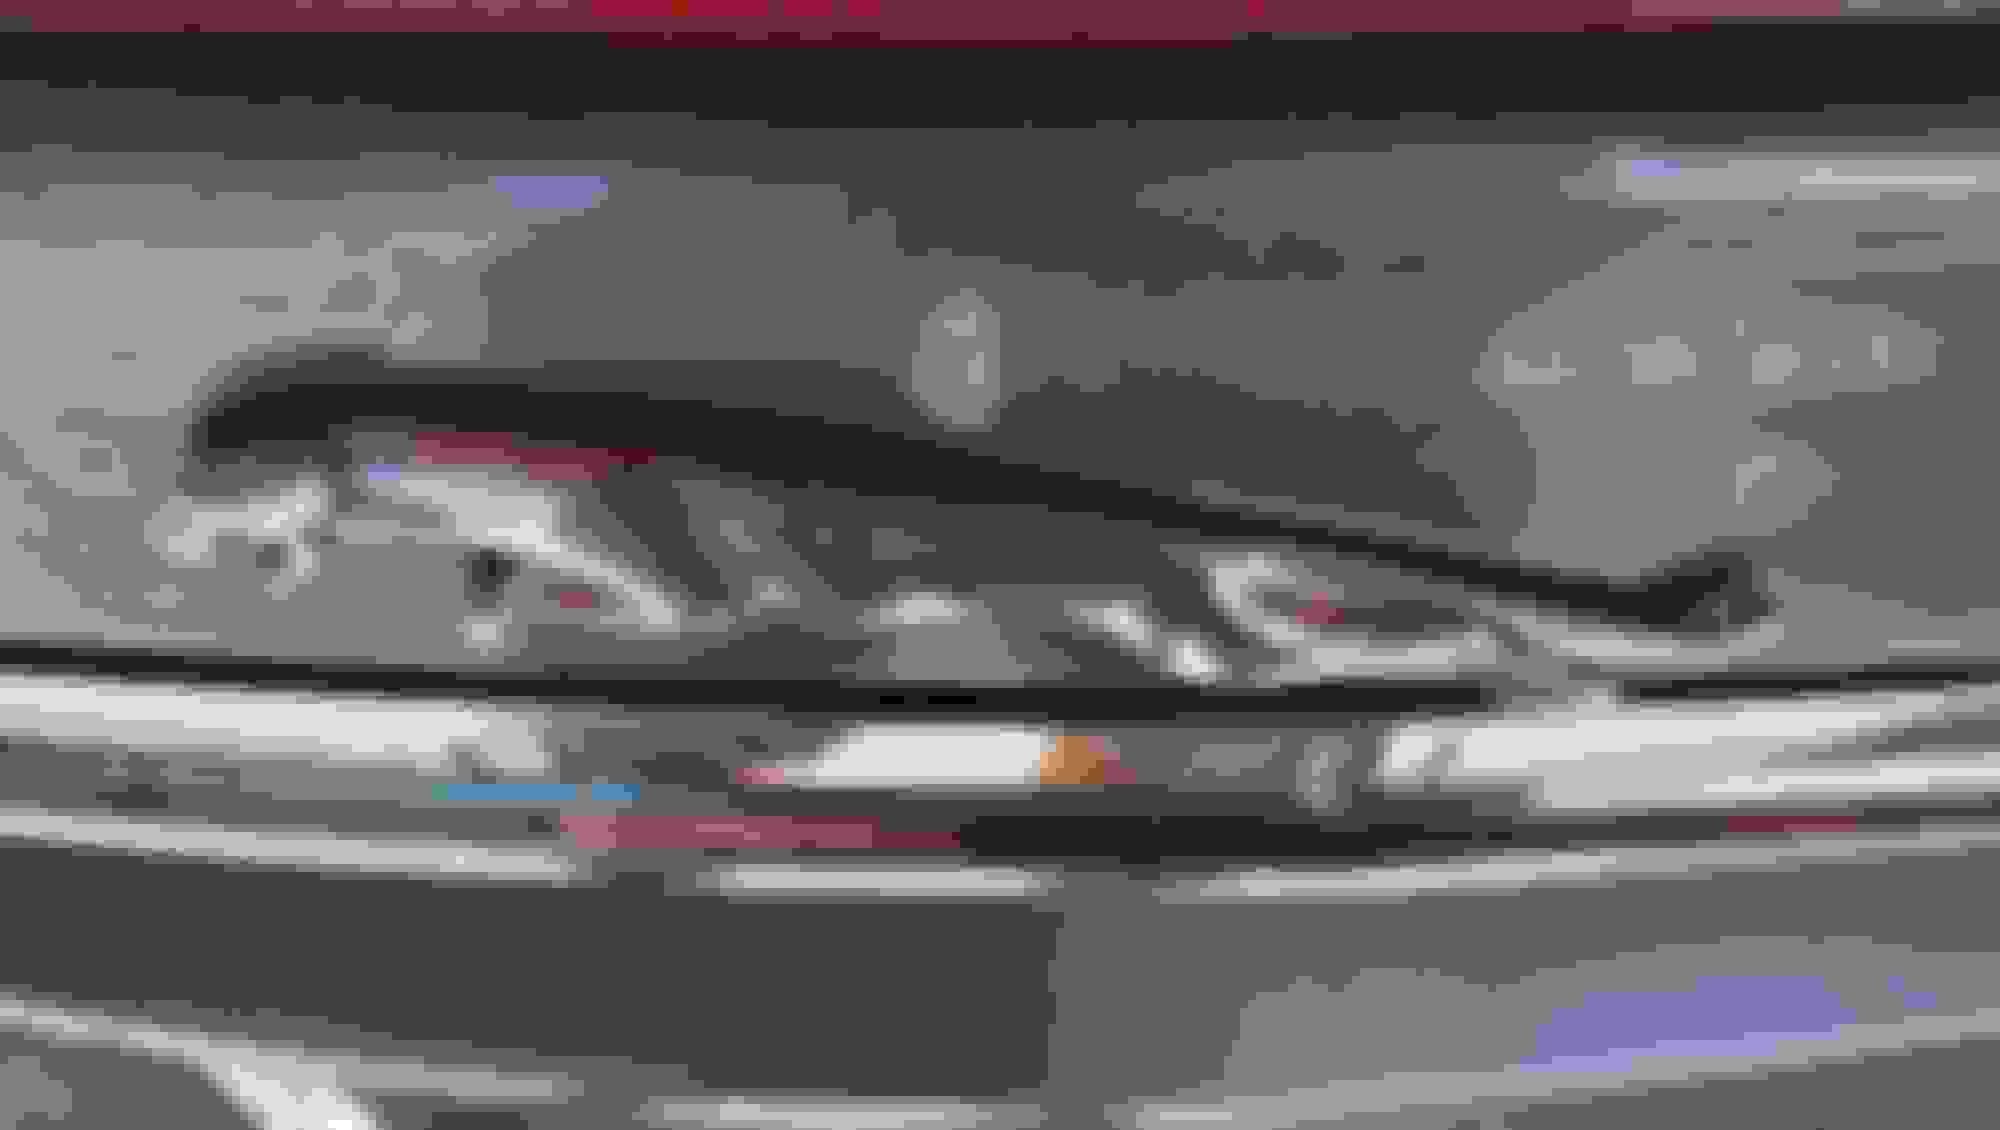
My leaper is attempting to live up to its name off of my boot lid.
Leaper peeling away from the boot lid
Anyone have a good suggestion on the best adhesive for me to use to get it back to good? The Gray Ghost is garage kept, but the FL heat still takes a toll.
I have used black RTV silicone windscreen sealant with great success to stick all sorts of things on various cars over the years, including the leaper on the back of my F-Type.
The leaper wasn't falling off, I took it off on purpose to reposition it a little lower after removing all the other rear end badges including the Jaguar lettering.
I did this some seven years ago now and the leaper has not budged one iota since, despite being left in the sun for hours on end from time to time.
One tip if you decide to use black RTV sealant - try not to get too much on the outside edges, ie aim to put it about 1 mm in from the edge and fairly thin, and any that does squish out when you press the leaper into place can be easily cleaned off with a soft rag dipped in turps. You have about 10 minutes to clean up before the RTV starts to set/cure.
Edit - forgot to add - it looks like the kitty is sticking up a little at each end so when you take it off you can (very gently!) try to bend those ends back down a little, before sticking it back on.
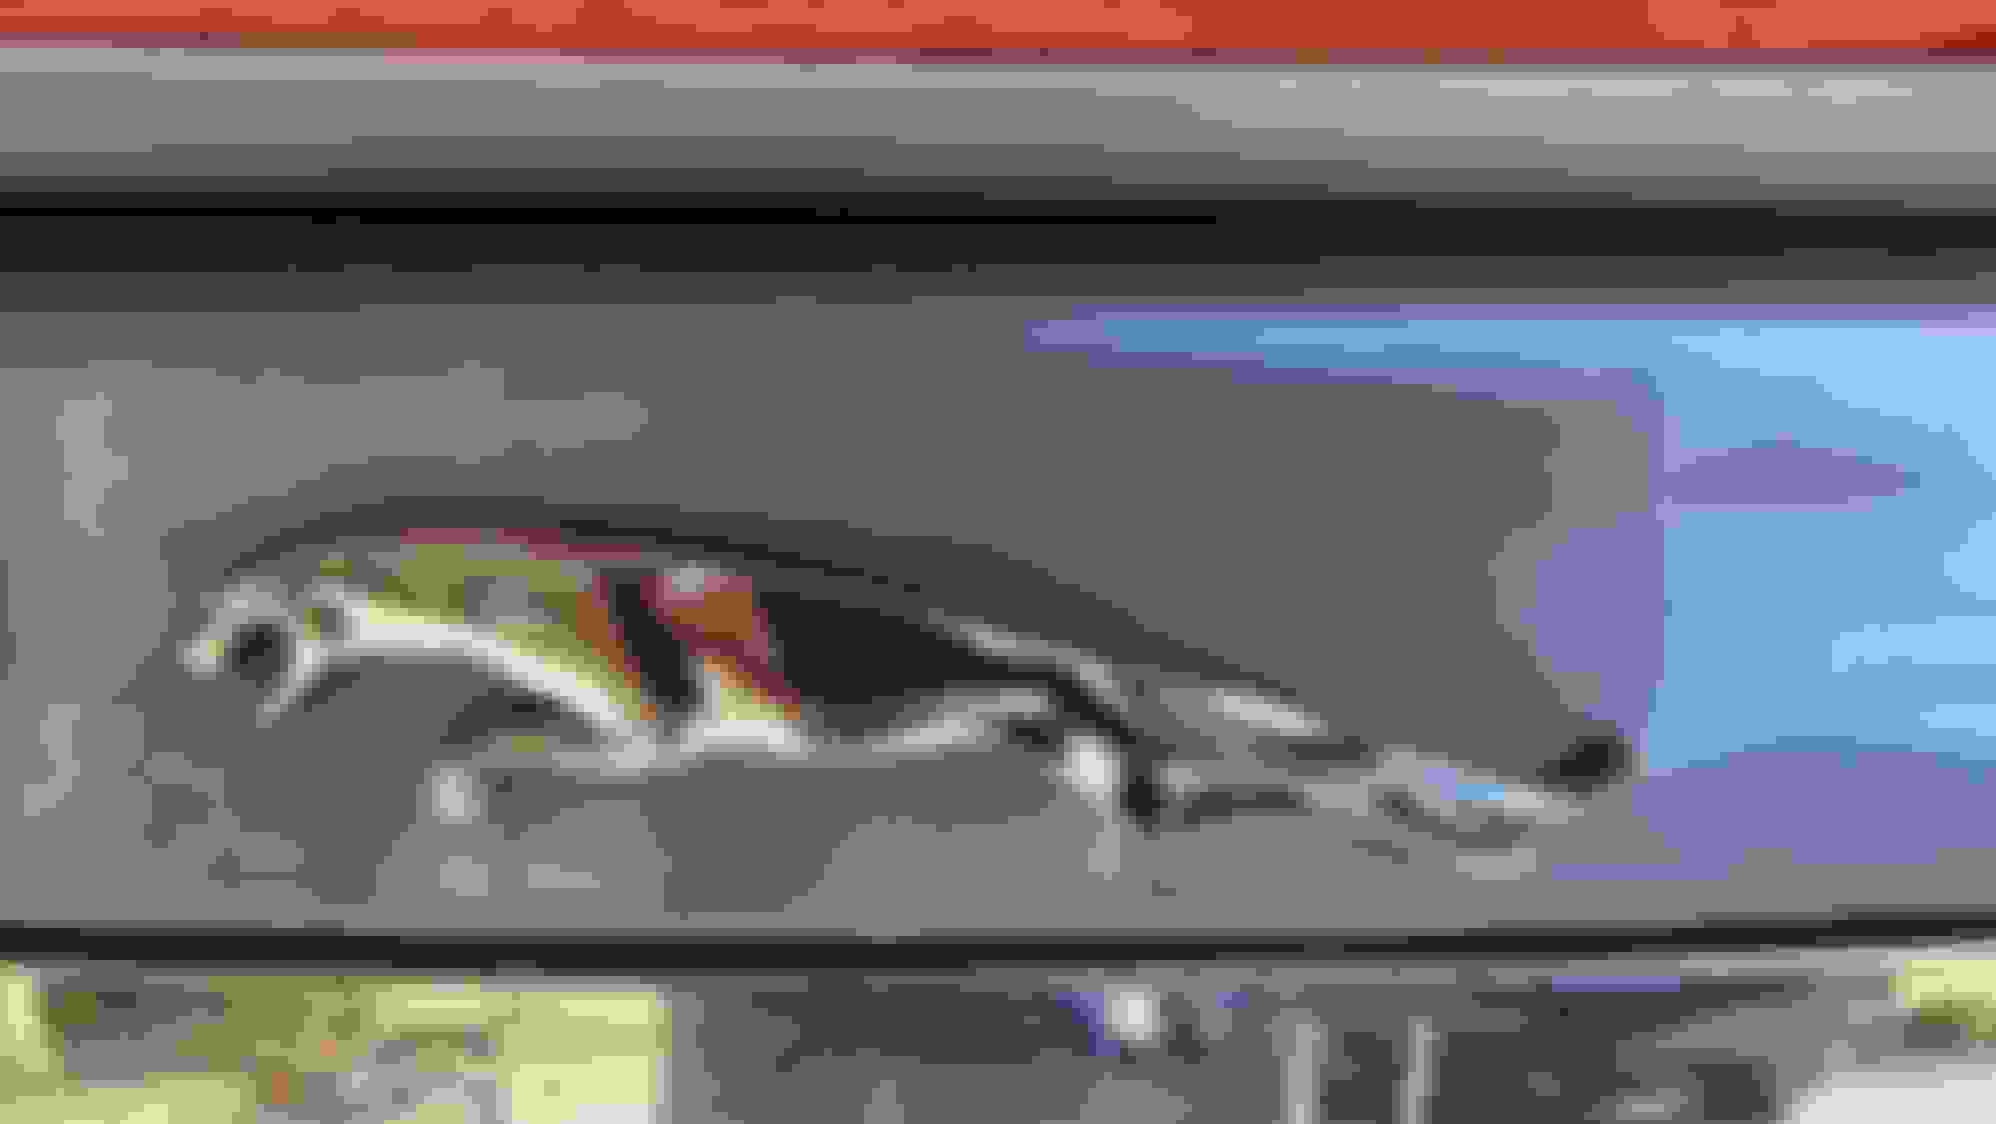
Is the leaper an original? I was under the impression that they were only standard fron MY2012. I bought a metal Ebay one for mine and it wasn't curved, nor could I bend it without fear of damaging it so I never fitted it. I think my daughter ran off with it when I said I didn't need it
Is the leaper an original? I was under the impression that they were only standard fron MY2012. I bought a metal Ebay one for mine and it wasn't curved, nor could I bend it without fear of damaging it so I never fitted it. I think my daughter ran off with it when I said I didn't need it
Funny you should say that, I was thinking the same!
A few years ago I bought an eBay leaper and it was the same as you say, dead flat and not curved like an OEM leaper and I also tried to bend it but with no luck.
Unlike you I still have that dud leaper out in the shed, dunno if I will ever use though.
If the OP's leaper is one of those then my previous advice to bend it a little can be ignored.
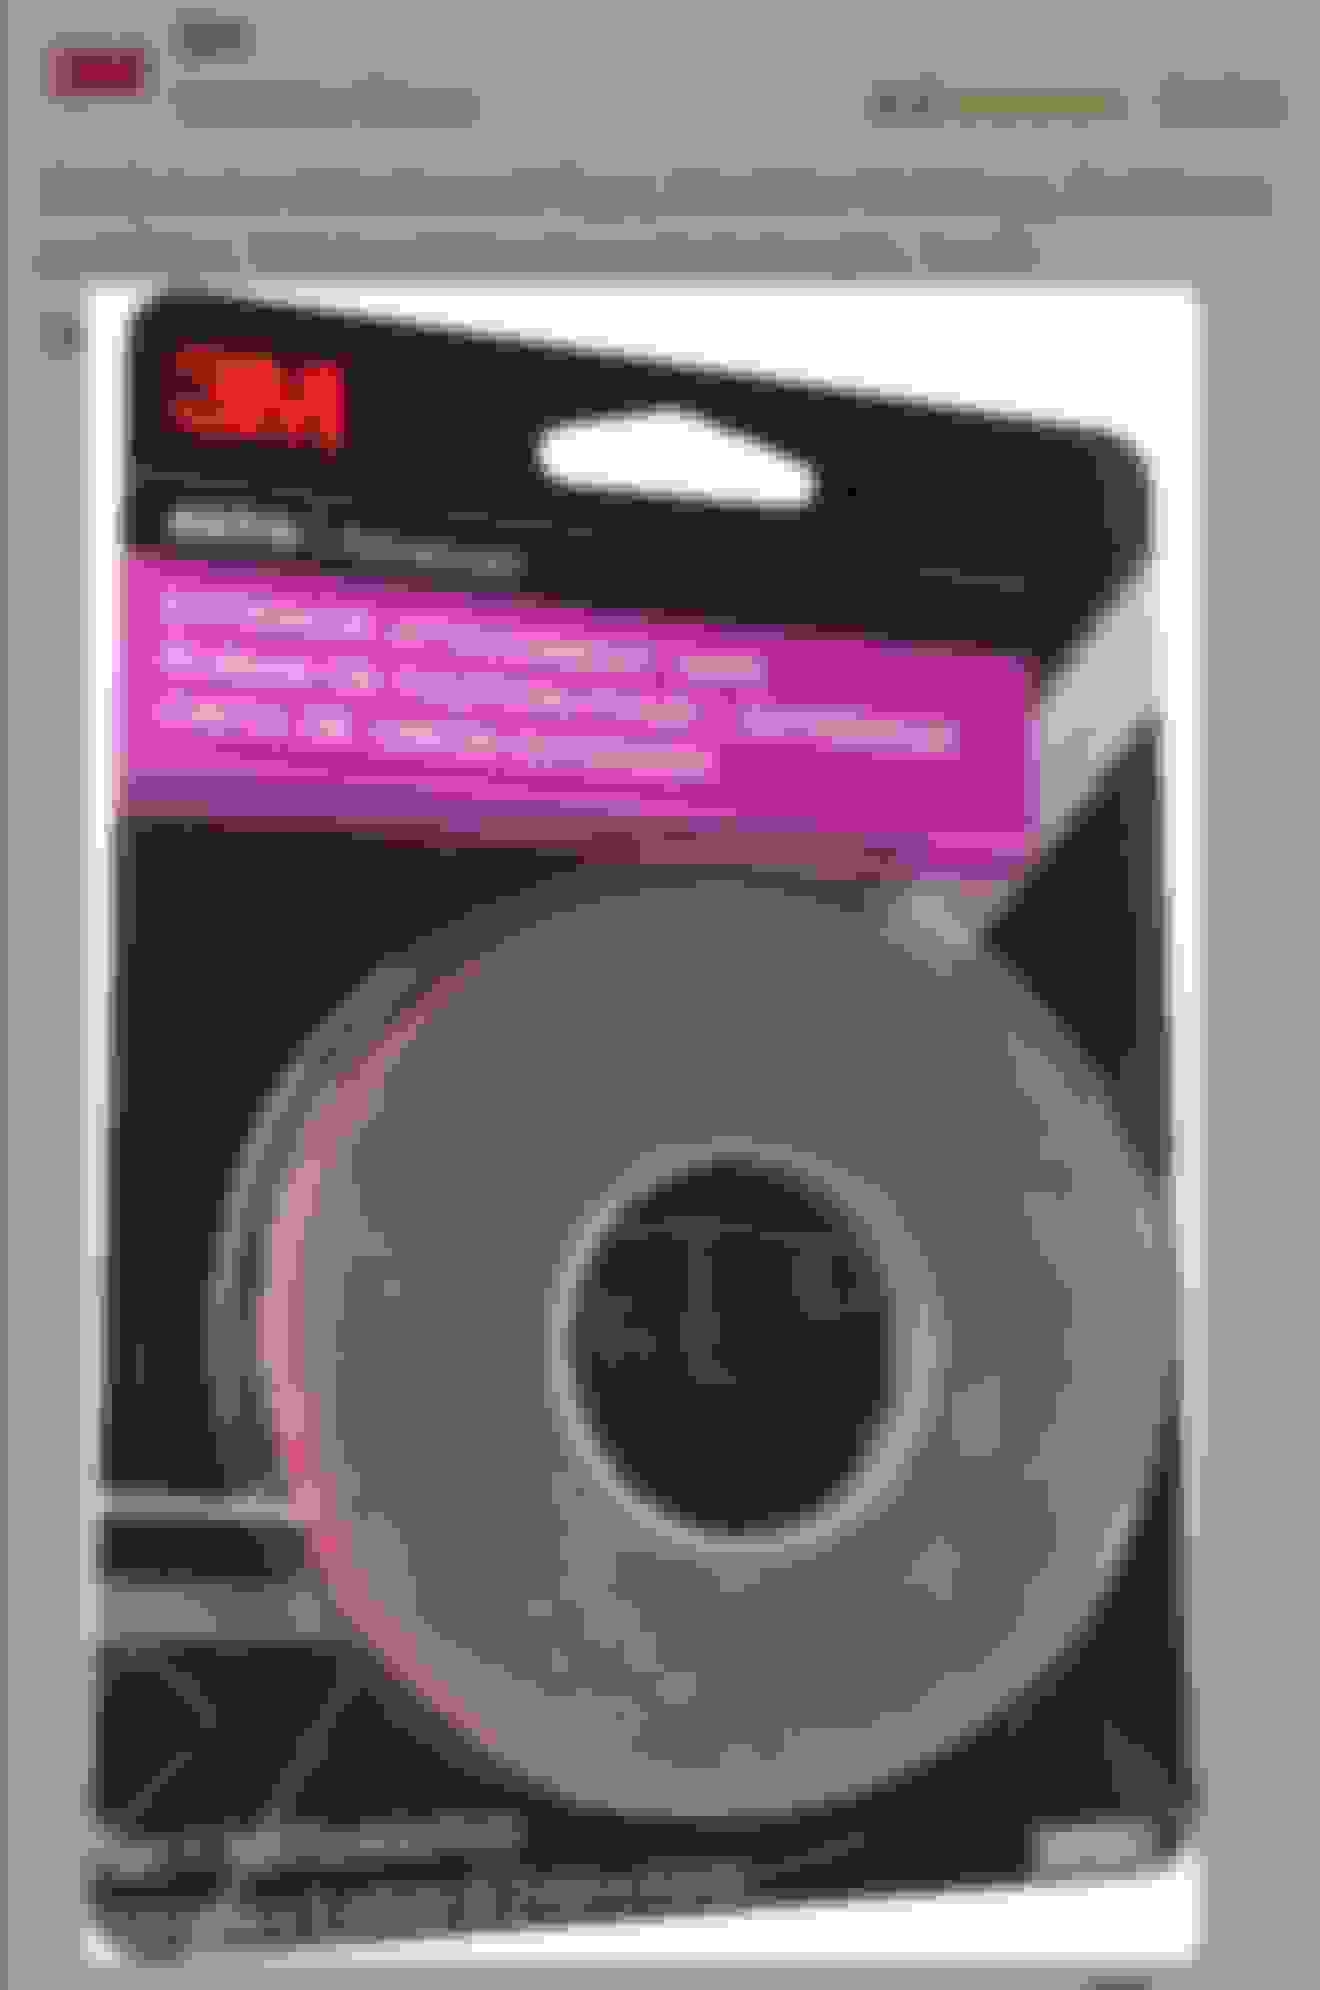
I strongly recommend 3M Auto Exterior Attachment Tape. It's very strong, weatherproof, and easy to install and remove without damaging the paint. It's available in several widths and lengths.
I have used black RTV silicone windscreen sealant with great success to stick all sorts of things on various cars over the years, including the leaper on the back of my F-Type.
The leaper wasn't falling off, I took it off on purpose to reposition it a little lower after removing all the other rear end badges including the Jaguar lettering.
I did this some seven years ago now and the leaper has not budged one iota since, despite being left in the sun for hours on end from time to time.
One tip if you decide to use black RTV sealant - try not to get too much on the outside edges, ie aim to put it about 1 mm in from the edge and fairly thin, and any that does squish out when you press the leaper into place can be easily cleaned off with a soft rag dipped in turps. You have about 10 minutes to clean up before the RTV starts to set/cure.
Edit - forgot to add - it looks like the kitty is sticking up a little at each end so when you take it off you can (very gently!) try to bend those ends back down a little, before sticking it back on.
Is the leaper an original? I was under the impression that they were only standard fron MY2012. I bought a metal Ebay one for mine and it wasn't curved, nor could I bend it without fear of damaging it so I never fitted it. I think my daughter ran off with it when I said I didn't need it
I've had the car a little over a year now and the leaper was there when I bought it, so not sure about the original state of things. I like the look so plan to keep it. It's a good question, though.
I would never use black RTV silicone adhesive again for installing auto molding and trim. It's way too messy. 3M tape (my Post #6, above) works great with no mess. That's what I used to install the Mina Gallery spoiler on my XJ in 2014, and it still exactly where I put it 10 years later.
As always, it's your car, your money, and your choice.
Getting personal experiences from y'all is the reason that I posted the question. So, hearing that your suggested solution has lasted 10 years for you is definitely appreciated. 🙌
+1 on the 3M tape. That's what it's for. I've used it a few times. Place it it right the first time tho. It's hard to remove.
Removal is easy. All you need is a hair dryer (or heat gun) and regular (not thick) dental floss.
1. Warm the area to be removed in order to soften the adhesive.
2. Wrap about 2 feet of dental floss around your hands and slip it under one end of the warm trim you want to remove. Use a back-and-forth sawing motion to release the tape from the body and remove the trim.
3. You may want to use some cleaner wax or polish to restore the paint finish.