When you click on links to various merchants on this site and make a purchase, this can result in this site earning a commission. Affiliate programs and affiliations include, but are not limited to, the eBay Partner Network.
Cambo, one option you might consider is having a diamond pattern sewn on to the existing headliner, in the process upgrading the backing material.
Here is an example. (those look like your hands)
I like! Not only does it look good the finish material would never delaminate from the backing. For the roof it may be better to do the stitching in black so it doesn't look too bold and still show the diamond pattern in a more subtle way. White is not too bad, but red would look bold.
The top liner on my vert is a canvas color while the outer color is black. The inside windshield frame is covered in blue Poltrona Frau Leather matching the seat color. Incidentally the British brochure does not show this particular option for either the XK or XKR vert;which may be due to my car being a Portfolio optioned vehicle.
Thanks to Ted (Tberg) and Eric (Big Otter) I was able to replace my failed headliner over the weekend and took some pics along the way - but none during the glue stage, that stuff sets up sooo fast! Ted was a pleasure to talk with, sent a couple of samples of his excellent Passion Suede and I went with black. Eric did this job a few years ago and was happy to answer my questions and I am glad he recommended I buy a cheap set of plastic interior trim tools. They felt ready to break, but never did and you don't want metal banging around glass and everything nice in a Jag interior. So here is my story which appears to have started back on 2/18/2021!
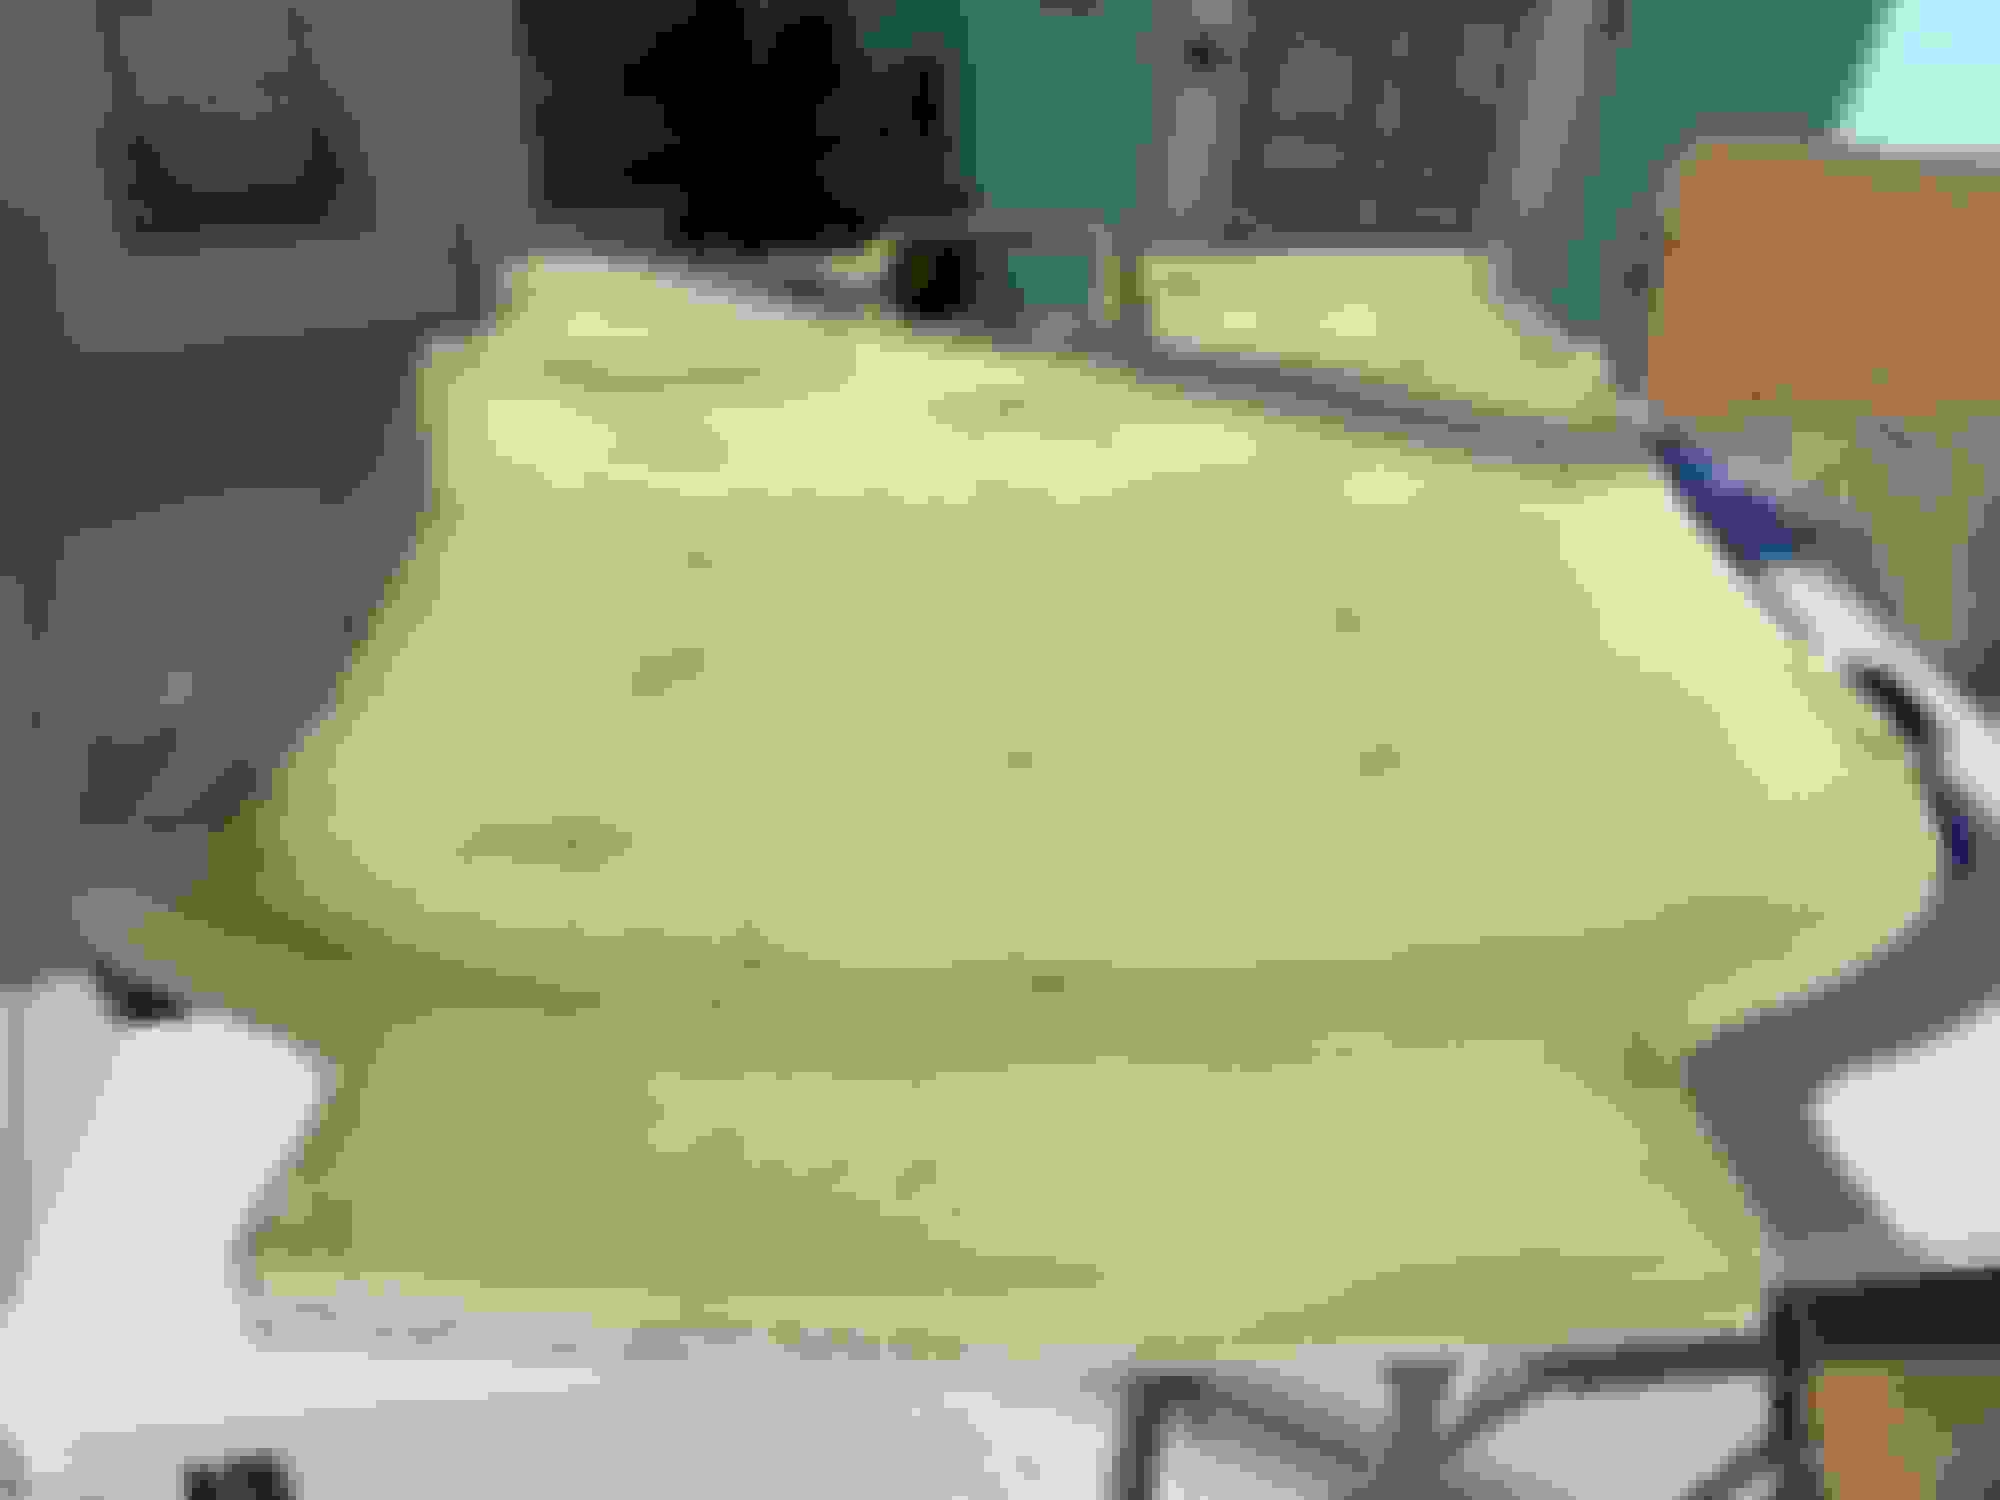
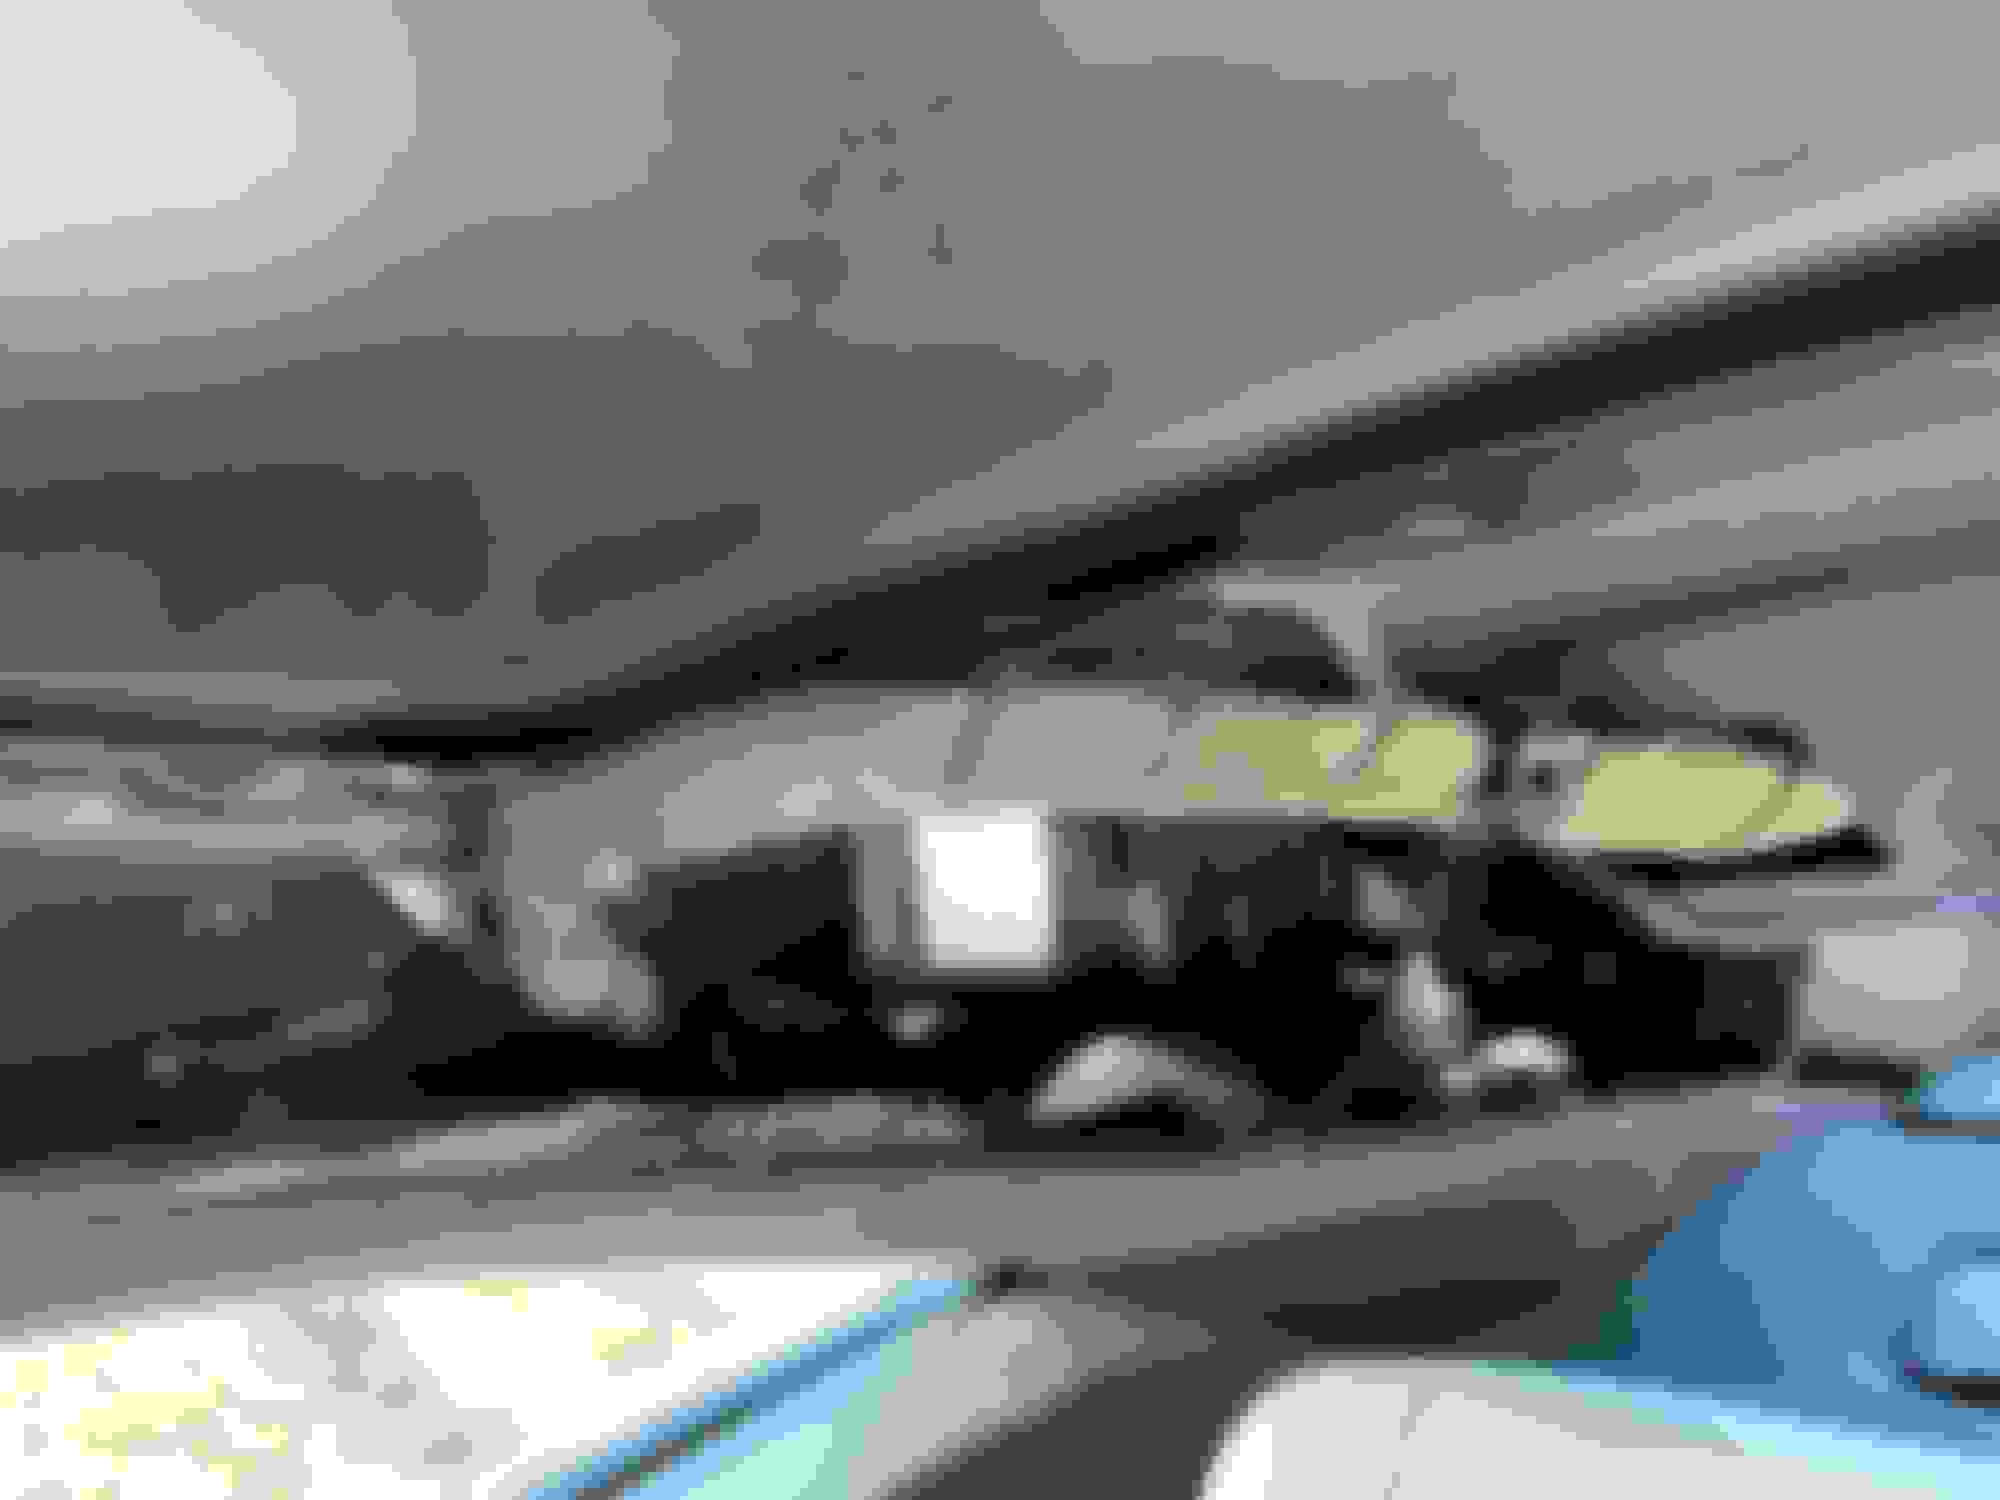
The headliner went from perfectly fine to catastrophic failure overnight. I slid in the car and had a giant floppy hat. Headliner collapse!
My wife helped with a temporary fix. As bad as it looks I honestly didn't notice it because we can see so little of the headliner when sitting in the XK. Those twisty pins were the only reason that headliner wasn't on the seats. I believe Jaguar called this Warm Charcoal, but according to the label the supplier called it Alston Ebony, so I'm not sure if it was always a grey or if it faded this much since 2013. Failed headliner
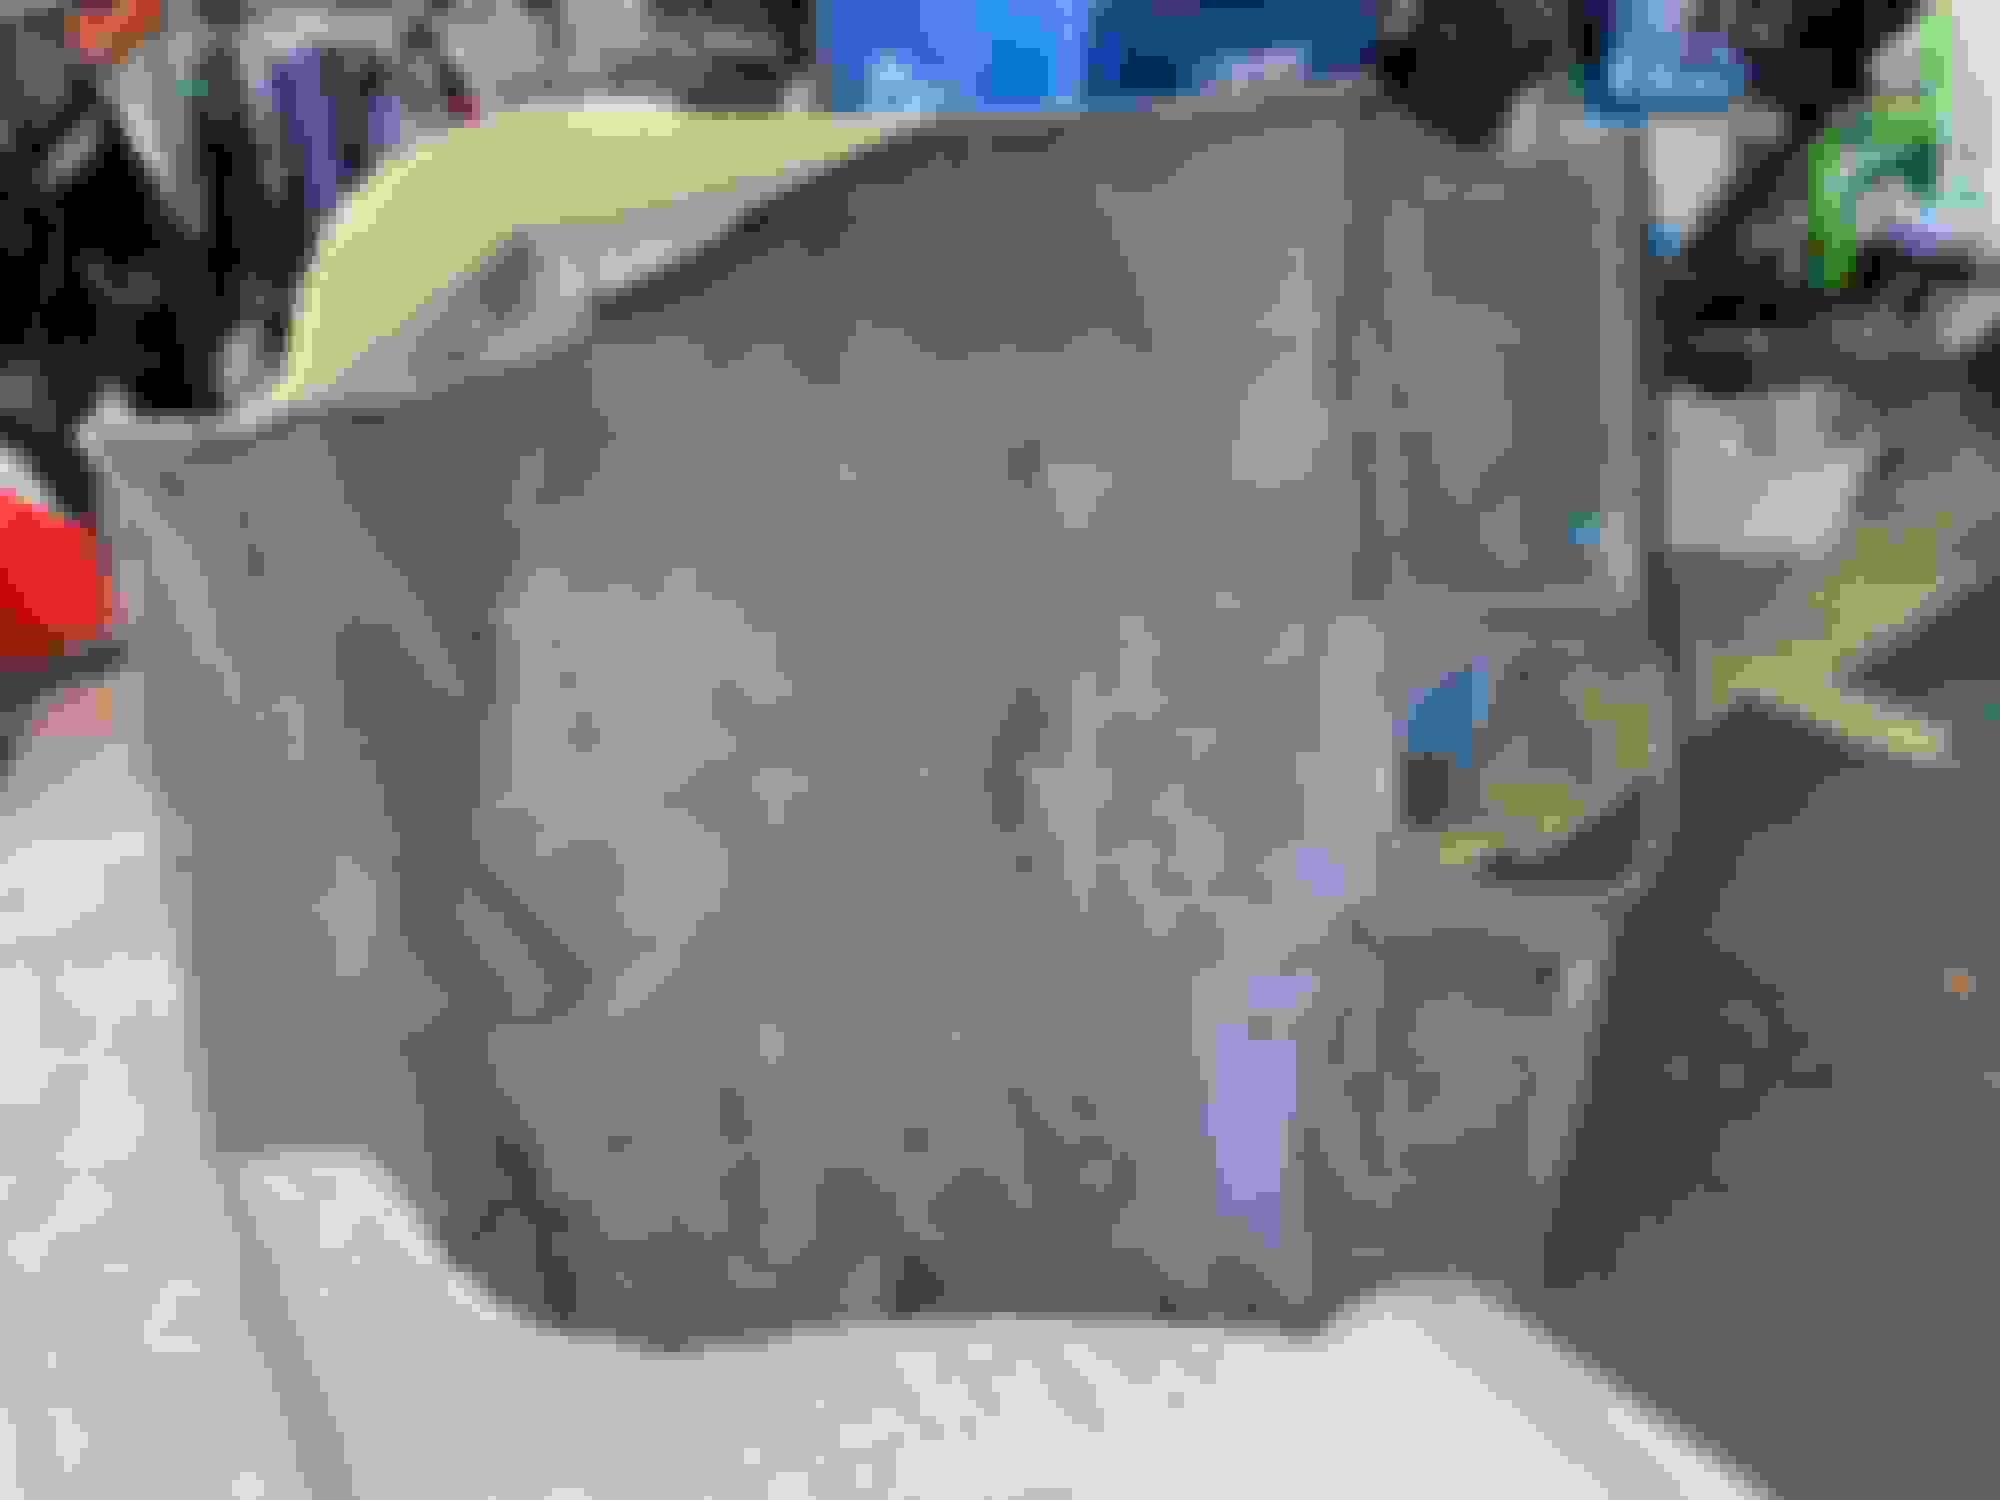
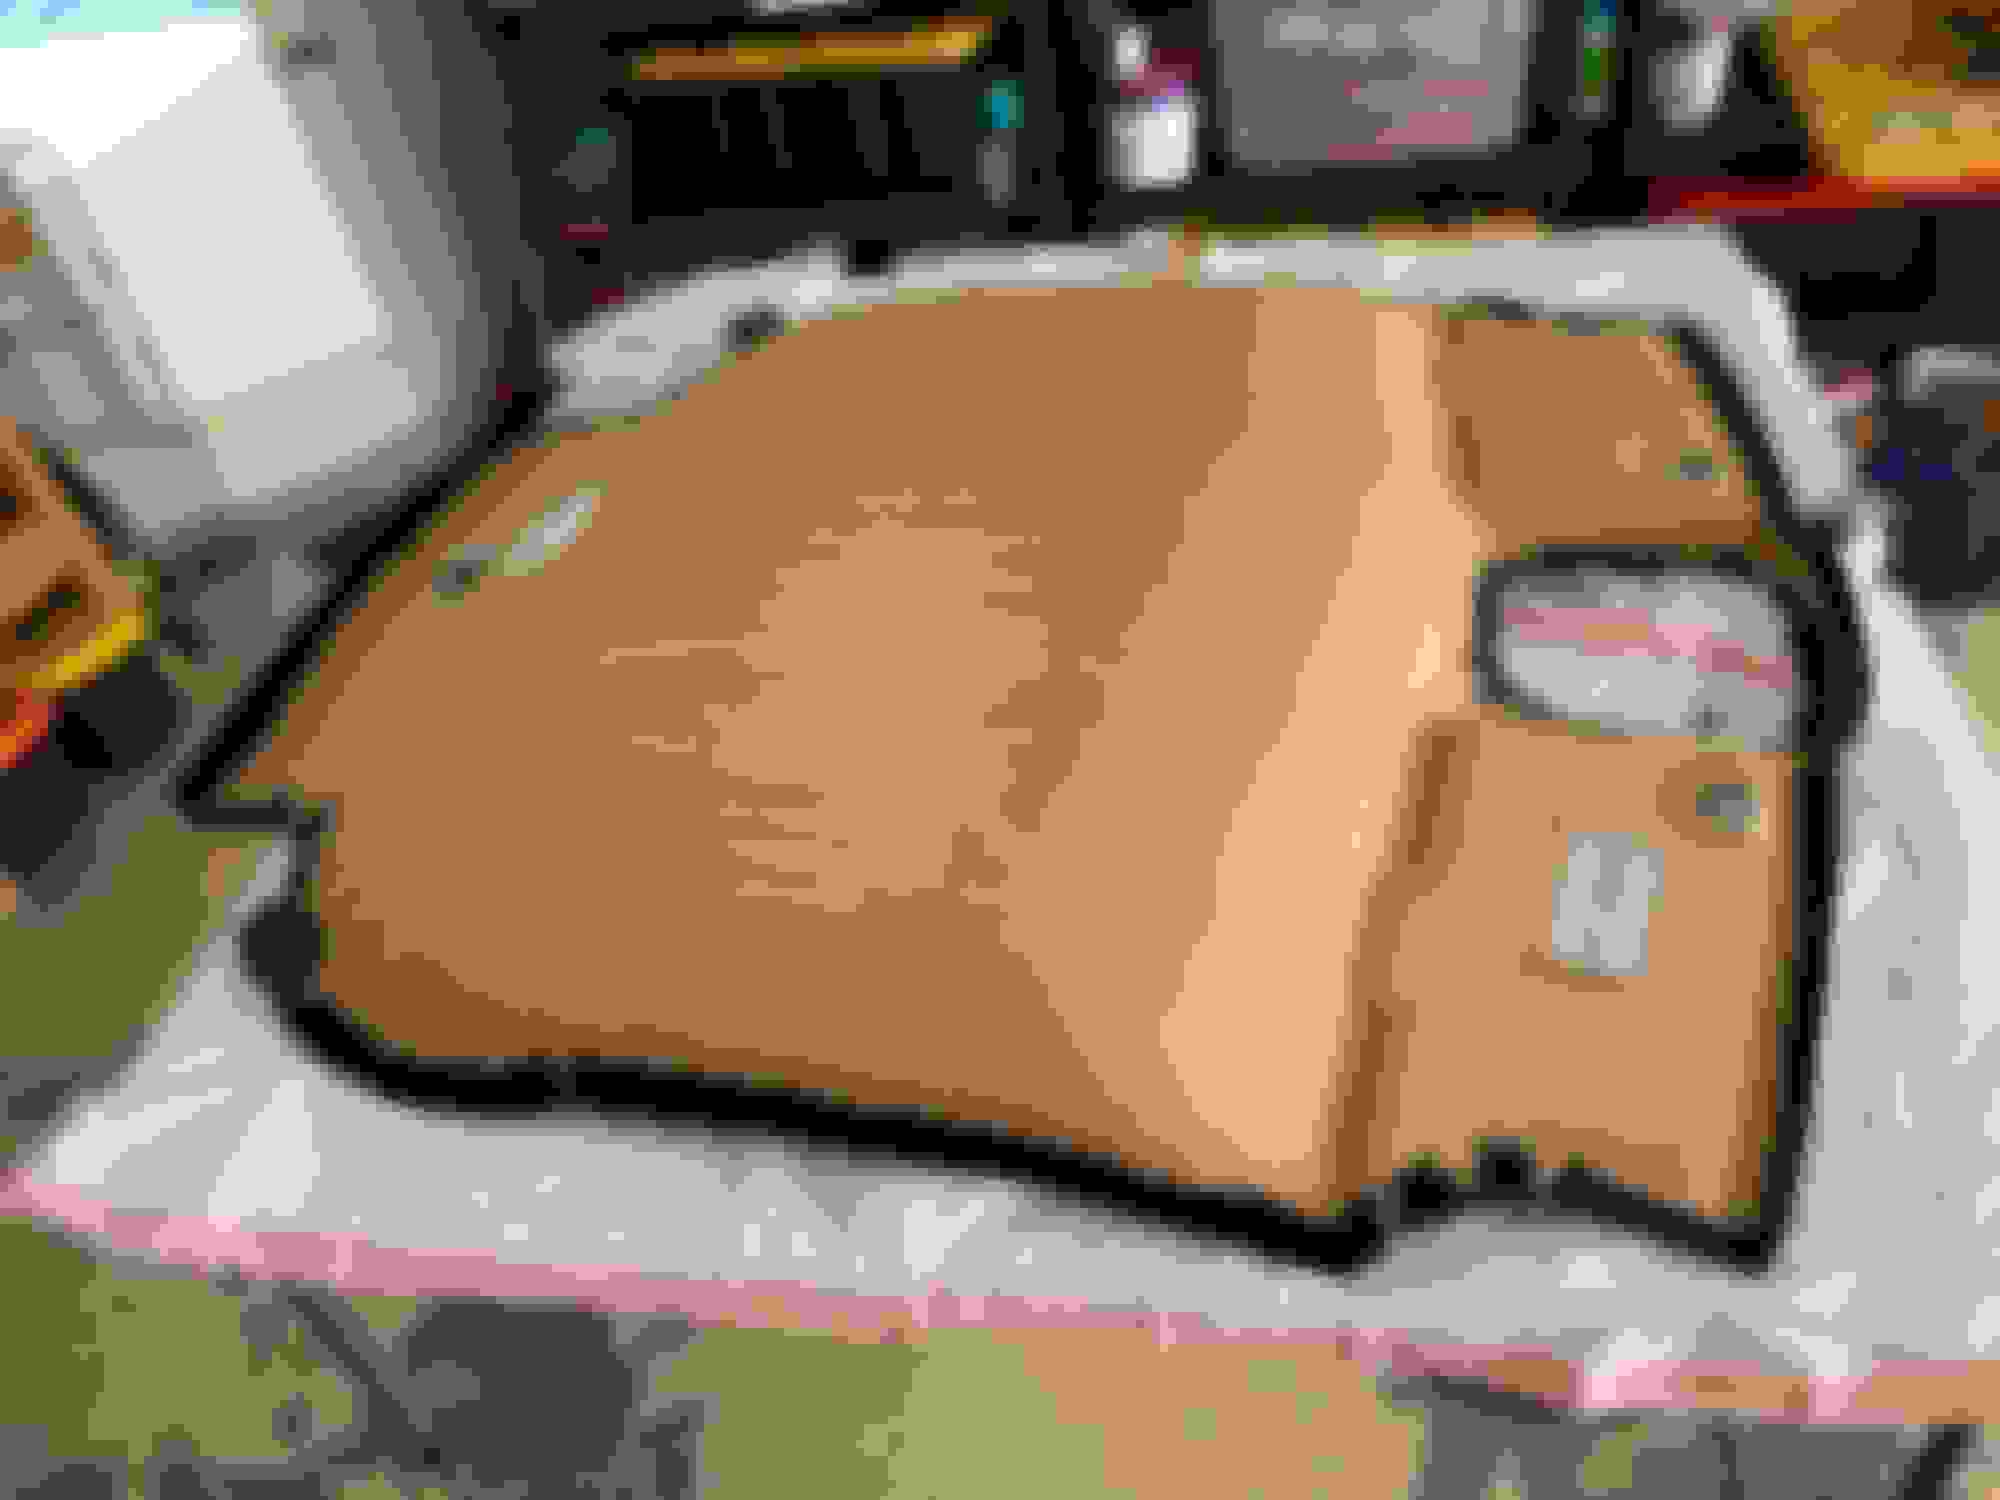
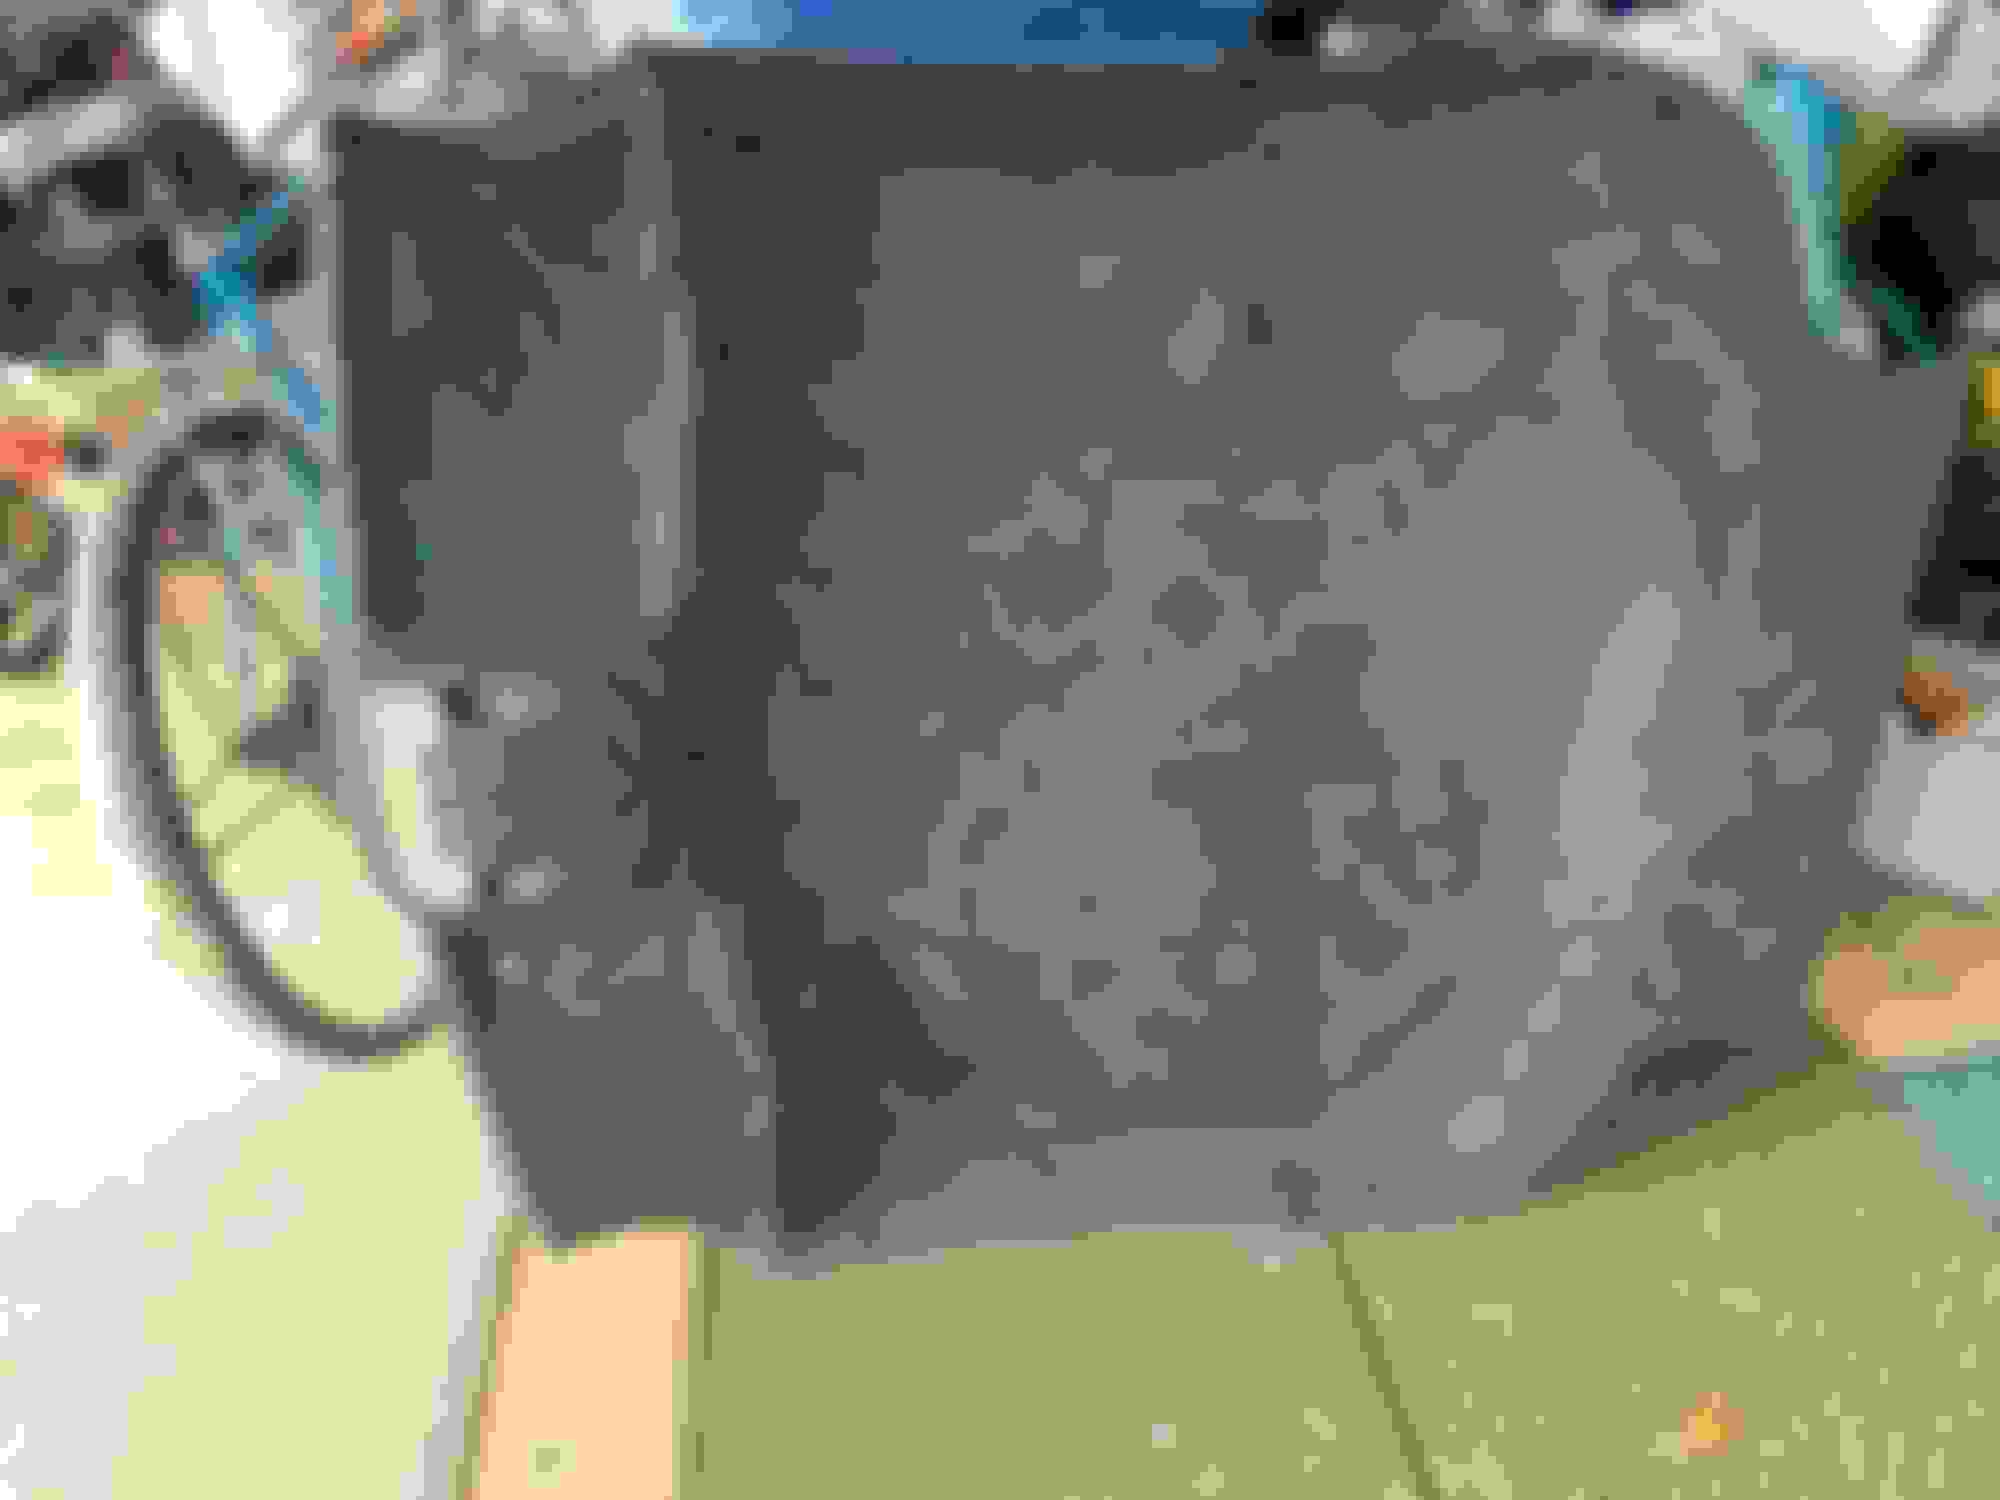
Obviously fabric removal only required pulling the pins, but then the true problem became apparent - all that "luxurious" foam backing that probably started failing as soon as the glue started a chemical reaction 8 years ago. We found the best way to get rid of the bulk of it was with rubber gloves and rubbing. Cleared out the sticky mess with the shop vac and let it set overnight. Foam removal Loosened foam
Easter Sunday was 'resurrection day' for the headliner. Using brushes I got the remaining mess cleaned up - and was surprised to see that my backer was very much a glorified carboard color where Big Otter's was grey and maybe another surface. The important thing was there was no debris left - with no foam any imperfections will show right through the fabric once installed. Those marks are from the overzealous twisting-in of the pushpins, but can't be felt thru the suede. Cleaned backer
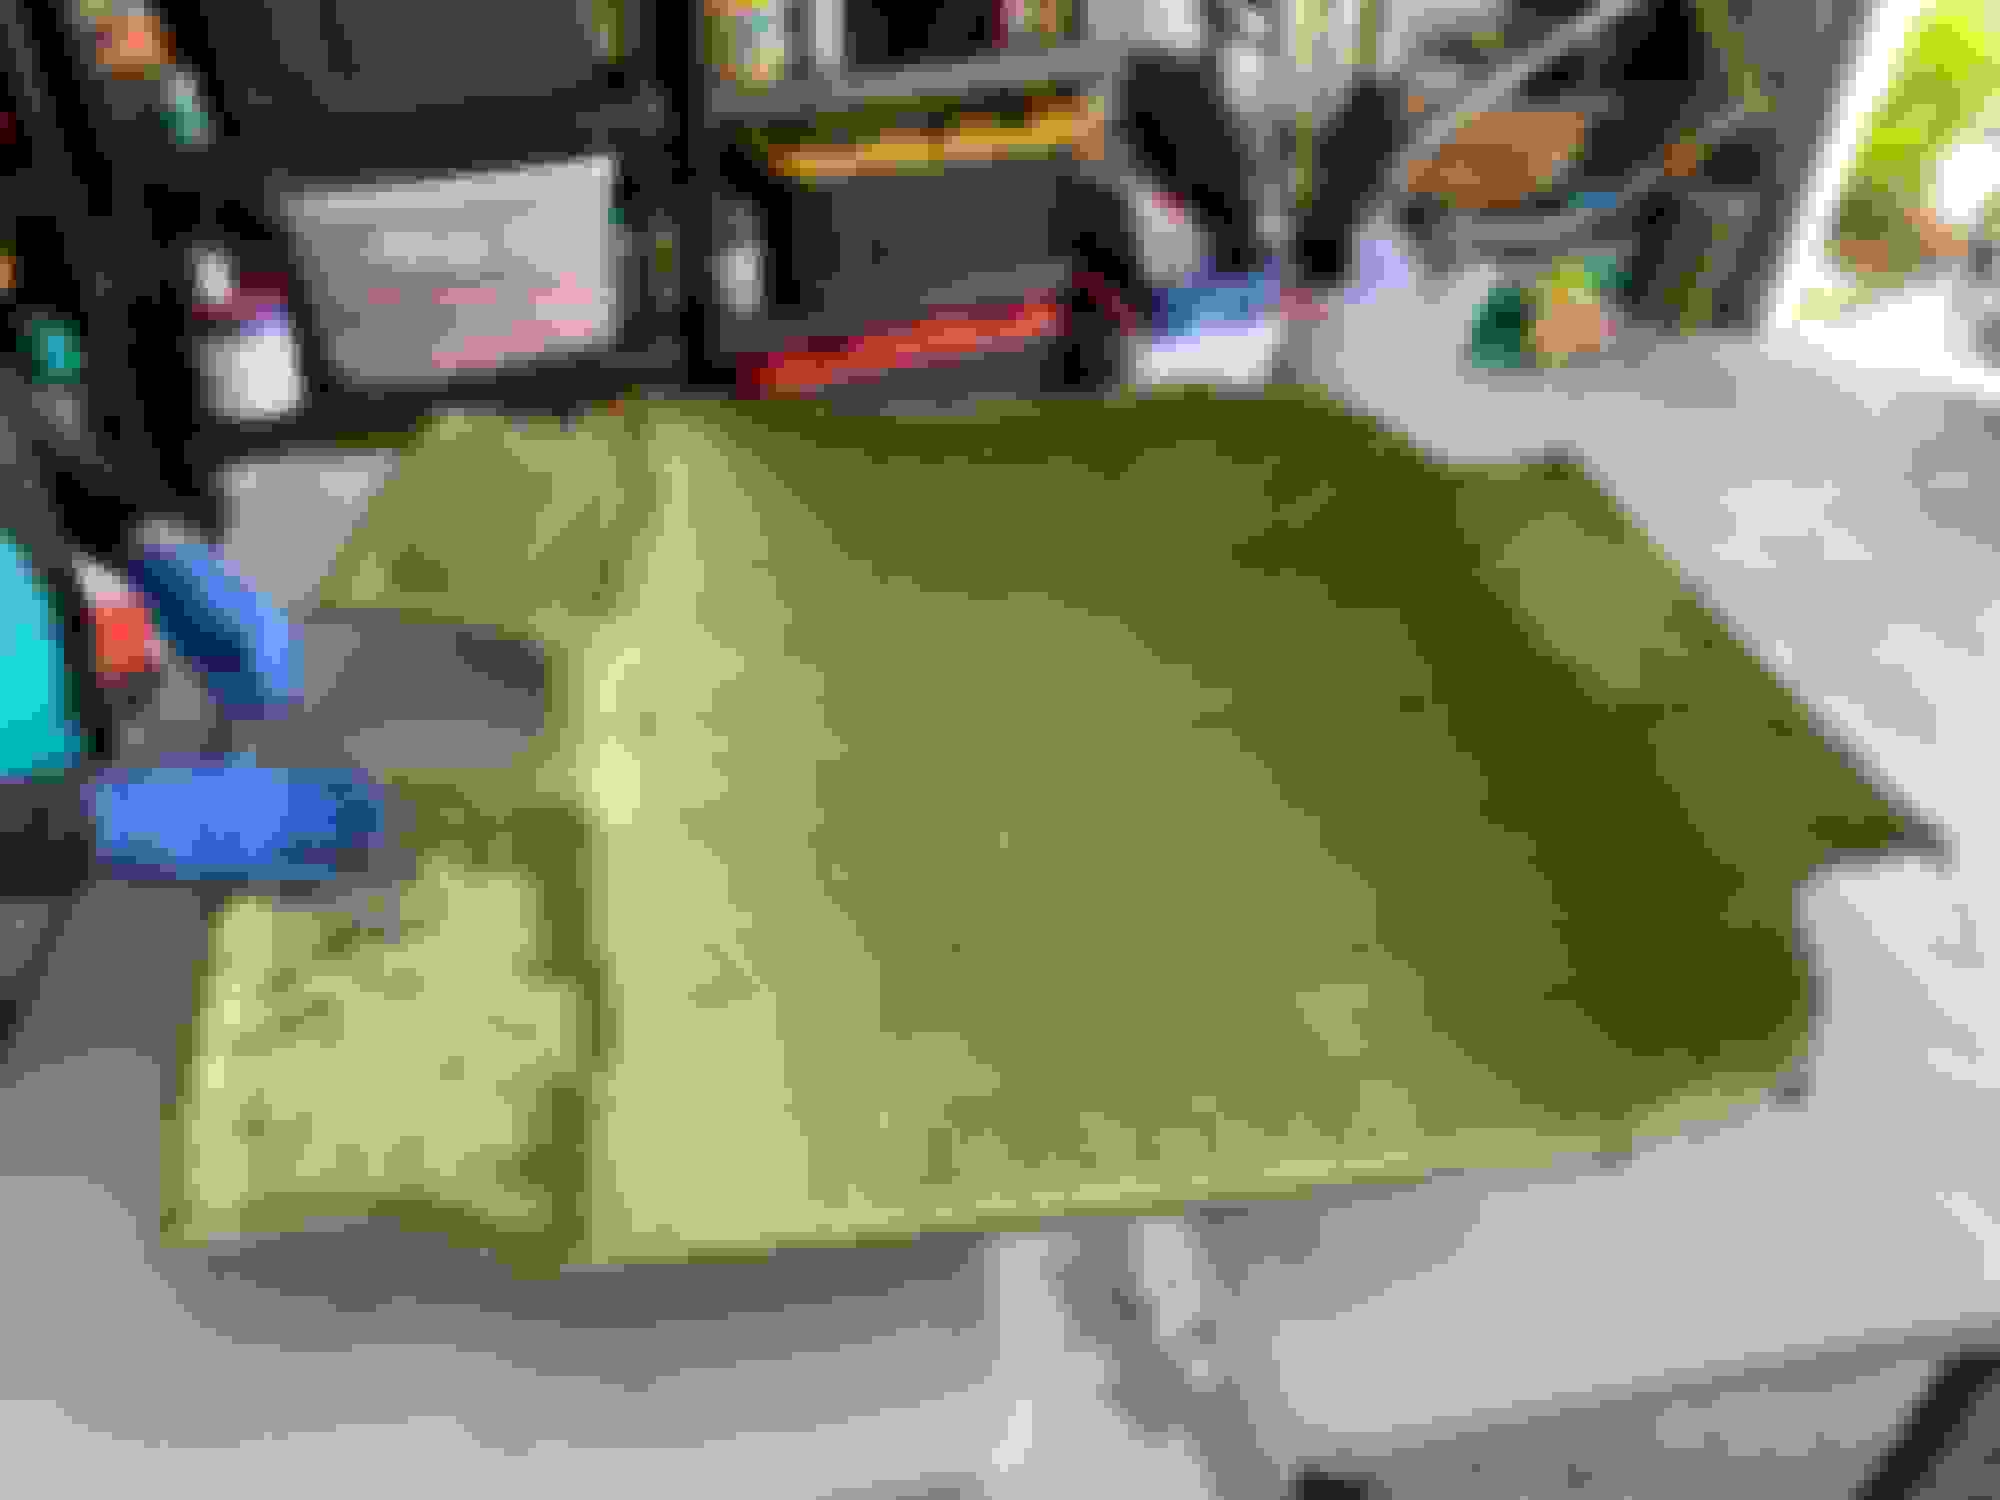
I got my wife to help with the sticky part of the job because you really only get one shot with 3M 38008 Headliner Adhesive. Once it is tacky everything goes into permanent glue mode - folds in fabric are nearly disasters and trying to work curves - like around the console and recesses for the visors are difficult. The Passion Suede fabric is very solid and nowhere near as stretchy as factory, and last night it occurred to me that we should have had the steamer to loosen it up around curves, but I think it will be fine as is. Below is 'ready to glue' and what the wrap-over on the back looks like. There was no wrap-over on the factory job - looked like a machine cut it to the edge of the backer. Ready for glue Glued back edges
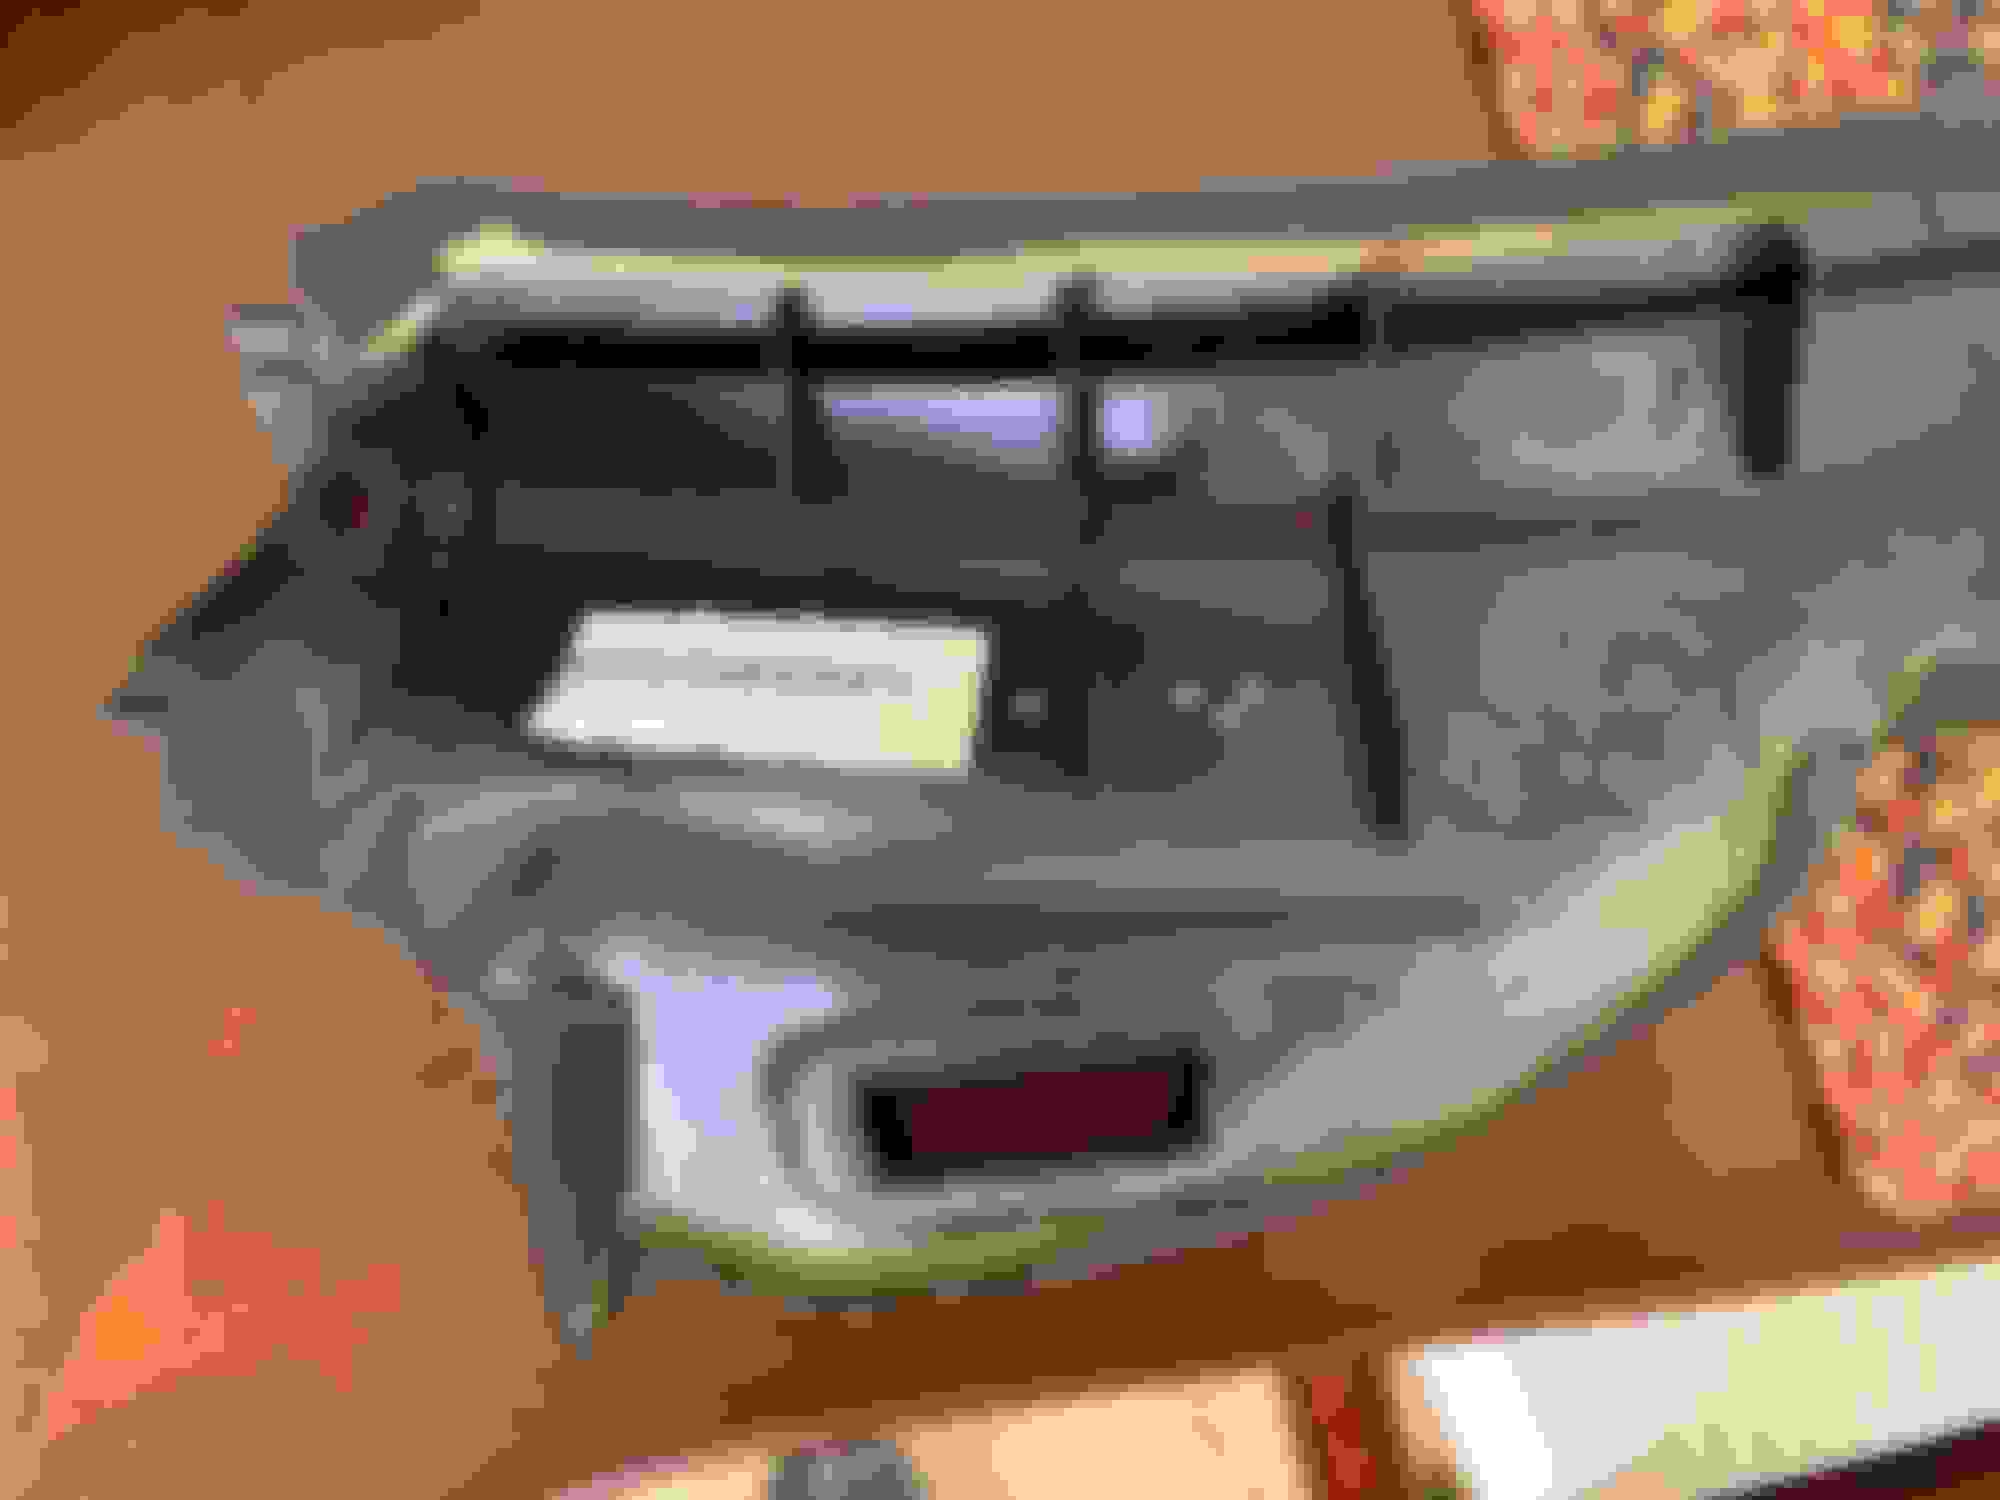
Removing the old headliner only required removing 6 screws for visors, visor clips, and world's smallest coat hooks in the back trim. I was worried about the very thin plastic of the console, but the $8 plastic trim removal tools Big Otter recommended allowed me to loosen it and it pulls straight down - and was the easiest part of reassembly with zero issues. I loosened the back trim and pulled the side trim pieces off, but they take some finagling since there is some post & hole connection to the A-pillar trim and slots into the rear trim. If I did it again I would keep working that A pillar until I got it loose (and probably recover it as well). Below is a close-up of one of the clips on the trim, I was relieved to see some metal and only broke 1 locating tab that was close to a clip and didn't cause a problem. close-up of clip
Here is a close-up of the rear trim piece, it only needs to be loosened due to the way it holds the back of the panel, not removed - but just touching it caused the fabric to get loose and once I reinstalled the headliner I used my trim tools to tuck the loose fabric back in place. No shop would let you leave with that falling off, but it has stitching, so I wasn't going to be able to replace it at home. If it gets worse I'll address it later. Close-up of rear trim
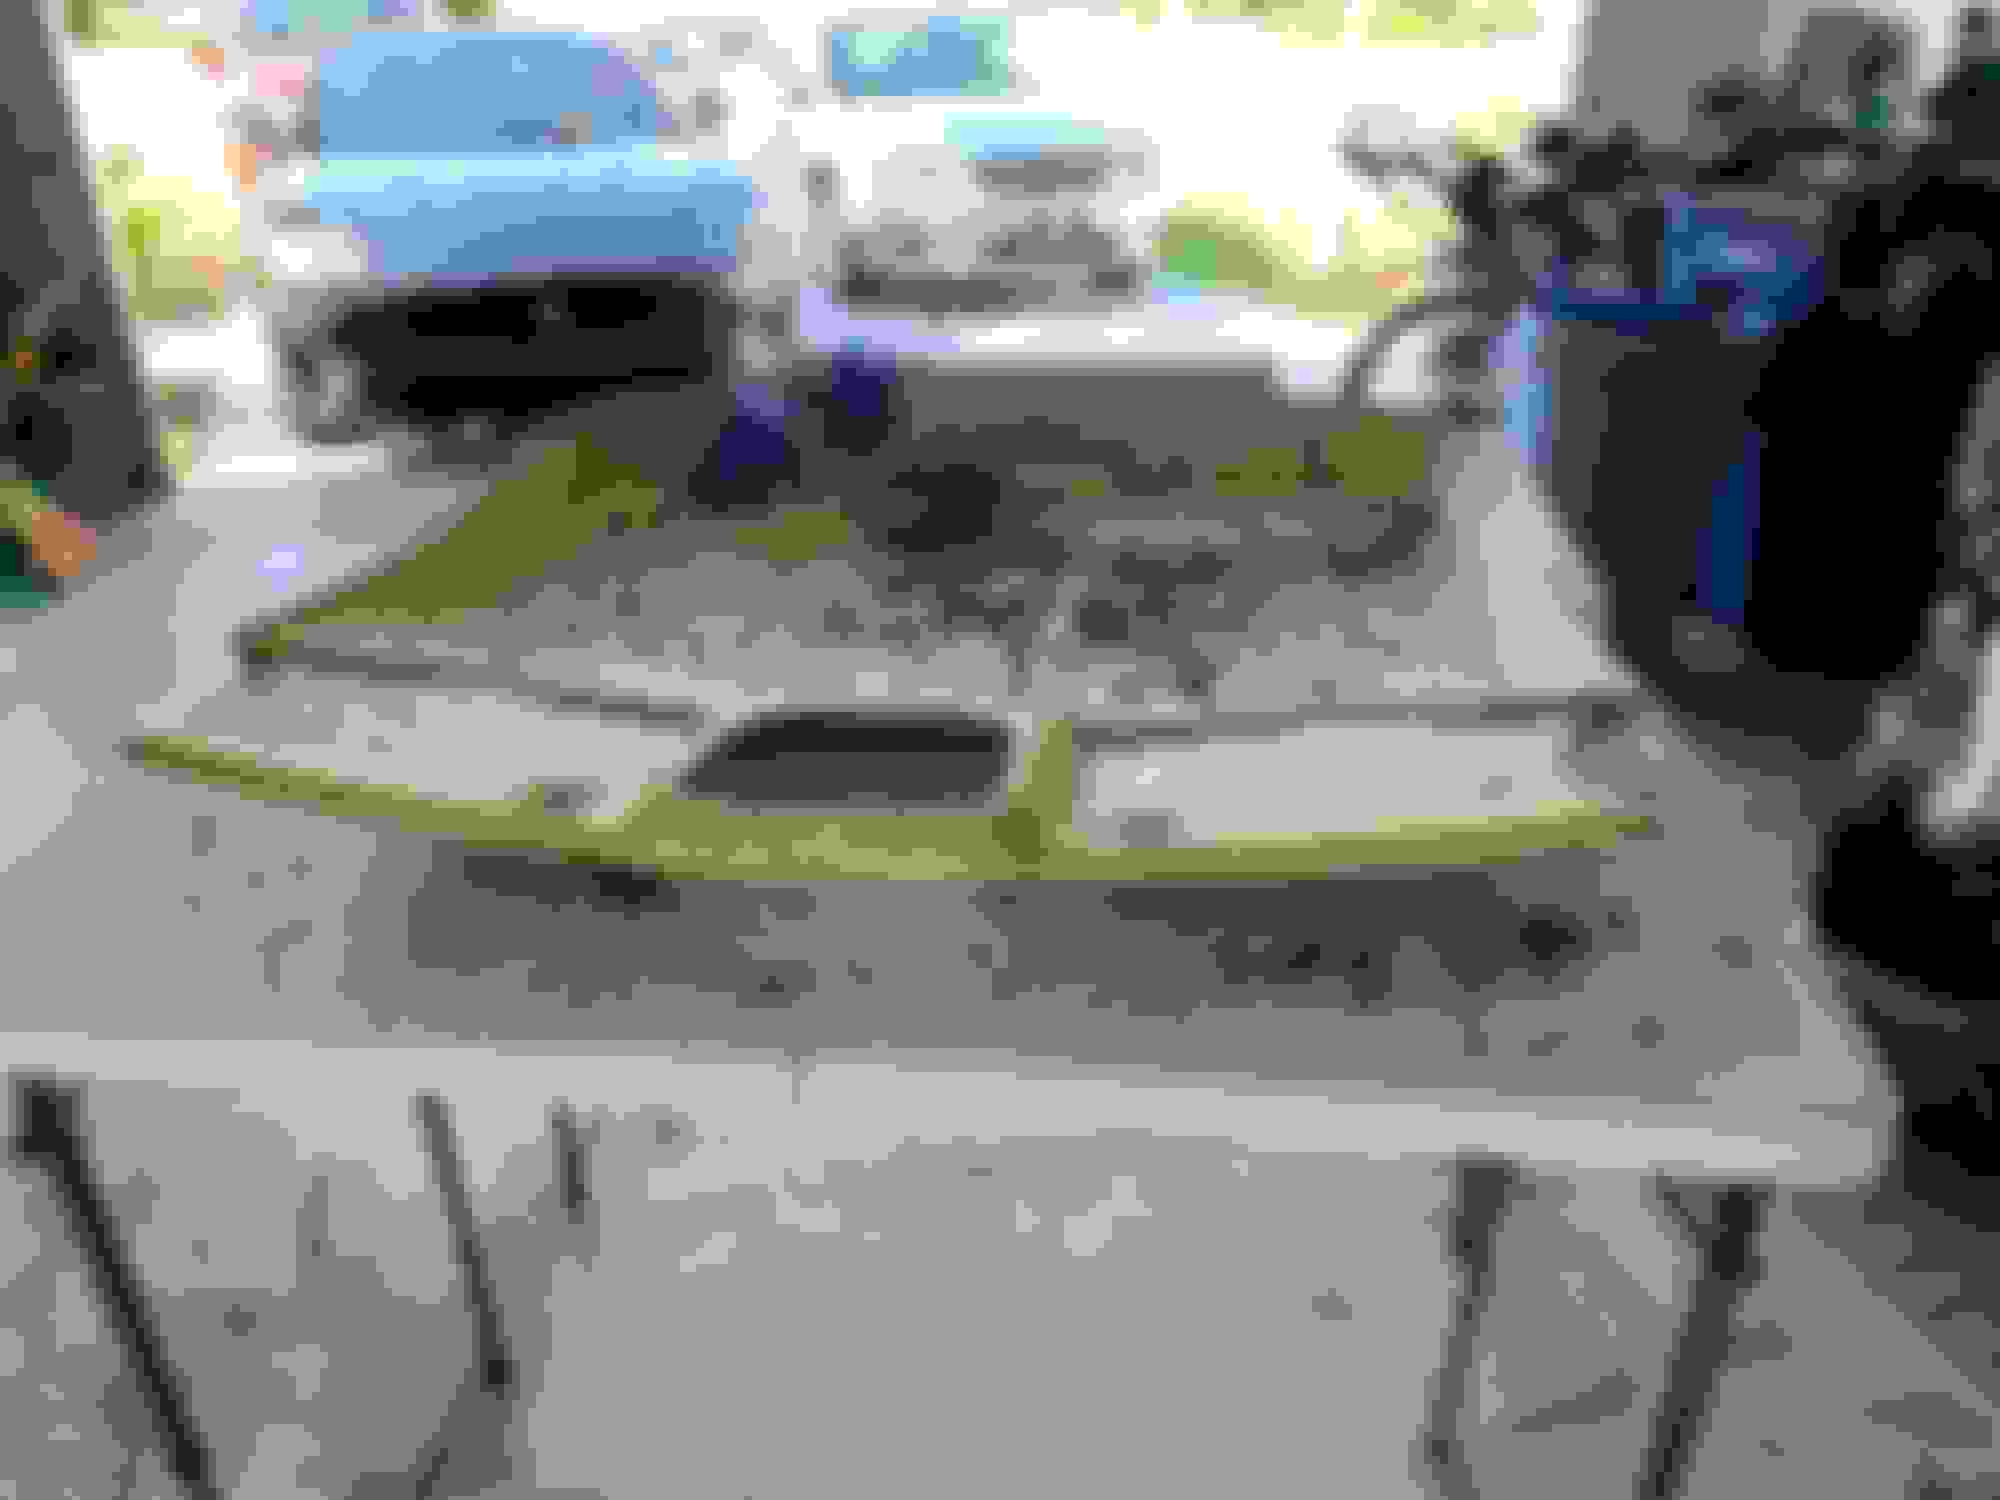
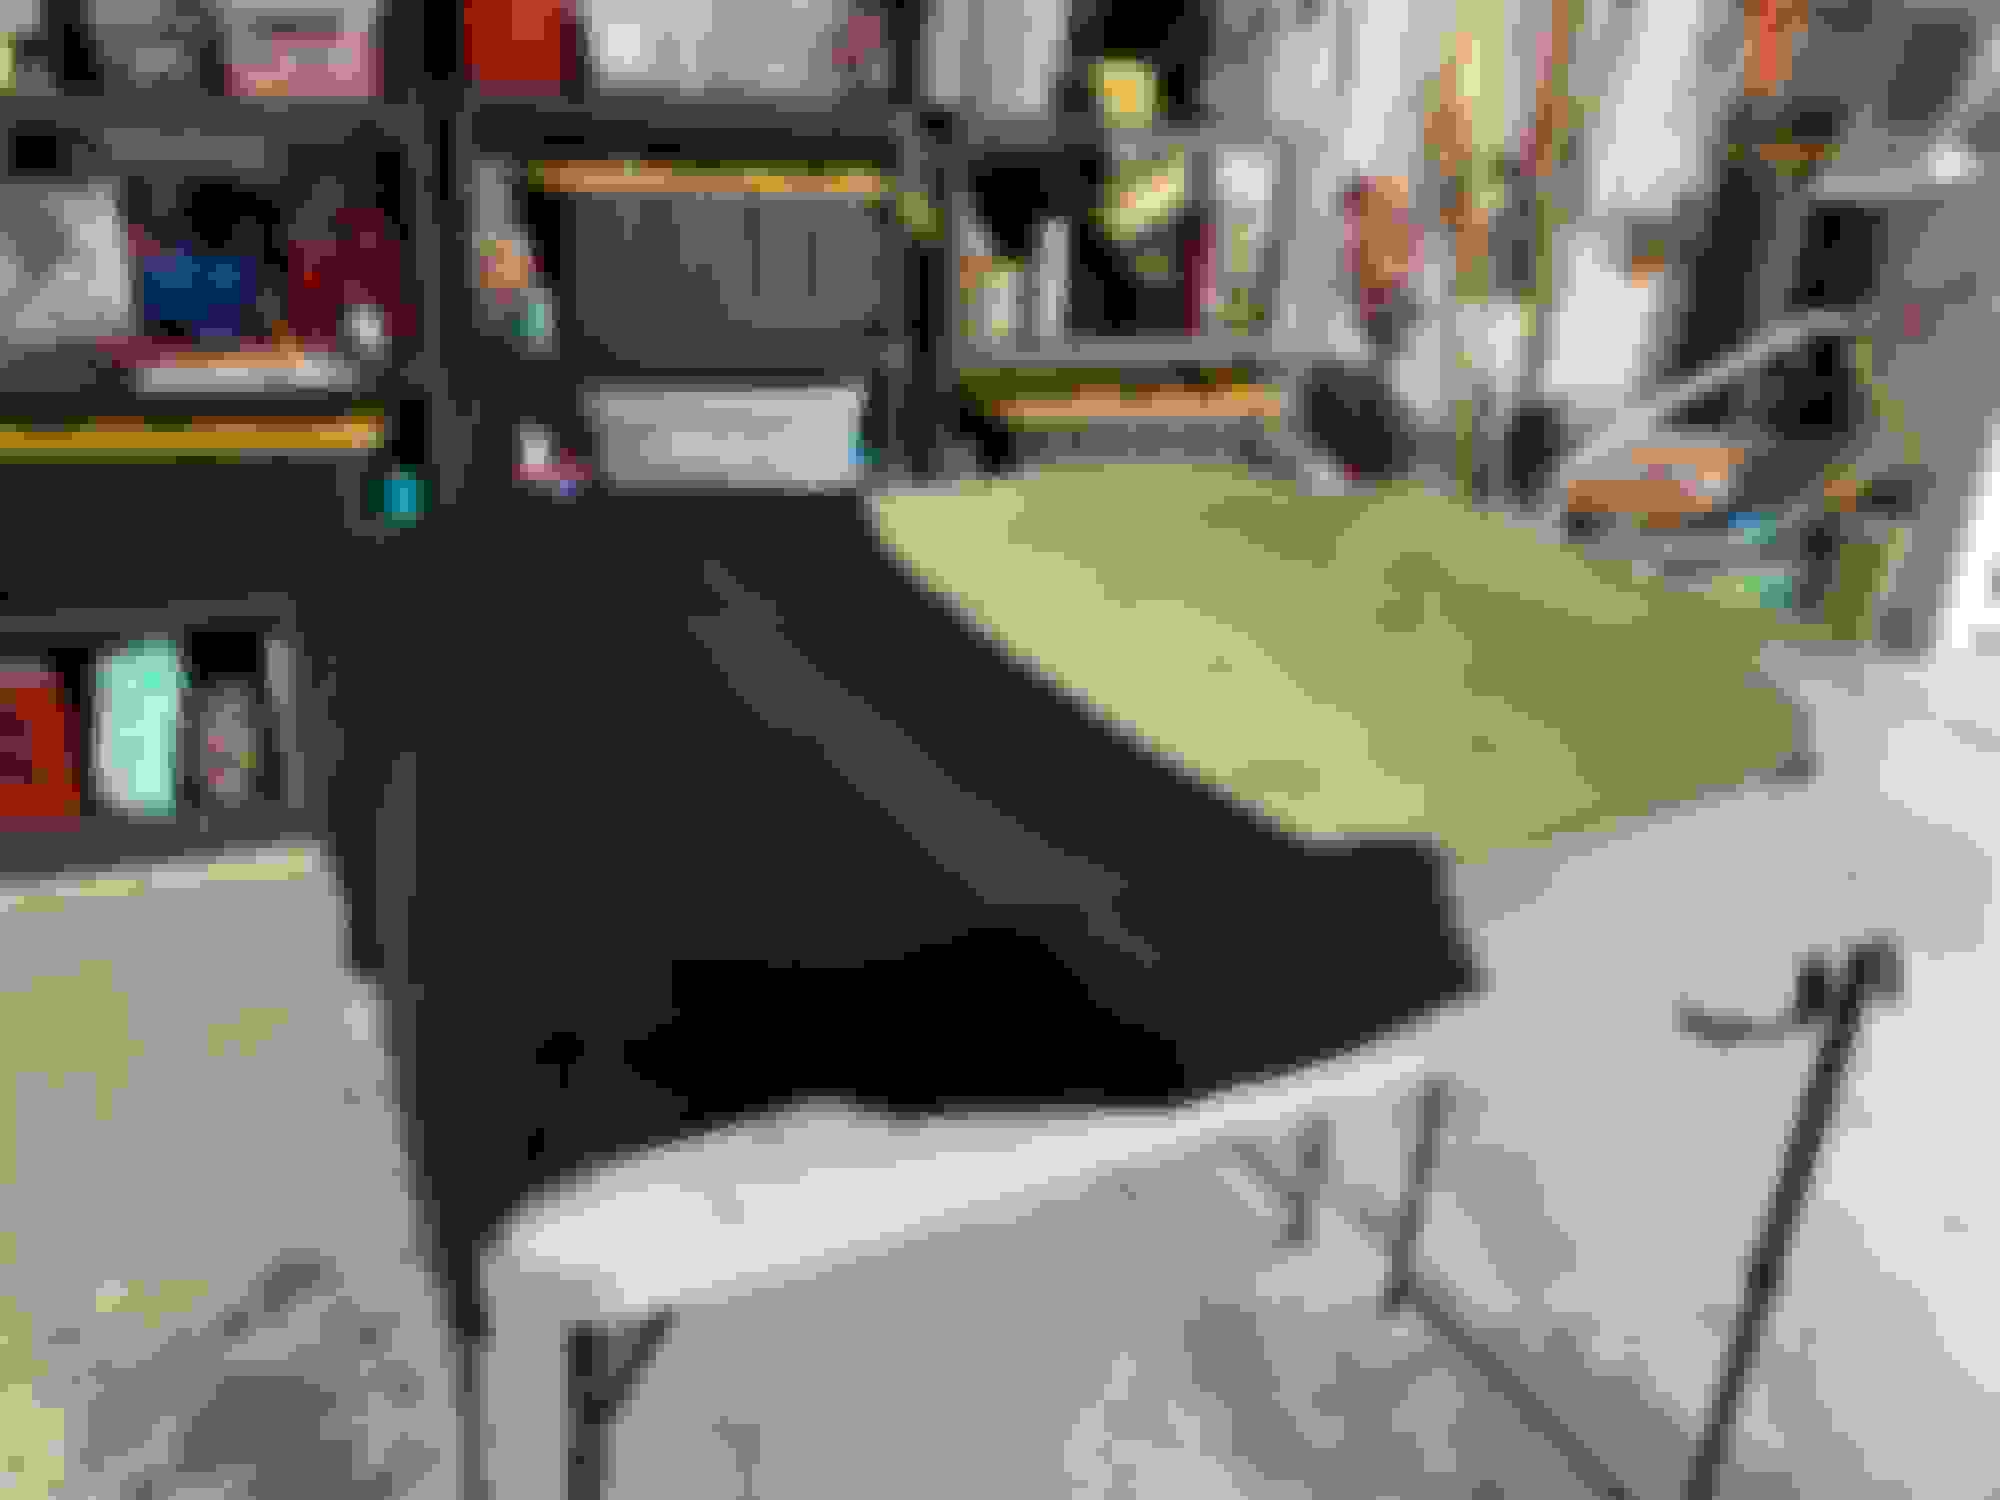
All the handprints look terrible, but the Passion Suede actually looks and feels great once installed. Here is the completed headliner waiting for me to recover the 2 side trim pieces. New headliner
Just touching the trim pieces is more than that old glue/foam bond can take. I was in a rush to get the job done and forgot to take a pic of the finished product but you can see how the fabric is falling off the plastic here. It was much easier cleaning up plastic than cardboard! Failed trim
The hardest part of the reinstall was getting the visor clip screws in correctly, and we were using them to locate the front of the panel for all the other work. All the other screws went right in. After jiggling the headliner in through the passenger door, we literally slid it over the rear trim pieces and while my son held the front I got the back edge into position. There is some clip near the back (visible in the pic of the back) but I'm not sure it was clicked in when we pulled the panel out and I'm pretty certain I didn't get it in place on reinstall. The only step left was reinstalling the side clips - again pulling the A-pillar trim would have made life easier, but I just wanted to be done. I hated flexing my newly covered plastic trim piece, but got the front peg & hole connection made and bent it until the slide connection with the back lined-up. A little playing with the weather molding and all the clips clicked into place - done! Here is the final product - you can see that the new color is darker than the old fabric and I would have loved to keep the side trim in the old color so the contrast would look on-purpose, but no way it would survive any more handling. Installed and brushed Contrast
This job required more patience than any particular skills, and I expect a pro shop would have done a better job but I'm happy with the panels we did. My total cost including Passion Suede from Ted (tberg), tools, and 3M adhesive was about $60, so a weekend of work saved me about $400 (except the shop would have needed to replace 6 trim pieces which I believe is more like $850, which hopefully would include the visors because the fabric is loose on them as well!).
Awesome job. Thanks for the pictures and narration👏👏👏
This community has helped me with a number of issues - and I wouldn't have thought to take on this project if I hadn't found this thread and the people involved. I hope it helps you!
Of course, I'll send samples. I was just in the hospital again last week, just got back last night. P.M. me and tell me what you're after. I've got to send some others samples that I just didn't get around to before I was hospitalized. But now I should be good to go.
Of course, I'll send samples. I was just in the hospital again last week, just got back last night. P.M. me and tell me what you're after. I've got to send some others samples that I just didn't get around to before I was hospitalized. But now I should be good to go.
Hey tberg,
I've tried sending a PM, but the site says,
"tberg has exceeded their stored private messages quota and cannot accept further messages until they clear some space."
I'd be happy to buy some material from you if we can find a good match for Canvas.
I'll hop back on in a day or two to try sending another PM.
Thanks and sorry for the trouble
Originally Posted by Clellandm
Ted is great to work with - very helpful and generous. I'm sure he'll connect with you once the hospital stuff is worked out.
Ted absolutely is great to work with.
Also, for those wanting a near perfect match for Alston TechnoSuede in Canvas. Oyster Passion Suede is an excellent match.
I'll toss some finished photos up here once I've installed it.
I have a 2009 XKR Portfolio Coupe with 23,000 miles since new. I have it since December 2008. I live in Puerto Rico and, it is impossible to find a replacement suede. Talking to SNG Barratt, it appears that for this model year Jaguar does not sell the suede, but instead sells the complete Headliner. The price is over $550 and shipping is over $350. However, the problem is that nobody in SNG Barratt (the largest Jaguar parts distributor) know what colors are meant by the Jaguar color names.
The headliner looks like the one in your photo. In my case, it happened all of a sudden. I think my suede is a little sort of clear gray as the original sun visor in one of the last photos shown by you.
If you can send a sample it would be greatly appreciated.
Is there any way you can help me with this? Any assistance will be appreciated.
Thanks in advance,
Williemg
1974 Jaguar eType Convertible
2009 XKR Portfolio Coupe
2011 XF (Sold this past week)
2012 Land Rover Range Rover
2020 Porsche Cayenne Coupe Turbo