When you click on links to various merchants on this site and make a purchase, this can result in this site earning a commission. Affiliate programs and affiliations include, but are not limited to, the eBay Partner Network.
I just noticed my 2007 XK conv top back glass dropping down and causing the roof liner to sag. It appears the glue that holds the glass to the top has dried out and is starting to release the glass. Can the glass be re-glued or attached to the top and remain sealed from rain?
The photos below show the issue I'm having. Thanks Stuart for your response and string of instructions/comments. I've ordered the clamps and Rhino glue and will post my results. Like you, this car has always been garage kept and has limited use (39K miles) for good weather only. Just noticed this issue this morning when getting the car out and before I could get back home, the glass continued to sag. Obviously, the fabric will have to be tucked back under prior to gluing.
This is to update my previous posts ## 112 and 121.
Well, I'm not surprised that the only section of my rear window glass that I didn't repair finally let go. So, with a little help from my friends - Rhino Glue and Suck N Clamp - here's my latest (and, hopefully, last) repair.
I, too, have the dreaded window-falling-out-of-the-convertible-top. '09 Portfolio with about 72,000 miles, garaged, but driven pretty much daily and I think we all know what the florida sun can do to cars. Guess there's no avoiding it. Just for the record, I have never used the 303 Aerospace Fabric Guard on the top, just soap and water. The fabric still looks good, only the window is the problem. Here's a couple of shots:
As you can see, the top is still attached, but the bottom and left side are totally unhinged.
And the right side is about halfway gone.
I've ordered some of Stuart's Rhino Glue and a set of 6 clamps. I'm gonna give it a try to glue it back together, I figure I got nothing to lose. Since it looks like it's just a matter of time before the top edge goes too, I'm going to pull that one apart, remove the whole window, then re-glue all of it. Thanks, Stuart, for the nice write-up and advice. I'll post when the job is done.
Might be easier to align the window and hold it in place if you don�t pull out the whole thing. Use what�s still holding of the factory glued window to help support and align your repair.
There are too many 'little' things breaking/going wrong and its way too expensive to fix
For example, the small plastic cover that sits at the front edge of the top, its really there to give a finished look when the top is down , broke
My mechanic says its a $1000 part ( it could have been @$800 , i dont remember -- and thats before labor !!
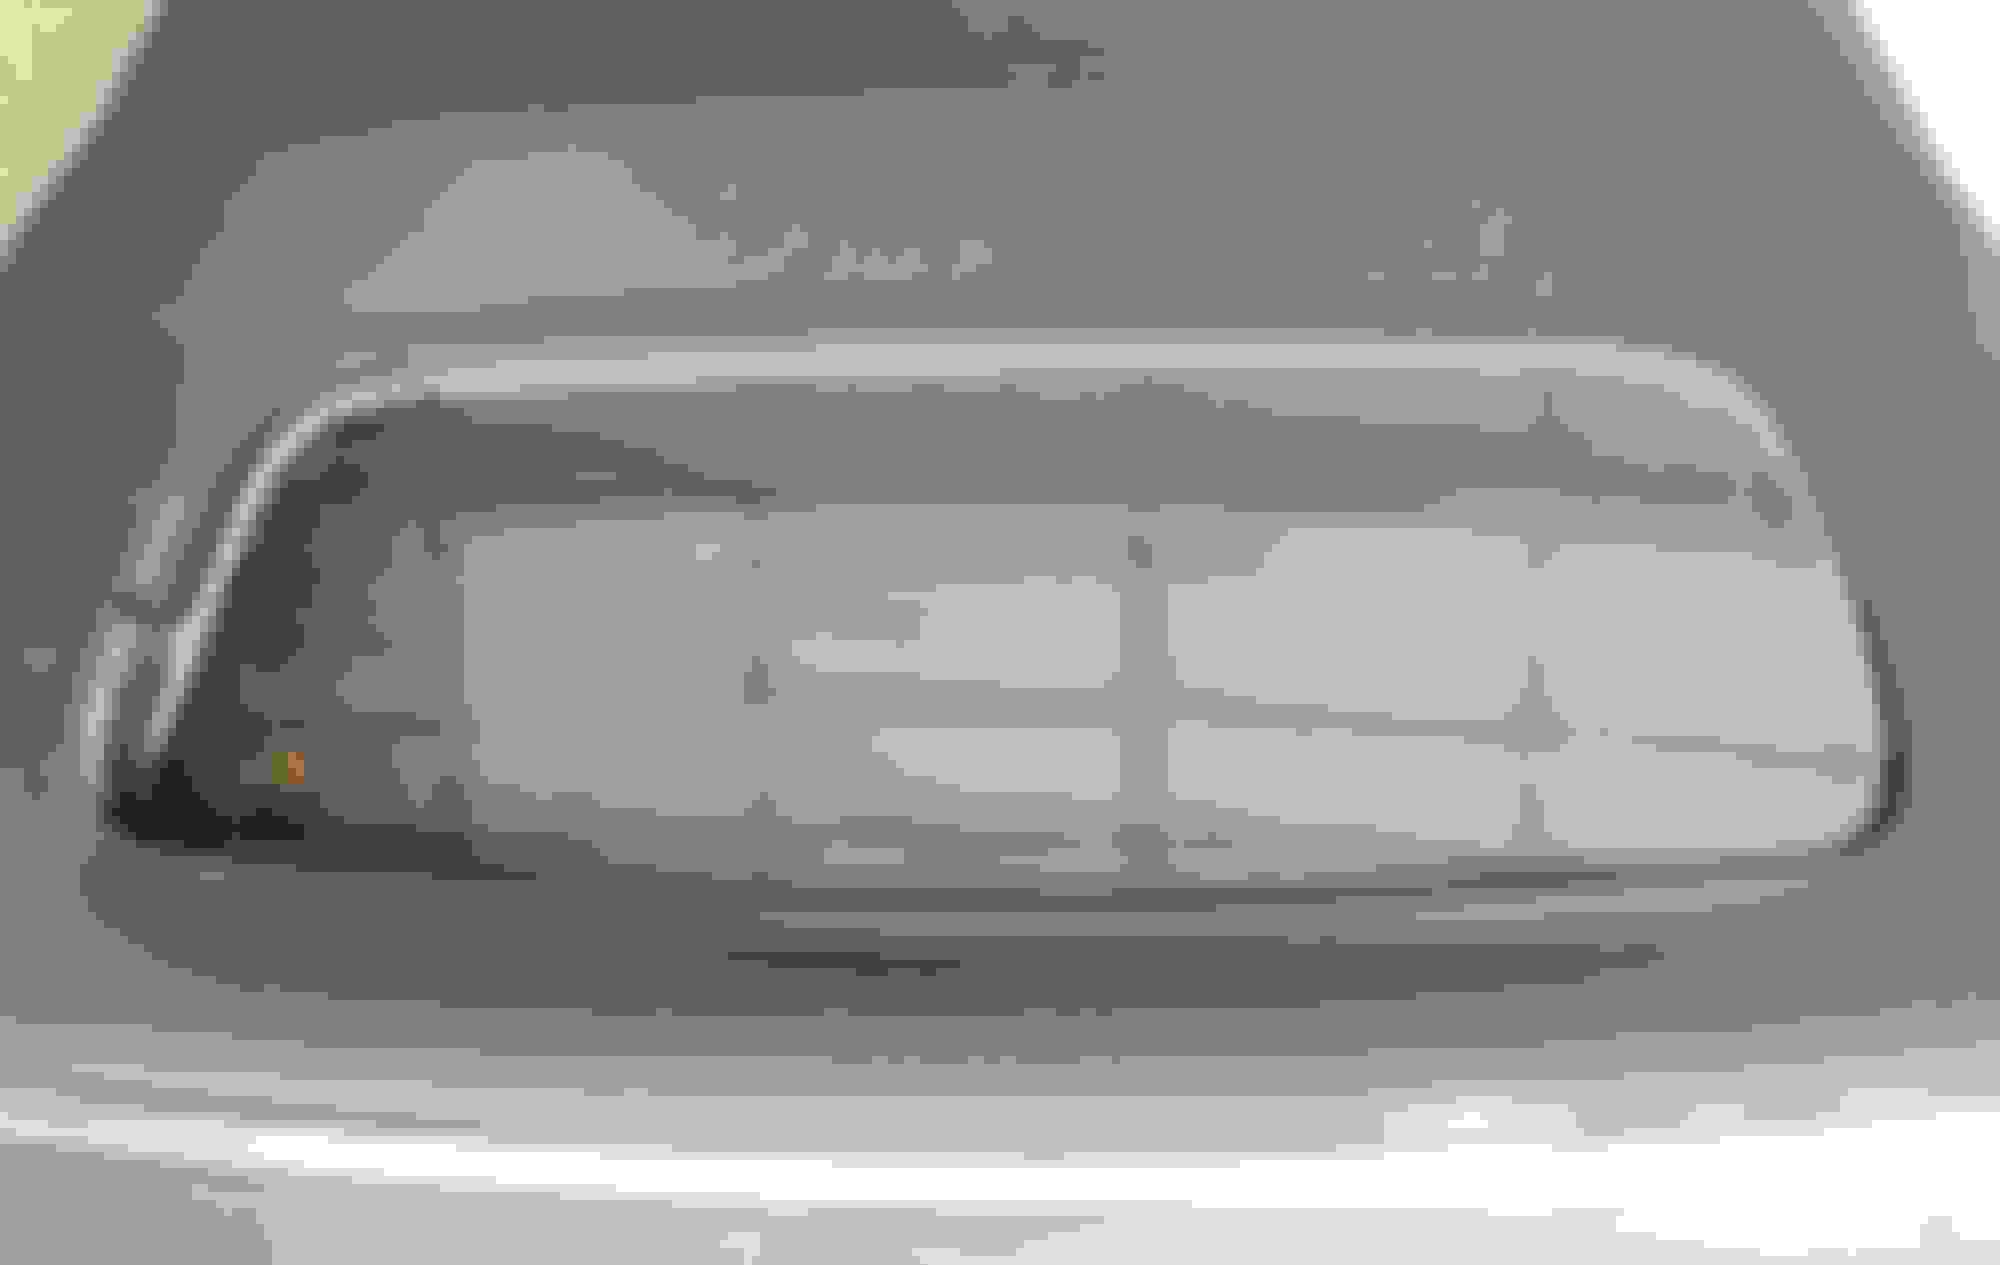
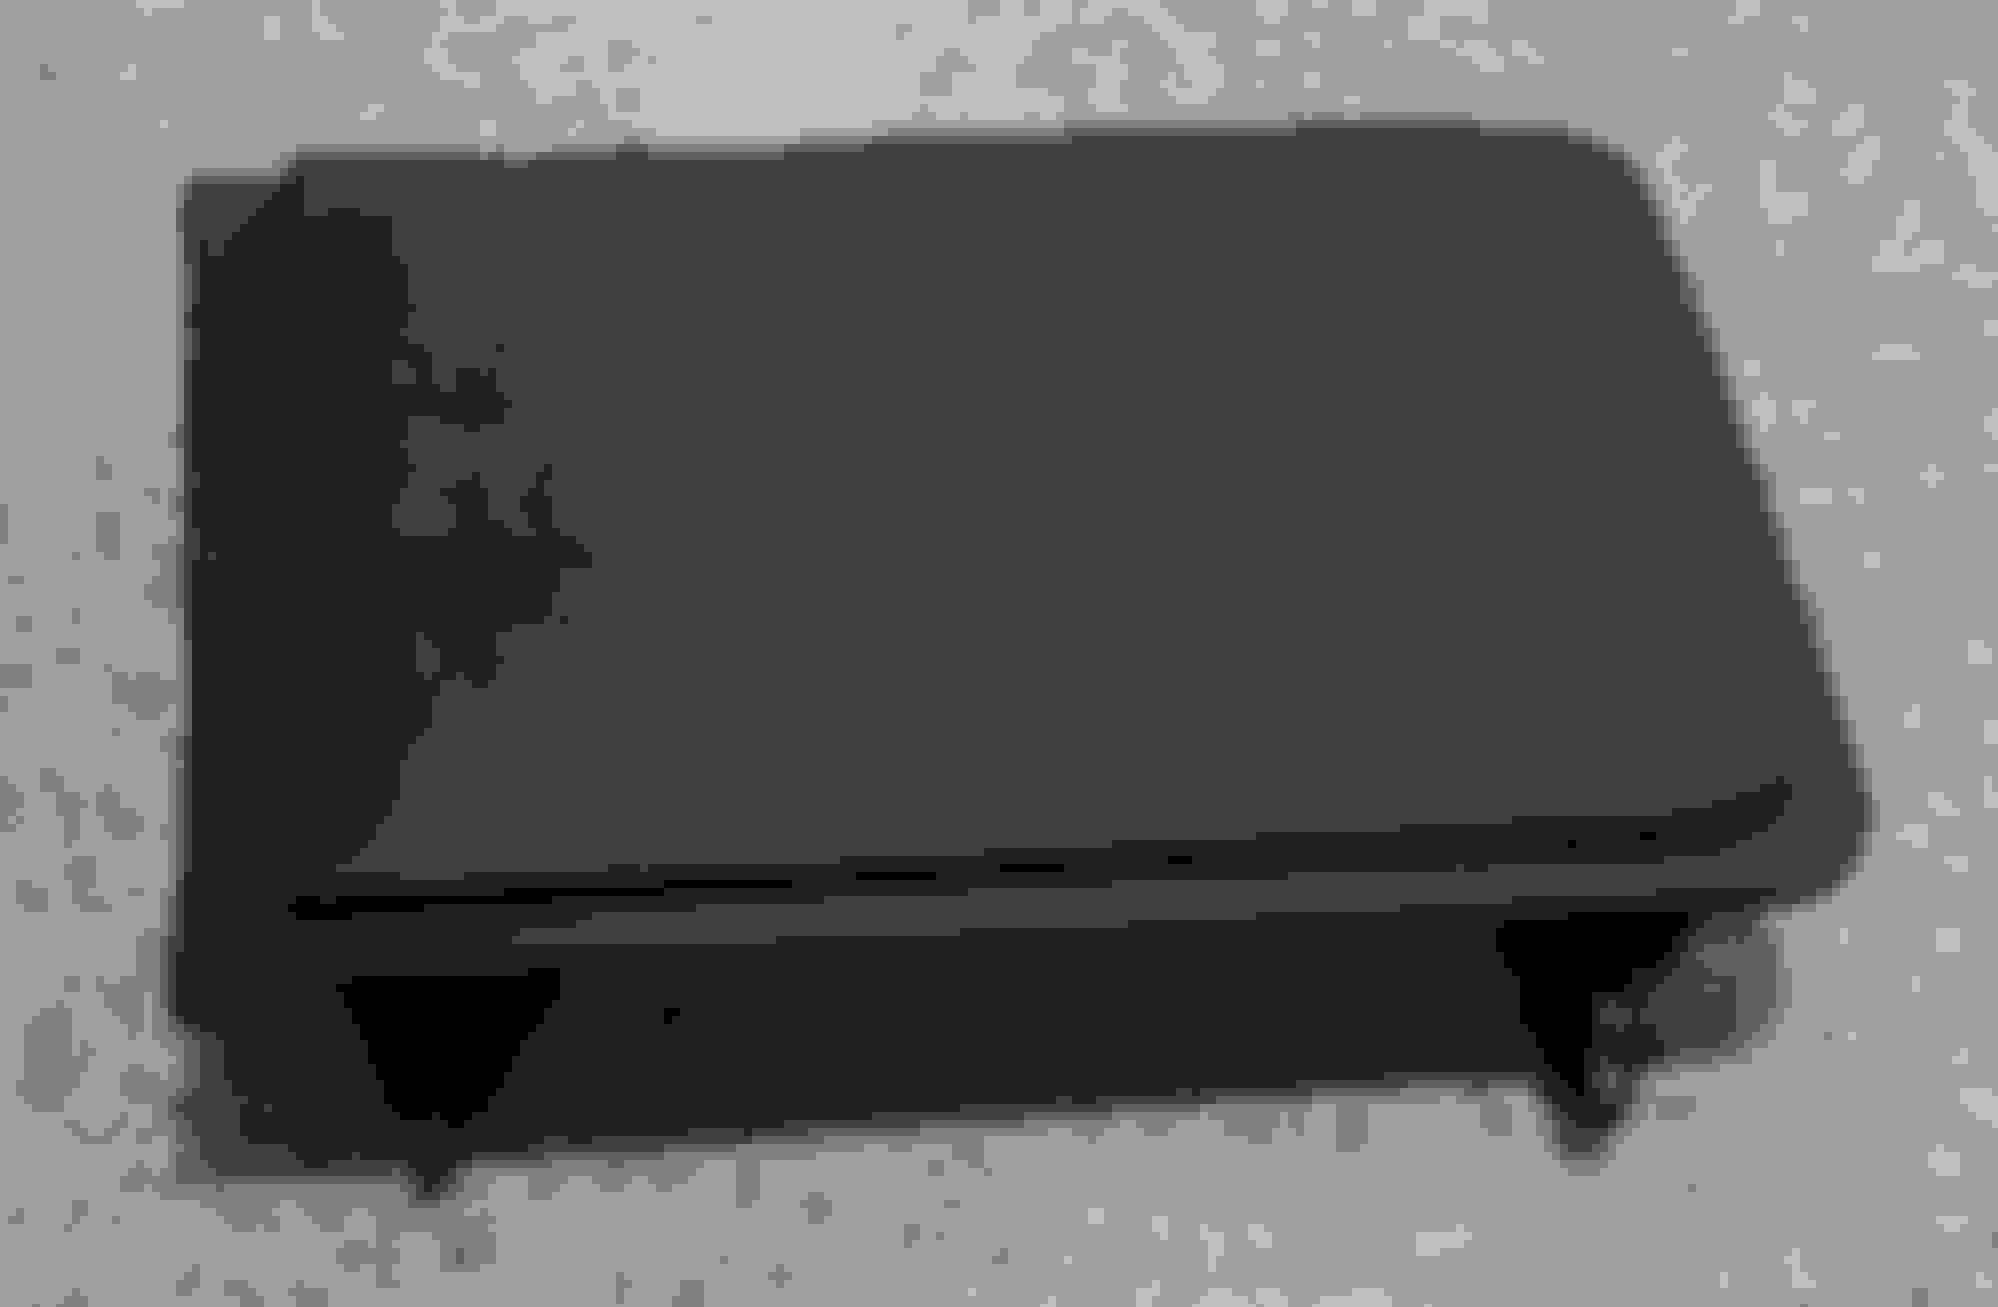
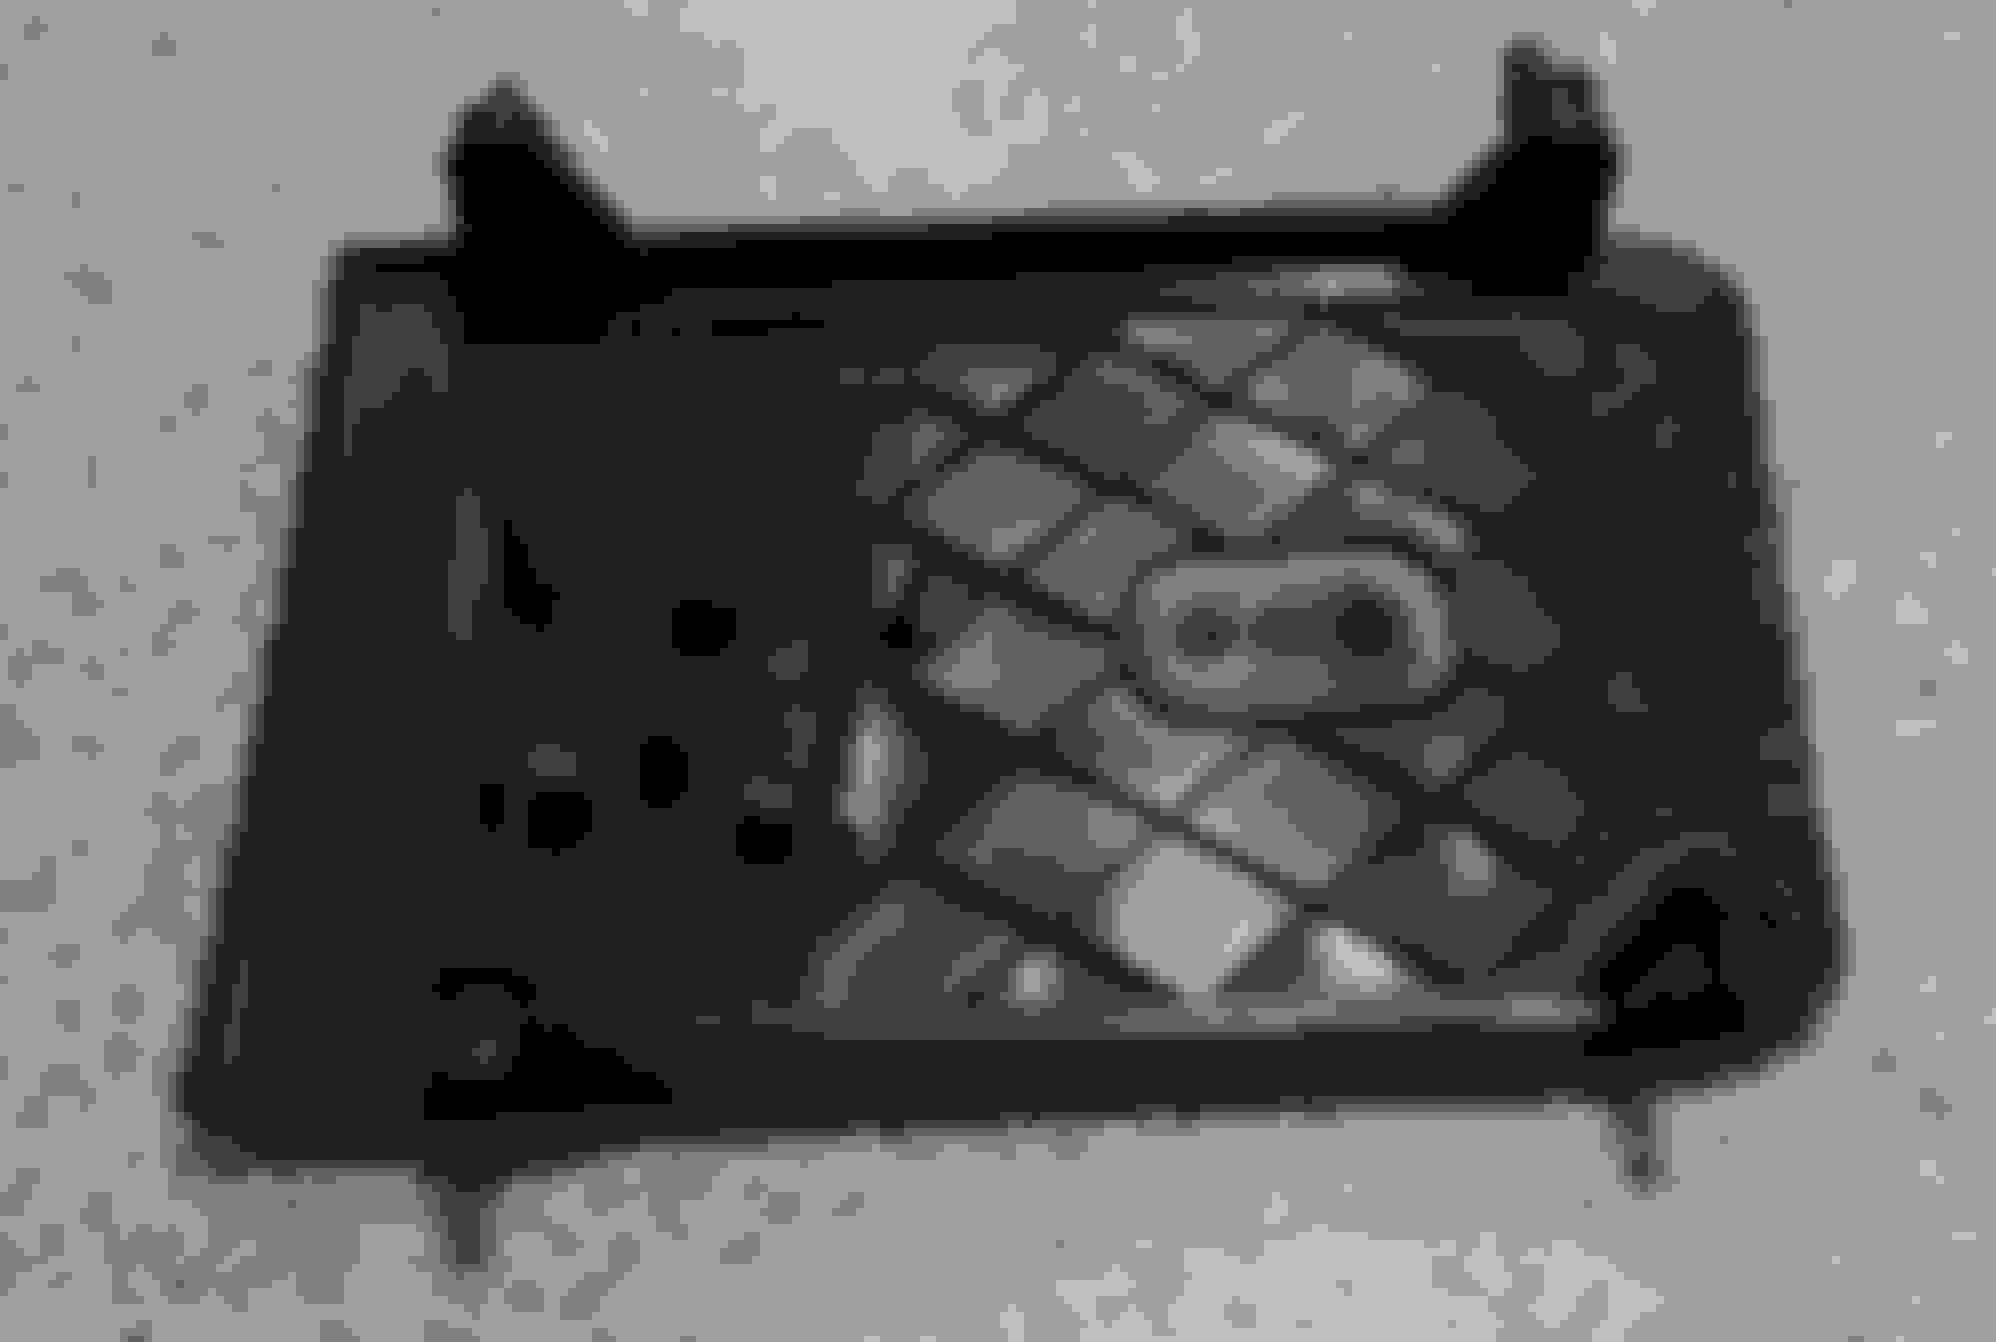
Hey, jimi727, is this the part you're talking about? This cover is attached to a cord of some sort, and pops up into place when the top is down, covering the hole. Mine got caught cross-wise somehow and separated from the cord. I had to fish it out of the mechanism, and it was kinda crunched and distorted, so I didn't want to put it back, fearing that it would just happen again and maybe next time damage something else. But I have searched high and low for this thing for about 2 years, and I can't find a part number for it. It has a number molded into the underside that looks like it could be a Ford/Jaguar part number, "6W83-310A03-G_PIA13_1". I've looked through all the online parts breakout drawings, too, no can find.
Hey, jimi727, is this the part you're talking about? This cover is attached to a cord of some sort, and pops up into place when the top is down, covering the hole. Mine got caught cross-wise somehow and separated from the cord. I had to fish it out of the mechanism, and it was kinda crunched and distorted, so I didn't want to put it back, fearing that it would just happen again and maybe next time damage something else. But I have searched high and low for this thing for about 2 years, and I can't find a part number for it. It has a number molded into the underside that looks like it could be a Ford/Jaguar part number, "6W83-310A03-G_PIA13_1". I've looked through all the online parts breakout drawings, too, no can find.
Top Side.
Bottom Side.
Any idea?
This would be a perfect example for someone with skills and equipment to make on a 3D printer. Anyone out there that can do this. It could also be made with black/charcoal colored material .
Peruse the breakers, and see if you can get the interior quarter panel that the slider is part of. Most of the quarter panels have some damage, some of severe, and the breakers usually accept offers. So use this to negotiate a good price.
I, too, have the dreaded window-falling-out-of-the-convertible-top. '09 Portfolio with about 72,000 miles, garaged, but driven pretty much daily and I think we all know what the florida sun can do to cars. Guess there's no avoiding it. Just for the record, I have never used the 303 Aerospace Fabric Guard on the top, just soap and water. The fabric still looks good, only the window is the problem. Here's a couple of shots:
As you can see, the top is still attached, but the bottom and left side are totally unhinged.
And the right side is about halfway gone.
I've ordered some of Stuart's Rhino Glue and a set of 6 clamps. I'm gonna give it a try to glue it back together, I figure I got nothing to lose. Since it looks like it's just a matter of time before the top edge goes too, I'm going to pull that one apart, remove the whole window, then re-glue all of it. Thanks, Stuart, for the nice write-up and advice. I'll post when the job is done.
I agree with kj07xk. Don't completely remove the glass. Let the part that's still attached help you align the unattached glass. Reattach only as much at a time that the clamps will cover. Rhino Glue bonds fast, so after it dries you can do the next section. I'd start at the upper edge, next to the area that's still attached, and work my way around to the left, side, and bottom. Use the glue sparingly so it doesn't ooze out when you snug down the clamps. Good luck and keep us informed of your progress.
As a convert owner I'm wondering if there is a trend or certain conditions where this problem is worse or better. Is this a problem in the south with high temps and high humidity. Is it due to abnormal openings or closings. Do other mfg's like BMW or AM or Porsche have a similar issue. Is it a problem with the XK8's (X100) or just the X150 cars. Is it the early cars or the latest. Do we think it is age related. How about the F-Types , have they seen this issue yet. Another thought is car soap or car wash chemicals as well as top treatment . Does this have any effect on the window seam. Just curious to see if there is any info out there.
My 1995 Mustang has a glass rear window, and it's still as solid as it was when new. The top itself has a small rip, but oh well. Lots of cheese vehicles use that stupid bendable plastic, so you can't compare to those.
I suspect that the OEM adhesive dries out over time and loses its ability to hold the glass to the canvas. How long that will take depends on the heat and humidity, the frequency of opening and closing the top, and other factors such as indoor or outdoor parking. Another probable cause is opening or closing the top while moving. Doing so makes the top a parachute, and the wind pressure against the rear glass can push it out.
My XKR has always been garaged. I treated the top once several years ago with 303 Fabric Guard. The top has rarely gotten wet, as I don't drive it when rain is forecast and have never taken it to a commercial car wash. I wash it myself by hand in my driveway and rarely, if ever, wash the top. I keep the top clean with an adhesive tape lint roller.
Nothing's perfect. This is a minor inconvenience with an easy, inexpensive DIY repair. It's a small price to pay for the pleasure of driving such a great car. It still turns heads and people often stop to admire it and chat with me. That's proof of its timeless design.
Hey, jimi727, is this the part you're talking about? This cover is attached to a cord of some sort, and pops up into place when the top is down, covering the hole. Mine got caught cross-wise somehow and separated from the cord. I had to fish it out of the mechanism, and it was kinda crunched and distorted, so I didn't want to put it back, fearing that it would just happen again and maybe next time damage something else. But I have searched high and low for this thing for about 2 years, and I can't find a part number for it. It has a number molded into the underside that looks like it could be a Ford/Jaguar part number, "6W83-310A03-G_PIA13_1". I've looked through all the online parts breakout drawings, too, no can find.
Any idea?
Part numbers for repair kits are:
C2P21070xxx and C2P21071xxx, where the last 3 characters are your interior color code, e.g. LEG.
Found this, via a forum search, in this thread: https://www.jaguarforums.com/forum/x...stions-181729/
These apparently came from another thread, but I didn't search further, to see which is 'left' and which is the 'right' panel.
Very late to this thread but just thought I would offer that JCNA has loaned this tool many times to members. First offered for the XJS (same issue then with rear glass). It seems to do well as it is very adjustable and holds the top window in place under pressure so that the drying is accomplished with the window in place. (like the clamps in other posts). You can see the tool here http://www.jcna.com/shopimages/tools/JagTools-1990s.pdf. It is tool JD 158 but later took on the Global number (thank you Ford) of 501-016.
Hey, jimi727, is this the part you're talking about? This cover is attached to a cord of some sort, and pops up into place when the top is down, covering the hole. Mine got caught cross-wise somehow and separated from the cord. I had to fish it out of the mechanism, and it was kinda crunched and distorted, so I didn't want to put it back, fearing that it would just happen again and maybe next time damage something else. But I have searched high and low for this thing for about 2 years, and I can't find a part number for it. It has a number molded into the underside that looks like it could be a Ford/Jaguar part number, "6W83-310A03-G_PIA13_1". I've looked through all the online parts breakout drawings, too, no can find.
Top Side.
Bottom Side.
Any idea?
that looks like it but on mine , one side is twisted and stuck inside ( i havent tried pulling it out when the top is in different positions tho and the other side is laying flat as it should be.
I tried looking up your part # but removing the suffix "6W83-310A03" and get hits that way but it seems that is the part that is just in front of this part and the sites all seem to be in German !!
I dont know if this is gonna work, it looks like the top has shrunk... I'm not sure I can pull the window up far enough to have an area to glue. Remember I had this problem and brought it to a auto upholstery shop. He removed the top and put the stitch around to hold the window ( I dont know why he didnt use blue thread , Indigo blue thread, I believe
Anyway I dont know if he stretched the top or maybe put the stitch to hold the window and maybe the window is sitting too low in the pocket he made so now it doesnt fully meet the fabric at the top and in either case that may have led to the glue failure ie too much ctrain on it
Thank you to all the prior posters on the window issue. I reglued min last weekend, and it seems to be holding well. I do have a couple of tips I hadn't seen elsewhere (maybe I'm more clumsy than most):
I used the "official" Jaguar repair kit for this, which consists of a can of cleaning / prep solution and a two-part adhesive. Adhesive guns are cheap on Amazon - universal dental impression gun applicator.
1. When you order the gun, order some additional mixing tube / nozzles with it. They are cheap, and if you have to use more than one step to fix the window, you'll need more. The adhesive keeps well if you reseal after your first use.
2. Be careful with the prep cleaner. it bleached part of my black convertible top.
3. Excess glue seepage - I had some glue seep out of under the edge. I cleaned it before it dried, but it's still visible. Take care with this.
The "official" two part adhesive works really well, and this is actually a very, very easy repair once you assemble the tools and glue. I think it only took me 10 minutes of actual work to clean, glue and clamp. I used a couple of wooden rulers to keep the pressure even across the part I was gluing (Thanks, Stuart S).