When you click on links to various merchants on this site and make a purchase, this can result in this site earning a commission. Affiliate programs and affiliations include, but are not limited to, the eBay Partner Network.
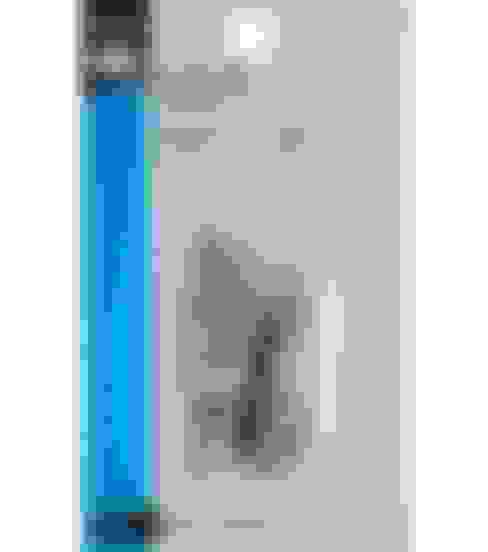
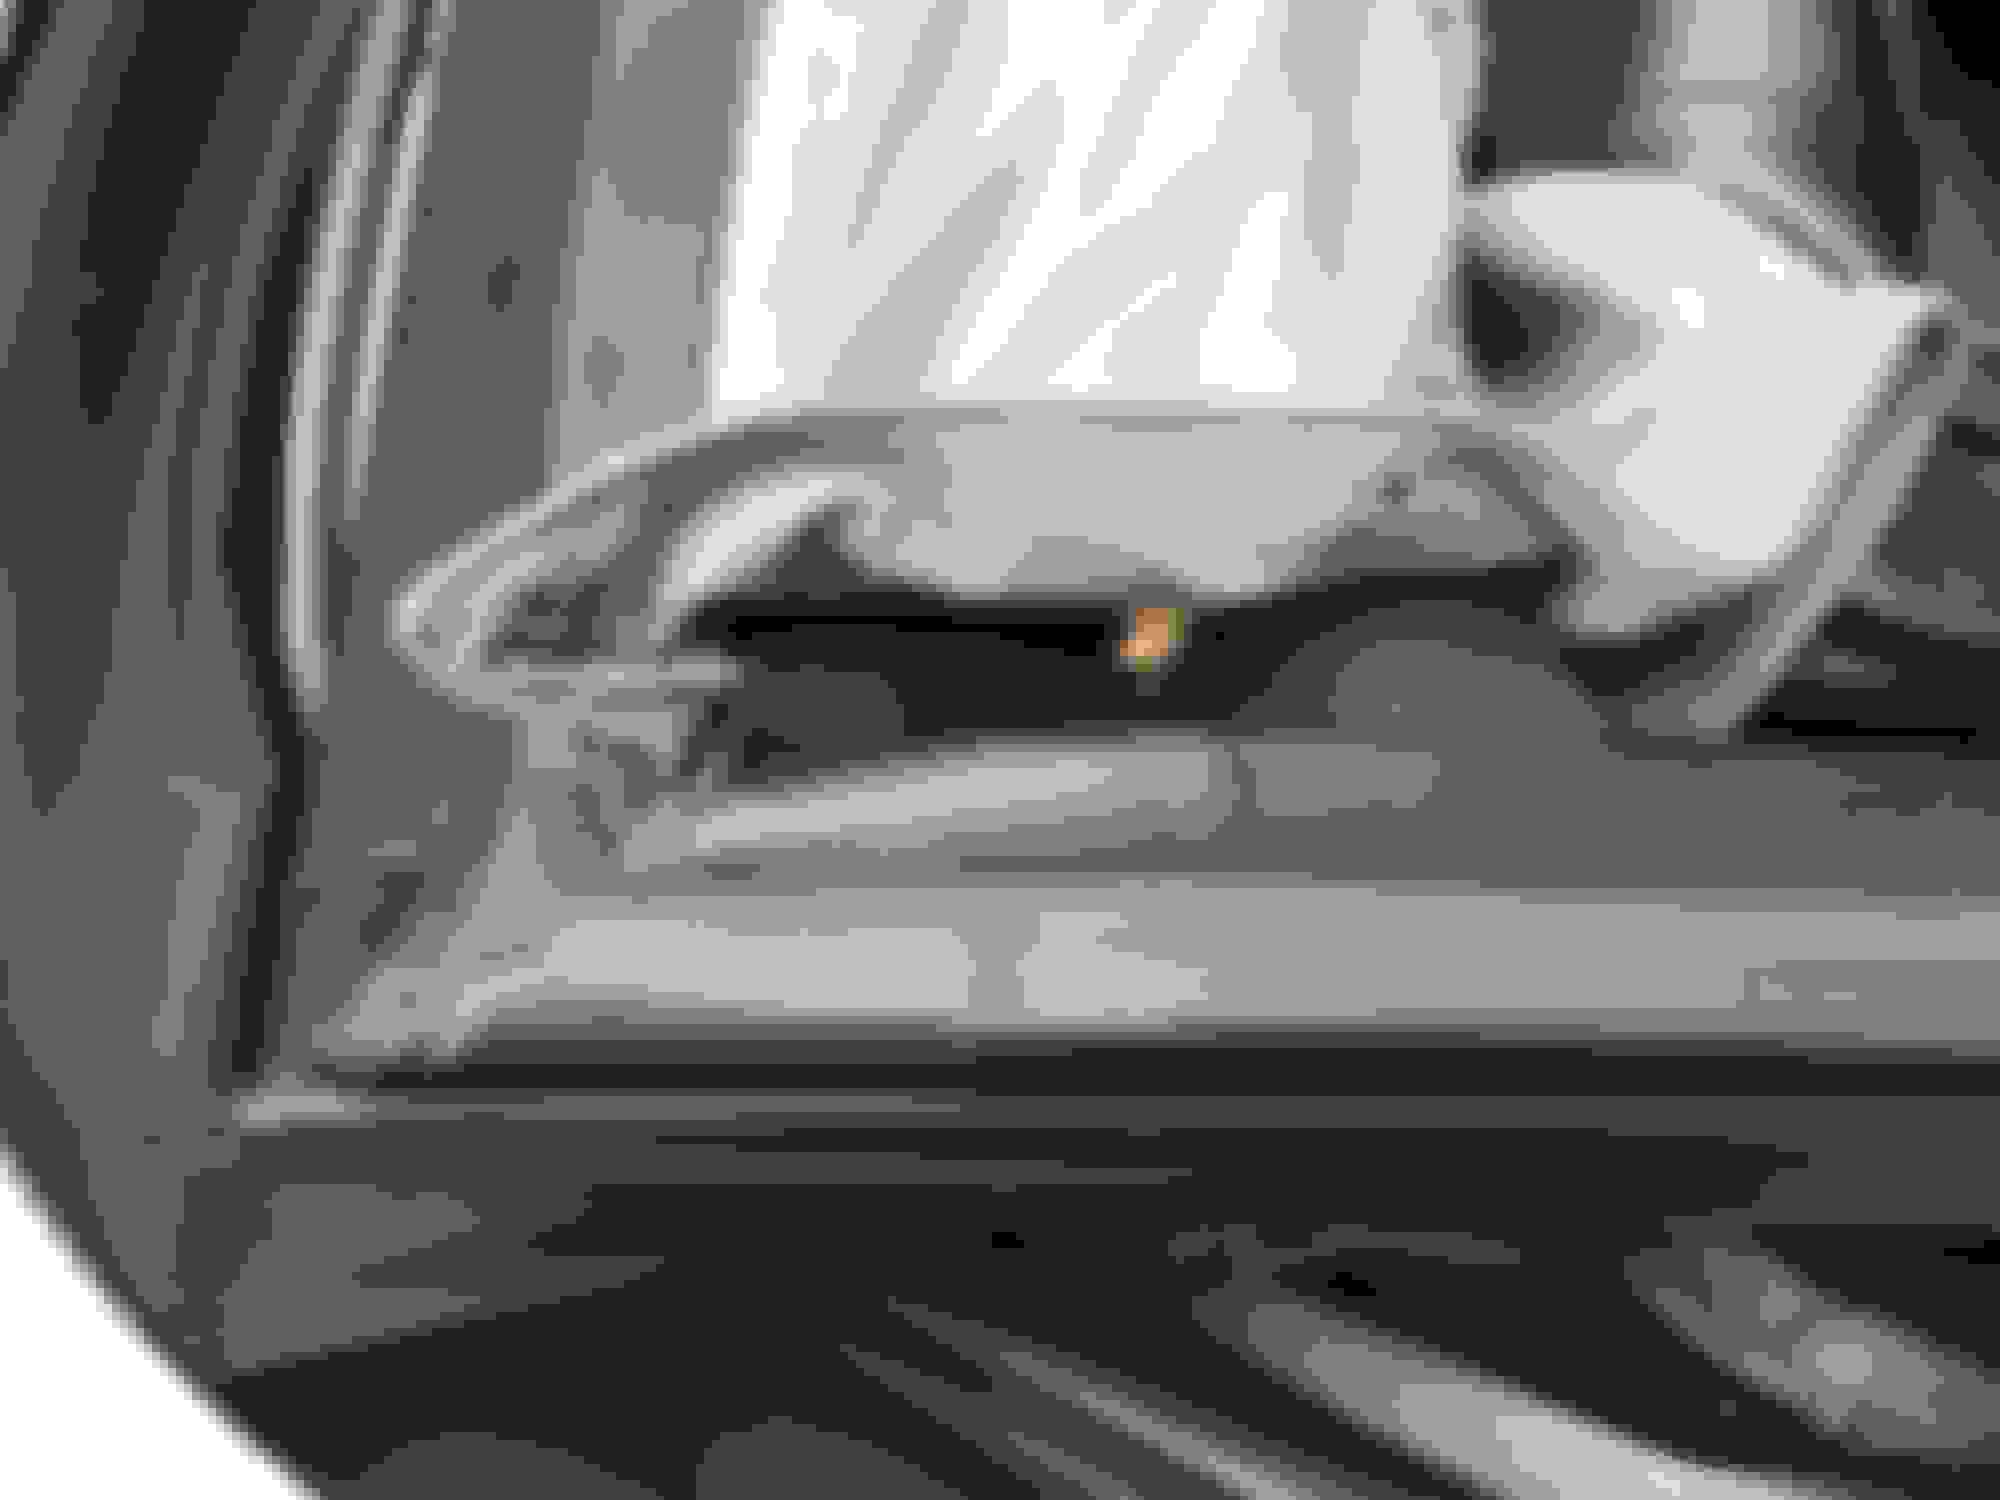
Here is a better shot of what I am asking about. There are a couple of hidden "snaps" (indicated by the red dots) in the headliner that attach it to the frame of the roof.The little ball part of the snap is mostly gone so the headliner flaps around. This is true on both driver and passenger sides. Question is whether anyone has a quick/clever fix. It's also not clear to me if these are supposed to become "unsnapped" as the top goes down. (i.e. a permanent attachment would be a bad idea). Thanks Approx location of hidden snaps
With the top down on my 97 XK8, I noticed the headliner was loose at both corners and I saw two little plastic push button type of pieces on the frame whereas in your photo there is a hole in the frame. These two plastic buttons had a low profile head, almost flush you could say and I tried to pry the plastic clip, plug out; but it only rose up 1-2mm. It wouldn't pop out and not wanting to break it, I realized that with it up this far, I could slip the hole in the headliner around the head of the plastic plug, snap what ever you want to call it and once the headliner was on the clip, I pushed it back down and it seems to hold. Time will tell if the headliner wants to pop off again or not. I guess you could use some contact adhesive on the underside of the plug head and a bit on the headliner yet I'd be afraid of the adhesive showing. It would be tricky to apply it just right. Some other type of adhesive could work....
With the top down on my 97 XK8, I noticed the headliner was loose at both corners and I saw two little plastic push button type of pieces on the frame whereas in your photo there is a hole in the frame. These two plastic buttons had a low profile head, almost flush you could say and I tried to pry the plastic clip, plug out; but it only rose up 1-2mm. It wouldn't pop out and not wanting to break it, I realized that with it up this far, I could slip the hole in the headliner around the head of the plastic plug, snap what ever you want to call it and once the headliner was on the clip, I pushed it back down and it seems to hold. Time will tell if the headliner wants to pop off again or not. I guess you could use some contact adhesive on the underside of the plug head and a bit on the headliner yet I'd be afraid of the adhesive showing. It would be tricky to apply it just right. Some other type of adhesive could work....
interesting. Can you post a photo? I wonder if something changed from earlier models (mines a 2006). Clearly with mine most or all of the "button" piece is worn away on the part that emerges from the fabric. The frame just has holes in 4 places, two on each side. No indication of plastic insert in any of them.
Here's a photo for you. I'd say give a call to one of the distributors of replacement tops and describe to them your situation. They may be able to tell you and sell you what you need. I know that SNG Barratt has them as does Terrys Jaguar.
I'm tempted to replace mine with button snaps. It would be easy enough to do and my 97 XK8 only has two purchase points on each side, so four snaps would not be that bad to look at.
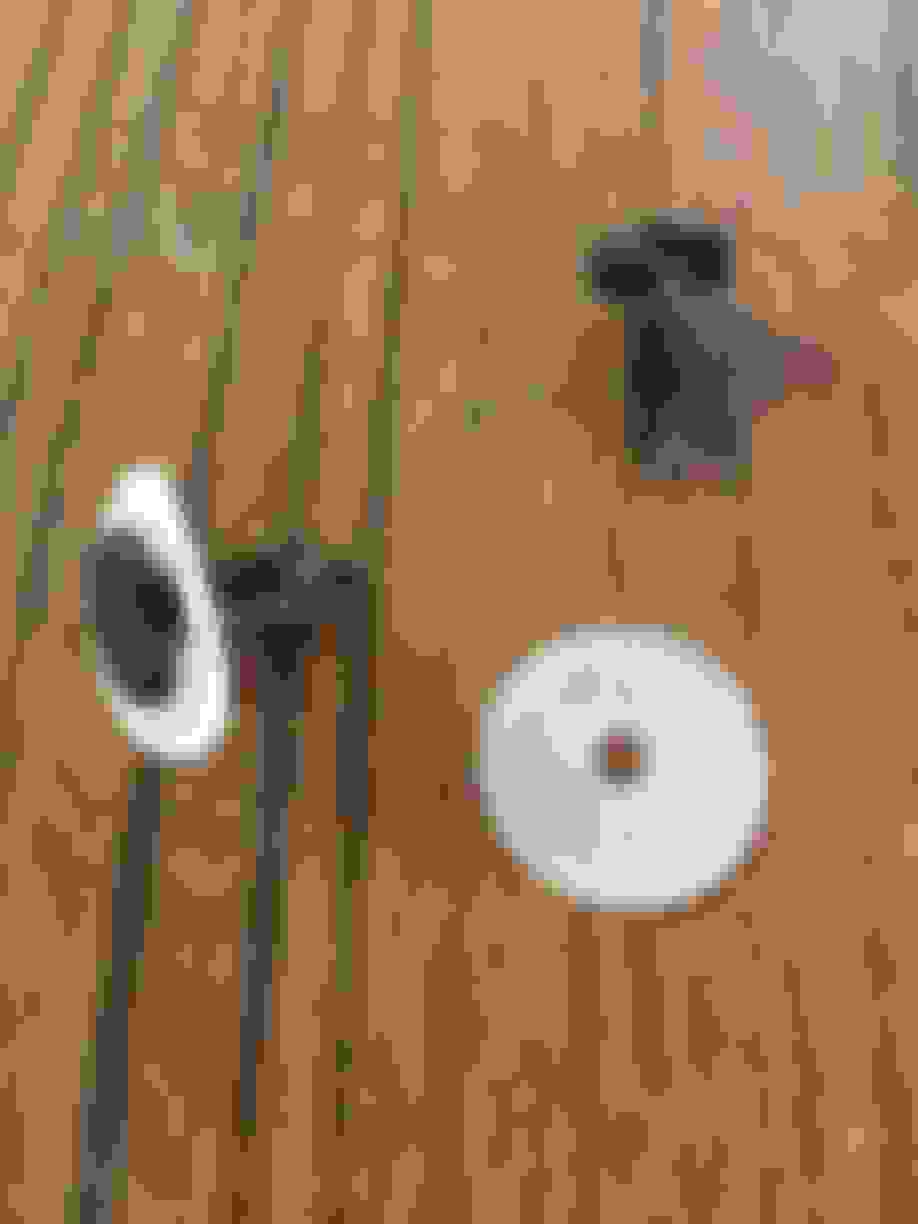
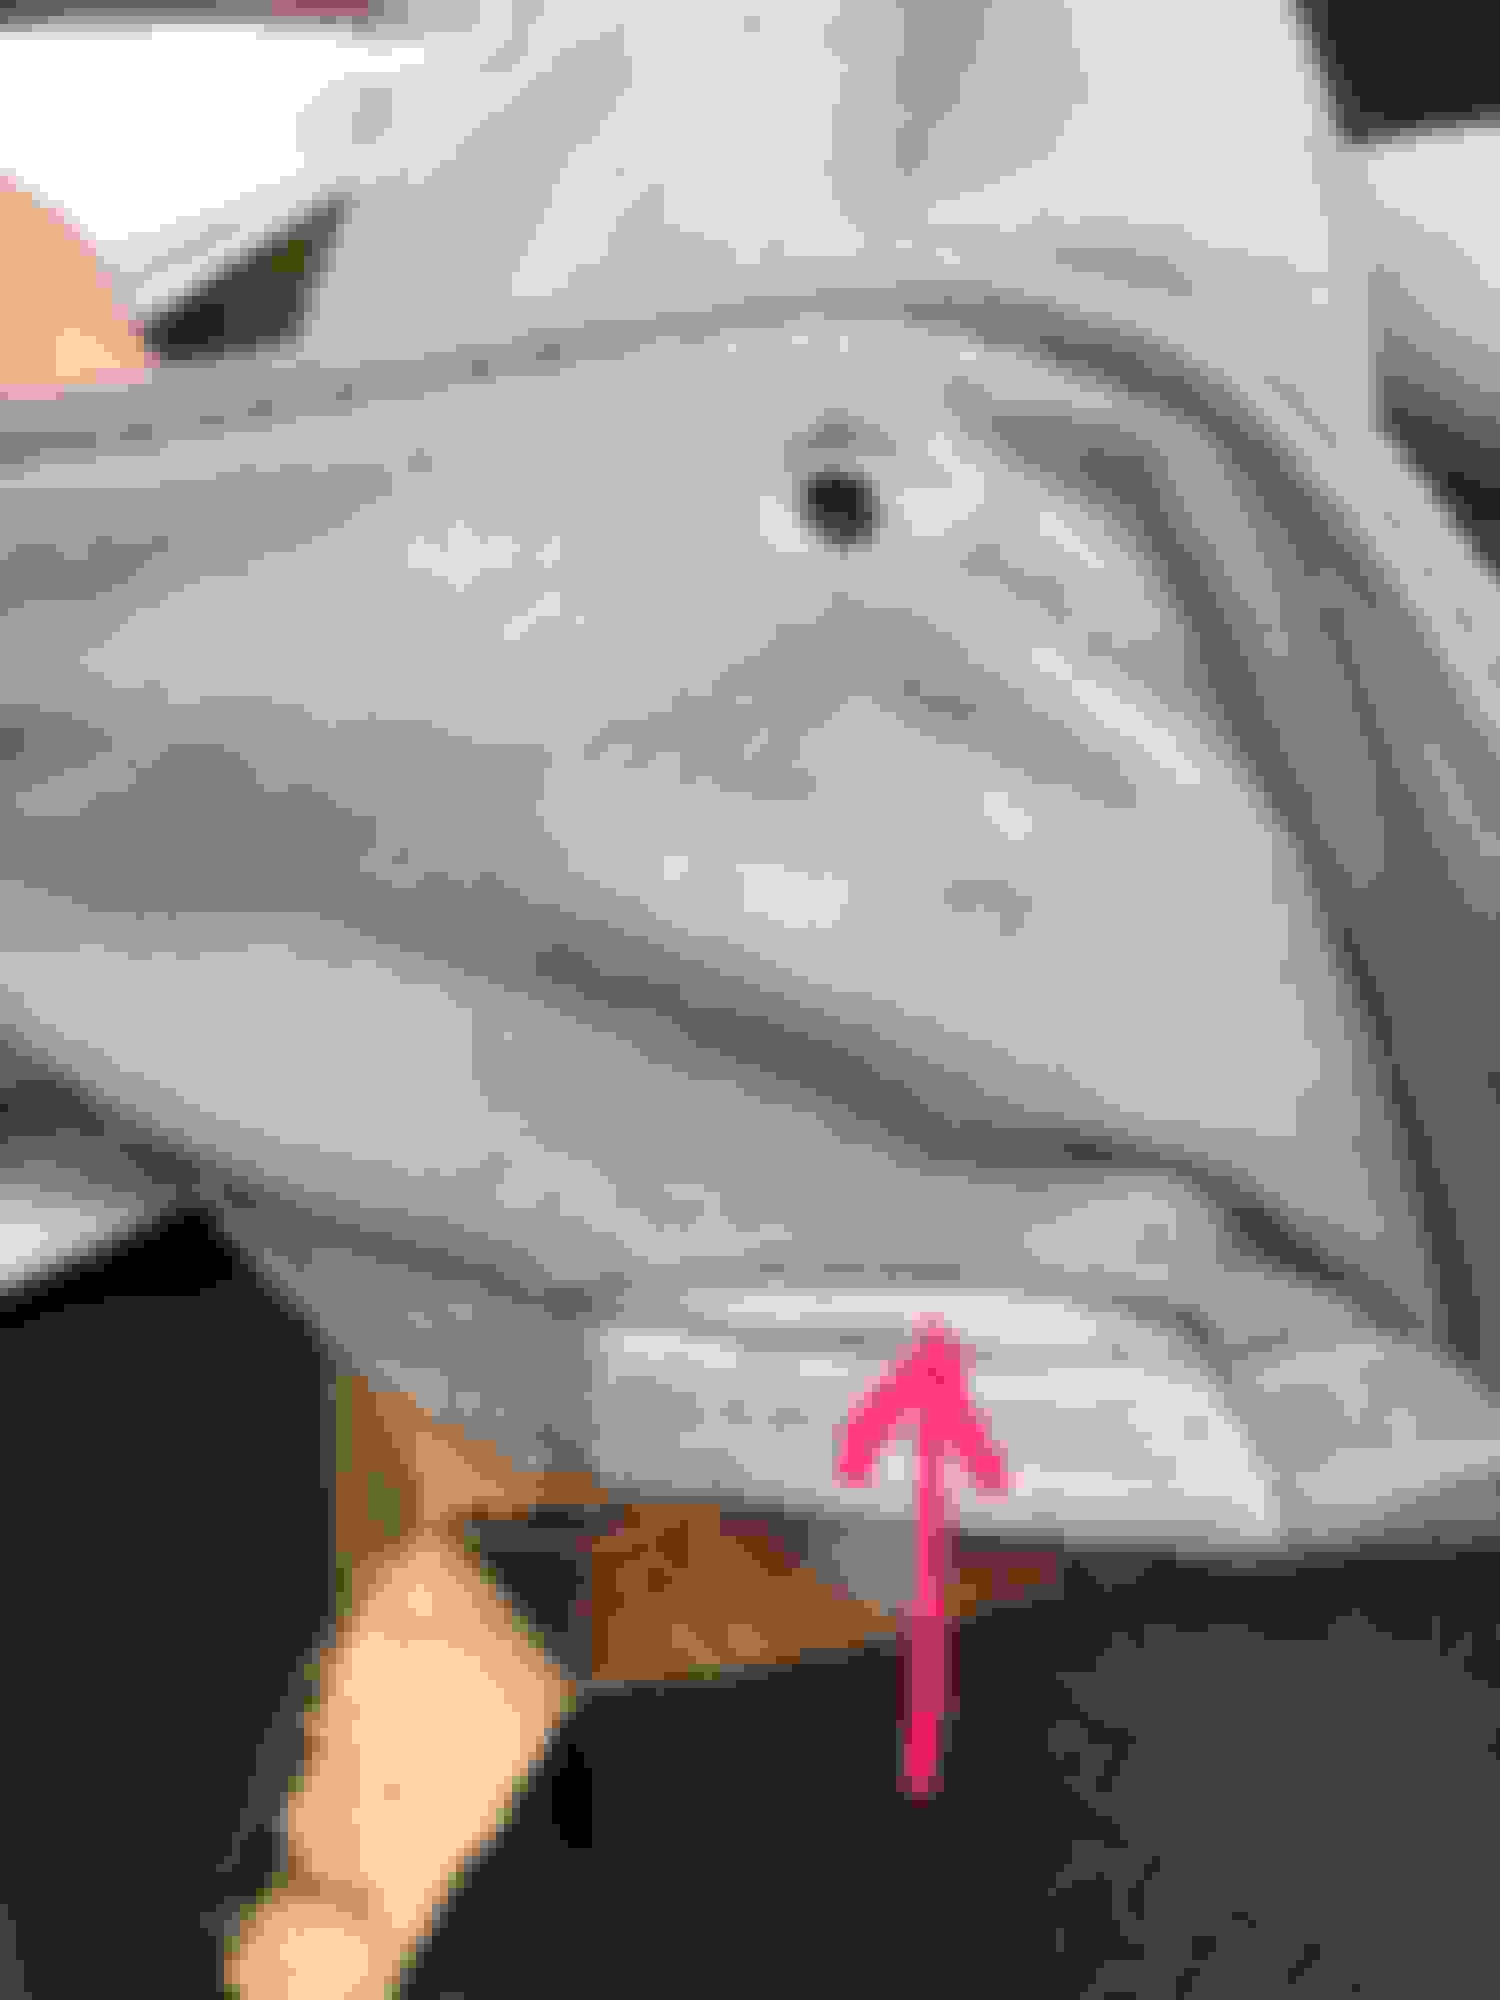
I made a larger washer out of a piece of flexible cutting board materialusing a �" arch punch and a smaller punch for the center.
My fasteners are a bit shot so I'll be doing this with the new fasters and the pink washer should prevent the headliner from pulling loose.
I would not recommend pulling the headliner over the fastner and washer so as to not stretch the headliner material but rather to install it from the inside thru the slot shown in the left hand side of this photo.
Man, MacGuyver would be proud of you guys! Some great ideas. I'm going to have a look this weekend, see which of these solutions might work. I'm not wild about the grommet/hole solution. I like the hidden pin approach.
Man, MacGuyver would be proud of you guys! Some great ideas. I'm going to have a look this weekend, see which of these solutions might work. I'm not wild about the grommet/hole solution. I like the hidden pin approach.
I should have made it clearer. The grommet is used to reinforce the existing hole in the fabric. It would still be hidden that way. It does not need to be done thru both sides of the liner.
That is why you need to put the fastener in first. Once you reinforce the hole you would have no way of getting the pin inside the liner.
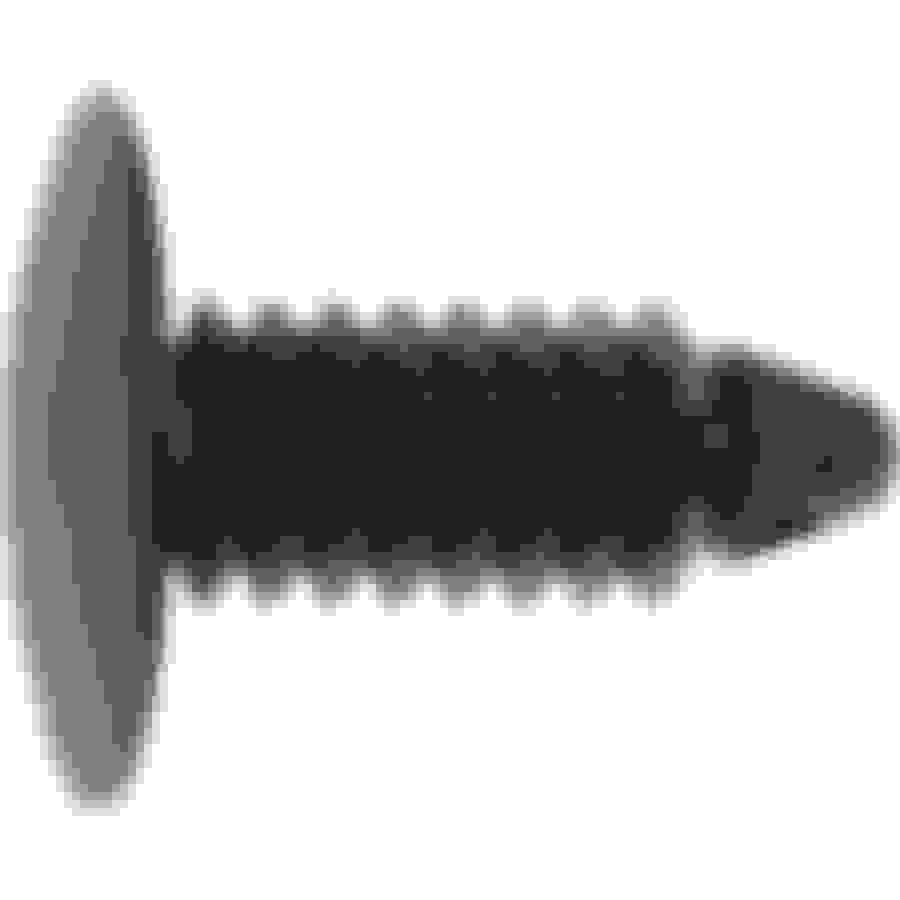
Finally got around to fixing this. Hardest part was locating the "push" pins. Lowes carried them in a drawer marked "automotive". Home Depot did not carry anything like this.
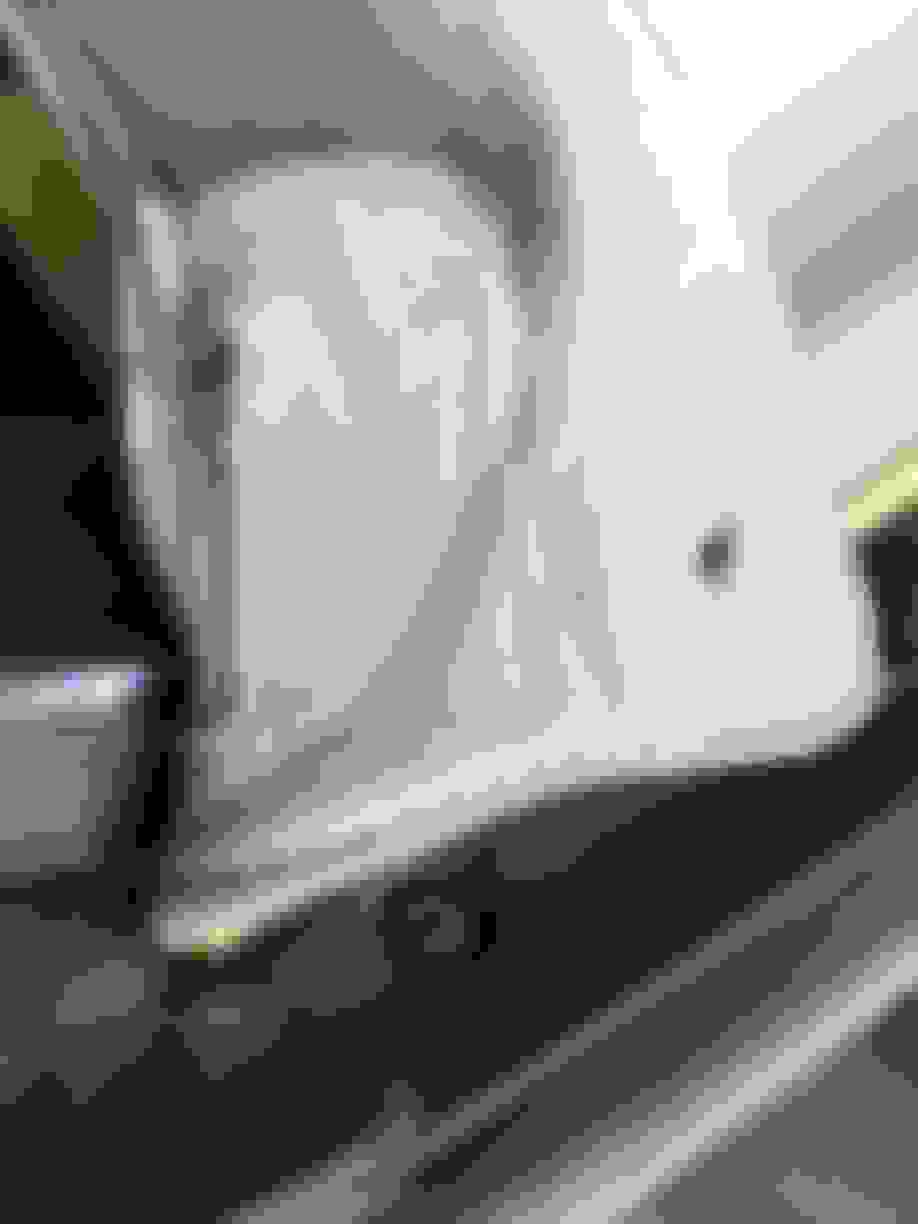
The trick is locating the access/opening in the ceiling fabric. Also I think this job is best done with the top lowered. In my case there still was a black plastic reinforcement inside the fabric. If missing, the suggestions above would work.
I worked the push pin in through the opening in the fabric, making sure it goes under and then through the black plastic and out through the existing hole. Once both pins were in place (I forgot to take a pic of this), I pressed them into the holes in the roof frame. Had to make sure the fabric wasn't bunched up or caught under the head of the push pin. Viola! Before: Holes in ceiling fabric where broken pins were removed. Needs to be attached to black frame below. New push pins I know it says GM but the Ford parts didn't look right Convenient access to inside the ceiling liner The black plastic reinforcement
Just to add, most of the autopart chain stores carry a variety of plastic push pins and those rubber spacers found on trunk, doors and hood, which seem to disappear over time. Useful to have a stash of spares in your parts bin.
Just to add, most of the autopart chain stores carry a variety of plastic push pins and those rubber spacers found on trunk, doors and hood, which seem to disappear over time. Useful to have a stash of spares in your parts bin.
Haha! Thanks for the tip. Despite the fact that I am the owner of an '06 Jaguar, I still tend to spend most of my weekends in the hardware vs auto parts store!