When you click on links to various merchants on this site and make a purchase, this can result in this site earning a commission. Affiliate programs and affiliations include, but are not limited to, the eBay Partner Network.
Hi All,
Well got around to my loose door panel on drivers side, and it turned into a small night mare. Let me list what I found and previous known issues.
1. Mirror control was out, mirrors still work using memory buttons so I think the switch is bad, took it apart clean corrosion but still didn't work. Anyone have similar issue and find fix.
2. Door panel had a screw near top strike side, that I am sure was not original. The two trim fasteners that are glued to panel are broken in that area. Not a horrible fix concept but maybe something better than a drywall screw would look better.
3. Every single trim panel fastener was broken. Need to locate new ones.
4. Someone cracked sub material that makes the panel along top line above door handle.
5. Top edge vinyl is breaking down, and the pad it is connected to seems to broken loose and need to be glued back down.
6. Moron previously working on door used wrong screw at the door handle and jammed the nut so when trying to remove it only would spin. Drilled head off then screw shaft part was still stuck to door handle part and I had to drill out the nut insert. Will need to find a repair nut and screw.
7. Window was out of adjustment and what seems to be loose in track. I could push the window slack toward the hinge side and things worked perfectly. Found adjustment to rock window tilt and found sweet spot. Was able to adjust strike side top in a little which seems to help a little with looseness.
8. Center padded area, vinyl is loose from foam and seem to have problem getting it to glue back down. It looks like they melt it in place so not sure about removing to glue down with contact cement.
Anyone want to give or sell me a door panel that is a match for 97 NDR or cream? If not please start with suggestion that worked for you. This door panel is going to take some time to fix.
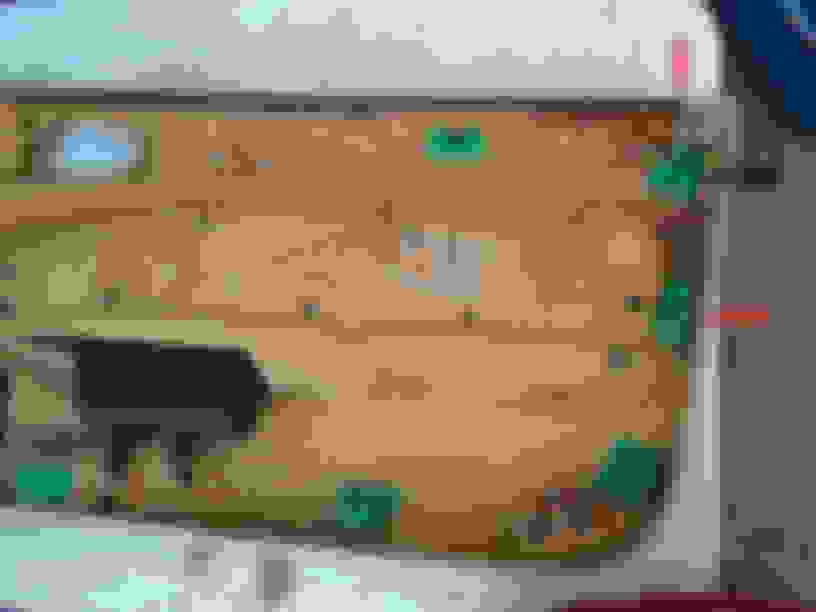
two panel fasteners broken on arrow, and the top edge vinyl glue point broken need hot glue or something.
You can obtain the upper corner brackets from Terry's Jag Parts: terrysjag.com.
Upper left :C2N3837
Upper right C2N3836
I don't think any other brackets are available, but the middle one can be replaced by an upper just by trimming, I think. I used JB Weld to mount them.
I also repaired loose panel sections with JB Weld, but I think you should be able to locate a used one.
I knew when purchasing car this door panel had issues. Regular trim adhesive seems to not be holding trying to do in place repair of center section. Anyone repair in place or is id a cut it loose only remedy?
Anyone ever do the patch and paint of darkee top piece along window?
I just went through this EXACT SCENARIO with a coupe I bought.
1. You can use a soldering iron on the melted parts enough to remove the panel and then melt it back in place as well
2. I used contact cement for the panels, the top part can be pressed together and the plastic rivets melted to hold it closer
3. I used JB weld to take parts from another door panel and "fab" a broken door clip holder (think: cut top off another panel, then jb weld in place
4. PO ALSO used a screw to hold the top of the door in place...I may use a more "descreet" one in its place or I might fill it in and hide with vinyl coloring
5. Center padded area- heat rivets and remove- I used contact cement here and held it in place with tape until dried.
6. On my convertible the top part was breaking down (I think that is what you ar alluding to) I sanded it, filled it in and sprayed it with vinyl paint (I mixed it to match) and you cannot see it unless you are looking closely.
They had a TON of cracks and there was a pretty large open cut in the drivers bolster.
The key thing to remember is that the cracks are likely in the finish, not in the leather itself- that is why you are sanding down and reapplying the dye or paint. FYI the folks at Tandy also shrugged their shoulders and said I should use a professional- I just bought my primary colors, clear and went to town. OH- grab some scrap leather to practice on until you get the color right.
My seats were so far gone that I figured I had nothing to lose- they are not perfect by any means, but I saved quite a bit of $$ and they will work until I find the right bargain or buy new skins!
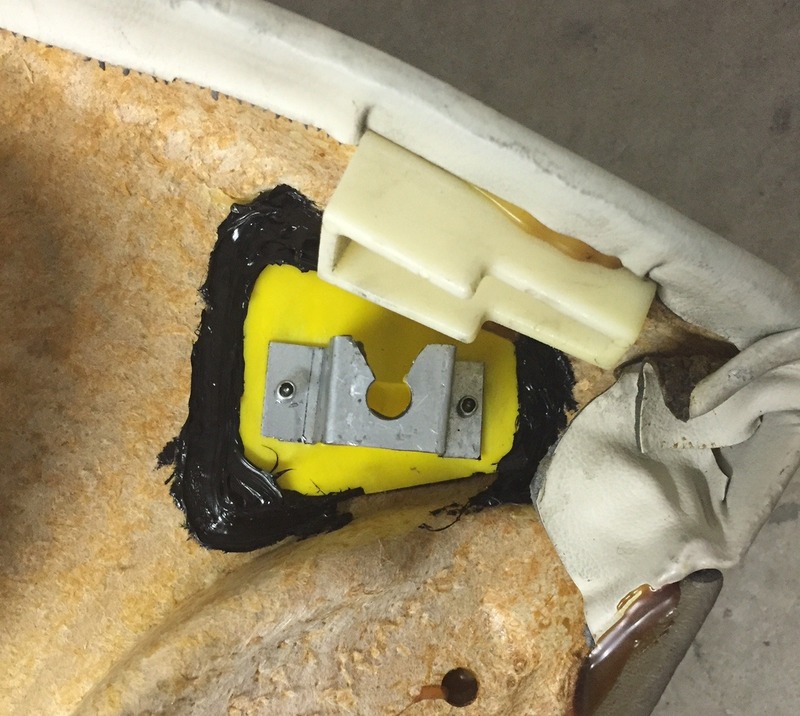
Ok, so the black seat is now midway through the repair- Sorry to hijack this thread, but I thought you may be interested to see what caulking looks like after sanding and before leather paint.
As a new owner to the XK8, I find the interior components on this design lacking.
I had a completely trashed XJ6 that I brought back to life and it is still going strong. Had to gut the entire interior but everything was pretty easy to work with and even though I had plenty of things broken, it all went back together nicely.
The XK8 interior, being 7 years newer than my XJ6 lacks strength in a lot of the cars plastic parts. I have now broken 3 parts just trying to disassemble things on the car and its pissing me off. Stupid screw sockets on plastic parts are cracking right out of their part when I try to remove a screw.
You can't prepare for this and no matter how gentle I am, parts still break. Never really had that issue with the XJ6 even though it was 7 years older and in much, much worse condition.
Oh well, I do love the car and I know eventually I will get these bits all sorted out. Just thought the build quality and strength of these parts would be much better than the older XJ6,
Here is my repair to one of those clips. Just did this the other night ..
Nice Bernie, that looks like a solid repair that will last a LONG time. I have a friend with a 3d printer, I am tempted to ask him make some of these in ABS I bet it would hold up well.
Nice Bernie, that looks like a solid repair that will last a LONG time. I have a friend with a 3d printer, I am tempted to ask him make some of these in ABS I bet it would hold up well.
It probably would.
My caution to anyone removing the door panels is to get a decent set of panel removing tools.
Pulling on those panels puts undue stress on the plastic assemblies which can cause them to break like mine or else tear the assemblies off the door card which was also starting to happen with a couple on mine. Fortunately, I only had this one broken assembly to fix.
Used heat gun to warm it up then bent and cooled against larger metal
cut out pattern from computer monitor cable cover piece
I did a replacement top to clip in plastic that turned out great, and quick to form in an abs plastic. Posted in my adventure post and will update photos here. A fix a person could do same day you break it, no need to wait for parts.
Last edited by TexMurphy; Mar 31, 2016 at 09:33 PM.
Reason: Add pics
Snyder what did you say you use for filler.
You think that leather paint is anything different from craft store acrylic paint? They sure have more colors to work with.
You used the tandy white and yellow cova to acheive the cream?
Last edited by TexMurphy; Mar 31, 2016 at 03:13 PM.
Closest psuh fastner at Lowes was too thick in back and diameter so took wood rasp and knocked it down to good fit. My fastner hold repair was good, I now have a panel that fits correct and snug too door. I left speaker near mirror hanging out at lower speaker so got to try removal and fasteners working as they should with medium pressure using proper panel removal tool and assembly second time worked great. One more fix in my adventure.