When you click on links to various merchants on this site and make a purchase, this can result in this site earning a commission. Affiliate programs and affiliations include, but are not limited to, the eBay Partner Network.
Hi All, I've taken the interior out of my 2002 XKR and there are a couple of holes in the floorpan. I think the holes must be from the manufacturing process (maybe for a machine to hold the shell) They were covered by a metal disk which was held in place by an adheisieve/sealant a coupole opf these disks have rotted away leaving holes as shown below.
The rust isn't that bad so i'll clean that up and treat, but i'm unsure how to fill the hole Ive tried various rubber grommets but none seem to fit well. I've looked on the parts catalogue and can't find any details of the original disks that fill the holes. I was thinking of using P40 body filler to fill the holes but i'm not sure if that's the right approach - has anyone else had this issue? or any ideas how best to deal with it?
Hardware stores here in the US sell tapered black rubber stoppers of various sizes. I would source some of those and simply hammer them tightly into place using a rubber mallet. The key is to use a tapered rubber stopper. If it isn't tapered with a larger diameter at the top and a smaller diameter at the bottom, it will not grab properly....
You are just looking at one side, get to the underside and scrape back the under seal, you may find that the rust is more extensive. Not surprising that there is a repair plate available for this very job as it will affect most XK8's given time.
This is what mine looked like before and after (pre welding) ,they are from different sides before anyone mentions it! Not as scary as you might think. you just need to have some mig welding skills and certainly more durable than filler.
Wow Phanc - that looks pretty scary to me. The front footwells in mine have been previously repaired (by a previous owner) the holes I am looking at are at the rear near the rear seat. I think the rust is from the inside where water has got in though the hole and been trapped under the foam but I'll take your advice and check the underside later (It did pass my poke with a big screwdriver test). Cheers
I had a few around there, near to the seat belt anchor. That was replaced with a new one and the rust holes I cut out with a hole saw and cut a repair patch with a slightly bigger hole saw. Remember, any corrosion within 300mm of a seat belt anchor is an MOT fail and definitely not fixable with filler
I had a couple of rusted out plugs too, I cleaned up the holes on both sides, cut out a couple of oversized 20 gauge round steel blanks, painted them with epoxy paint and glued them in place with polyurathane seam sealer then painted them again.
Cheers RD that sounds like a good solution - especially as I dont have access to a mig welder. I followed phancs advice and checked the underside, fortunaltely it was fine - i've removed the surface rust in the floor pan and taken it back to bare steel which I'll repaint.
Did you stick the plates on both sides or just the top?
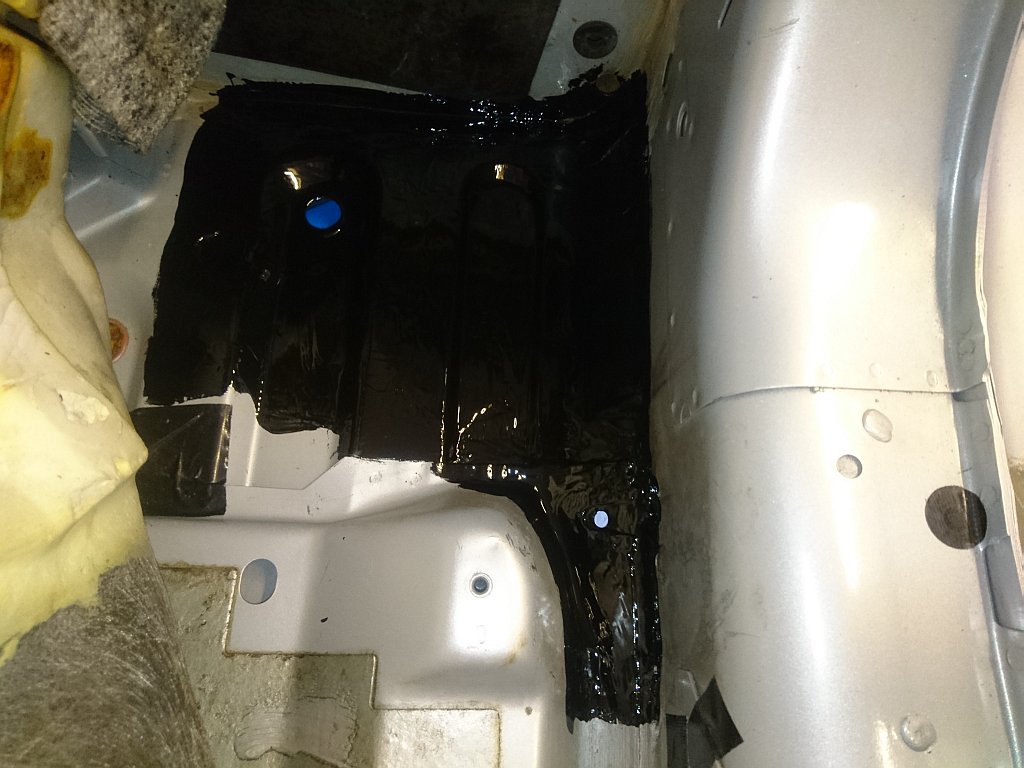
I just stuck on the patch from the top with plenty of "tiger seal", I don't have an after pic, this is one from my seatbelt anchor repair post.
I think I had to plug up at least three of these holes across both sides.