When you click on links to various merchants on this site and make a purchase, this can result in this site earning a commission. Affiliate programs and affiliations include, but are not limited to, the eBay Partner Network.
I am replacing the front subframe. The car was hit in the right front wheel about two years ago. The body work was fixed quickly; however I was left with about 2 degrees negative camber on that side. My alignment specialist compensated for the camber with toe and caster adjustments, but tires began to feather and the car would drift left slightly. When lower control eccentric bolts failed to compensate, I began to search around for other causes.
The impact had bent the one end of the upper A-arm pivot bolt inward. But, I thought the subframe was bent because the bolt end was offset inboard about a half inch on the subframe mount. However, after I got the pivot bolt out [had to cut it out in three pieces] it appears the subframe is OK. But by then I decided to just drop the whole assembly and not take any chances. An impact great enough to bend the pivot bolt could also tweak the subframe member. (it turns out that all the important dimensions are OK and the subframe is not bent.)
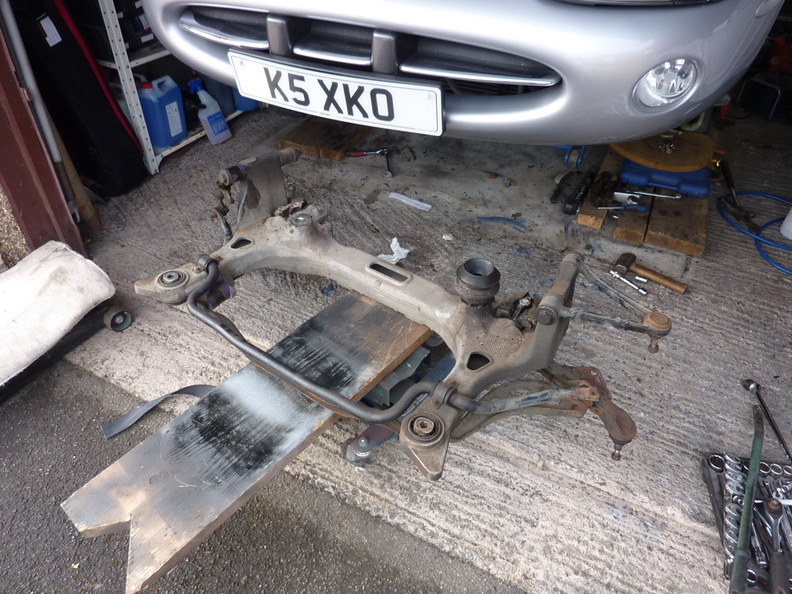
I used the JTIS for instructions for this job. They are very complete. You also need to get an engine bar to support motor w/o subframe. ($65 shipped Harbor Freight) JTIS suggests that you can lower the whole assembly as one unit. However, I was using a floor jack and some 2x10 boards, and it ended up being to wobbly and unbalanced. I found it easier to remove the all the suspension components from either side, then lower the subframe and sway bar. It is only about 40 pounds stripped.
When I removed the subframe, I discovered both motor mounts were bone dry and cracked. The engine was being held in place by gravity!! In addition an upper A-arm ball joint rubber was broken. The ball joint is good, but left exposed to the elements it would go bad quickly.
Then finally, I discovered the Hi Pressure hose from the pump to the rack was leaking and needed to be replaced. This was an easy fix with the sub frame out.
Last edited by GordoCatCar; Feb 3, 2013 at 04:06 PM.
May not be an issue in Florida so much but we have to do this to cure another rust issue we have in the UK...
The inner wheel arch which is covered by the subframe when it is installed rot badly, might be worth having some preventative treatment before you put it back
Normally inaccessible area above crossmember is pristine, except for spots of PS fluid.
The car came from the desert southwest (Arizona), and had zero rust when I got it. It has been in Florida for four years and I live near the beach and the constant salt air. There are some bare metal parts, like unpainted suspension pieces, which will form surface rust. Those areas have already been treated with POR15 primer /paint before any serious tin worm developed.
Last edited by GordoCatCar; Feb 4, 2013 at 09:00 AM.
Q. Where did you attach your engine support to the engine?
A. I used the two factory lift points on the front of the engine. See the pics
Q. Did you use the special Jag mounting brackets?
A. Don't know what you mean. I used a Harbor Freight Engine hoist. It set on the inside fender well drip rail.
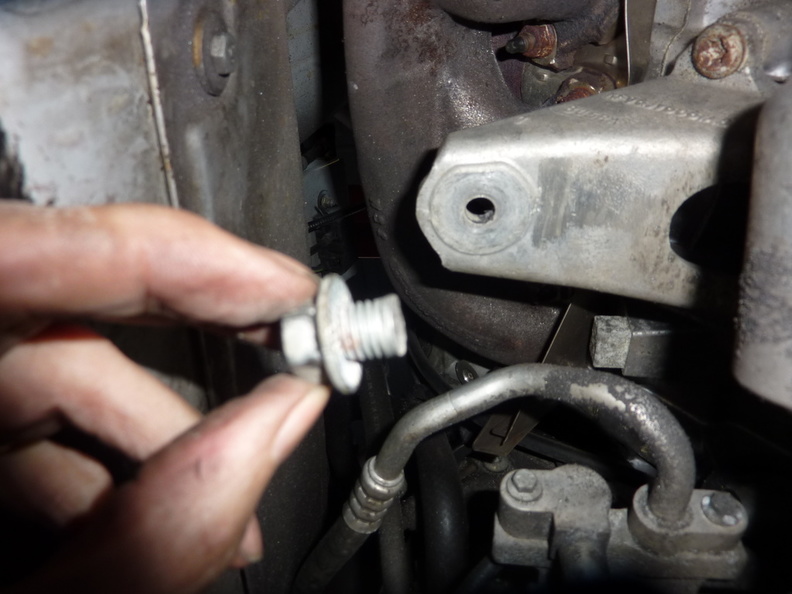
Q. Do the bolts that come up through the front circular mount bushes attach to the engine?
A. The holes in the very front mount to the chassis. The engine mounts are central underneath the crossmember as noted in the pic. You can easily see the mounts from underneath.
Q. Where did you attach your engine support to the engine?
A. I used the two factory lift points on the front of the engine. See the pics
Q. Did you use the special Jag mounting brackets?
A. Don't know what you mean. I used a Harbor Freight Engine hoist. It set on the inside fender well drip rail.
Q. Do the bolts that come up through the front circular mount bushes attach to the engine?
A. The holes in the very front mount to the chassis. The engine mounts are central underneath the crossmember as noted in the pic. You can easily see the mounts from underneath.
Thanks for the info, I think I will pull mine even though sheared bolts are likely on mine. I have an engine hoist similar to yours still in its box, JITS shows brackets for removing the engine but from your pics they do not seem necessary for this job.
Left hand mounts always go as the engine twists clockwise. I changed mine recently at 55K miles. You get purple fluid on the subframe when they go and they split in two.
This job is upon me, somewhat. One side mount on my XKR is broke and separates when I give some throttle. I already got the mount, however is it possible to replace mounts without dropping cross member?
I so have lift and transmission jack + forklift if job is too big.
Hello All. Guess I'll try/hope to revive this thread.
I've been seeing this thread (great work) for a couple of years now knowing that I'd be needing it some day. That day has come. Super thankful for all of the hard worked for experience here!
So, quick question, how difficult is it to remove and replace the round front subframe mounts (will a sort of press be needed?)? Are they a press in and press out design or are they simply held in place by the bolt that passes thru that attaches the subframe and chaise? Remove the bolt amd knock them out with a mallet.
And, with the steel bolts on aluminum, how have people experienced removing the bolts from both the front and rear mounts,,, I mean,,, is it a horrific nail biting experience waiting for the bolts to shear? Can the capture kit start spinning? Will days of dosing with a WD40 help here? I have the mounts, all six including engine mounts, but because it's one of those things that one would rather not get stuck in the middle of, I thought I would ask a few questions.
Any and all replies are of course MUCH appreciated.
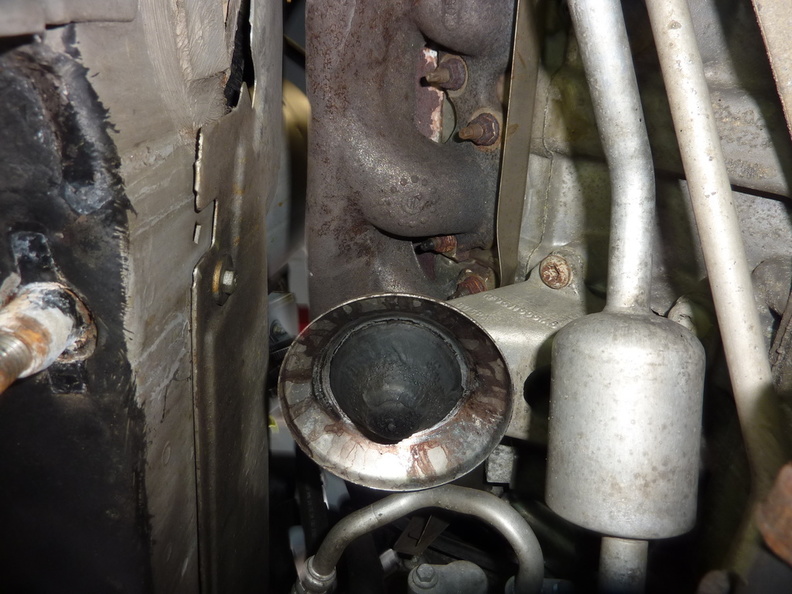
The only subframe bolt I had trouble with was this one, it had bonded itself to the inner part of the bush, but did come out eventually once I sheared the rubber.
I had to get these bushes pressed out/in by the dealership as they wouldn't loan me the special parts, charged me �100!
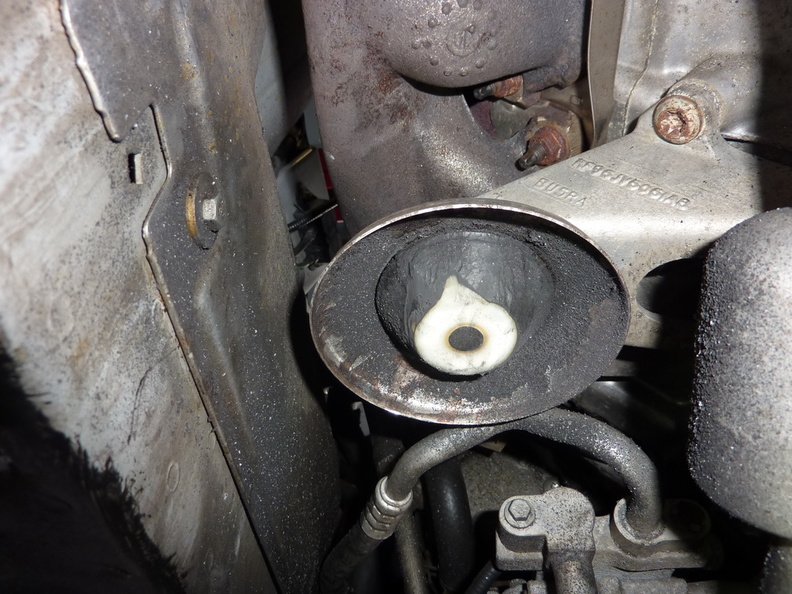
More recently I removed the subframe again to deal with an engine mount, you can see that part of it came out with the subframe.
The remainder was still here.
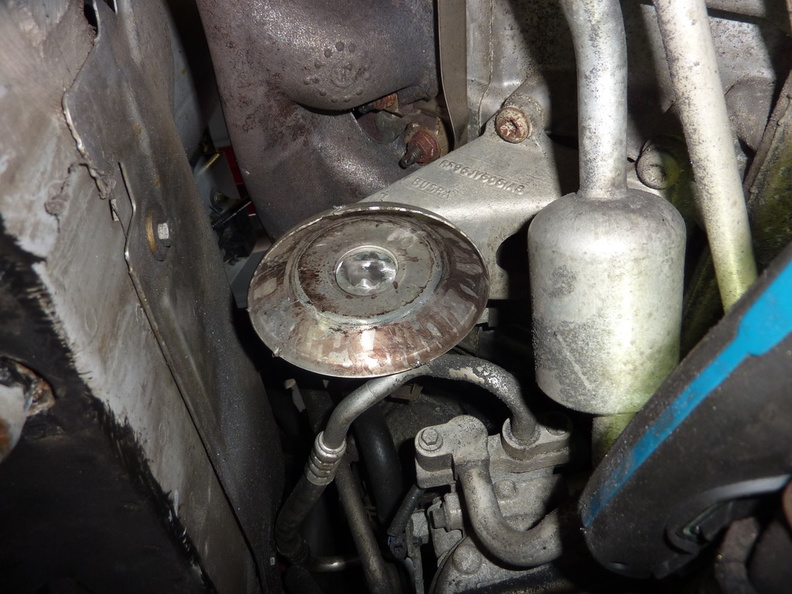
The top nut is tricky to get to and when I did it just spun, so I had to grind the stud off from below.
Last edited by RaceDiagnostics; May 8, 2019 at 01:17 PM.
Back in December 2017 I had the garage drop the front subframe to do some major welding work. I did not have the time, energy or enthusiasm to tackle it myself. Looking back I think I made the right choice! When they removed the subframe and we took a look at the engine mounts I was shocked at what poor condition they were in. Even the ally support brackets needed replacing. So it does not surprise me that you were having the same problems.
Its a shame I did not take a photo of the knackered mounts but you can take a look at the rest of the work, its amazing how the rust hides on these cars. Have a read Click Me To Read
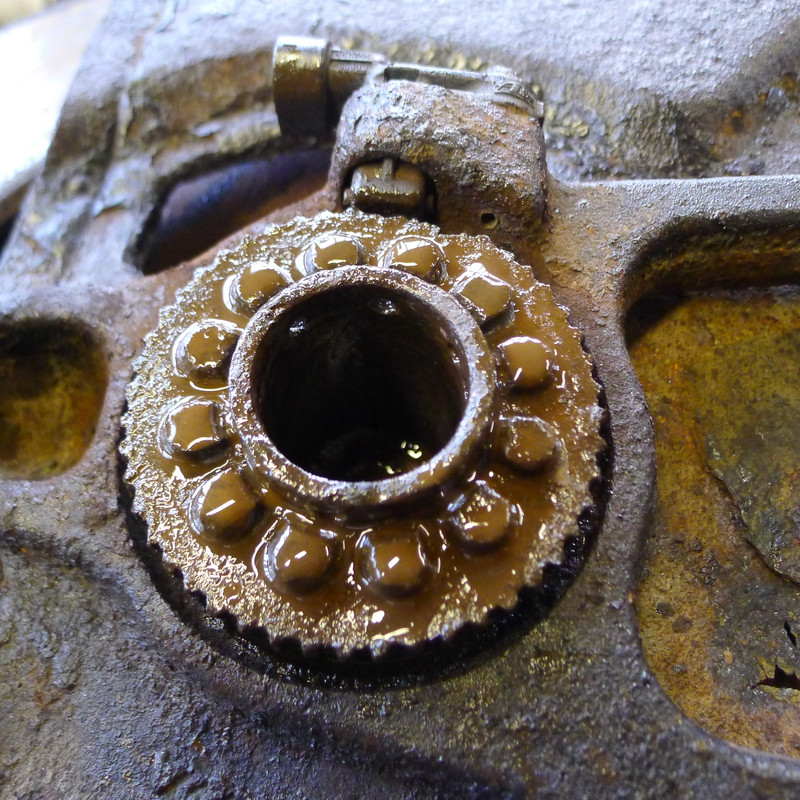
Ohh one last thing. If you do remove your subframe its a good time to replace your reluctor ring. I can be a right bar steward to do on the car. This is a photo of my old one.
Race! Thank you!
Is the special part,,, the one you would rent,,, can it be done with the press set up that comes with a for rent (auto parts store) ball joint or hub pulling kit?
So here,,, not sure where you are in the world, local auto parts stores rent a fairly wide selection of tools. A press type tool for bearings and a variety of tools for ball joints and such. Are you thinking that the subframe mounts is so tightmy seated in there (I was hoping that it was not) that a multi ton press is the only answer?
I used my regular press to put them in. I have a hydraulic table that I use to take out the front end. Raised it to the correct height to use the press. I also replaced the rear mounts since that's easy while the sub frame is out.
I used my regular press to put them in. I have a hydraulic table that I use to take out the front end. Raised it to the correct height to use the press. I also replaced the rear mounts since that's easy while the sub frame is out.
Nice, John. Great photo. I'm sure that I'm getting front end and suspension wiggling (very real wiggling) due to tired or completely shot subframe mounts... I have a whole engine swap (Ive been "planning" it more than a year now) and was thinking in all my grand "planning" to do this work when the engine was out. At the same time, if it didn't kill me to,,, what would it take to just do it before the engine swap by lowering the sub...?
Whether I do it by lifting the engine off the subframe, or with engine out completely, I've been wondering how possible it is to do this by lowering the subframe 6 or 10 inches - in that - what would be required to PRESS/GET the front mounts out and in...? I have feared the super tight fit and hard press need to know how tightly they are set in there? Was it a bear to remove them? Will a ball joint press type tool or a hub puller kind of set up work?
What sense did you get (i know that every car is different) about the risks of shearing and or stripping?
Last edited by JayJagJay; May 10, 2019 at 12:26 PM.