When you click on links to various merchants on this site and make a purchase, this can result in this site earning a commission. Affiliate programs and affiliations include, but are not limited to, the eBay Partner Network.
How do I detach side-view mirror wires to replace glass? - RESOLVED
Dear all,
I posted this question earlier, but nobody replied. Now, I'm getting desperate. The mirror glass on my the right-side view mirror of my 1998 XK-8 broke. I ordered a replacement mirror (glass only). But I cannot detach the glass and plate, which is held to the rest of the mirror mechanism with 2 wires. It seems that the wires are soldered onto those that lead to the plate and mechanism. I thought that this video would help me:
However, while "John" was able simply to pull on the clear rubbery pieces that secure the wires to the main mechanism, that doesn't happen for me. Instead, I can pull the rubbery things off and up - away from what looks sort of like the end of an electrical plug, and up to expose the ends of the wires, but the wires remain connected to the "plug." They seem to be soldered. (FYI, my mirror appears to be a heated one.) Can someone PLEASE tell me how to take the wires off without wrecking the mechanism? The Jag has been sitting in my garage for weeks, waiting for a fix.
Thanks in advance.
Last edited by GGG; Oct 5, 2021 at 02:41 AM.
Reason: Add "RESOLVED" to thread title
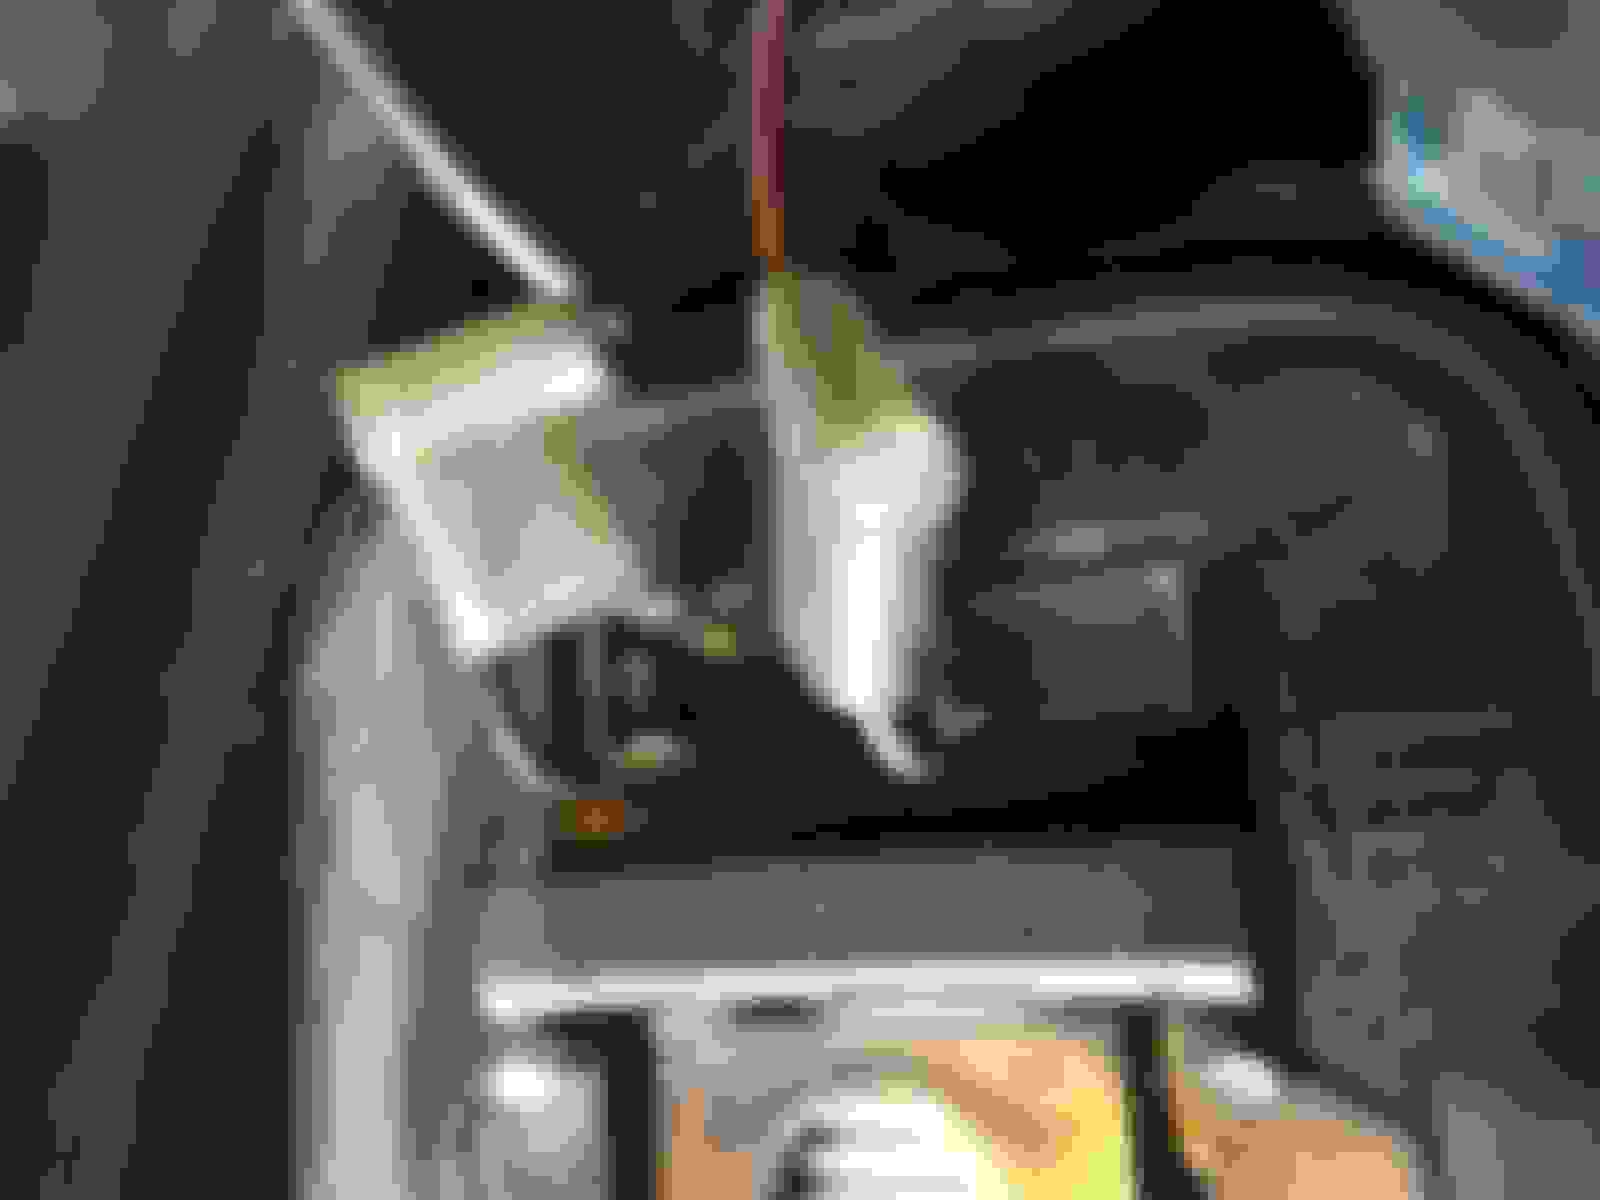
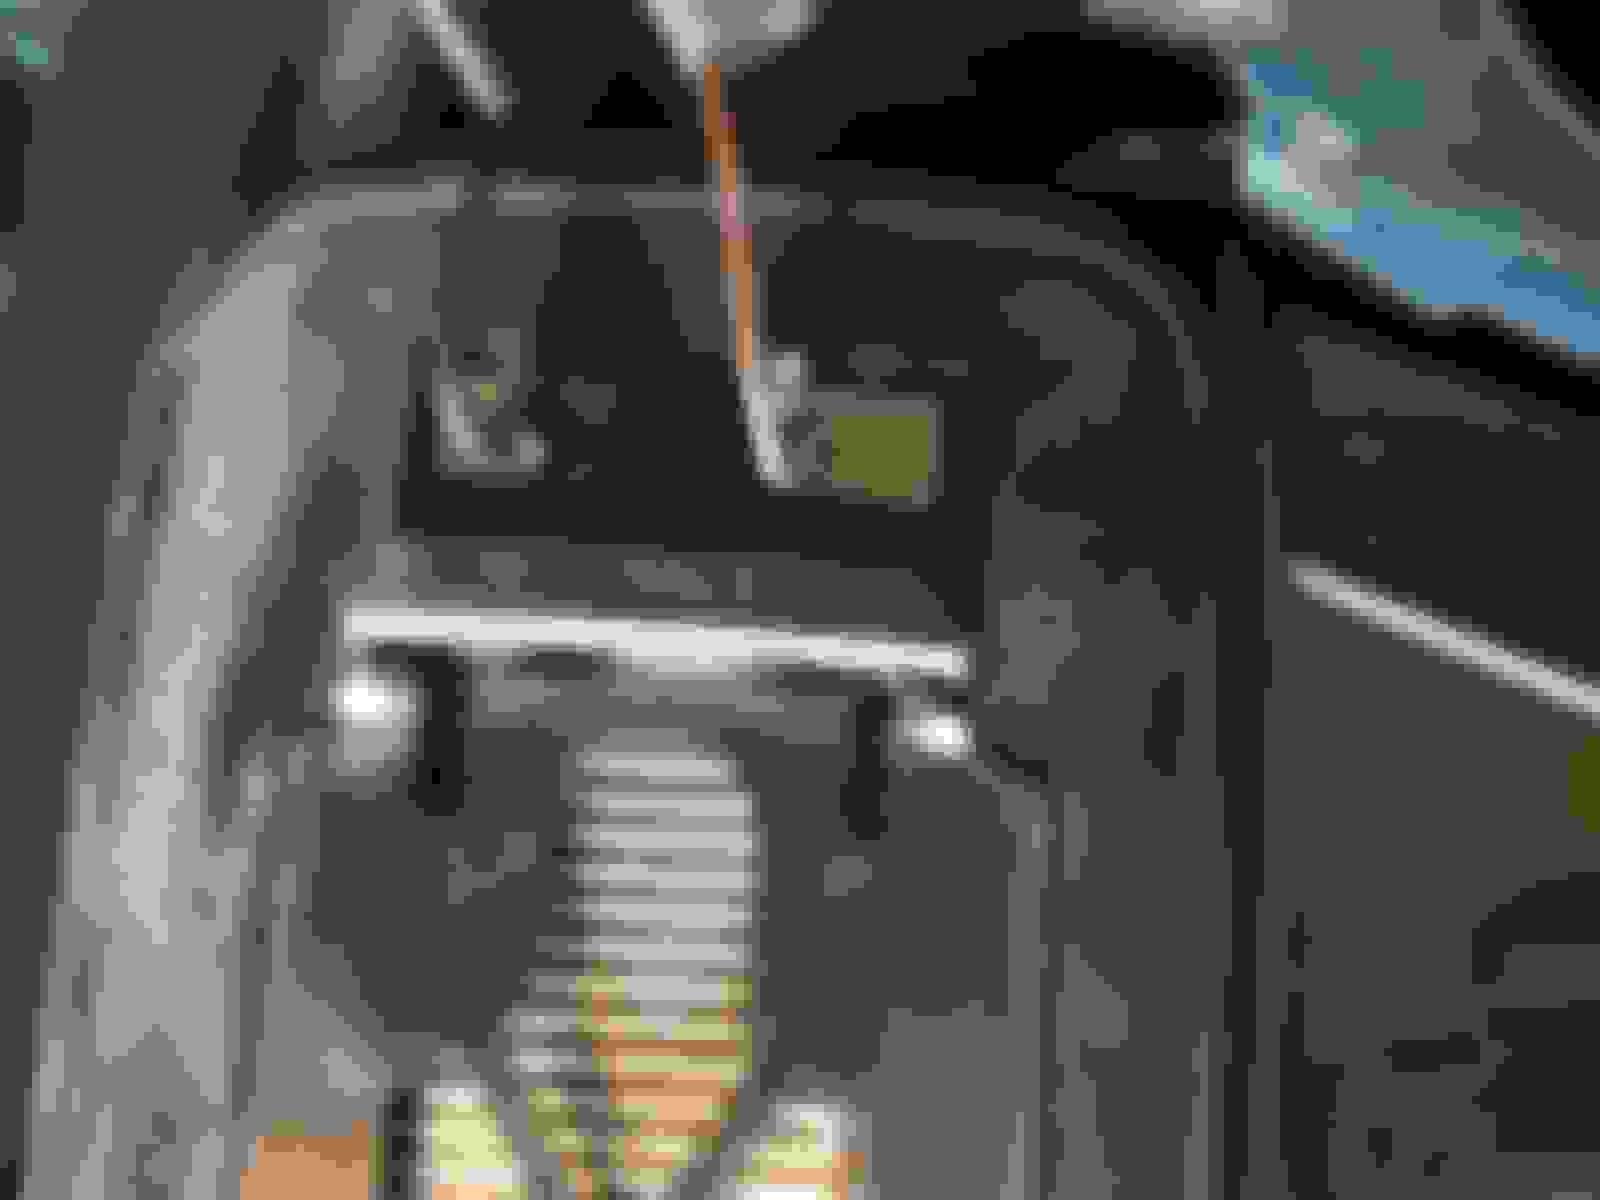
Here are some pictures; maybe they will help. You can sort of see that, when the whitish/clear plastic or rubber casings are pulled up, the wires stay in place, because they are attached to the thing that looks like an electrical plug.
M, I may have misunderstood your question, but take a look at the bottom 2 photos.
See that silver grey metal "sheath" at the end of each wire? It is the female side of a press on connector! It may be corroded on a bit. But its just held in place by friction.
Look at bottom photo orange wire. See the 2 "circles or dots" in the bronze/gold metal rectangle? They are just fasteners that hold the male side in place. This gold rectangular piece of metal is bent at a 90 degree angle. One side fastened down, the other side stands up so the silver grey connector can slip over it.
I'm going to use terms like up and down. The circles are on the floor (or about as "down as you can get ha ha). Grab the silver connector that the orange wire goes into, pull up. If you have to rock it back and forth to loosen corrosion go ahead, wiggle it a bit.
Friend its late, I know I used simple descriptive terms - nothing against you. Blame it on me being tired late on a Sunday night and going overly simple to ensure I get the point to you.
Let us know how you do. BTW, great idea with the photos