When you click on links to various merchants on this site and make a purchase, this can result in this site earning a commission. Affiliate programs and affiliations include, but are not limited to, the eBay Partner Network.
I continue to wonder why you are having to pull the two sections apart.....You said something about the Ribs on the Snout, as I recall...My little Pulley had room to fit over the shout and did not need to be removed when I replaced the Stock pulley with the small Pulley. I just removed the Stock pulley and replaced it with the little one...I did have to remove the Radiator and Belts and changed-out one of the Belt Tensioners and then removed the Crank Pulley and replaced it with a much larger one. While I was into it that far, it was much easier to replace the Intercooler Radiator with the Larger one and the Bigger Pump-Motor. That really helps to pump cooler water through the systems Intercooler Radiators, they are pretty small and really need all the Help they can get...All that and then the W/M Injector system really cools things down!!
I guess now days they must be selling an even smaller Pulley if you have to remove material from the snout...that's all I can figure out as the reason it has to be so small. I guess they are making it so small and now you have a choice of weather you want to go for the Large Lower Crank-Pulley...What do they say your Boost will be with just the small Pulley? What is the O/D of your new Pulley?
Looks like you are about finished with the new Pulley job, that is if you don't plan to go inside the S/C to replace those Bearings on the back-side....So, good-luck and I hope you get all the Boost you want out of it! At least enough to feel it!
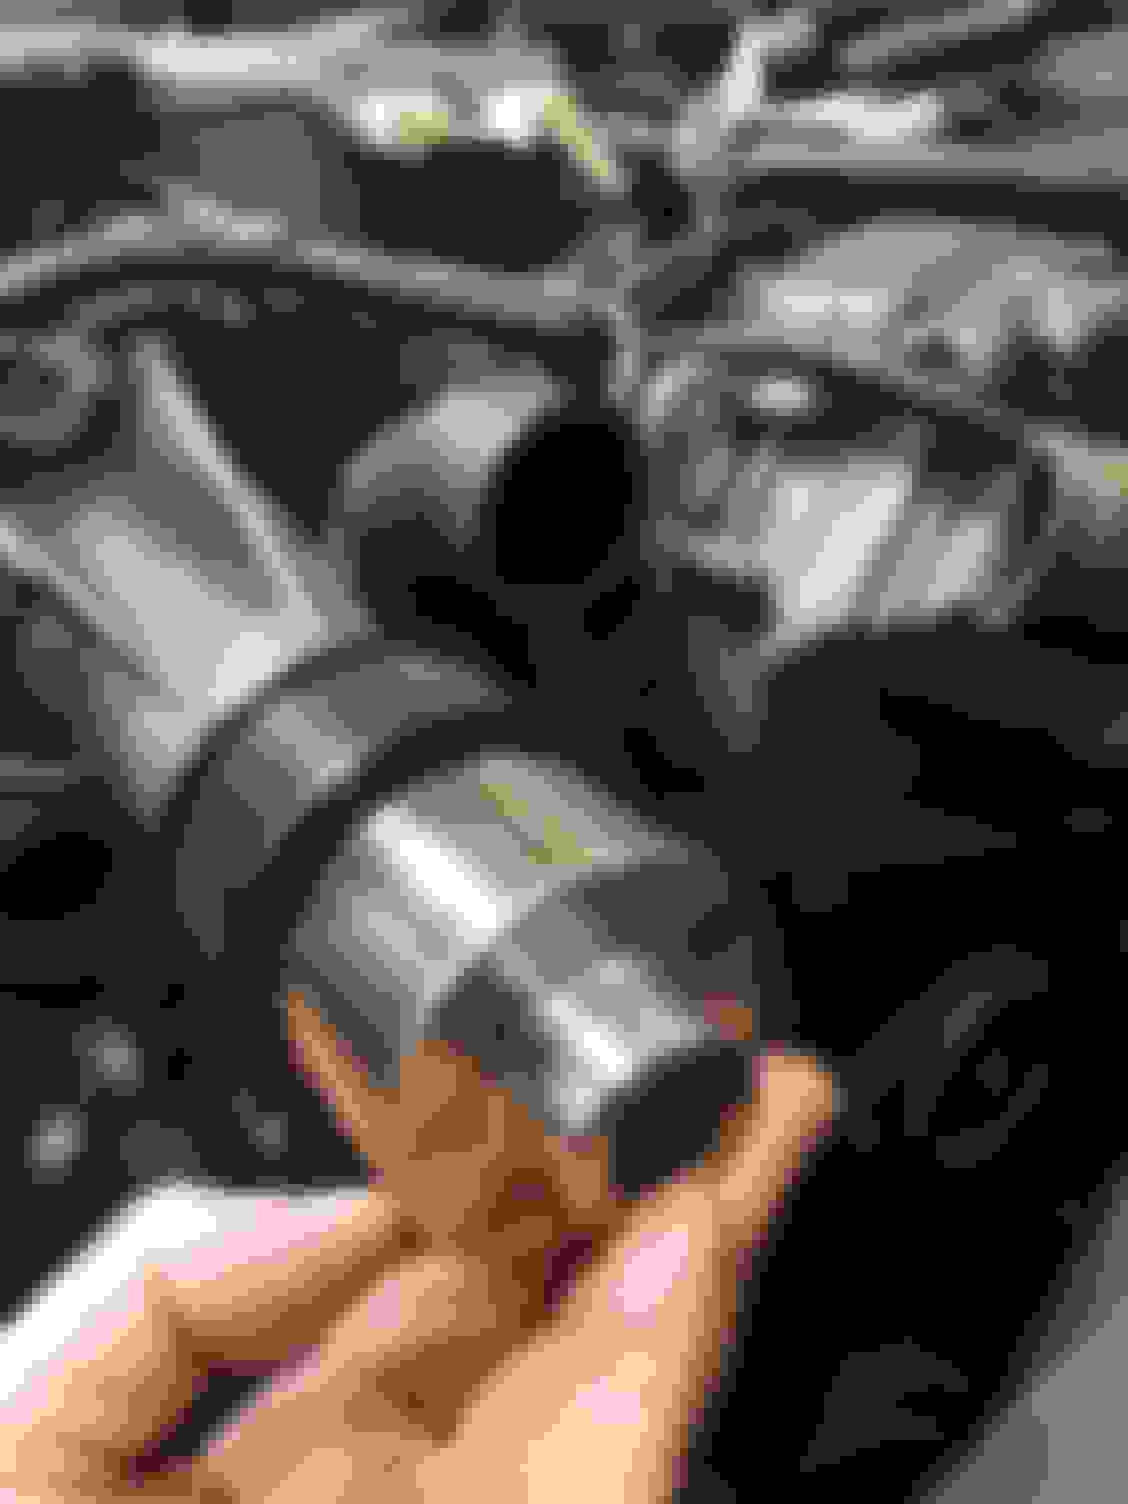
as shown in the picture below the upper pulley is a lot smaller than stock pulley, its 10% smaller and will not fit without first removing material from the snout. Together with the pulley itself there is a detailed instruction from the supplier Powerhouse on how to grind material away from the snout. The actual boost figure expected I dont remember now but it is supposed to give a good extra punch in the mid range.
I'm prepared to end up with a mess and be forced to find a used second SC. The one on my car seems to have worn rotor blades and have many miles on it. When I emptied (well, sort of) the oil from within the SC it looked fine so someone must have changed it before
I'm prepared to end up with a mess and be forced to find a used second SC. The one on my car seems to have worn rotor blades and have many miles on it. When I emptied (well, sort of) the oil from within the SC it looked fine so someone must have changed it before
I think I have figured it out! Power House's 10% Pulley is smaller than my Small Pulley...It is hard to find a Lower Pulley for the 4 liter XKR to enlarge and almost as hard to find the 4.2 Lower Pulley also. So they have gone to the smallest upper Pulley they could work with...but you have to do a lot more work to make it fit...I didn't have to do all the grinding on the snout like you but you will be able to get more Boost now with out having to put on the Large Lower Pulley. I didn't read the directions but it would be interesting to know how much Boost this Set-up will throw-up. Putting on the Lower Pulley is a Bear anyway!
I'm including Photos of my Upper Pulley and the Injector connection to the Throttle Body and the Boost/Controller Gauge.
You can do it! I know you can!
Billy Clyde Injector connection above Throttle Body Upper (Small) Pulley Snow Boost Gauge and Controller
Sorry I've taken so long to get back to you with the Supercharger experts name and email address! This Corvid-19 panic has really messed-up my schedule......I finally found Stiegemeier SuperChargers in Missouri. I've only heard good things about him over the years. If I were to send my S/C for repair or rebuild, he's the one!
Ive done the top pulley from powerhouse whilst I replaced the snout bearings with ceramic ones... wasnt too bad.. Nice improvement in boost and makes the car more 'lively'.. Question on the water methanol injection, as I am looking at the AEM V2 system, what size injector on a relatively standard engine are people running?
In answer to your questions, danio...What are you going to put all this on? I assume it's a XKR....but what year is it? Since you've put the 10% Pulley on the S/C and it sounds like it's working pretty good.....The next thing to do is M/W injection....I have the Snow System with the VC-30 Controller.....Best system out there as you can Adjust the Injection Points with the Controller and read your Boost in lbs....and it works! I use my XKR's Windshield Washer Bottle for my M/W Fluid Storage and it will do both jobs well....Washes Windows, Headlights and Fuels the M/W Injector...It also tells you when the W/M is low....and it holds about 1 Gallon of Fuel....
Your question about which Nozzle you should use is something you will have to work-out by driving the Car....I'll give you (4) ideas:
#5 (450 HP) using 10/15 psi try the Blue 375 Nozzle
(500 HP) using 10/15 psi maybe the 625 Nozzle
#6 (450 HP) using 16/20 psi maybe the 520 Nozzle
(500 HP) using 16/20 psi maybe the 578 Nozzle
I think my Nozzle is the smaller or the one in the Middle...I don't remember it has been a while......
You will be able to tell by the way the Engine reacts to the liquid...you don't want it to Flood down, or feel like it is going to run backwards while Starting it....You've got to get it just right and watch the VC-30 Controller....It will help you as you can set it from the inside... I have mine mounted on the Windshield thing by the Door....I can just reach over and push the buttons......Read the Booklet that comes with the kit.....and go with the Snow Brand as it is the better more useable one out there! Mine comes on at 14 and then 18 for the all out setting. It has (2) settings or speeds! You could set it to come on earlier....It is up to you....If I hold it down....I've seen 25lbs. on the Controller...Boost- Gauge....Of course my S/C has the Bigger Lower Pulley than most and of course a Smaller Small Pulley that Stock...
Remember….As you build Boost, the little Cap on top of the S/C has 4 Bolts that hold it down...Those Bolts are strange looking dudes...they are (Specially made for the job and have like little springs on them)...If the pressure gets to strong, it will eventually force the little springs to bend and allow the Cap to start leaking.....I don't know if your 10% Pulley is going to create enough pressure to do that but watch for it in the future.....If you lose Power.....that is probably what it is!!!!!
Let me know what happens!!!! "More Lively!" Ha! Ha! When you get it all together try some Nitro-Booster mixed in with the M/W....It is quite a thrill....!!
Hi Bcprice, thanks for the info very interesting. Mines a 1999 XKR, high flow pump, larger supercharger rad, large inlet from airfilter to the throttle body.. I have a boost gauge that tells me I'm seeing 18psi max boost. You say 'the little Cap on top of the S/C has 4 Bolts that hold it down' maybe the 1999 charger doesnt have that as I have never seen these when I previously took my unit apart.. are these the ones that are on the cover on the top of the charger that say V8? (First post in this thread..)
Dan,
The 99 is pretty much the same as the 05....It's the Cap on top with the V8 on it....You have to take the bolts out to see the Spring looking gismo on the Bolt....They need replacing now and then! The Gasket around the Cap probably needs replacing by now on a 99. The amount of Boost is determined by the Rotation Speed on the S/C and this is done by the size of the Pulleys....Crank Pulley should be Large and S/C Pulley small.....more Boost!
Once again weeks has passed and nothing done to my SC. But today work is picked up. I only manage to press the snout out a tiny bit, something is springing it back. Then suddenly it strikes me; need the upper pulley to come off first?
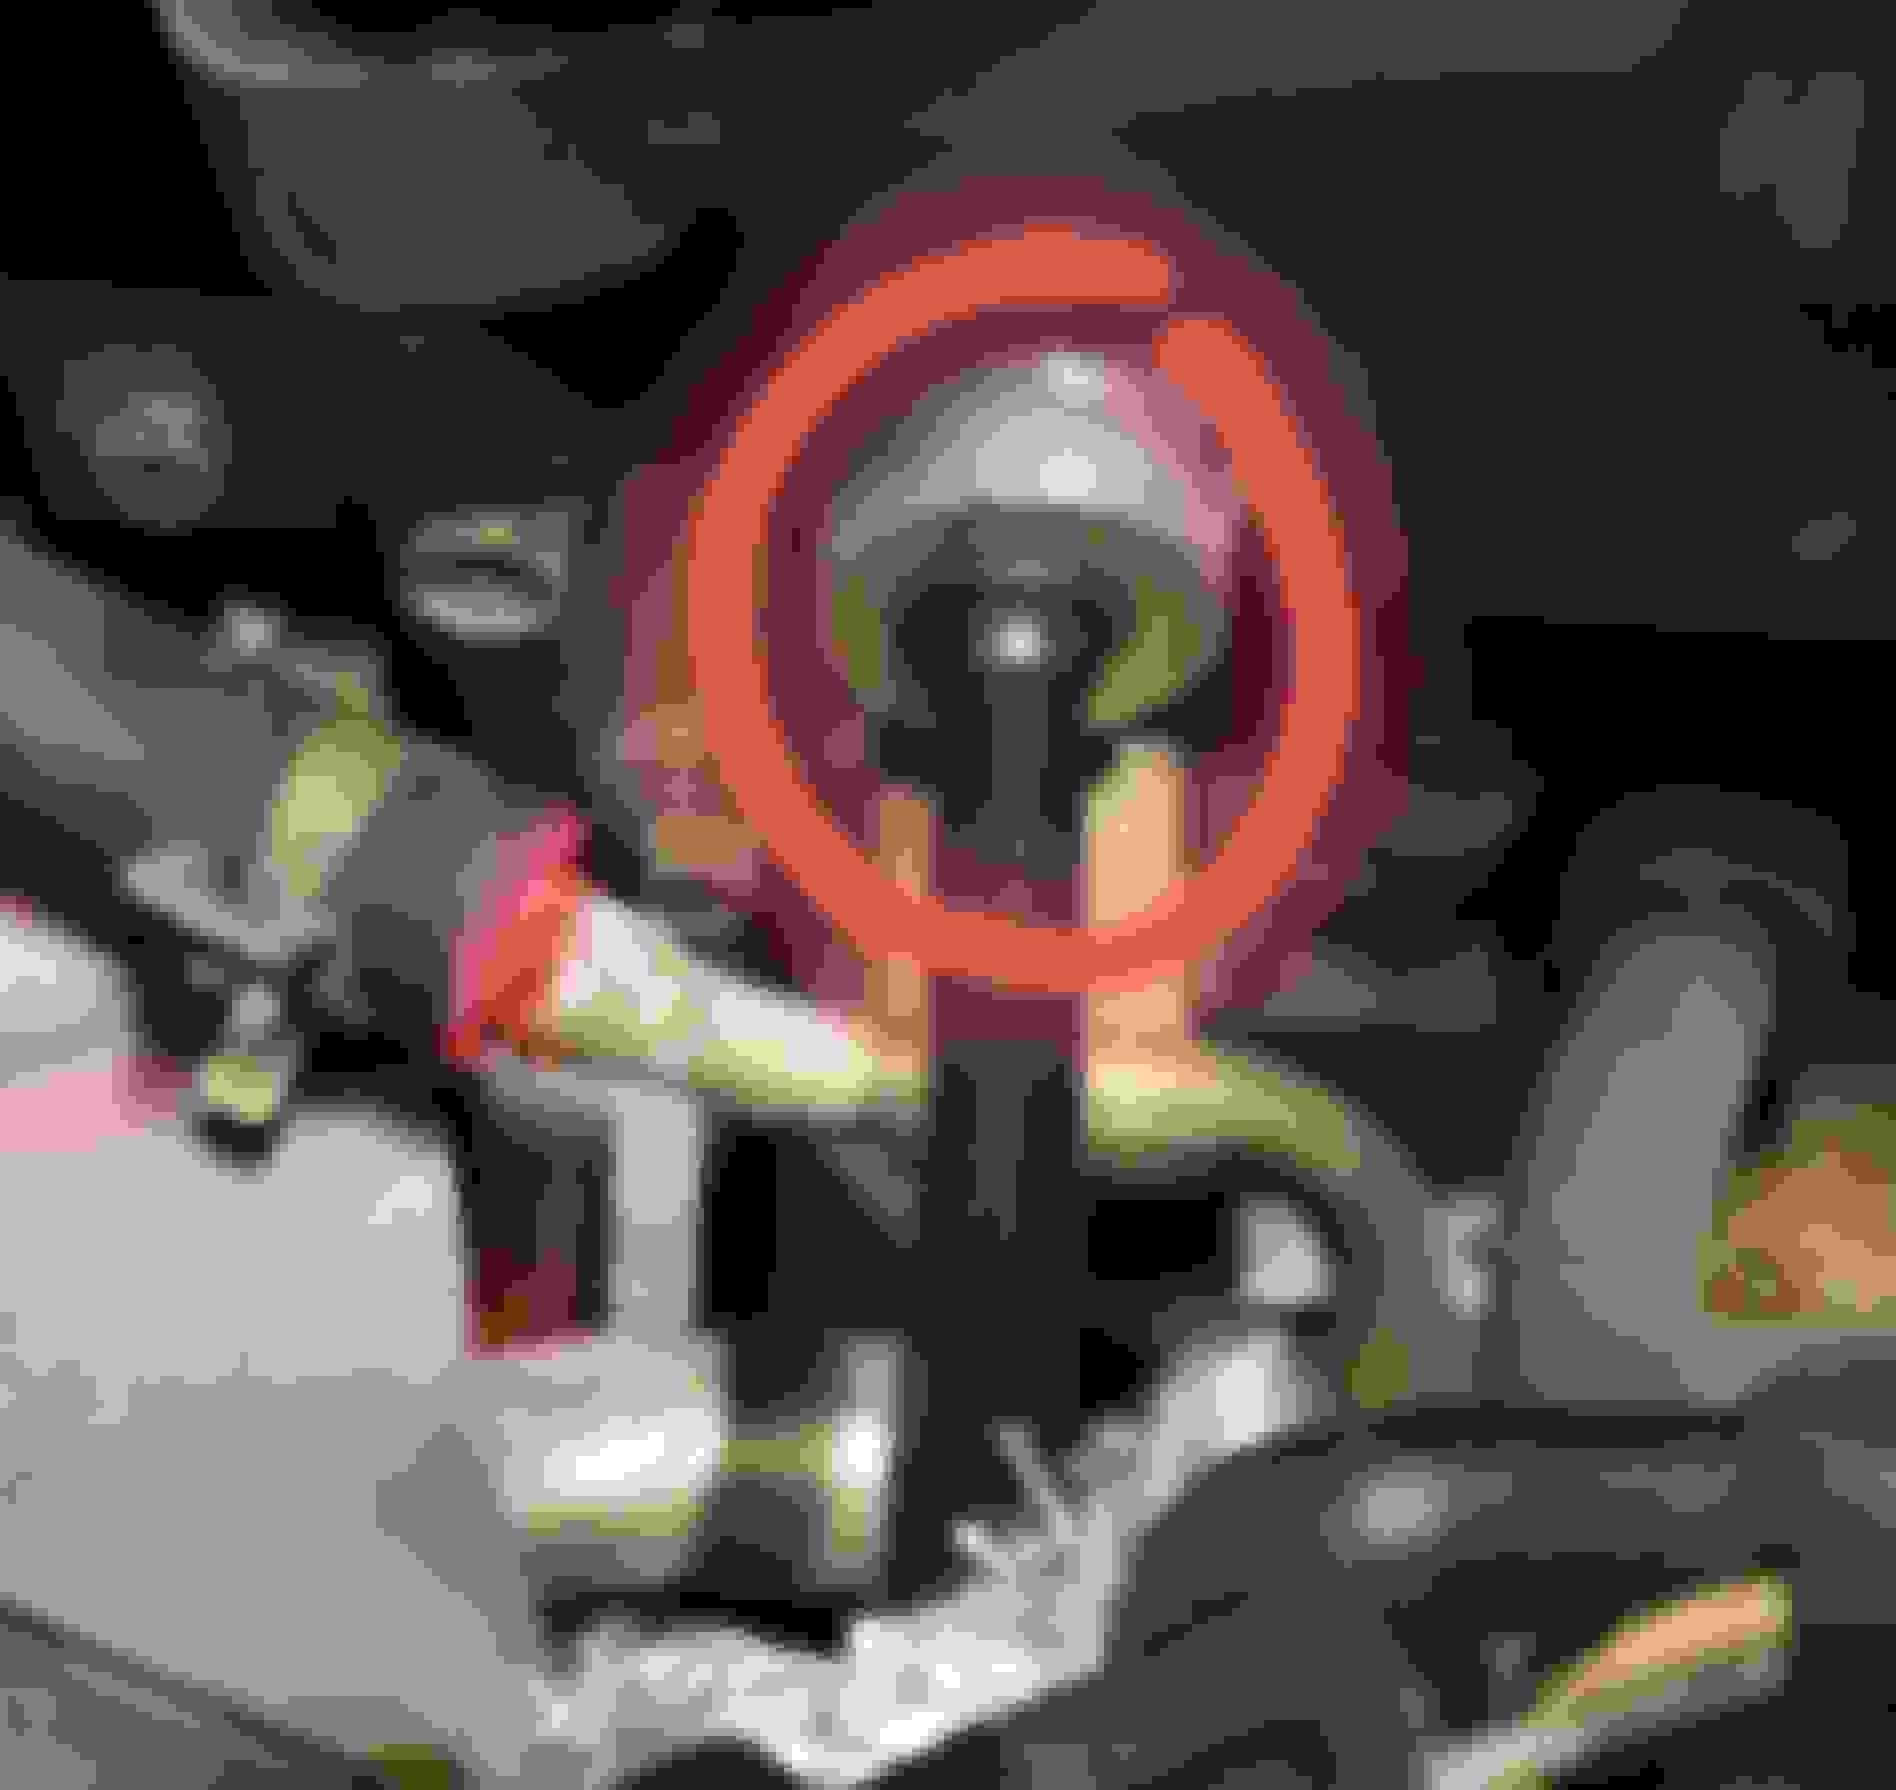
Decided to go the route by removing the complete SC instead. Throttle body was easy to remove but intake elbow make me a bit puzzled. According to JTIS the vacuum pipe at the right hand side need to disconnect. But JTIS just states "disconnect vacuum pipe". It sits firm at the elbow. Should the pipe let go easily? Afraid it might crack if I use a lot of force
The black ring around the pipe: press it in flush with the intake elbow metal and hold it in while pulling the pipe out. I have used a pair of needle nose pliers to press the ring evenly on 2 sides an release the pipe.
You should squeeze where the yellow arrows are which will expand the ring in the direction of the green arrow (along with downward opposite the green arrow).
There are two tabs inside the ring that clips over a ledge in the metal tube. The seal itself is an o-ring around the small plastic pipe that slides into the metal tube.
Again, once released it should not take much force to pull it out.
When they get old the squeey tabs can break, so prying gently under the ring at the green arrow position can also work.