
Shock resurrection


Thread Starter
|
Veteran Member


Joined: Apr 2012
Posts: 1,854
Likes: 987
From: UK
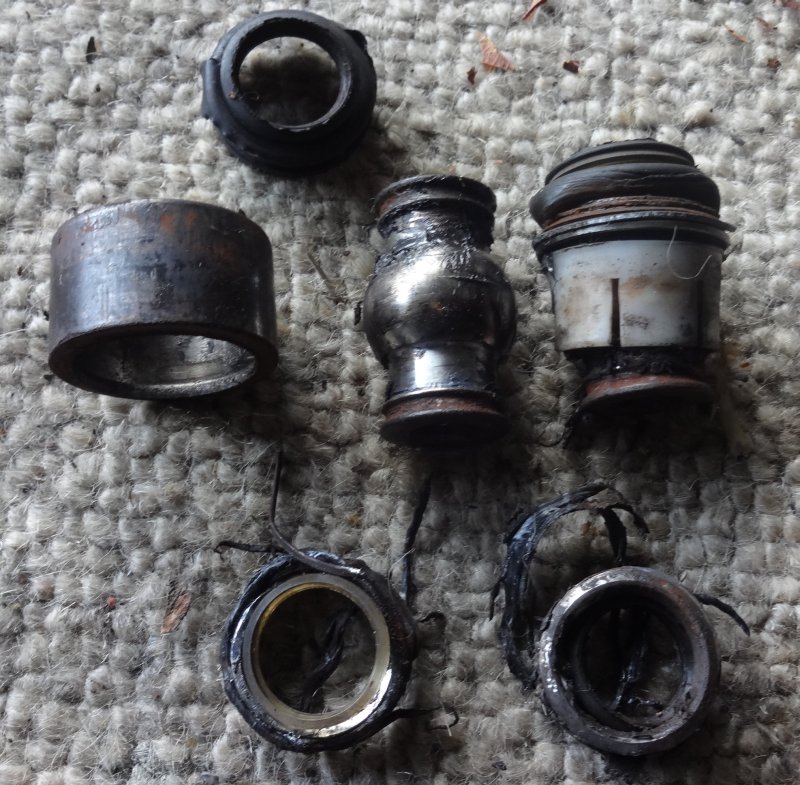
Since I had the shocks out to replace the top mount I thought I would tidy them up a bit.

The spring lower mount was stuck so I sanded down the upper part to clear the rust and bubbling paint then heated up the mount with a butane torch, and was able to tap it off with a hammer.

After further sanding there was still a fair amount of pitting so planned to try some rust eating gell, however I have never found these to be much good.


As for the mounts I used citric acid.

You need to use boiling water and keep it hot for it to work well. I reheated it every 20 mins in a microwave oven.

After a few hours I ended up with this.

This is my favourite paint, it beats every other chassis paint in long term tests.

Takes 24 hours to dry though.

I had originally planned to leave in the old bottom bushes but have now changed my mind, I may as well push in new ones while the shocks are out as they are fairly cheap.
The spring lower mount was stuck so I sanded down the upper part to clear the rust and bubbling paint then heated up the mount with a butane torch, and was able to tap it off with a hammer.
After further sanding there was still a fair amount of pitting so planned to try some rust eating gell, however I have never found these to be much good.
As for the mounts I used citric acid.
You need to use boiling water and keep it hot for it to work well. I reheated it every 20 mins in a microwave oven.
After a few hours I ended up with this.
This is my favourite paint, it beats every other chassis paint in long term tests.
Takes 24 hours to dry though.
I had originally planned to leave in the old bottom bushes but have now changed my mind, I may as well push in new ones while the shocks are out as they are fairly cheap.
Thread Starter
|
Veteran Member
Joined: Apr 2012
Posts: 1,854
Likes: 987
From: UK
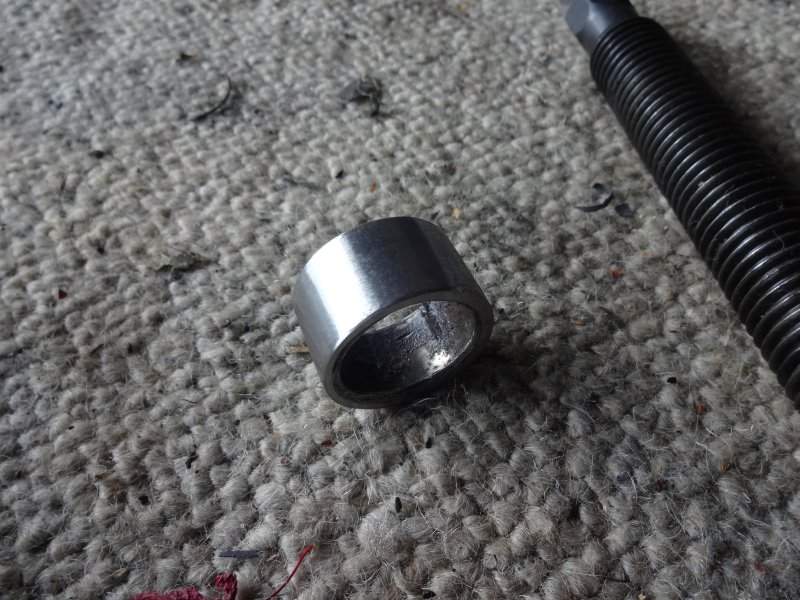
To push in the lower bush its best to take off the boot first, I then stuck them in the freezer for an hour.
I pushed the new bush in using the old sleeve in a vice, I had to also use another spacer on the other side to get the bush all the way in.
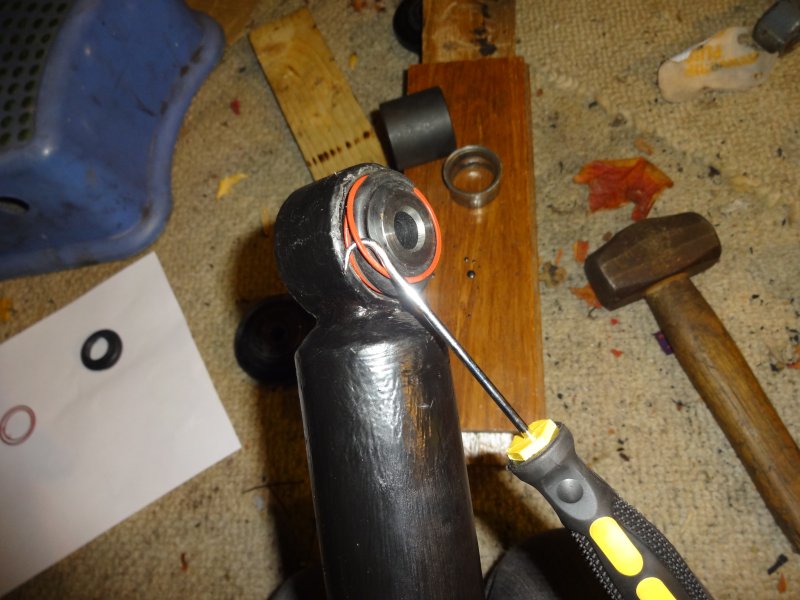
Its easier to use a hook like this to get to boot securing clips back into place.
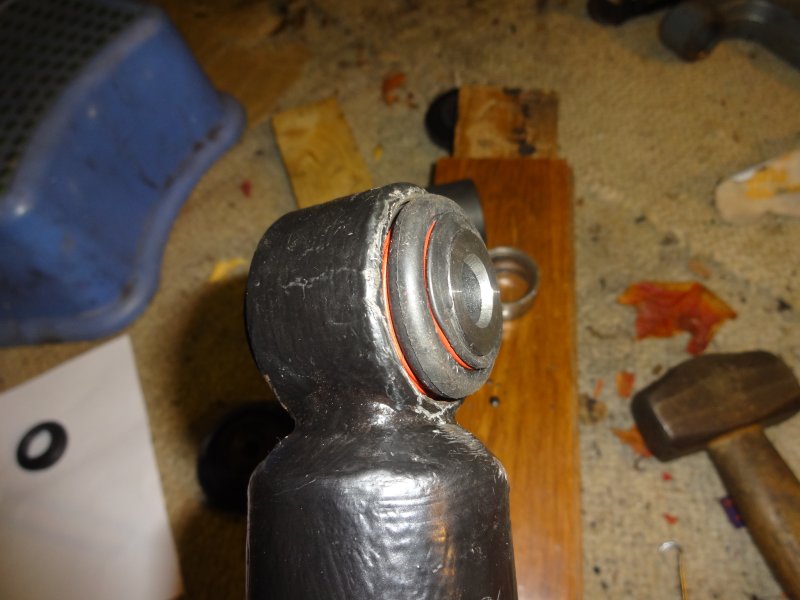
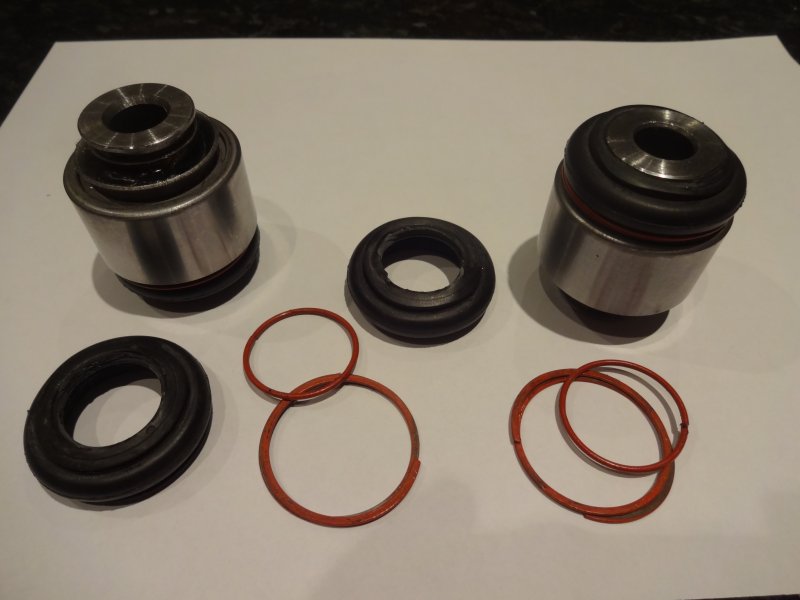
Correct positioning of the spring seats, you can see the end stop on the one on the left. I have left out one of the two black spacers that were originally in place to try to lower the front a little.

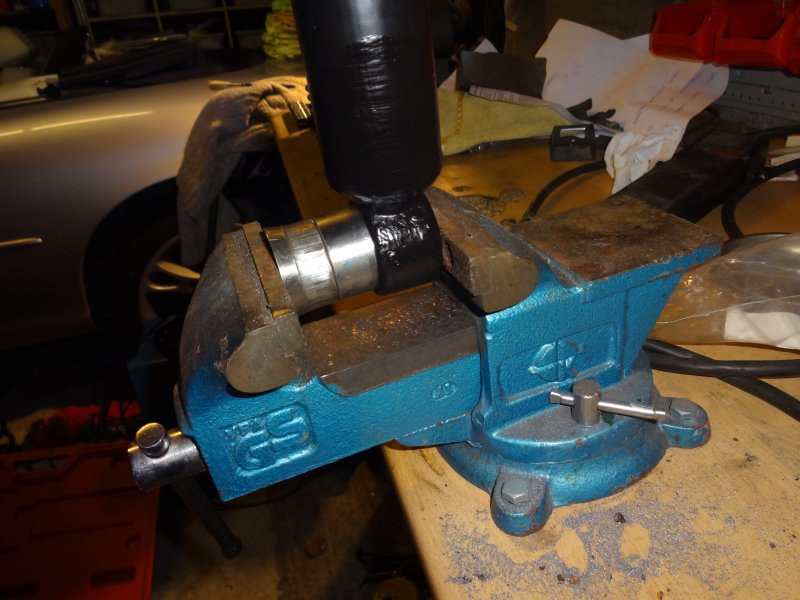
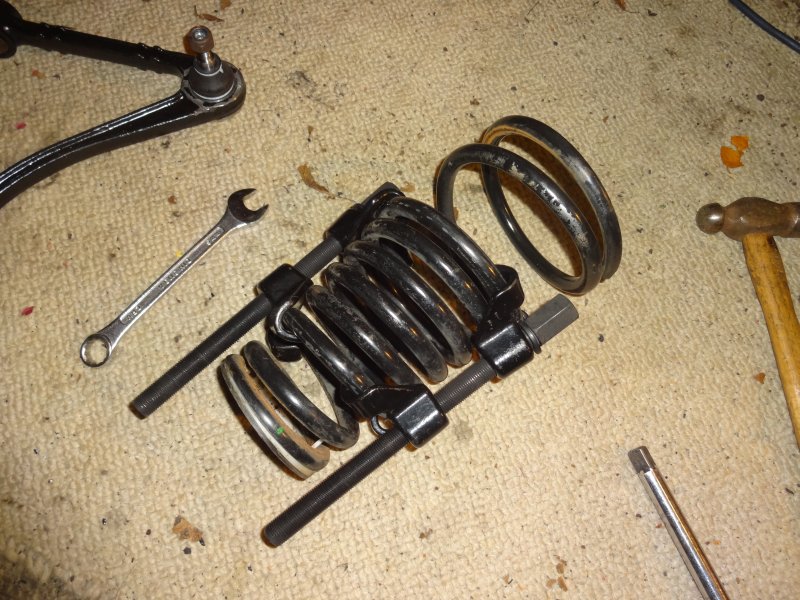
Getting the springs compressed was a bit scary.
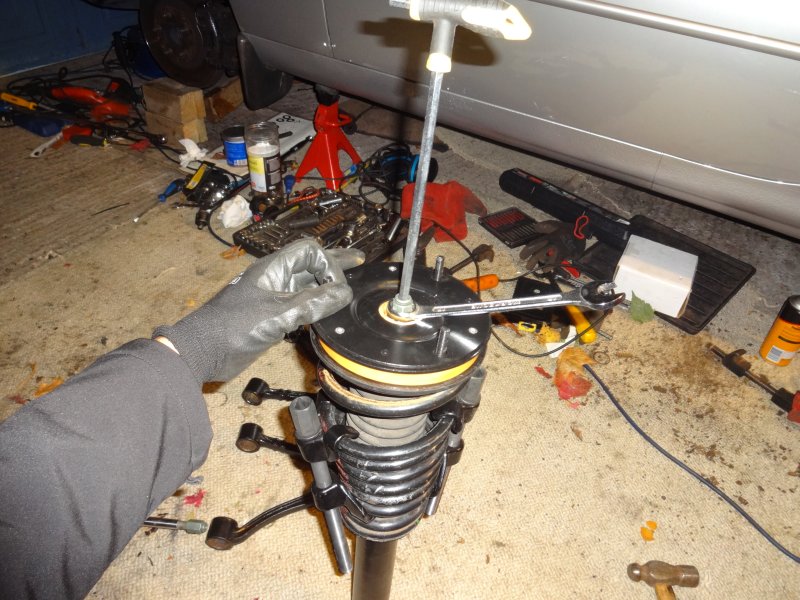
The spring was compressed just enough for the top of the shock to poke through the new upper bush. There is an internal hex on the top of the shock plunger to hold it steady while tightening the top nut.
One done, one more to go.

I pushed the new bush in using the old sleeve in a vice, I had to also use another spacer on the other side to get the bush all the way in.
Its easier to use a hook like this to get to boot securing clips back into place.
Correct positioning of the spring seats, you can see the end stop on the one on the left. I have left out one of the two black spacers that were originally in place to try to lower the front a little.
Getting the springs compressed was a bit scary.
The spring was compressed just enough for the top of the shock to poke through the new upper bush. There is an internal hex on the top of the shock plunger to hold it steady while tightening the top nut.
One done, one more to go.

Thread
Thread Starter
Forum
Replies
Last Post
Chuck Schexnayder
XJ XJ6 / XJ8 / XJR ( X350 & X358 )
33
Oct 24, 2015 10:20 PM
dmatthewman
XJ XJ6 / XJ8 / XJR ( X350 & X358 )
1
Sep 30, 2015 10:10 AM
Currently Active Users Viewing This Thread: 1 (0 members and 1 guests)