
Windscreen trim removal


Thread Starter
|
Veteran Member


Joined: Apr 2012
Posts: 1,854
Likes: 987
From: UK
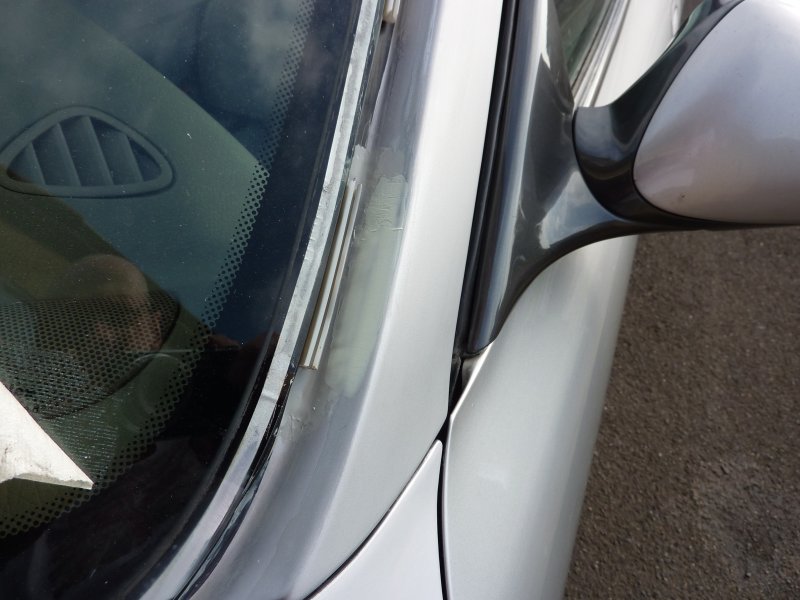
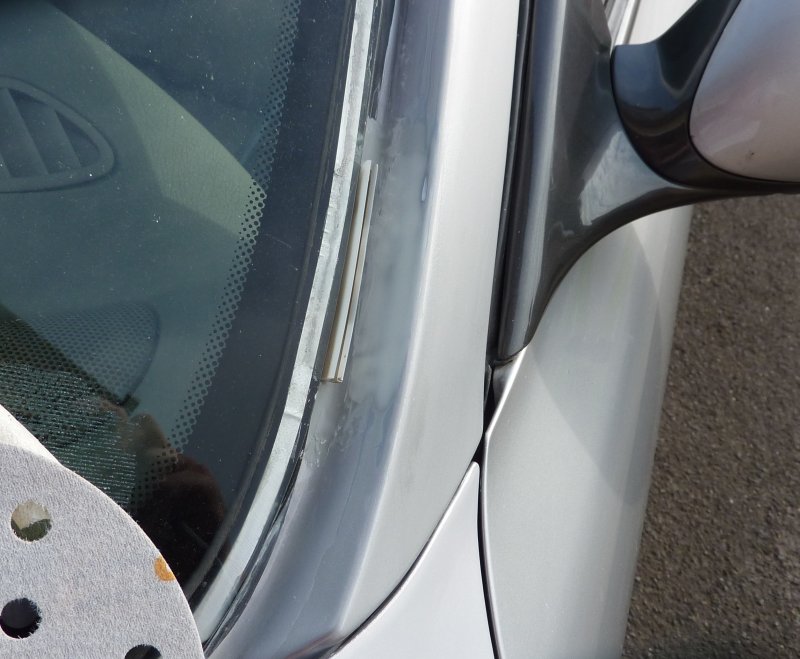
Surprisingly for this car, it came out relatively easily, about a 1/2 inch section of one of the clips broke off, there are 14 clips in total. I plan to refurb the trim at the same time as there are a few bubbles on this too.
Last edited by RaceDiagnostics; Aug 18, 2015 at 02:08 AM.
Thread Starter
|
Veteran Member
Joined: Apr 2012
Posts: 1,854
Likes: 987
From: UK
I started to repair the trim today.
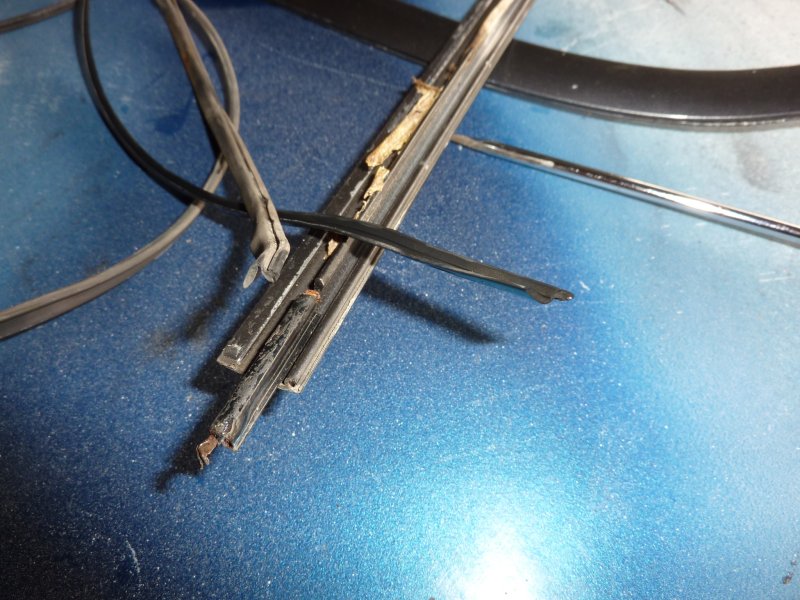
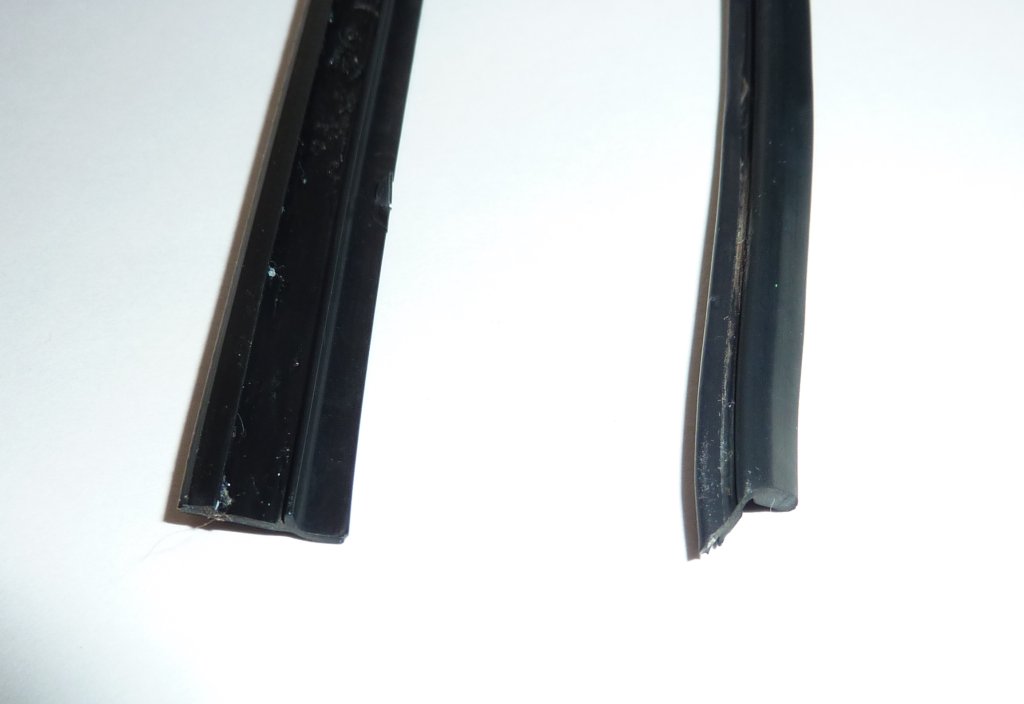
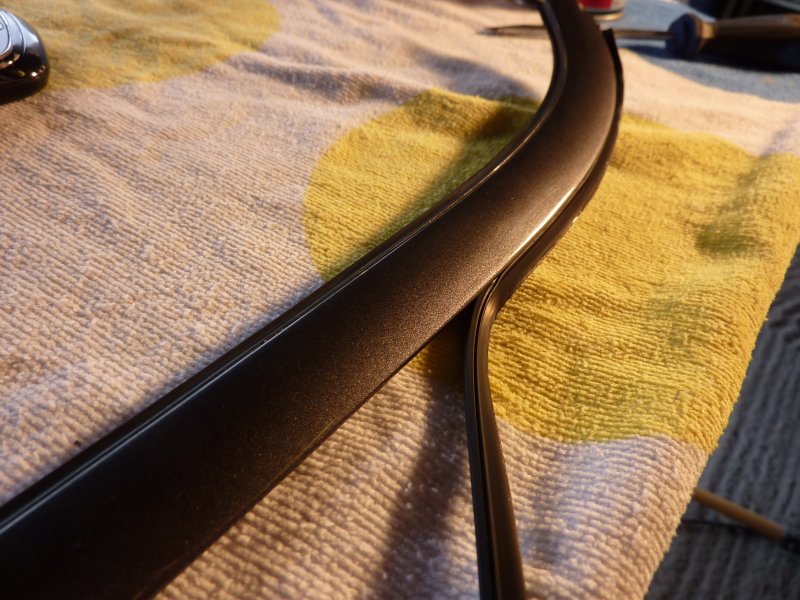
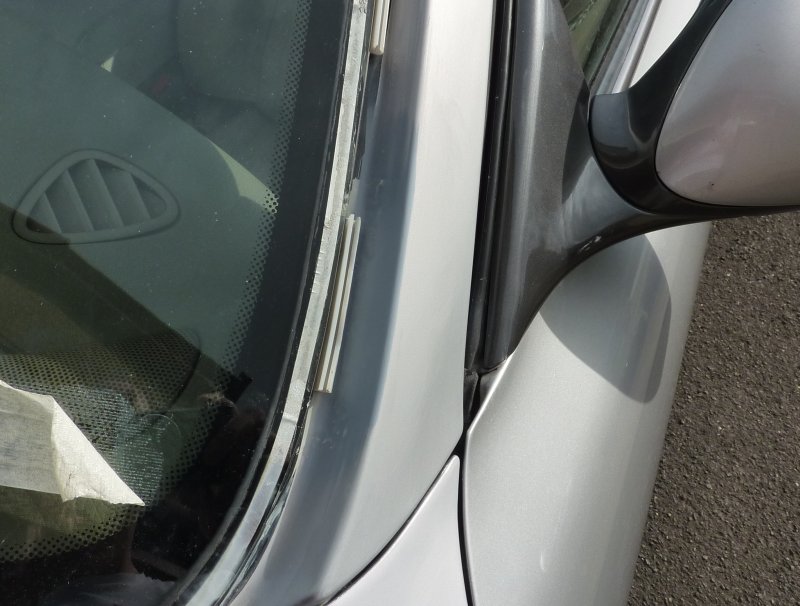
First I removed the rubber strips, the inner strip is glued on with what looks like contact adhesive, I cleaned up the rubber and trim with some solvent.
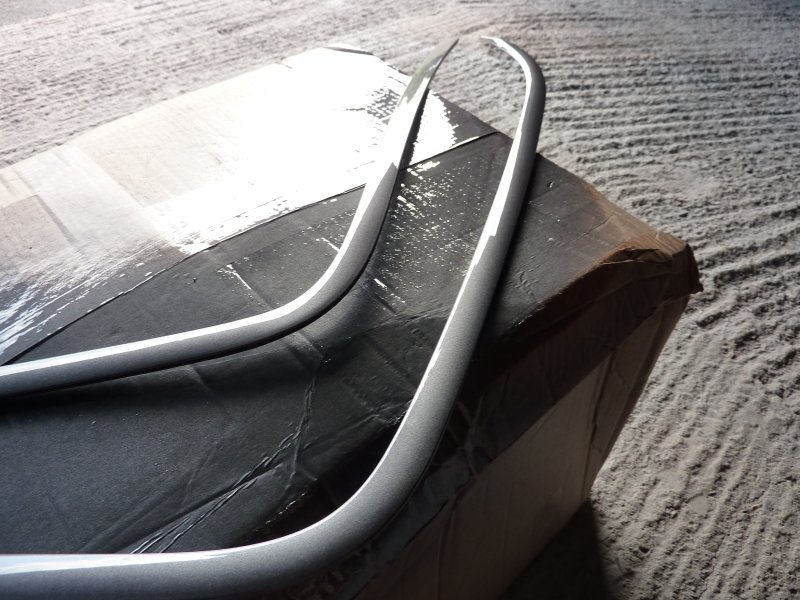
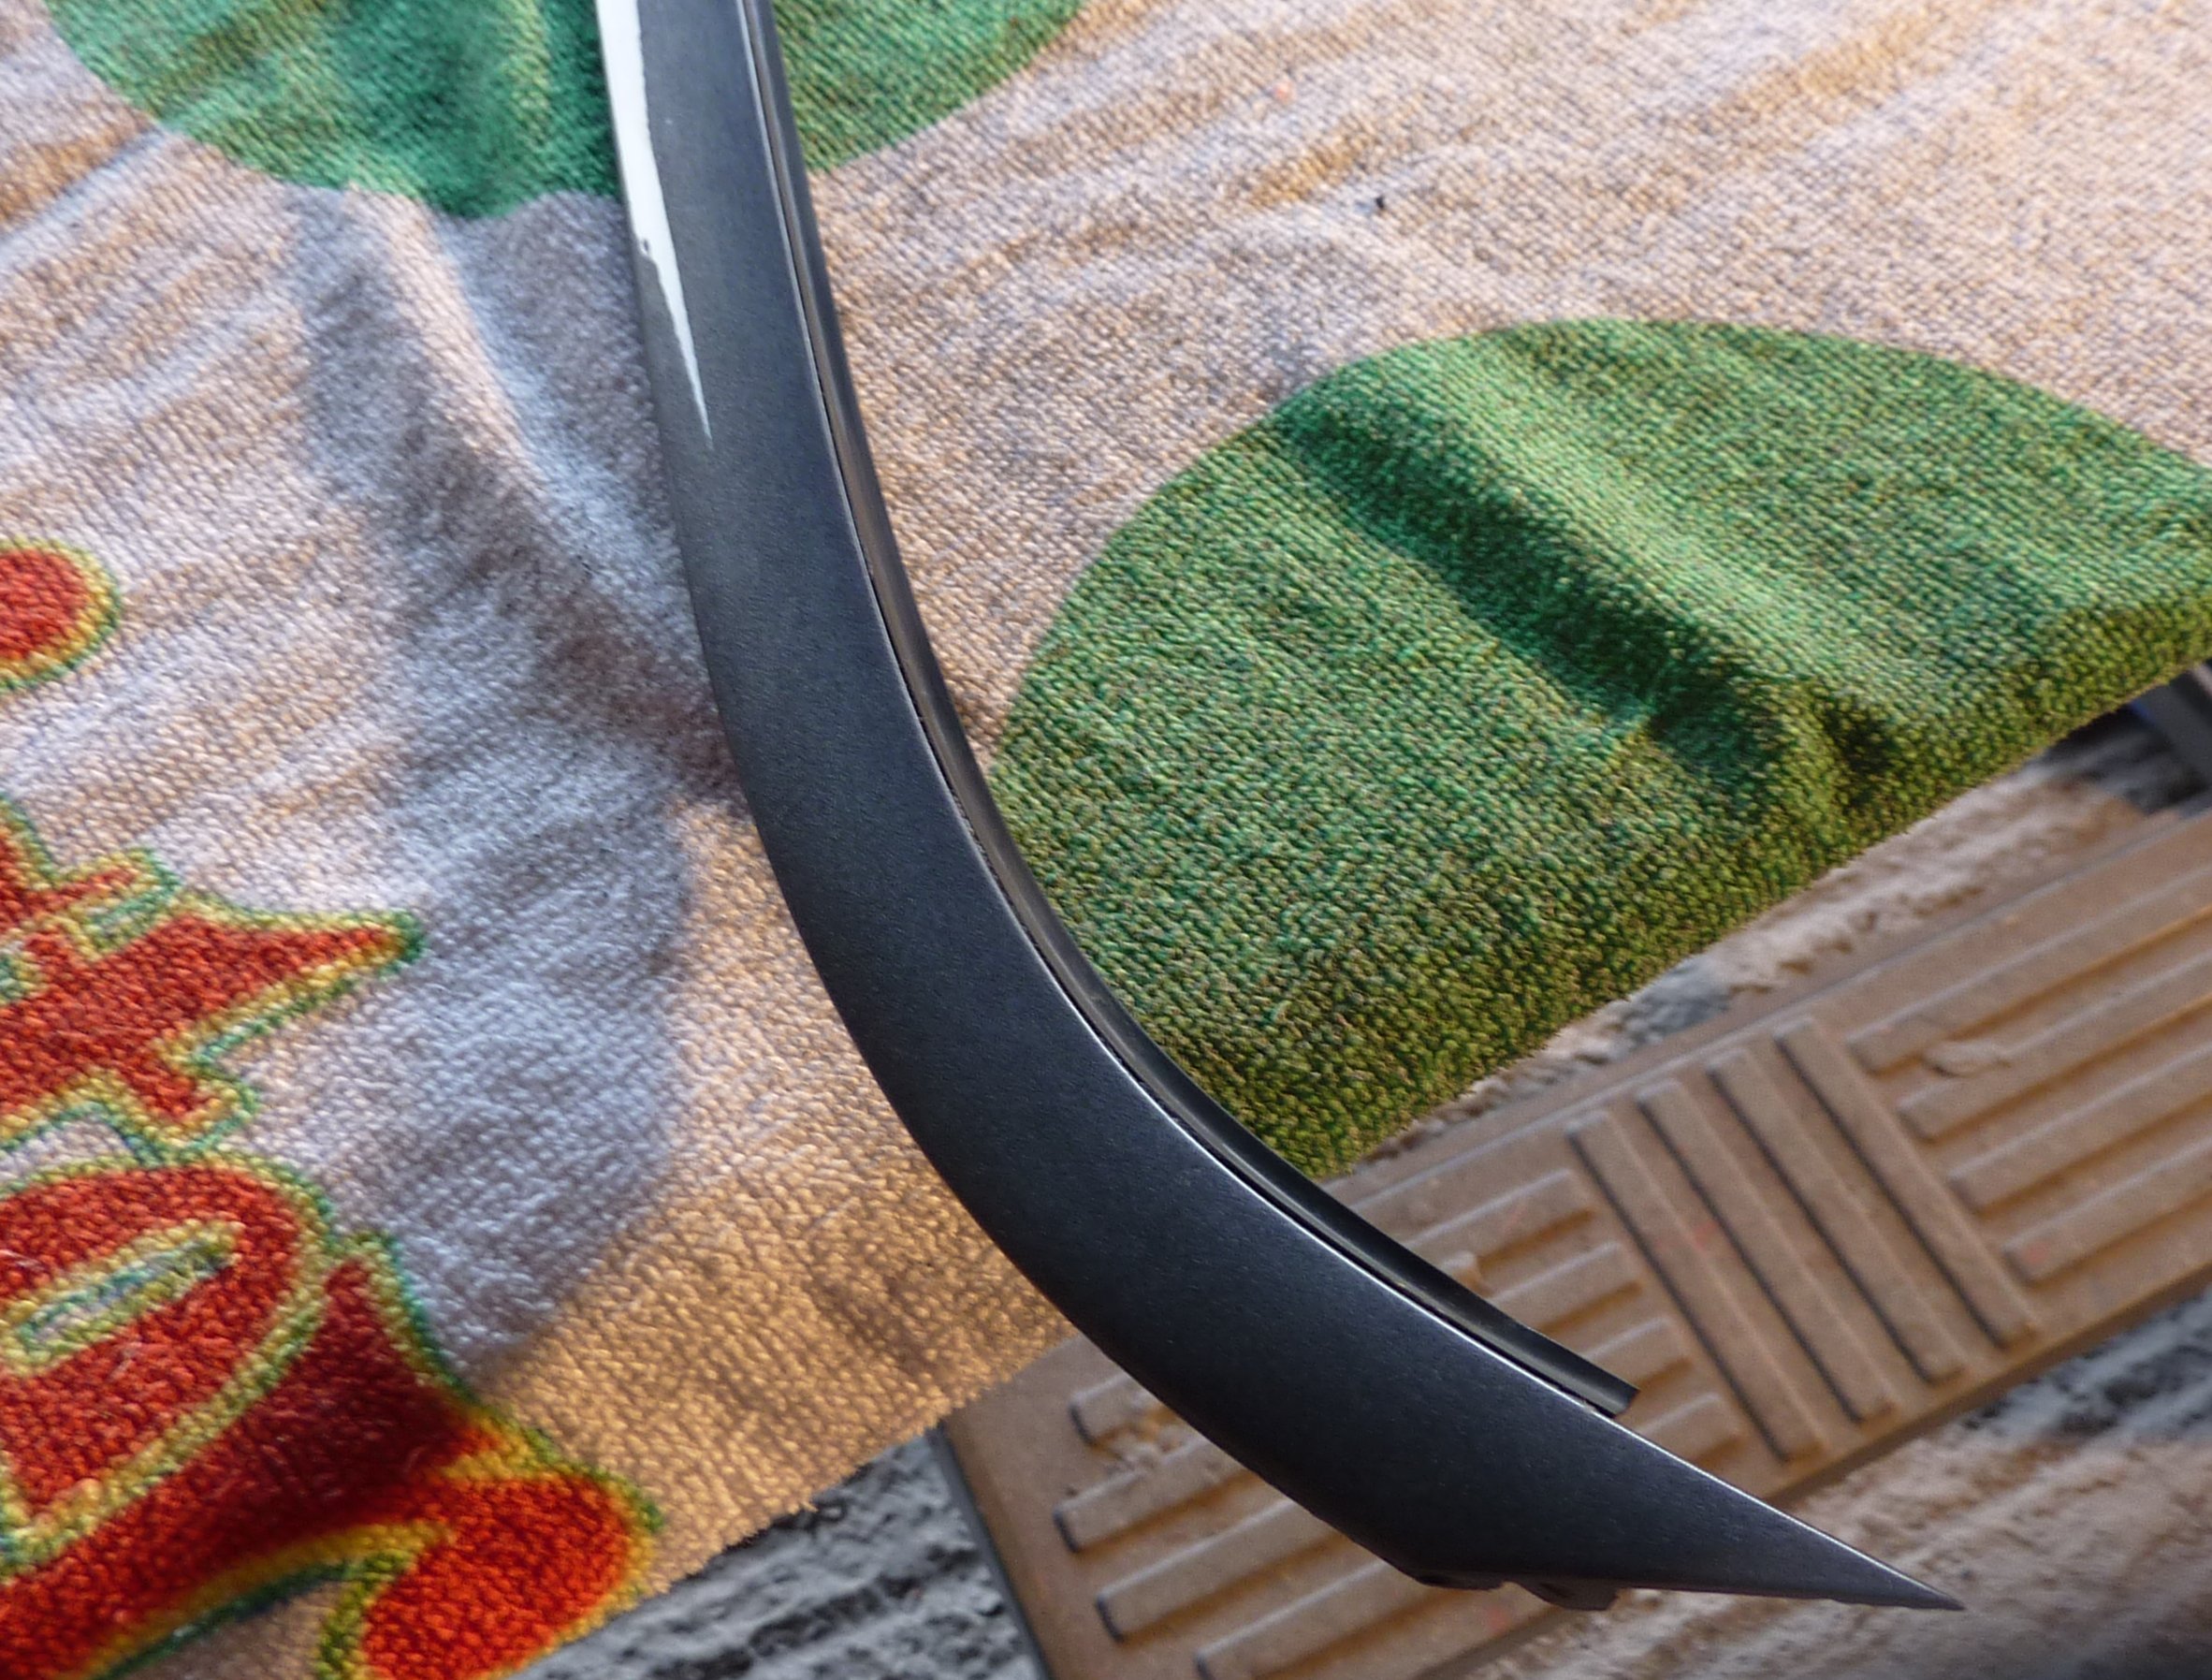
The outer rubber is pushed into a grove in the trim, note that it has four one inch sections which are crimped that makes removal tricky without damaging the rubber so take care.
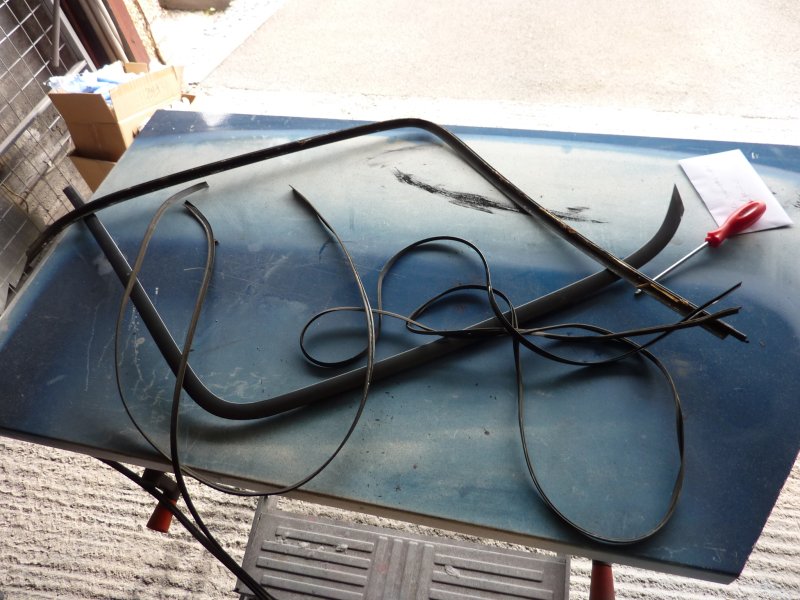
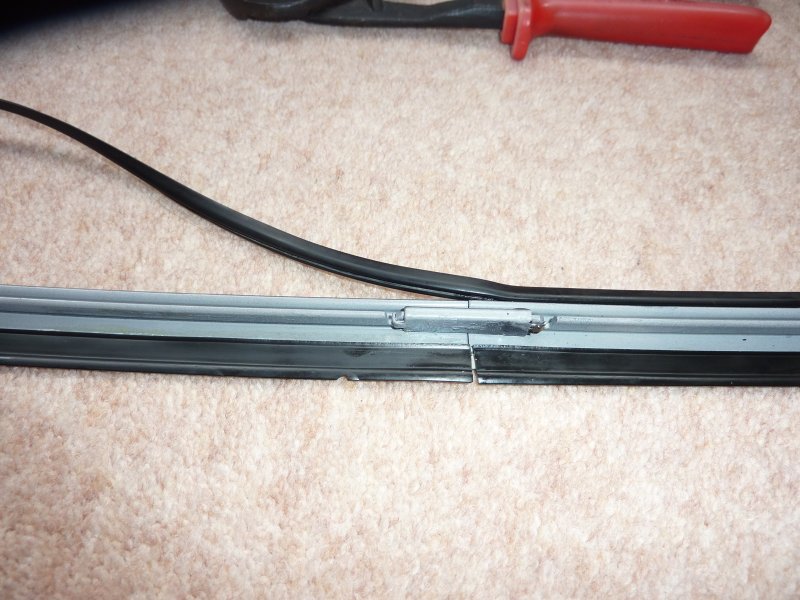
The two main bits of trim are connected with this small clip.
Next I sanded down the problem areas with 400 grit on the DA sander.
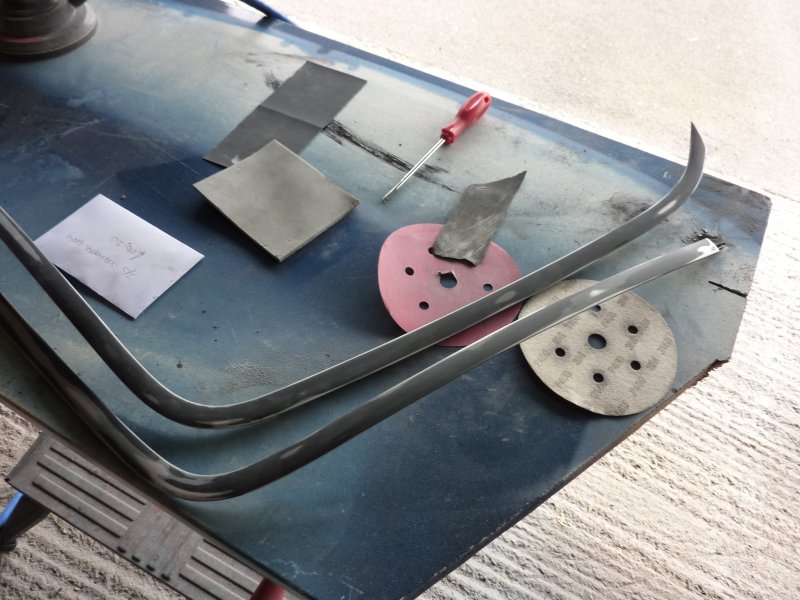
And applied 2 layers of epoxy primer to both sides.
First I removed the rubber strips, the inner strip is glued on with what looks like contact adhesive, I cleaned up the rubber and trim with some solvent.
The outer rubber is pushed into a grove in the trim, note that it has four one inch sections which are crimped that makes removal tricky without damaging the rubber so take care.
The two main bits of trim are connected with this small clip.
Next I sanded down the problem areas with 400 grit on the DA sander.
And applied 2 layers of epoxy primer to both sides.
Veteran Member
Joined: Sep 2012
Posts: 1,473
Likes: 655
From: Devon. U.K.
Hi RD. If you get a moment, could you take a couple more photos of the rubber strips. You mention "inner" and "outer" and I can't really see how that works, and which bit is glued to the metal trim.
Would be grateful - thanks.
David.
Would be grateful - thanks.
David.

Thread Starter
|
Veteran Member
Joined: Apr 2012
Posts: 1,854
Likes: 987
From: UK
Have a look on ebay for "Dorchester Grey" touch up paint.
Thread Starter
|
Veteran Member
Joined: Apr 2012
Posts: 1,854
Likes: 987
From: UK
The rubber on the left is glued to the underside of the trim on the inner side of the trim. The square recess fits a channel on the trim.
The rubber on the right is pushed into a channel on the outer edge of the trim.
You will need to take the trim off to be able to remove either of the rubber strips.
Thread Starter
|
Veteran Member
Joined: Apr 2012
Posts: 1,854
Likes: 987
From: UK
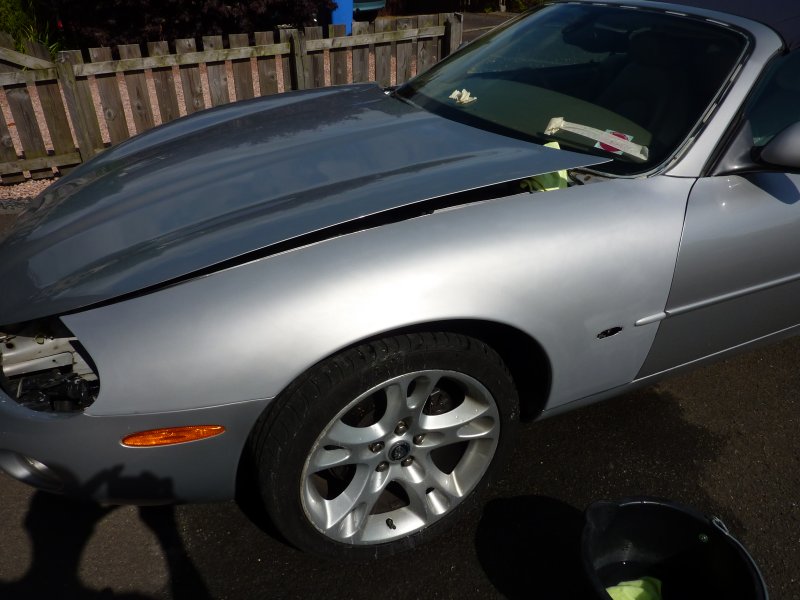
I've been busy derusting and painting the other wing but got back to this today. I was going to use an air brush but ended up using a brush to push the epoxy paint right up behind the plastic clip.
First I cleaned up the area with some more acid as it had regrown some surface rust in the last day or so.

Then painted on the epoxy.
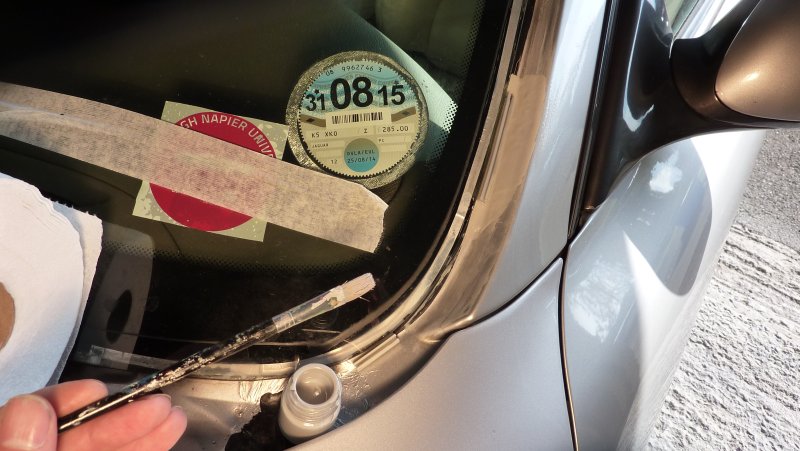
Need to wait a few hours now before I can start to sand it back down.
First I cleaned up the area with some more acid as it had regrown some surface rust in the last day or so.
Then painted on the epoxy.
Need to wait a few hours now before I can start to sand it back down.
Thread Starter
|
Veteran Member
Joined: Apr 2012
Posts: 1,854
Likes: 987
From: UK
Back o the trim, ready to glue the inner rubbers on.
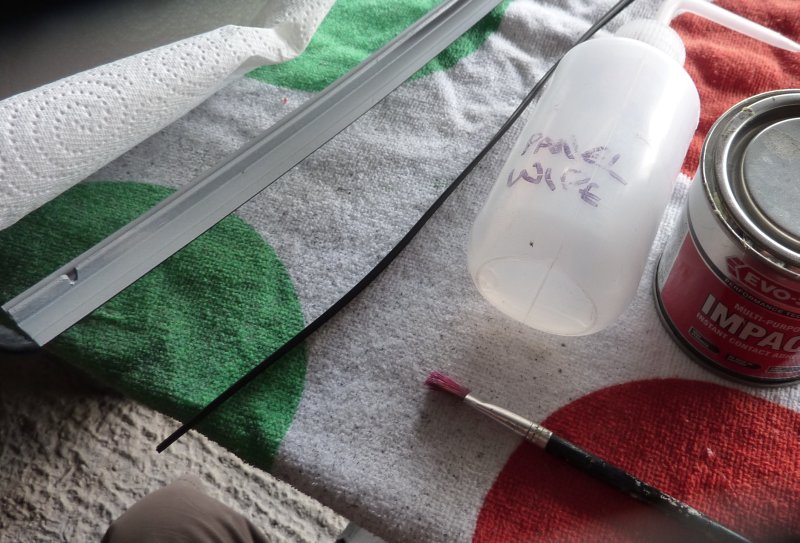
Its tricky to be accurate with the contact adhesive, there are a few bits I will need to clean off with some solvent.
Next I started to push in the outer rubber into the recess, tricky until I sprayed on some silicon rubber lubrication which made it much easier.
This clip is used to joint the two trim sections.
Next job will be to get back to the a pillar.

Joined: Dec 2011
Posts: 120,439
Likes: 17,014
From: Durham, UK
Did you use an acid etch primer on the trims?
The widespread problems with both the windscreen trims and door waist rails appear to due to poor priming by the OE manufacturer.
I used U-POL Acid Etch #8 when refinishing my waist rails and the bubbling never came back.
Graham
The widespread problems with both the windscreen trims and door waist rails appear to due to poor priming by the OE manufacturer.
I used U-POL Acid Etch #8 when refinishing my waist rails and the bubbling never came back.
Graham
Thread Starter
|
Veteran Member
Joined: Apr 2012
Posts: 1,854
Likes: 987
From: UK
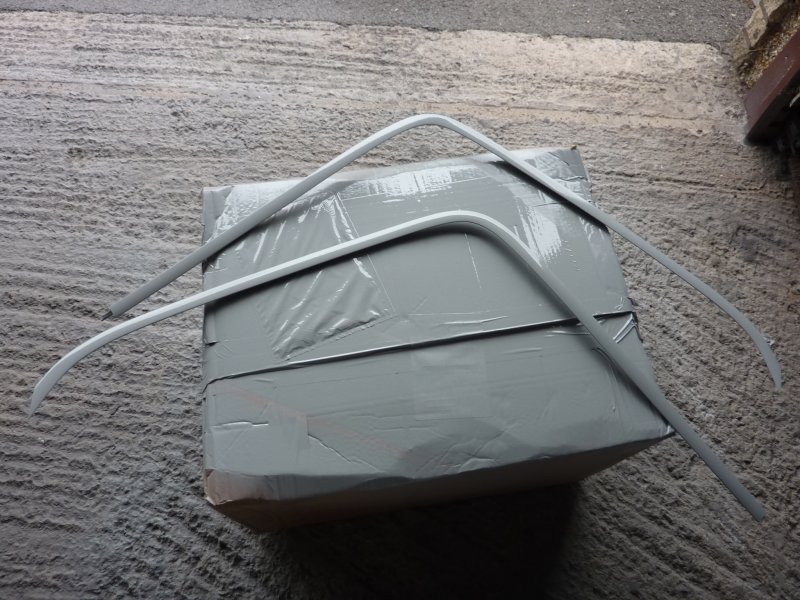
I used Leckler 2k epoxy primer which is suitable for aluminium, time will tell how well it works.
Back to the A pillar, I sanded down the epoxy primer and put a skim of filler on.
Sanded it down with 320 and 500 and the put on some primer.
All ready for base coat and clear, I plan to blend the base and clear on the pillar rather than spraying the entire section. I'm also going to respray the wing at the same time as I was not happy with the flys that got into the base coat the first time.
Its all rubbed down with 800 and 1000 and ready to go.
Thread Starter
|
Veteran Member
Joined: Apr 2012
Posts: 1,854
Likes: 987
From: UK
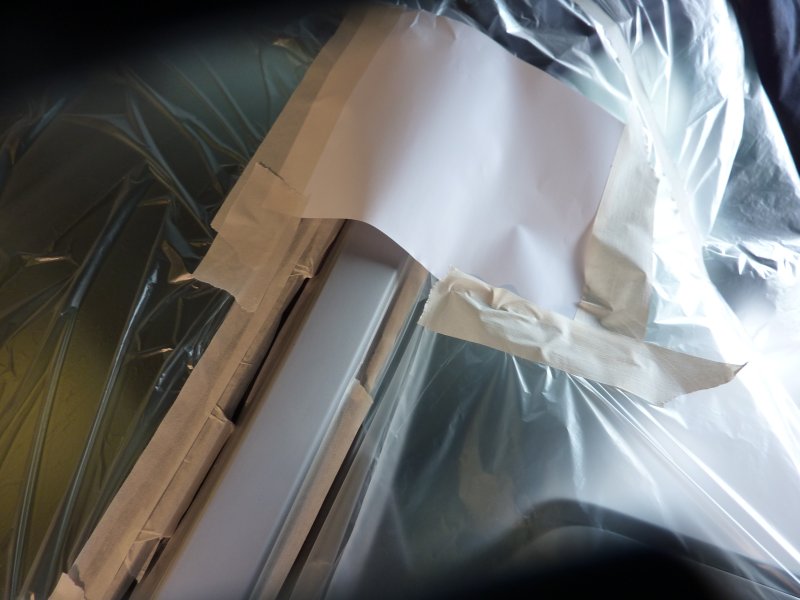
Masked up.
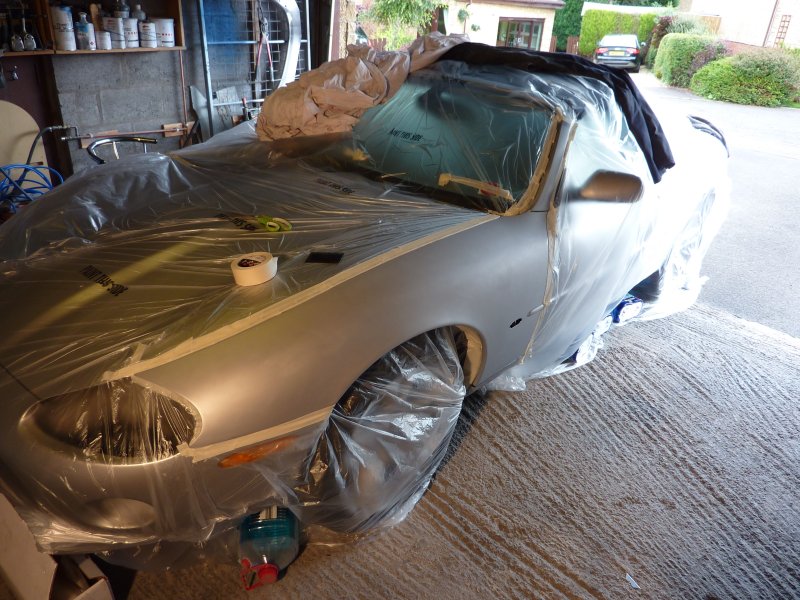
This is to help with the clear blend.
Base and clear on.
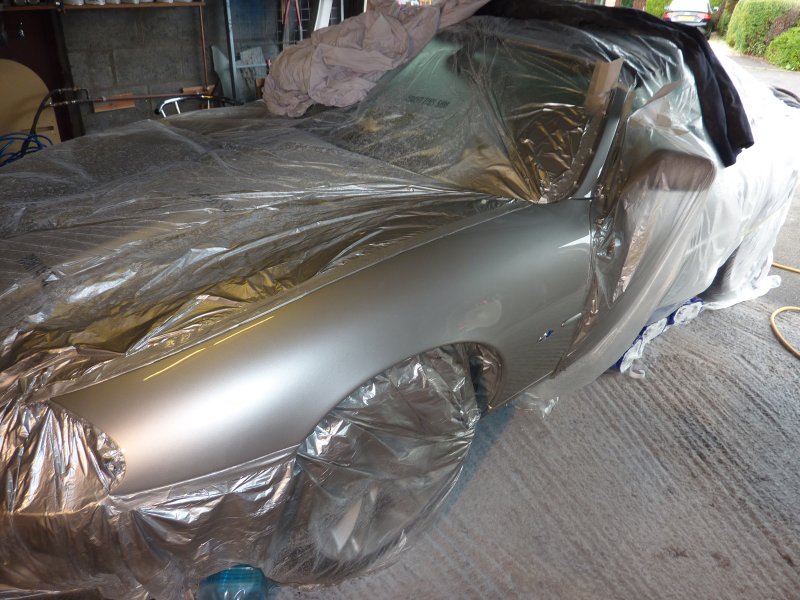
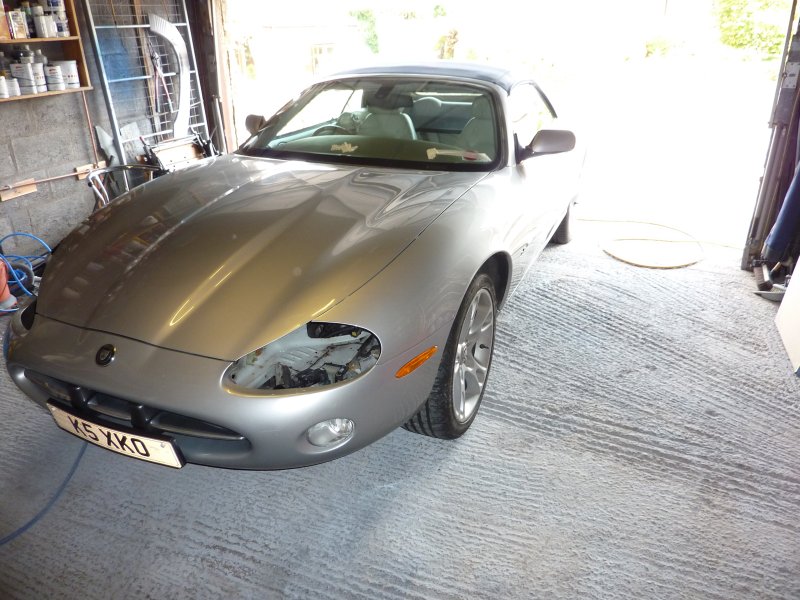
Job done. Next will be the bonnet and the bumper, you can see that the bumper never really matched the rest of the car.
This is to help with the clear blend.
Base and clear on.
Job done. Next will be the bonnet and the bumper, you can see that the bumper never really matched the rest of the car.
Senior Member
Joined: Aug 2013
Posts: 801
Likes: 77
From: North Northumberland England
Excellent job mate, and very well posted, great info. Couple of questions, did you have to buy new rubber trim, and if so where did you get it from? Were there any bits that broke and could not be used again, and were you able to get replacements?
Did you use a rattle can for the spraying or did you buy the paint and spray it yourself? Some tips on blending in would be most appreciated. Great job and thanks for sharing.
Did you use a rattle can for the spraying or did you buy the paint and spray it yourself? Some tips on blending in would be most appreciated. Great job and thanks for sharing.
Thread Starter
|
Veteran Member
Joined: Apr 2012
Posts: 1,854
Likes: 987
From: UK
Did you have to buy new rubber trim.
No, I was careful when removing the old rubber, then gave it a good wash. It probably took me a good hour or two to pick off all the old contact adhesive from the inner rubber, so patience is needed. All in the refurb of the trim must have taken 5 hours or so.
Were there any bits that broke and could not be used again.
The trim is held in with 14 clips which are glued to the underside of the screen, a small part of one of these broke, the only way to replace is to take the screen out so I wont do that.
Did you use a rattle can for the spraying.
No, but I would be happy to tackle an area like the A pillar with rattle cans, but not the wing. You can now get good 2k clear and primer in rattle cans so I would go that way if I had to use cans.
Did you buy the paint and spray it yourself.
Yes, I have been collecting all the needed kit over a few years as I needed it for the Merc and the XK8, with the jobs I've done so far this summer, the kit has paid for itself.
Some tips on blending in would be most appreciated.
My blend was rubbish, I will need to do it again. The video below shows how to do it.
https://www.youtube.com/watch?v=gNEipnWdPyM
Last edited by RaceDiagnostics; Aug 21, 2015 at 03:18 PM.

Thread
Thread Starter
Forum
Replies
Last Post
Andrew Fanshawe
New Member Area - Intro a MUST
7
Sep 14, 2015 07:40 PM
1964Daimler
MKI / MKII S type 240 340 & Daimler
0
Sep 9, 2015 11:28 AM
Currently Active Users Viewing This Thread: 1 (0 members and 1 guests)