When you click on links to various merchants on this site and make a purchase, this can result in this site earning a commission. Affiliate programs and affiliations include, but are not limited to, the eBay Partner Network.
I bought a black leaper from china, it just arrived today is not 100% exactly as the as the OEM but you will need to compare them side by side to see the differences.
i know removing the original will leave 2 or 3 holes. The black replica I bought does not have the �pimples� that go in the holes. Has any body installed this in top of the holes? Is there a concern with water getting in without the pimples?
Also, any advice on how to remove the orinal leaper? Just same as the letters?
thanks!!
(I tried palsti-deeping the Original but it inly lasted 3 weeks)
To remove the original leaper use much the same method as used for the letters - warm it up first (a hairdryer is plenty hot enough) to loosen the glue a bit, then saw/cut off from behind with dental floss or fishing line. Start at each end and work to the middle, until you hit the mounting/locating prongs (one each side of centre). Once you hit those prongs the leaper should lift away easily.
Then clean off the glue residue with your favourite cleaner (I use eucalyptus or tea tree oil).
Using the faint outline of the old leaper then mark where you want to put the replacement leaper, I used non-permanent felt tipped pen. Work out not just the side to side location (centred) but the correct slope/angle as well, he should be pointing up about 30 degrees.
I repainted the old leaper in gloss black and glued it back on about 1 cm lower than where it was originally, as I had already removed the "JAGUAR" letters and I wanted to get the leaper sitting as close as possible to central on the spoiler lid. Because of those mounting holes in the spoiler I could drop it a maximum of about 1 cm and still fully cover the holes. Which also meant I had to cut the mounting prongs off the back of the leaper, but you don't have that problem.
I used black silicone RTV adhesive/sealant to glue the now painted leaper back on and it hasn't budged a micron since and there is no hint of any water having gotten into the mounting holes. You could do the same, or else your new leaper already has adhesive on the back (most do) and it's simply "peel and stick".
If you decide to go with the silicone adhesive I have two further tips - don't slather it on and don't get it too close to the edges of the leaper, otherwise when you press it down into place some will ooze out the sides and be very hard to clean off neatly. If you do have any oozing out clean it off very gently with turps and a cotton bud before it sets/cures, you will have about 5 minutes.
One last tip - I also bought an eBay special replacement black leaper and yes it is not quite the same size and shape as the OEM leaper, but the big problem I found with it (and why I stuck with the OEM leaper) is that it is fairly solid metal (OEM is ABS plastic) and extremely difficult to bend to the exact right curve. Out of the packet/box it is dead flat and will not sit properly on slightly curved the spoiler lid unless you can somehow bend it to shape.
Here's a pic of my black leaper:
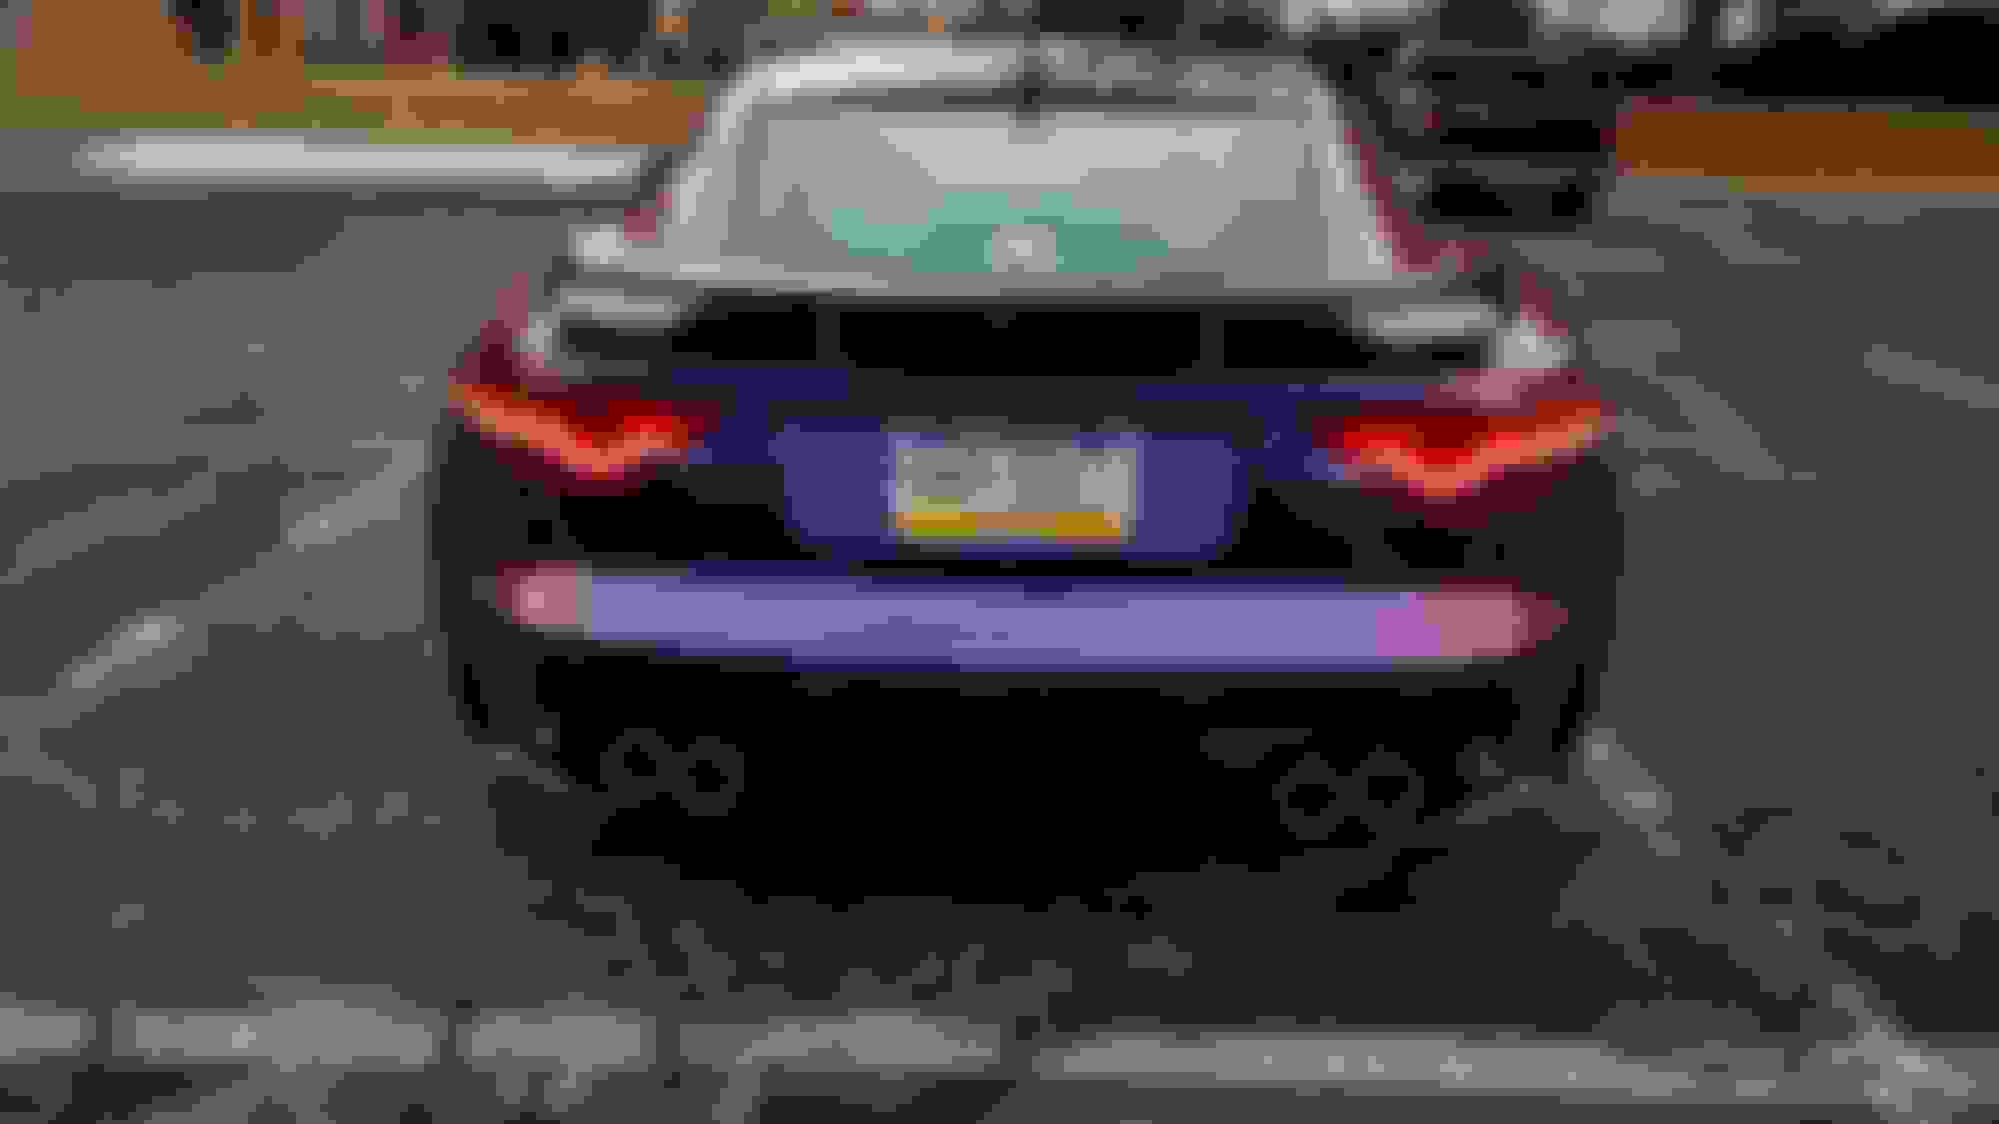
I've removed the "F-type" off my rear bumper already.
Thinking of maybe removing & replacing the "AWD R" emblem & replace with this simple "R" metal emblem:
$2 & free shipping, but takes over a month to arrive from China.... https://www.ebay.com/p/3d-Metal-R-Lo....c100005.m1851
To remove the original leaper use much the same method as used for the letters - warm it up first (a hairdryer is plenty hot enough) to loosen the glue a bit, then saw/cut off from behind with dental floss or fishing line. Start at each end and work to the middle, until you hit the mounting/locating prongs (one each side of centre). Once you hit those prongs the leaper should lift away easily.
Then clean off the glue residue with your favourite cleaner (I use eucalyptus or tea tree oil).
Using the faint outline of the old leaper then mark where you want to put the replacement leaper, I used non-permanent felt tipped pen. Work out not just the side to side location (centred) but the correct slope/angle as well, he should be pointing up about 30 degrees.
I repainted the old leaper in gloss black and glued it back on about 1 cm lower than where it was originally, as I had already removed the "JAGUAR" letters and I wanted to get the leaper sitting as close as possible to central on the spoiler lid. Because of those mounting holes in the spoiler I could drop it a maximum of about 1 cm and still fully cover the holes. Which also meant I had to cut the mounting prongs off the back of the leaper, but you don't have that problem.
I used black silicone RTV adhesive/sealant to glue the now painted leaper back on and it hasn't budged a micron since and there is no hint of any water having gotten into the mounting holes. You could do the same, or else your new leaper already has adhesive on the back (most do) and it's simply "peel and stick".
If you decide to go with the silicone adhesive I have two further tips - don't slather it on and don't get it too close to the edges of the leaper, otherwise when you press it down into place some will ooze out the sides and be very hard to clean off neatly. If you do have any oozing out clean it off very gently with turps and a cotton bud before it sets/cures, you will have about 5 minutes.
One last tip - I also bought an eBay special replacement black leaper and yes it is not quite the same size and shape as the OEM leaper, but the big problem I found with it (and why I stuck with the OEM leaper) is that it is fairly solid metal (OEM is ABS plastic) and extremely difficult to bend to the exact right curve. Out of the packet/box it is dead flat and will not sit properly on slightly curved the spoiler lid unless you can somehow bend it to shape.
Here's a pic of my black leaper:
thank you so much for the tips
and detailed information. I didnt notice the replica doesn�t have the curve. I am planning on putting it on (OEM or replica) this weekend and I�ll provode update.
thank you so much for the tips
and detailed information. I didnt notice the replica doesn�t have the curve. I am planning on putting it on (OEM or replica) this weekend and I�ll provode update.
question: how did you painted the OEM?
I simply spray painted it using a rattle can of gloss black caliper paint I had laying around.
Three thin coats waiting about 10 minutes between each coat.
Two tips: thoroughly clean the leaper before you paint it - I just used meths and a MF cloth - and don't forget to spray right into the edges at 90 degrees to the face.
Debadged the "F-Type", during debadging the "AWD R", found out that the "AWD" & "R" are 2 separate pieces. My wife wants to keep the "R", so I just took off the "AWD" & left the "R" in place
Will see if I want to fully debadge in a few days & may take that "R" off later...
Debadged the "F-Type", during debadging the "AWD R", found out that the "AWD" & "R" are 2 separate pieces. My wife wants to keep the "R", so I just took off the "AWD" & left the "R" in place
Will see if I want to fully debadge in a few days & may take that "R" off later...
My son and I argue over removing various components the badging too - but we both agree that we will get rid of the R badge in the front when I install the P7 grille, but leave the one at the rear.
Also, another option: Instead of deleting, consider painting emblems black or another color - the chrome looks pretty 1985 to me. Previous owner of my car had mine painted satin bronze which matches my wheels and contrasts nicely against the my car's stratus grey color.
My son and I argue over removing various components the badging too - but we both agree that we will get rid of the R badge in the front when I install the P7 grille, but leave the one at the rear.
On the P7 grille you have no choice but to leave it off. The badge doesn't mate with the larger honeycomb.
Someone de-badged my F-type for me the other day. Apparently they couldn't get the Growler but could get the little R-Dynamic badge off the front grille. It looks kinda naked, now.
If you are de-badging, wanna sell me your R-Dynamic one? For a 2018 F-type.
I'm in Toronto.
Thanks!
PS I was born during the Texas Sesquicentennial.
Not really. I just like saying "sesquicentennial".
Just save all the pieces in a Ziploc bag. If you ever resell the car, the de-badge wont be a sales deficit them. I love my F-type de-badged, but left the leaper as is after a pathetic attempt at Plastic-dip.
Available options do vary per country/region, but here debadging is an available option on all F-Types except for the 5.0 models.
Most premium brands do offer debadging as an option here.
Available options do vary per country/region, but here debadging is an available option on all F-Types except for the 5.0 models.
Most premium brands do offer debadging as an option here.