When you click on links to various merchants on this site and make a purchase, this can result in this site earning a commission. Affiliate programs and affiliations include, but are not limited to, the eBay Partner Network.
I am trying to remove the outer left hand headlight following the instructions set out in users manual:
Dipped beam (outer) headlight
Open the hood.
Remove the top cover as shown on page 171.
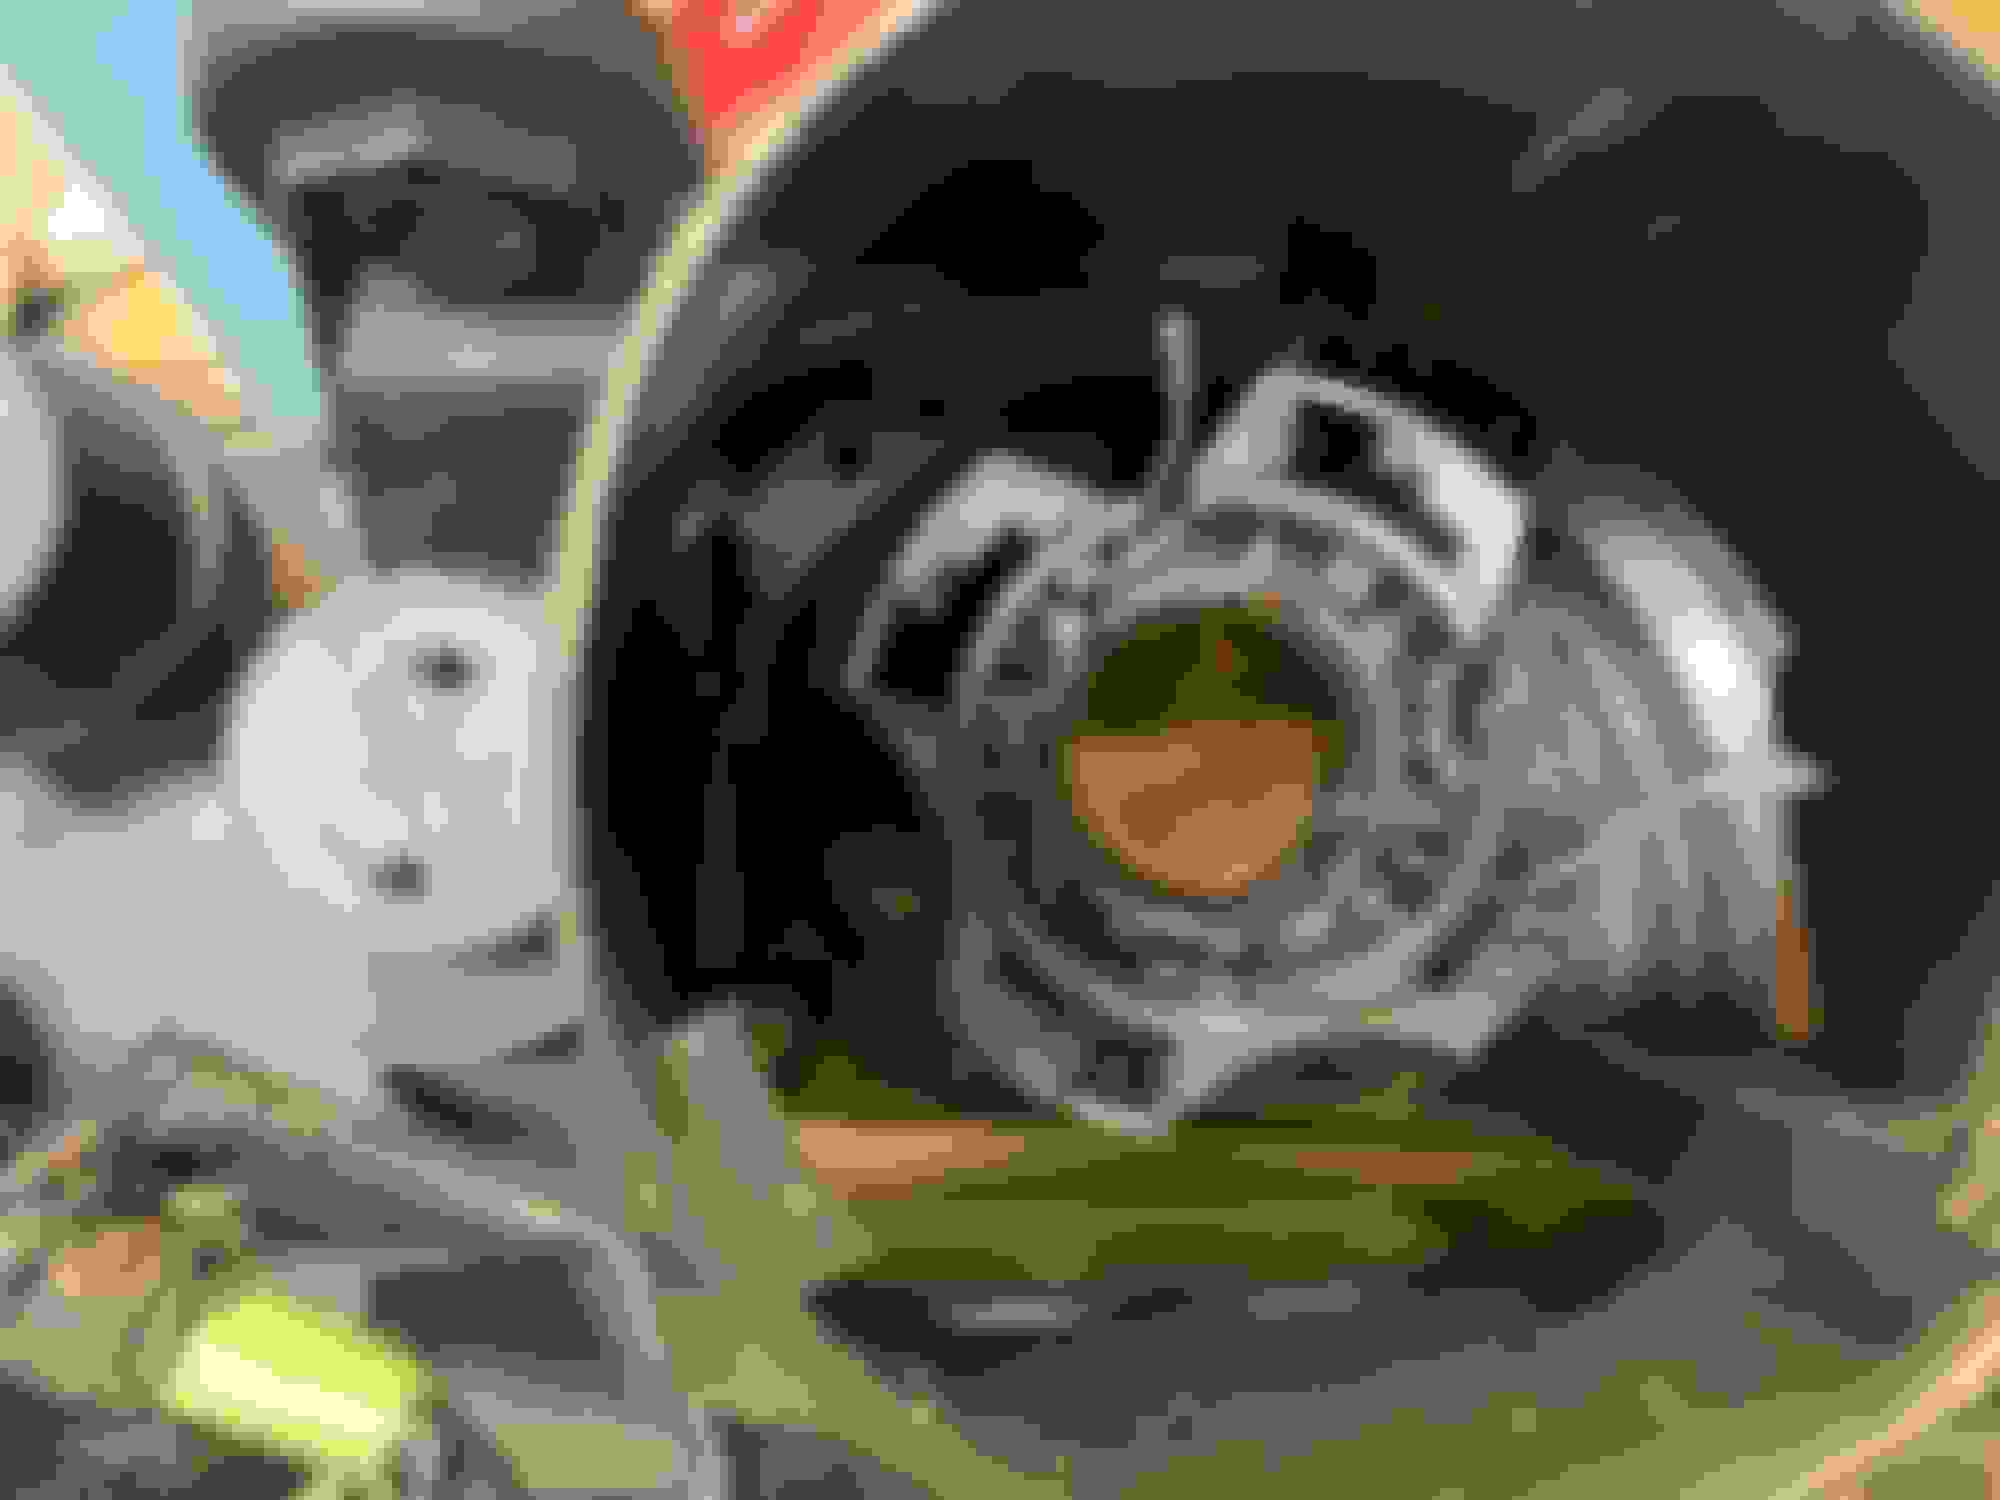
Turn the circular cover (1) anti-clockwise and remove.
Press the spring clip (2) towards the bulb and downwards to release the bulb. Remove the bulb/connector (3) from the headlight assembly. Pull the connector from the bulb.
I have managed to remove the circular cover (only just able to reach) and cannot for the life of me figure out how I am supposed to get my hand in an accessible spot to complete the next step. Any tips? I am a complete novice, 24 year old gal, so layman terms would be appreciated!
You have to release the plastic bumper cover and pivot it down for access to the headlight assemblys for removal. It is not as bad as it looks. In the jtis is a good walkthrough for it. Also use search on this forum and you will find detailed threads on it
I found out that it is almost impossible to replace that bulb if you have HIDs without removing the headlight assembly because trying to align the HID bulb and the igniter to the assembly and getting the spring clip to clip in its spot is impossible when you have your hand coming in from the top and then bending 90�. Even taking out the air cleaner box to get a better shot would not work for me.
On my S type R when i first got it, the driver side headlight (on the left) would initially turn on but then shut off a few minutes after operation. When I tried to replace the bulb with the headlight assembly installed it was an absolute nightmare. I also found that the previous owner must have tried to replace that same bulb with the headlight installed and they failed miserably because the entire bulb assembly and igniter where flopping around inside the headlight case. Once I got the bumper cover off and removed the headlight assembly everything was a breeze to replace however I had to replace the igniter as well because when the previous owner attempted The bulb change he had everything misaligned and it wasnt clipped in correctly. it caused the bulb to overheat and it melted the igniter contacts. So do yourself a favor and just remove the assembly if you have H IDs at least
Yes I found the same thing. Remove the bumper cover and then the entire headlight assembly. Now you did not ask but on my old 2005 STR after years of use the plastic ball adjusters were all broken and needed replacement anyway. I had done Brutal's screw fix but as the damage gets worse there is a point where that does not even work anymore.
So I baked the headlamp assemblies in the oven at 250 to remove the front lenses. Replaced all the ball adjusters as there is now a nice kit on EBay that have metal instead of plastic parts. Replaced the bulbs as they were all old. Stuck the lenses back on and finally sanded and polished the headlights to look brand new. Not a lot of money at all but a fair amount of work.
Really makes the car pop with new looking headlights too! I know this more than you asked but with the age of your car it's probably time to do all of the above. I had HID bulbs and while there were still working the new bulbs were much brighter.
.
.
.
If you live in the states and purchase the steel replacement ***** that clubraith mentioned from eBay. Allow 3~4 week delivery. I purchased them not long ago, took way longer than expected.