When you click on links to various merchants on this site and make a purchase, this can result in this site earning a commission. Affiliate programs and affiliations include, but are not limited to, the eBay Partner Network.
Here are the steps I did to replace a leaking radiator. The Jaguar part number is C2S42756. I believe Behr is OEM to Jaguar, and bought my radiator from Rock Auto for $169 shipped.
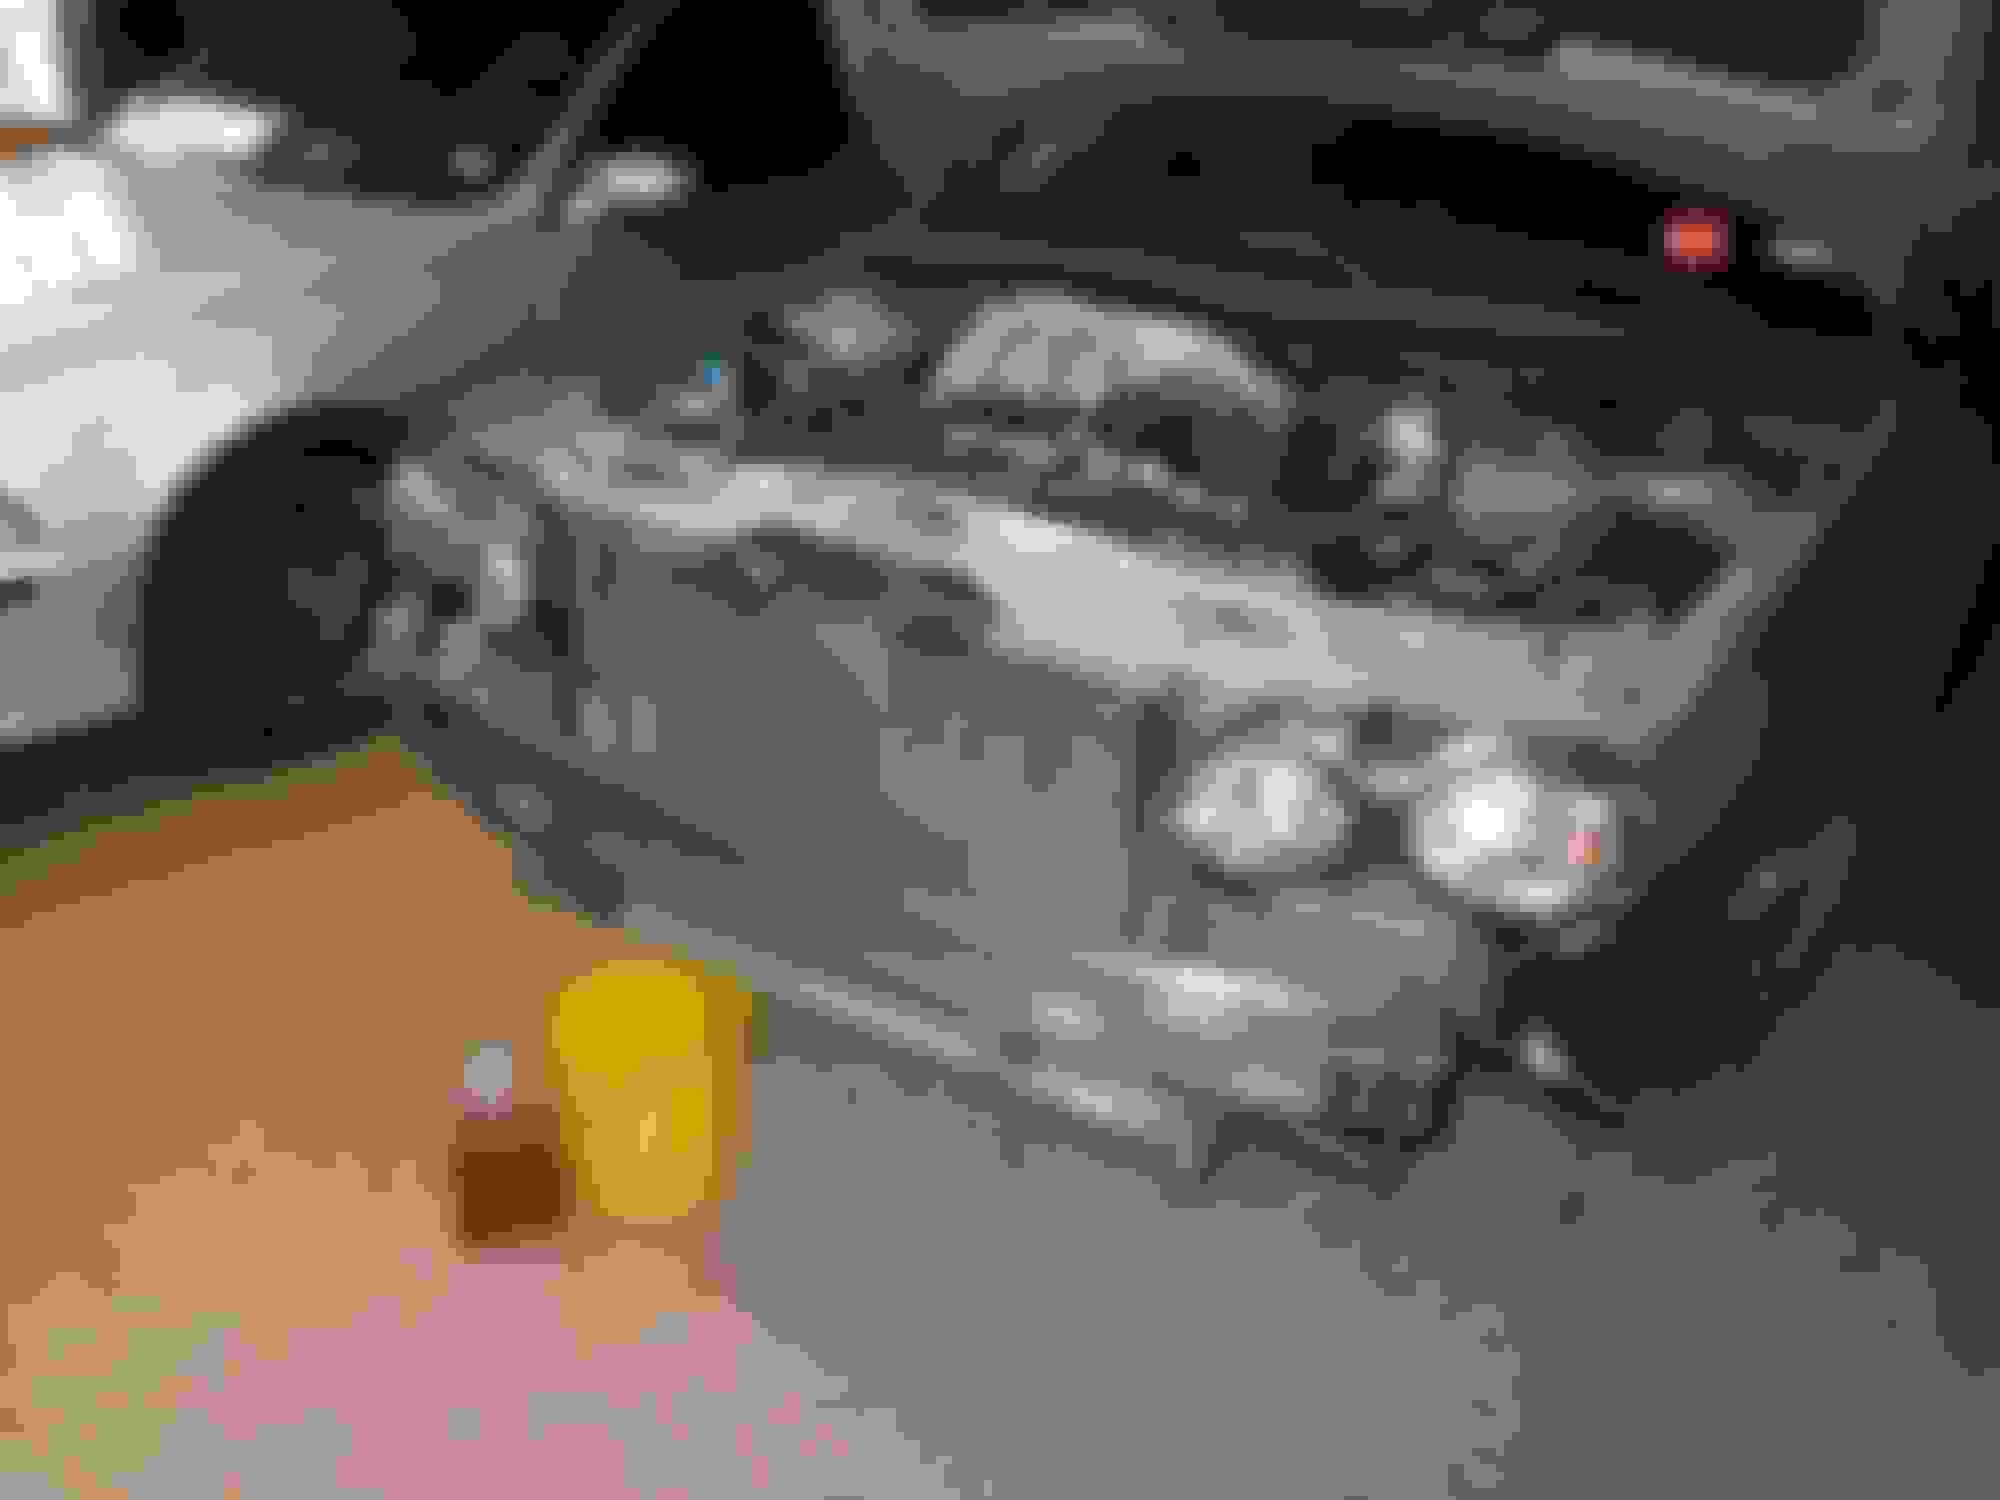
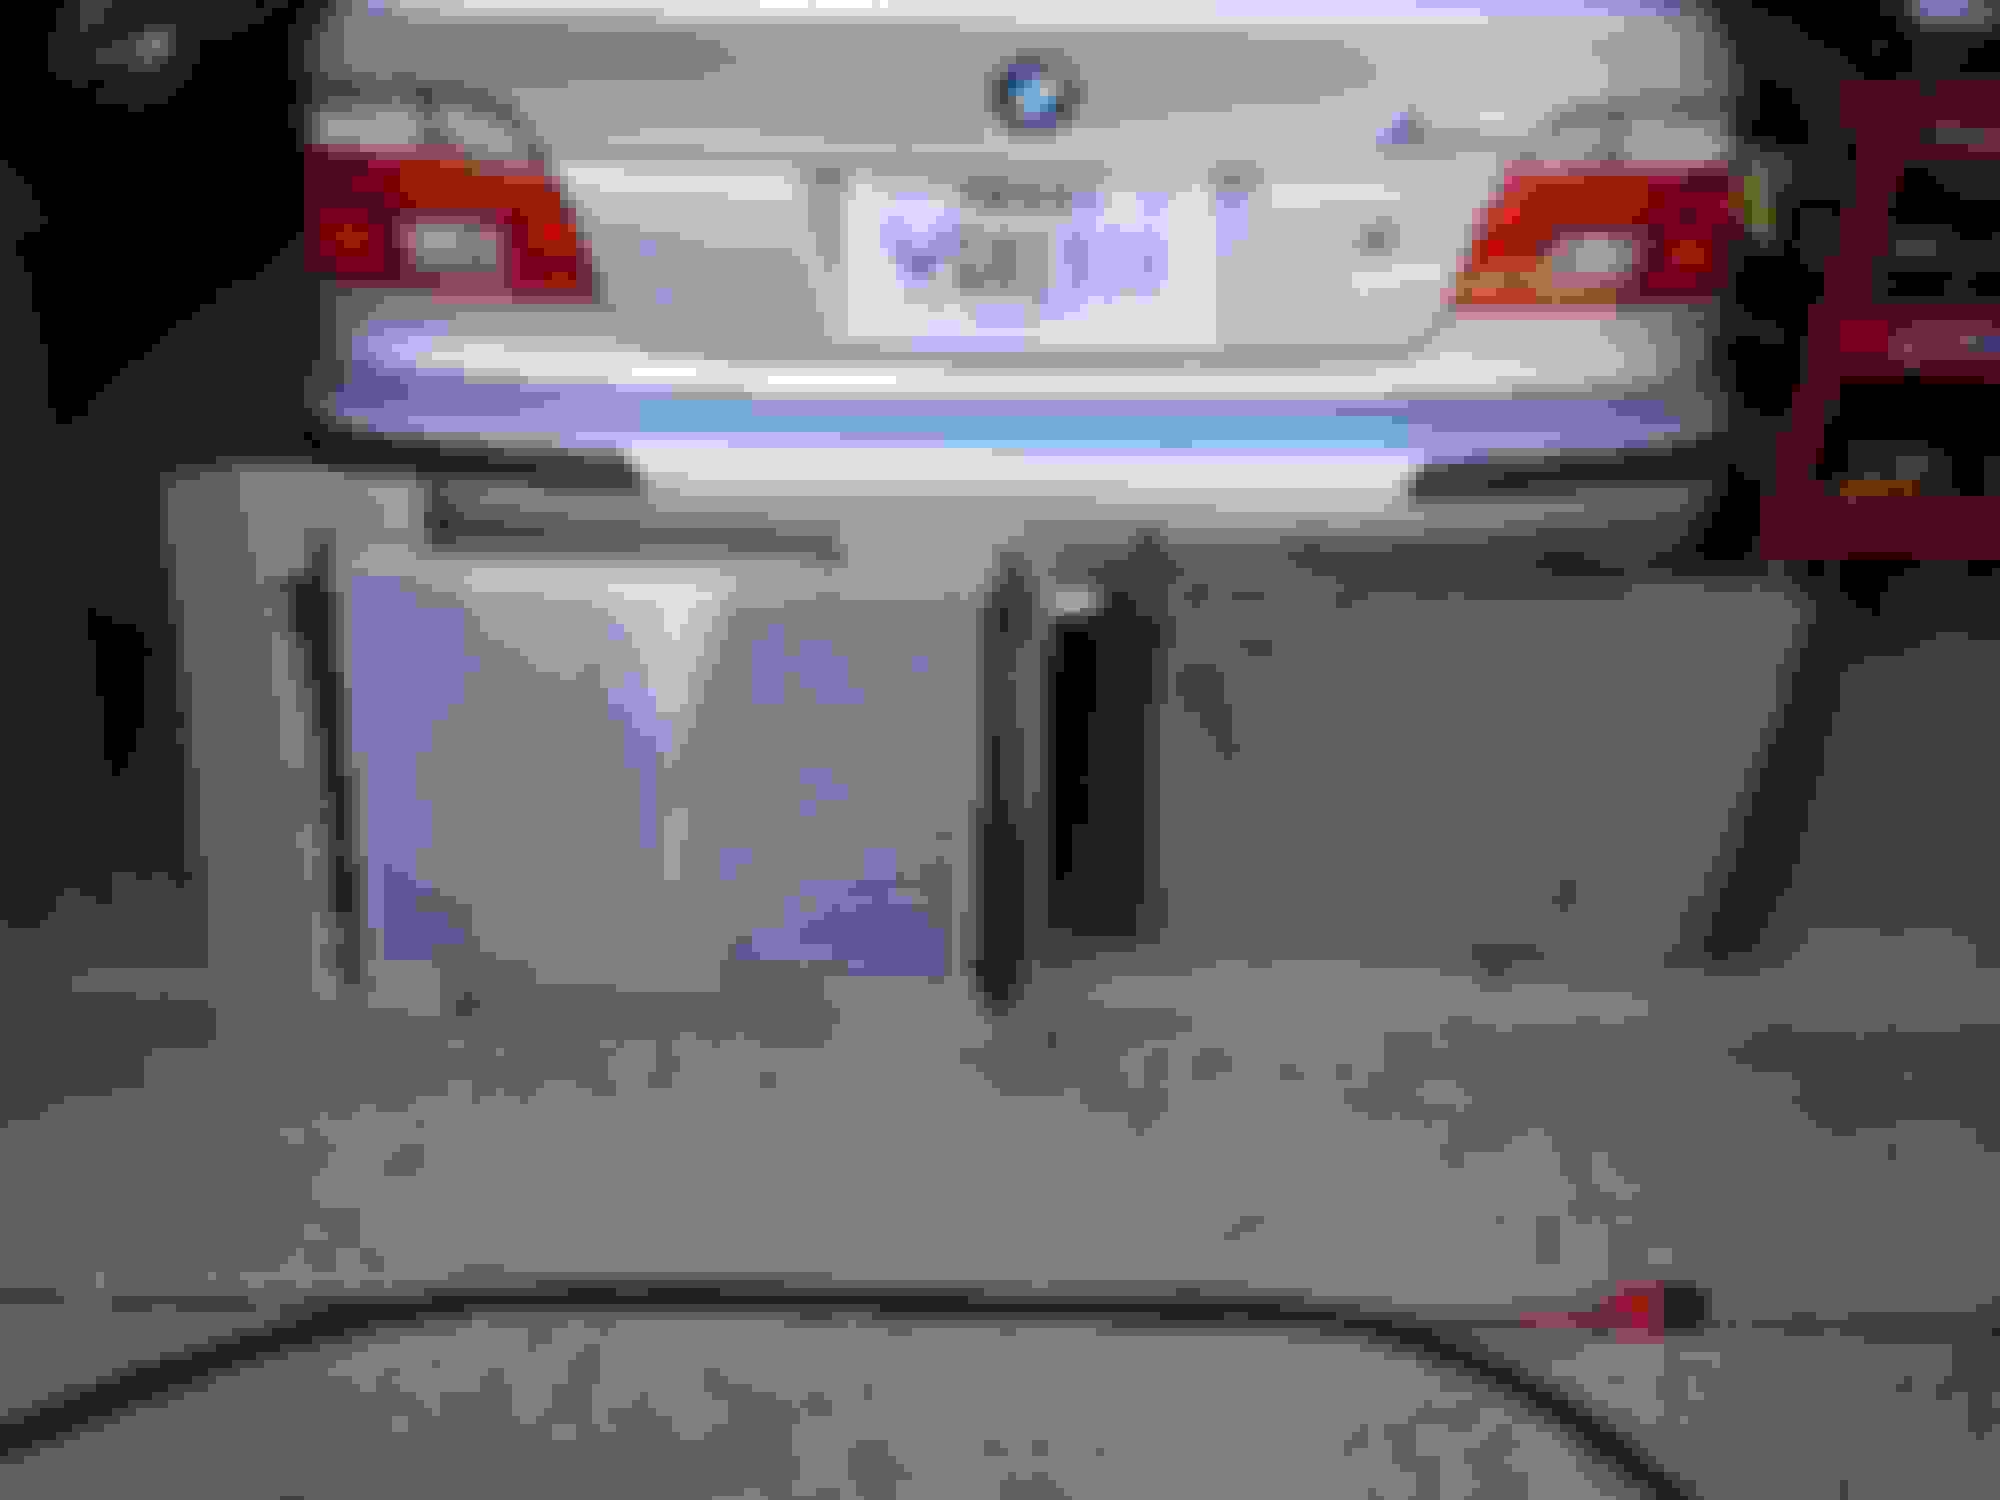
1. Chock rear wheel and put front end up on stands approximately 20-24". Remove front bumper (I find it's easier with wheels off) and lower splash shield. Drain radiator.
2. I wanted to use trunk for storing parts, so I put a piece of cardboard over the latch before I removed the battery. You could also lower the rear seat backs in order to reach the manual pull if the trunk lid closed.
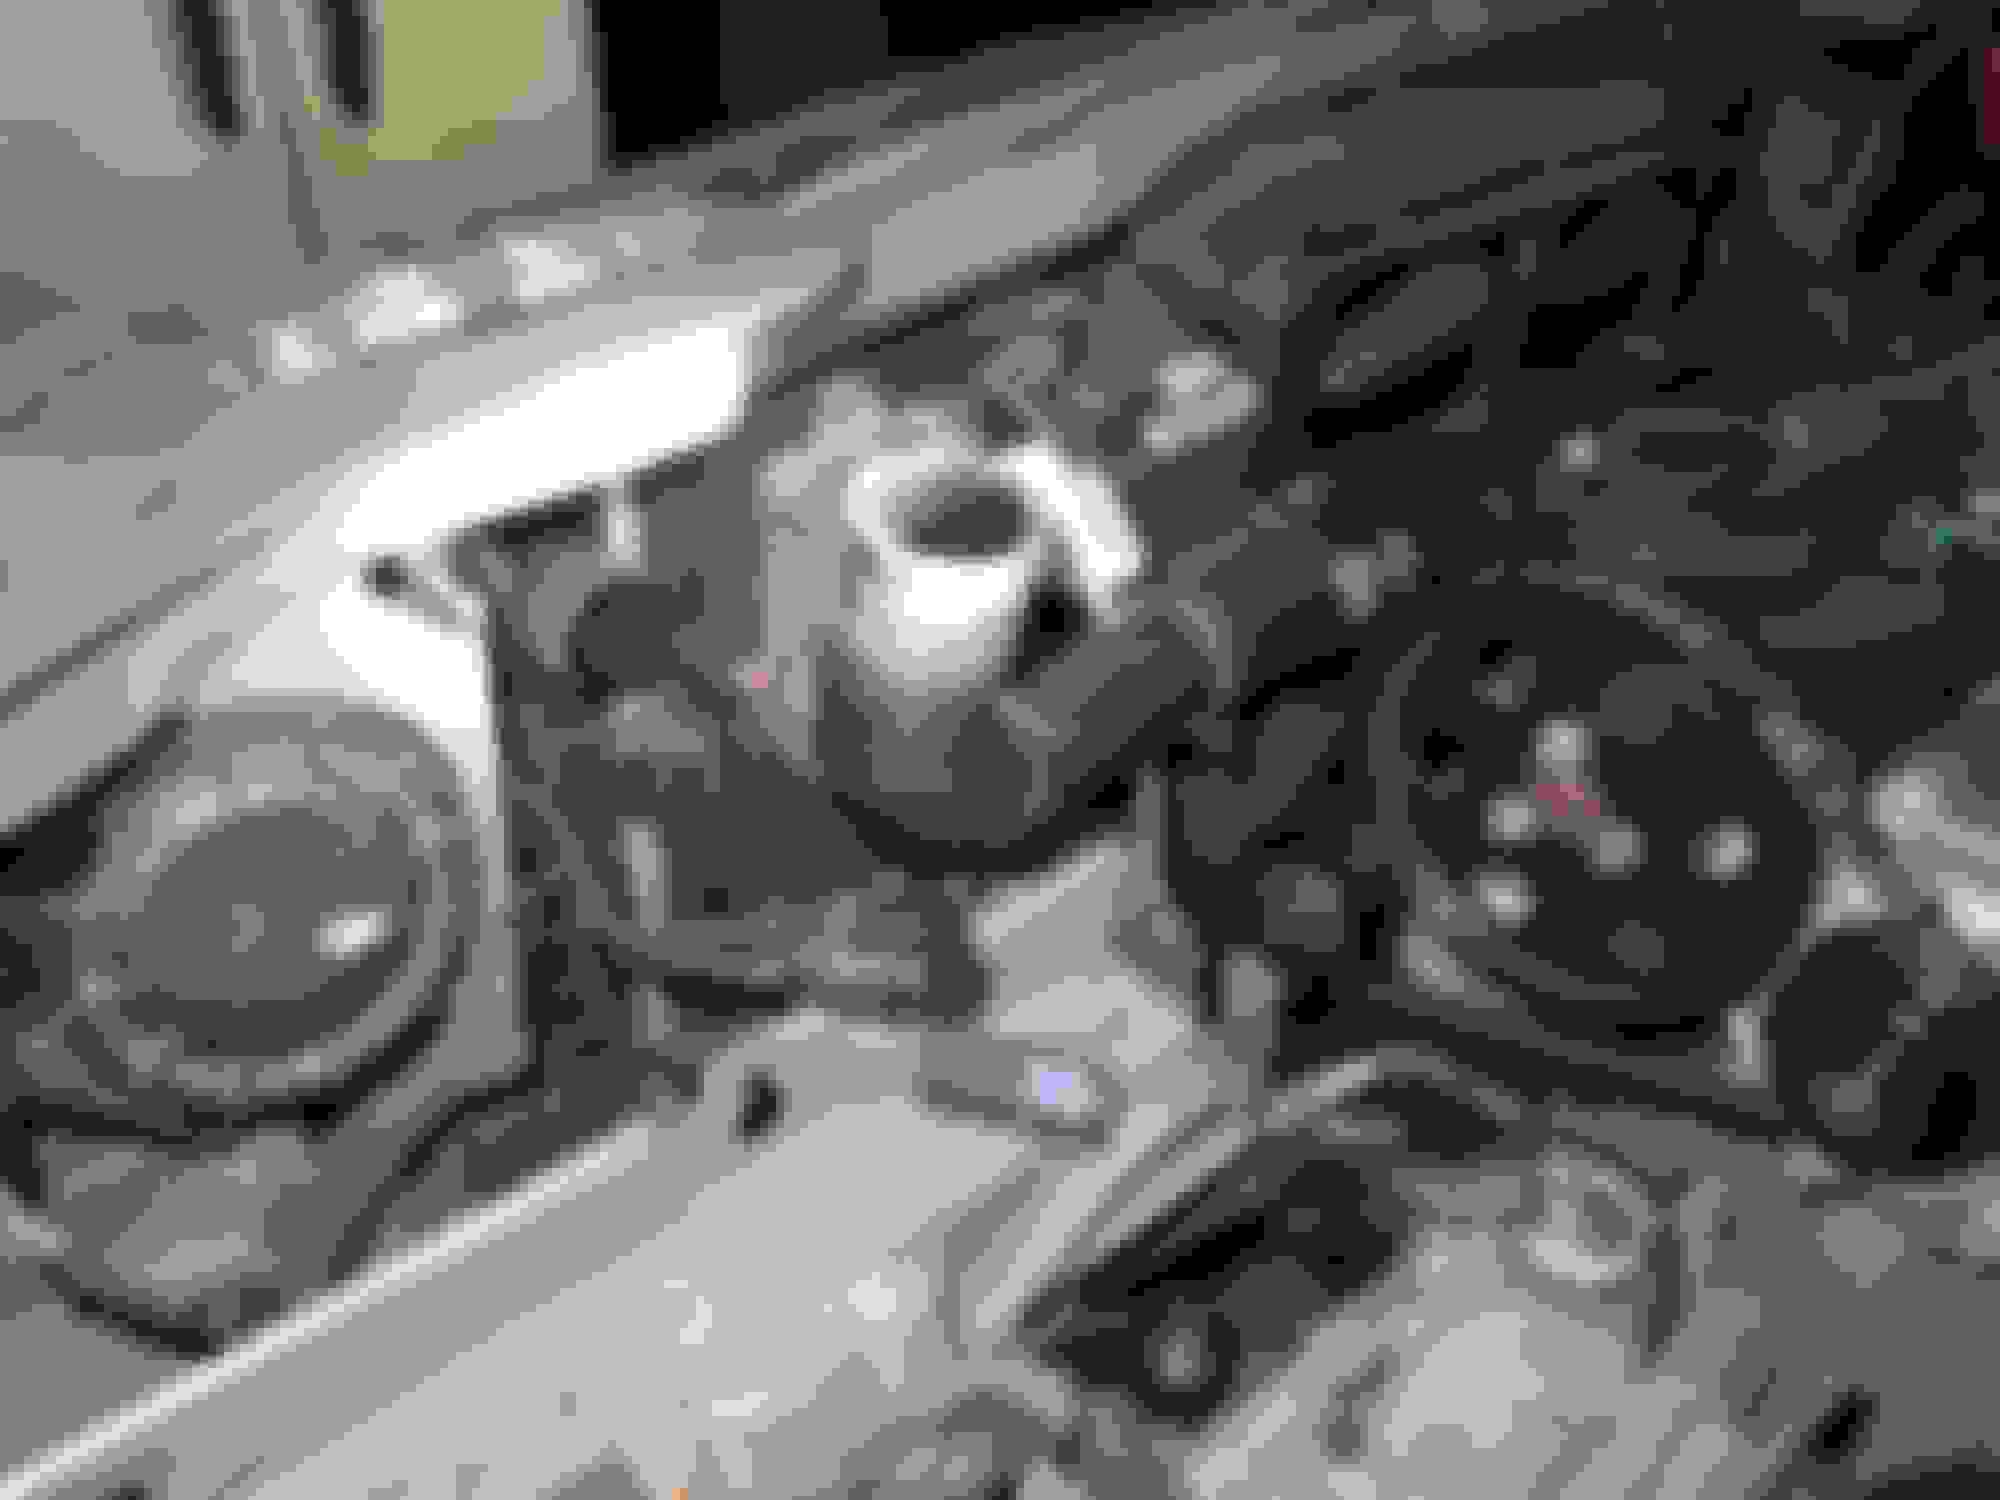
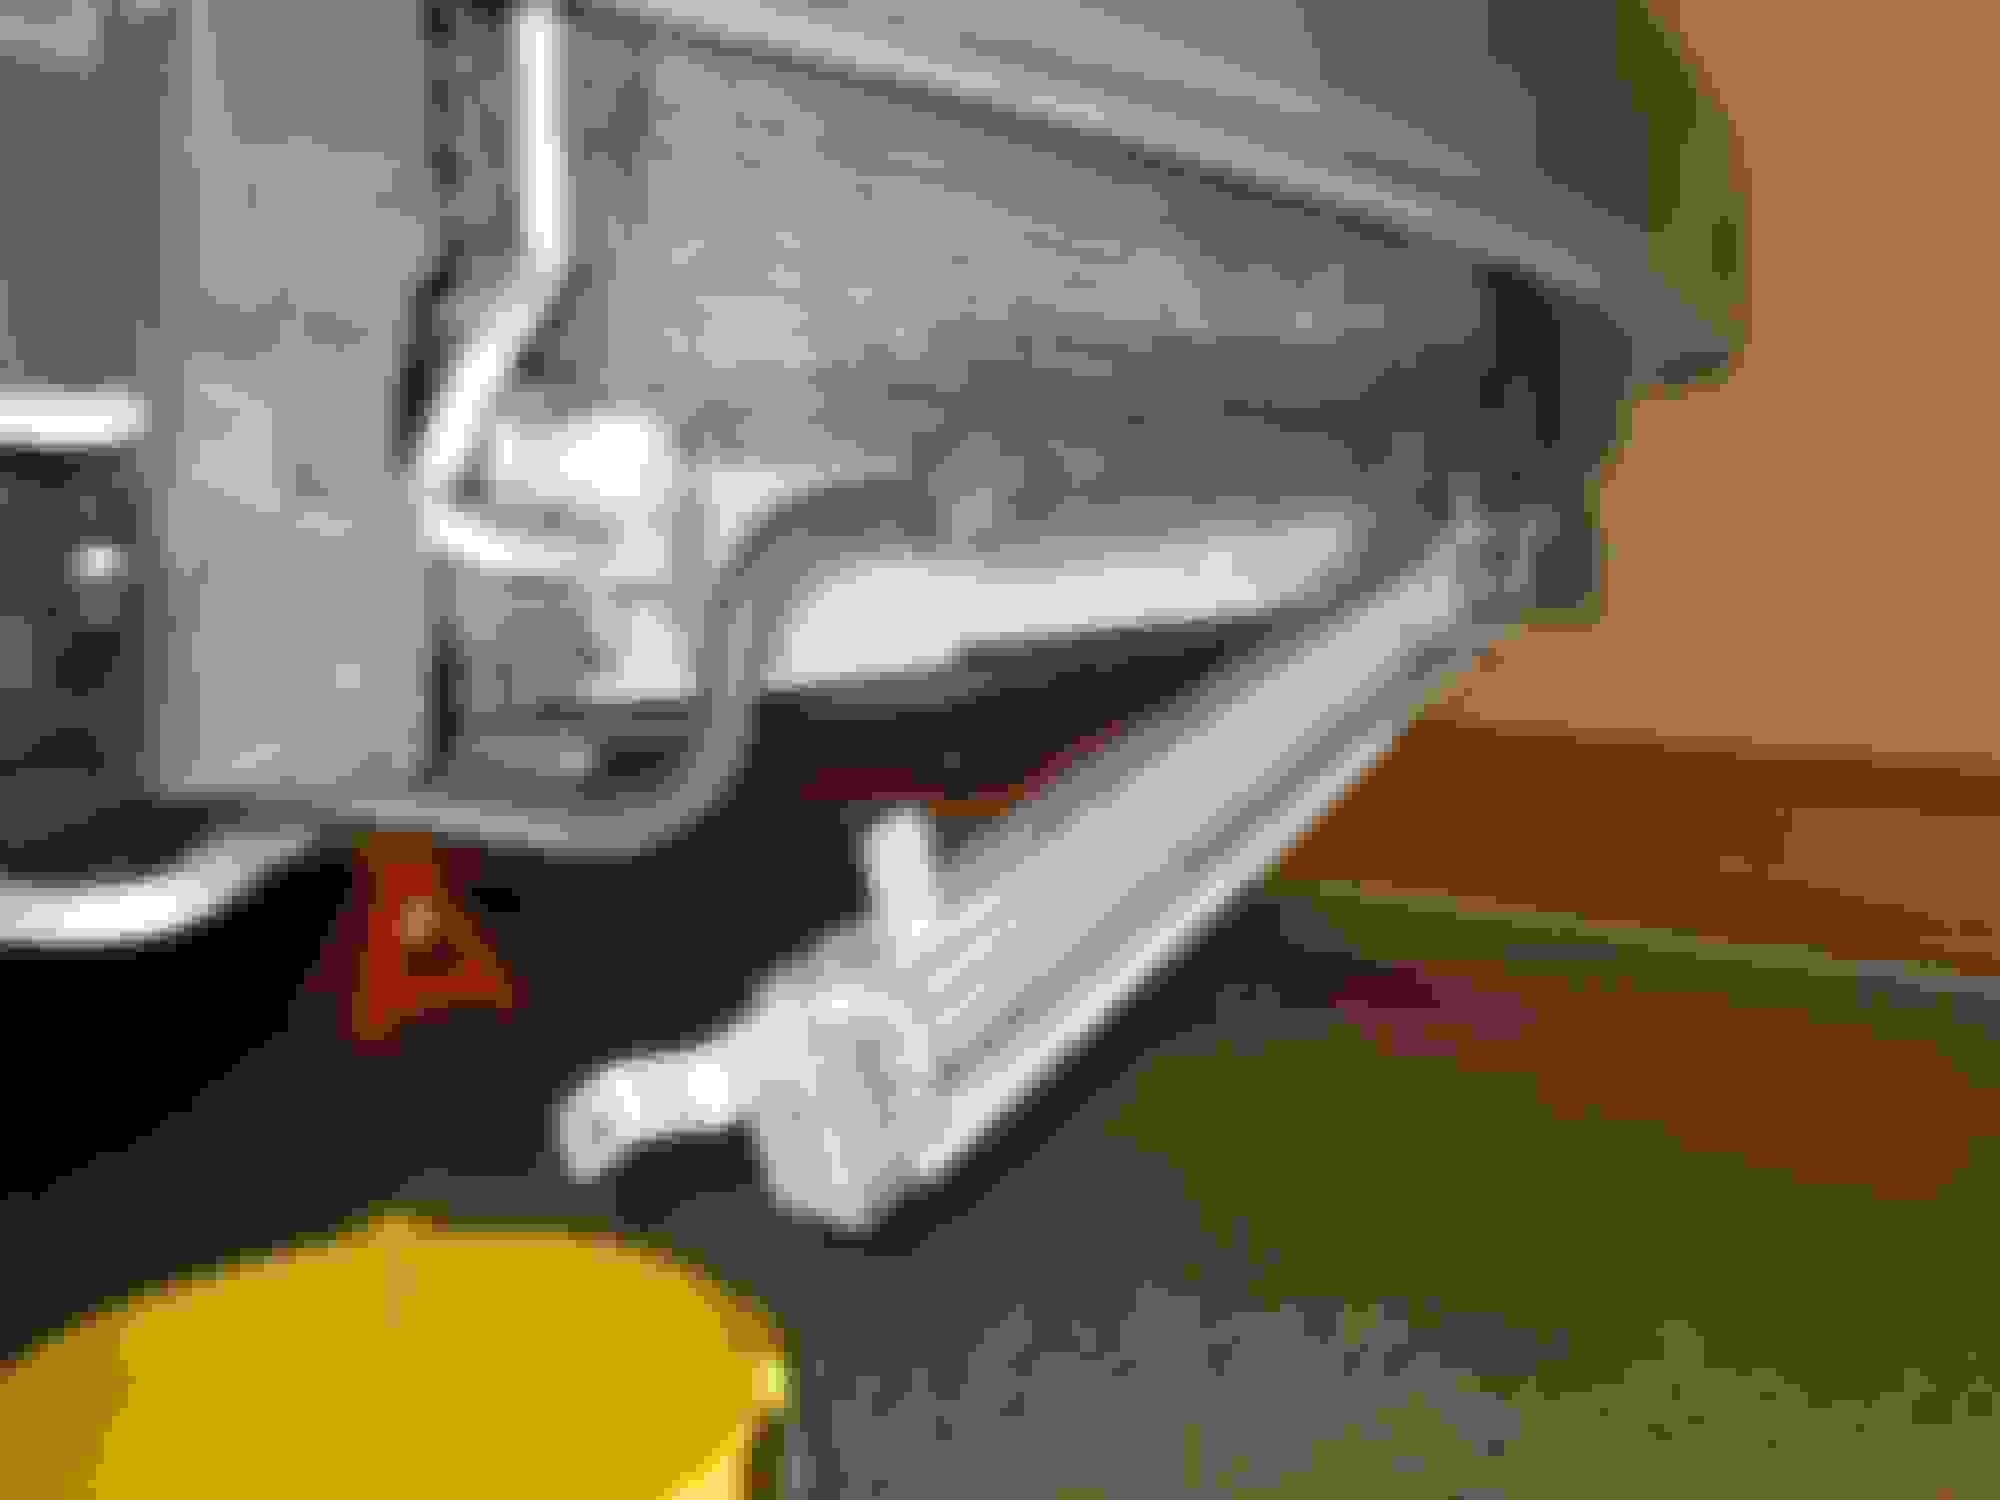
3. Unclip two fan controller plugs (leave controller on the shroud) and unclip two oxygen sensor wires from clamp at bottom of fan controller, then remove the upper radiator hose and smaller hose from expansion tank. Separate lower radiator hose by pulling down the clip wire and pulling hose end back.
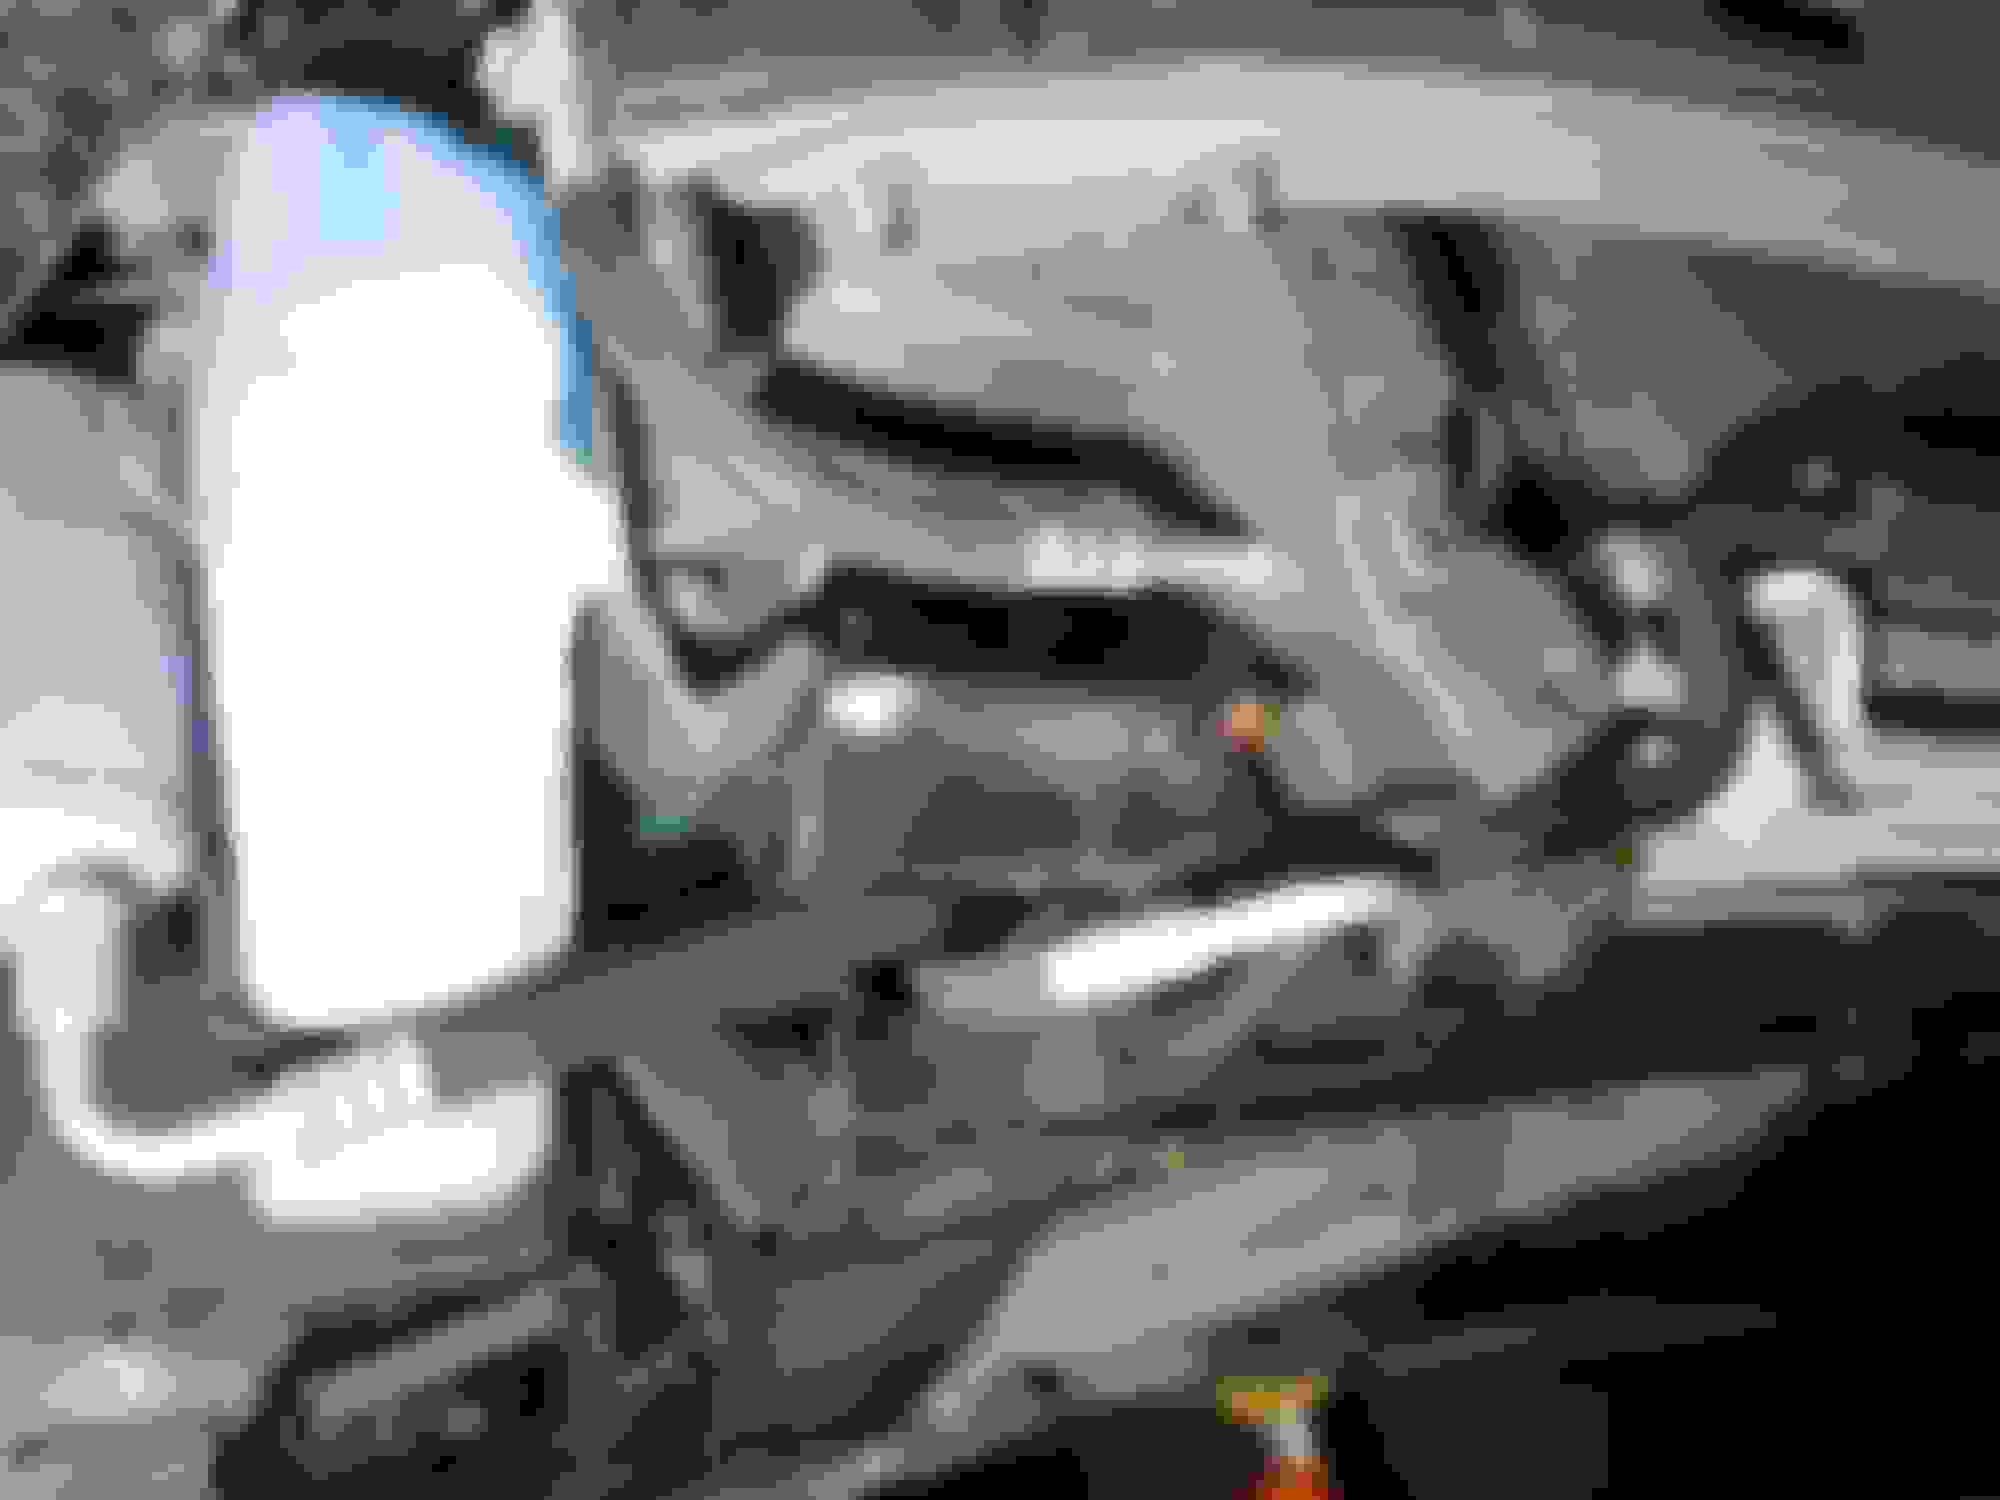
4. Zip tie the AC condenser to frame, then loosen four 8mm screws holding the PS cooler and ATF cooler. You do not need to disconnect the hoses from either.
5. Loosen, then remove the four 13mm fasteners on either end of the radiator support bar. I found corrosion on some of them so used my impact driver to coax 'em out. You may want to block bottom of radiator with a jack so that it doesn't fall out.
Six of the eight 13mm bolts that secure the lower radiator support. Wire brush them and apply some anti-seize before reassembly.
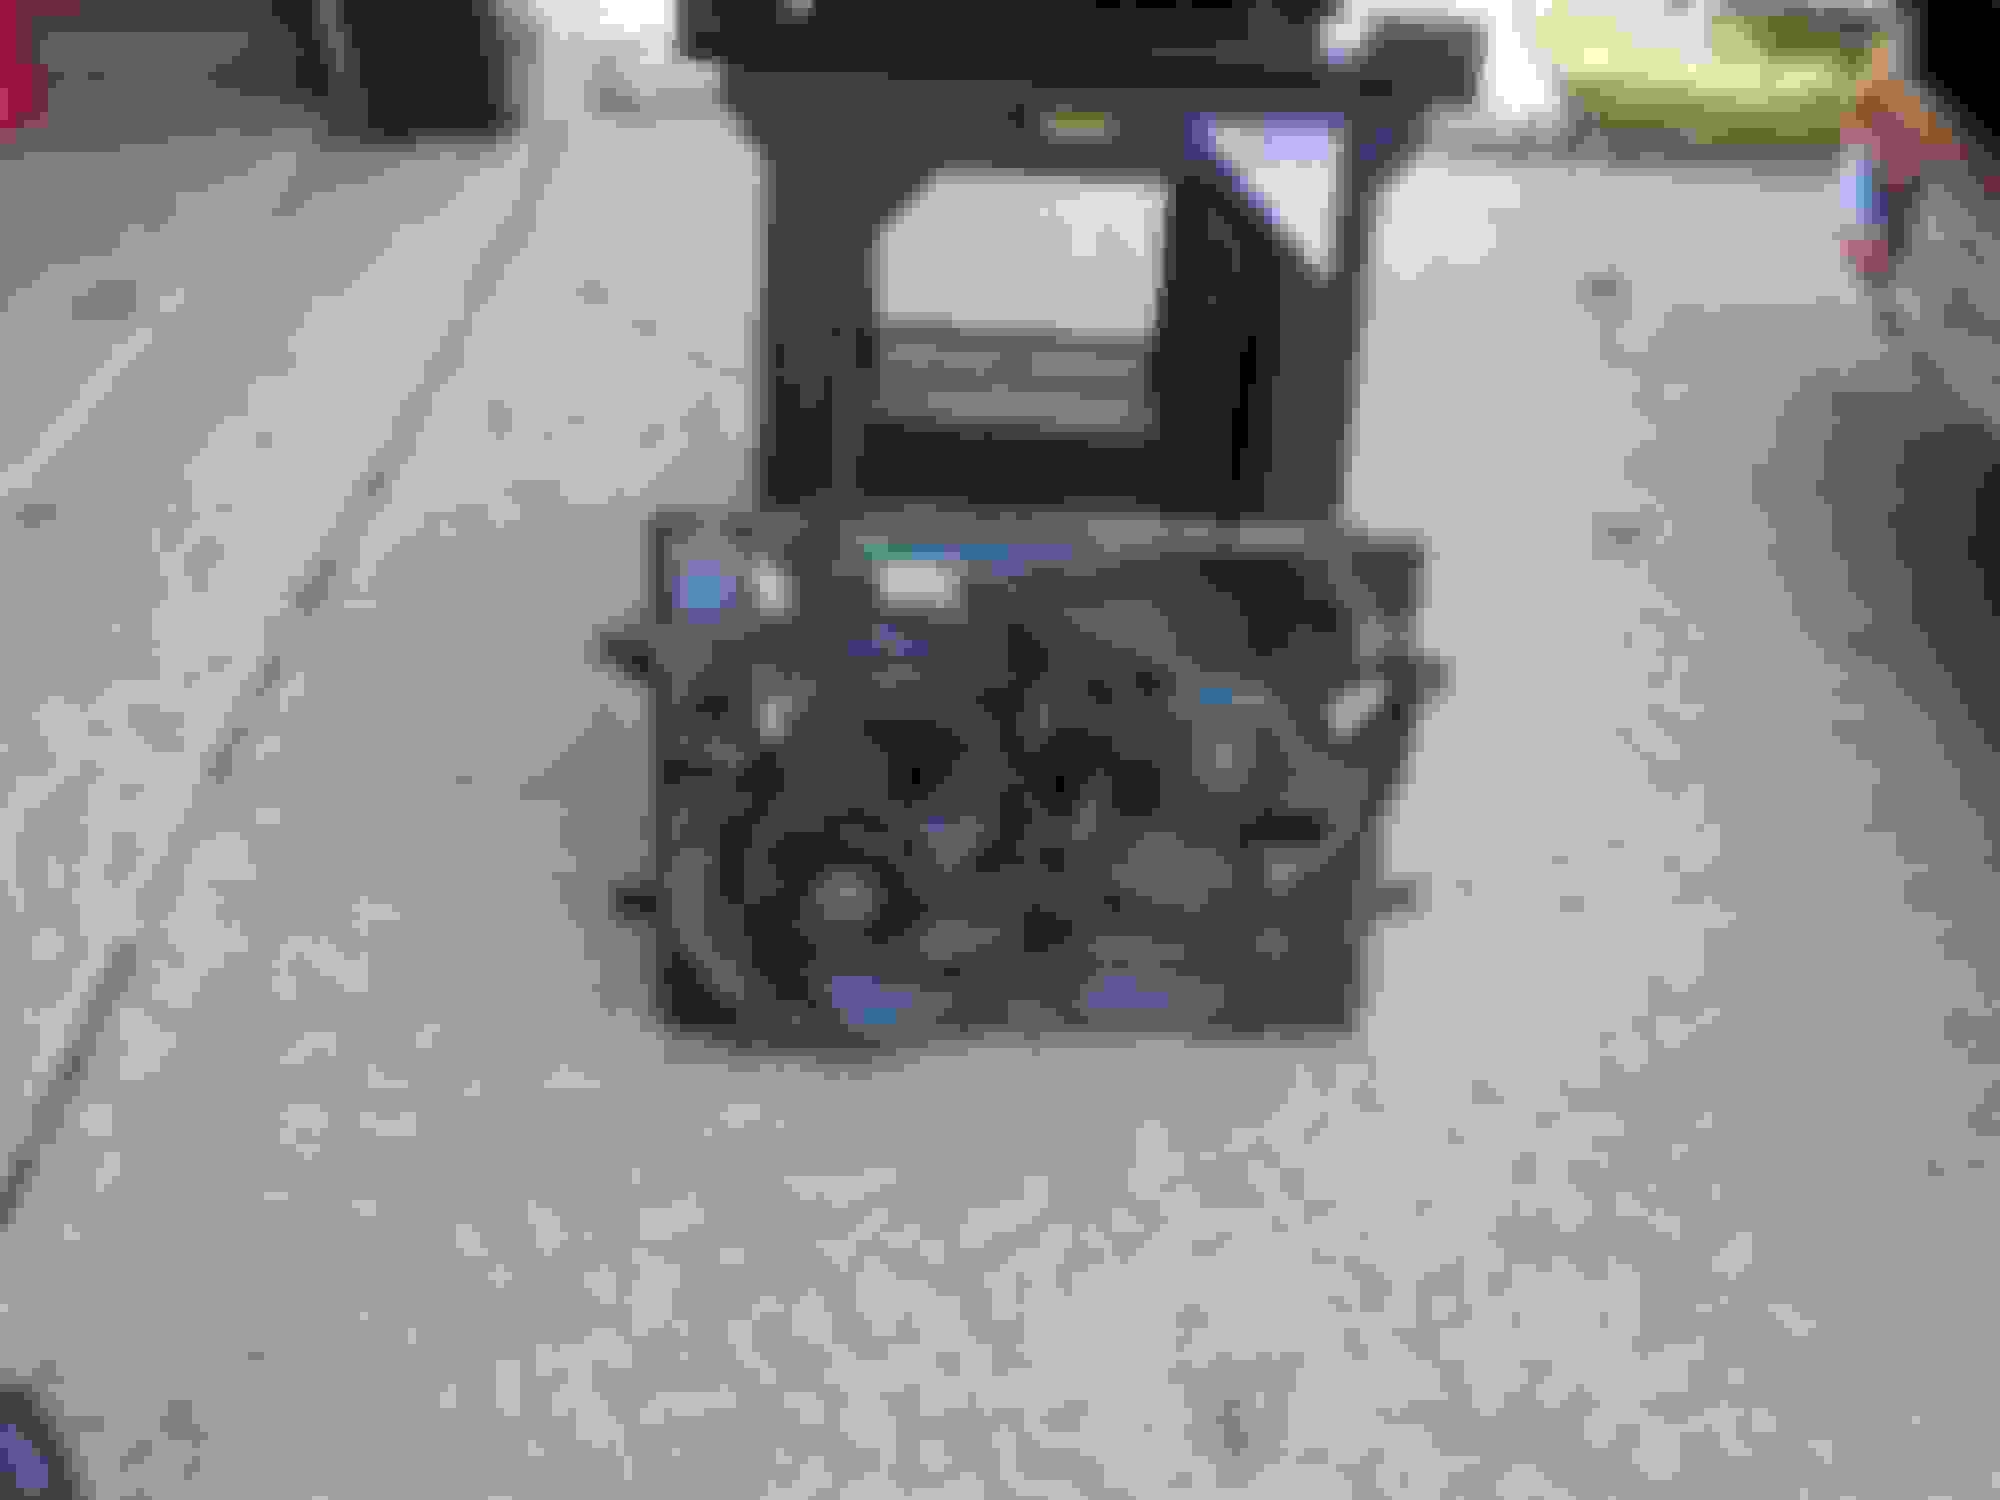
6. Radiator and fan shroud are now free to lower away and out of the car. The two nut clips at bottom need to be transferred to new radiator, also the top rubber cushions.
7. Separate fan shroud from the radiator and set aside for cleaning and inspection. I found one of my fans had a loose shaft (bad bearing) and was able to get a replacement locally. Thanks motorcarman!
8. Compare old and new parts so there's no surprises when you start reassembly.
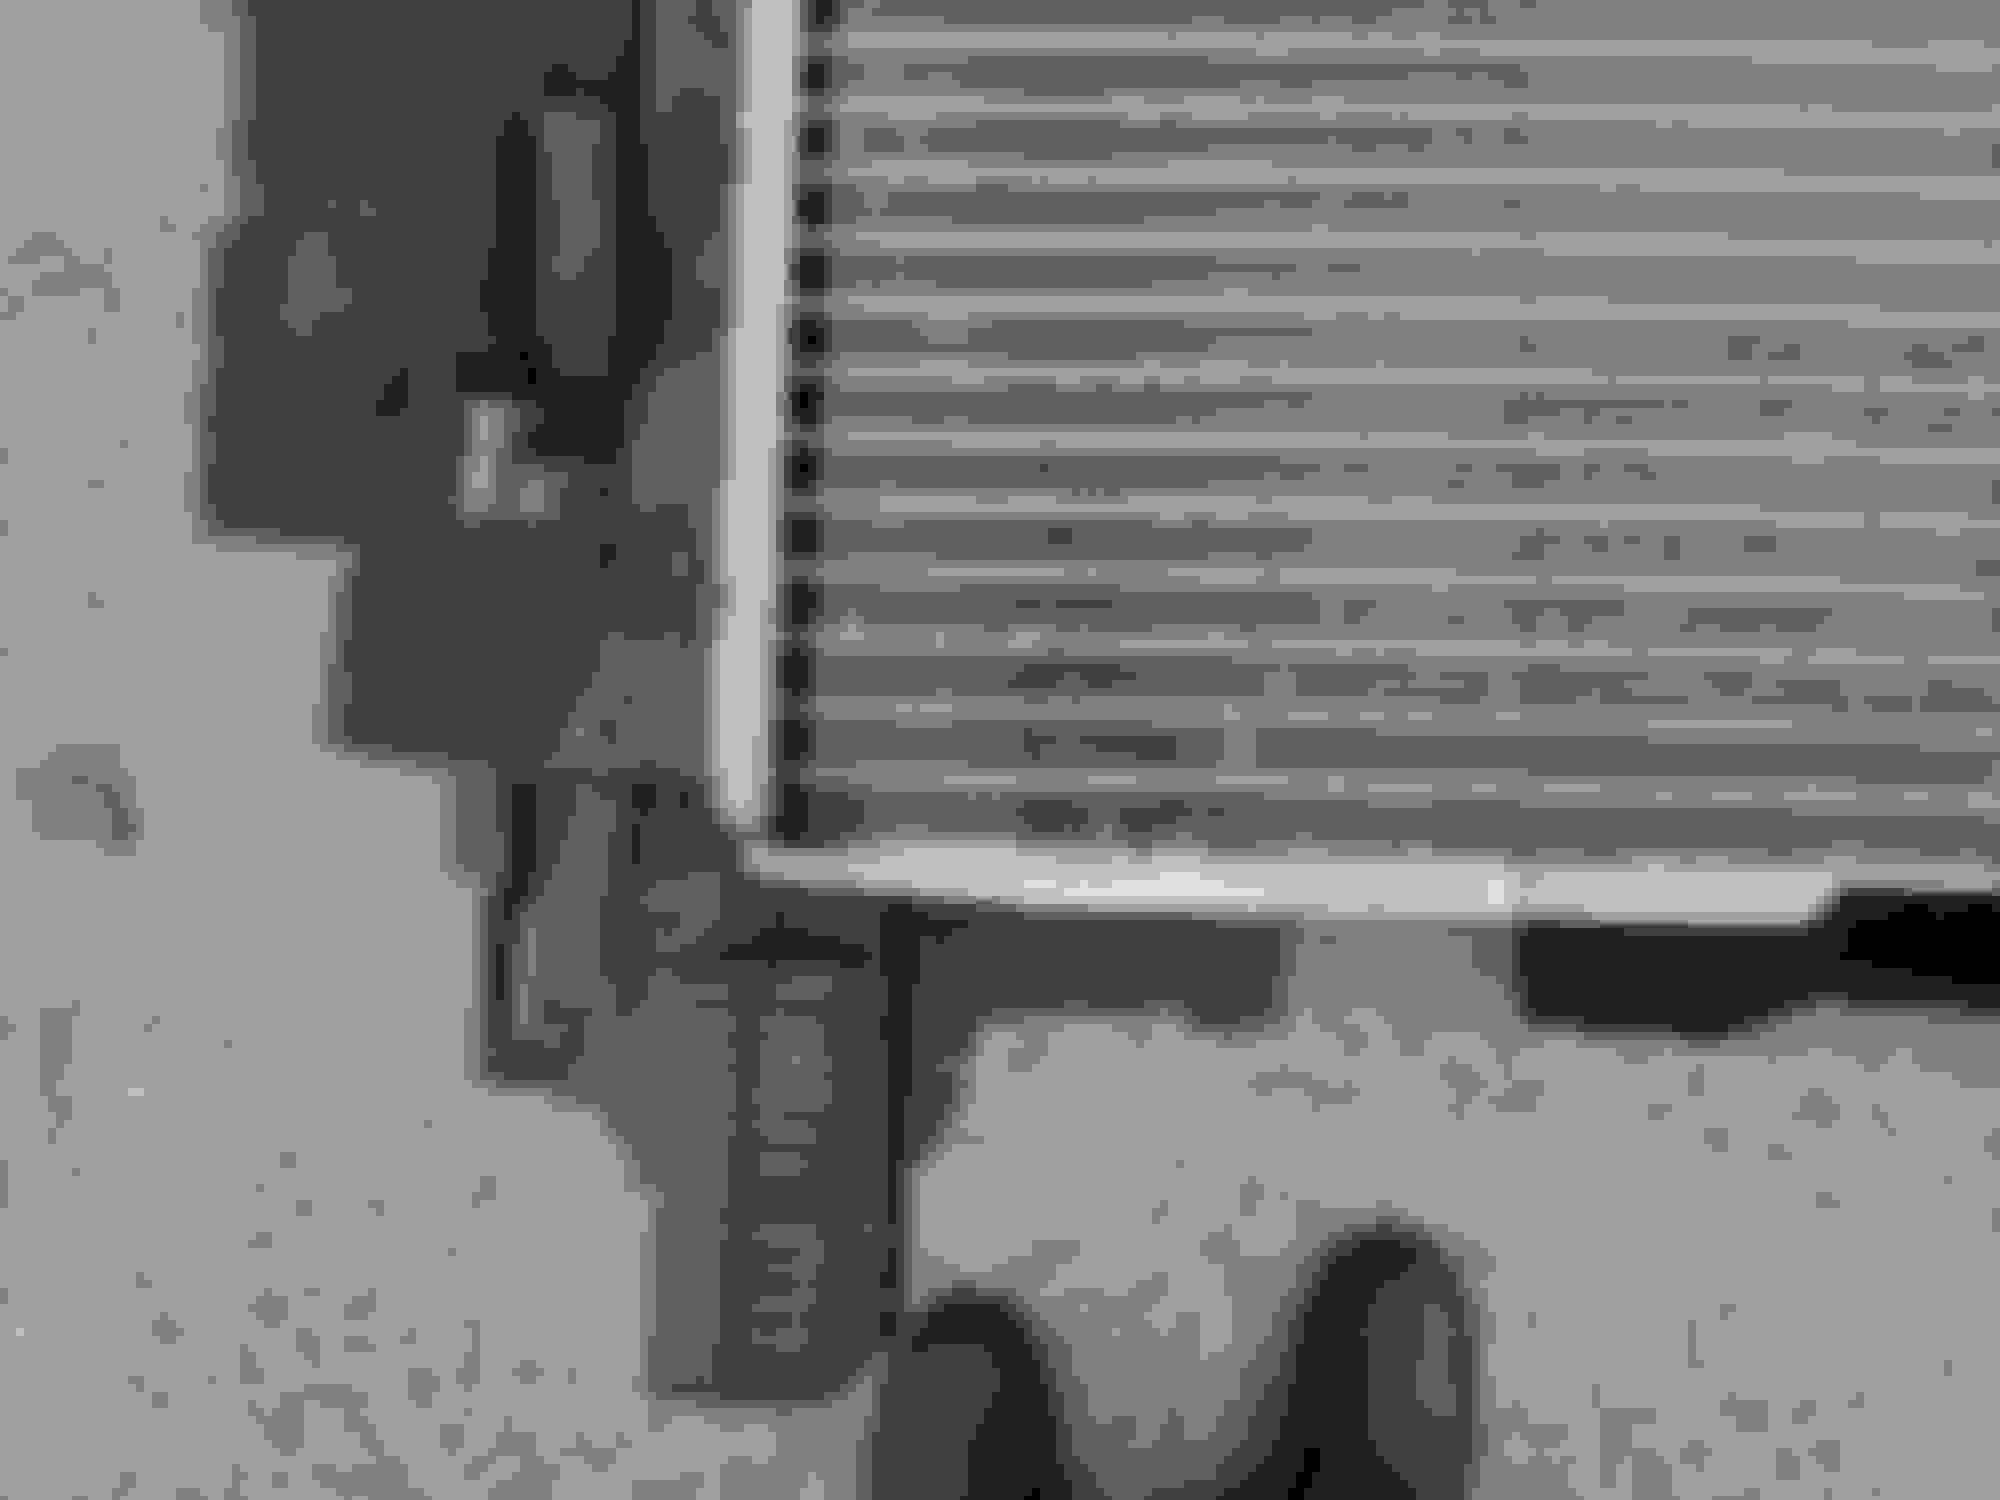
9. Exam of old radiator reveals leakage at lower left corner.
10. Put fan shroud on the new radiator and get ready to put it back together. Reverse the removal steps and take your time. I asked a neighbor to help guide from top while I pushed radiator up into place.
11. When everything's back together you're ready to refill, then start engine for a leak check before putting bumper, splash shield and wheels back on. Do this before taking car down off jacks.
Last edited by swingwing; Jan 4, 2017 at 12:31 PM.
Reason: Renumbered steps.
Was pulling off the front bumper necessary? How long did it take you from start to finish? Mine appears to be leaking down the drivers side of the radiator.
Nice write up.
Mr RX-7 tt, must you, probably not. But, for the time that it takes to pull the front bumper cover, you will gain that time back in not having to fight to get your hand in the small space left between the bumper cover and the A/C condenser.
Removing the bumper cover is really easy and only takes about 20 minutes if you know where all the screws are. Besides, you will be half way there since you have to remove the plate under the car to slide the radiator out.
Was pulling off the front bumper necessary? How long did it take you from start to finish? Mine appears to be leaking down the drivers side of the radiator.
Nice write up.
Thanks, Chris
I'm going to say yes, bumper needs to come off. It's really not that hard as Thermo says. I had practice on bumper removal before this when I did the headlight adjusters. I wasn't in a hurry (have other cars to drive) to do this repair, plus I spend time cleaning up things. Having done this repair I could repeat it in a few hours, but for first time give yourself at least a day. As pictured, leak on mine was lower corner driver's side.
I didn't cover it in my DIY, but there's four pieces of foam seal around the radiator. The Jaguar part numbers are C2S17717, C2S17718, C2S20552 and C2S5313. You'll see them depicted on page 30 of the SNG Barratt catalog (if you don't have one send an email request). I didn't want to spend the money for those as this car's a driver, not a collector. I went to hardware store and bought some pipe insulation, cut it to fit and used double-sided tape to fasten to the radiator. Kluge fix but doubt this radiator's coming out again in my ownership, so works just fine.
Last edited by swingwing; Jan 30, 2017 at 07:40 PM.
Reason: Changed sentence.
I'm going to say yes, bumper needs to come off. It's really not that hard as Thermo says. I had practice on bumper removal before this when I did the headlight adjusters. I wasn't in a hurry (have other cars to drive) to do this repair, plus I spend time cleaning up things. Having done this repair I could repeat it in a few hours, but for first time give yourself at least a day. As pictured, leak on mine was lower corner driver's side.
That's where mine is leaking. Same side dripping on the ground.
My car has about ~60,000 and looks almost identical to yours in color.
Mr RX-7 tt, must you, probably not. But, for the time that it takes to pull the front bumper cover, you will gain that time back in not having to fight to get your hand in the small space left between the bumper cover and the A/C condenser.
Removing the bumper cover is really easy and only takes about 20 minutes if you know where all the screws are. Besides, you will be half way there since you have to remove the plate under the car to slide the radiator out.
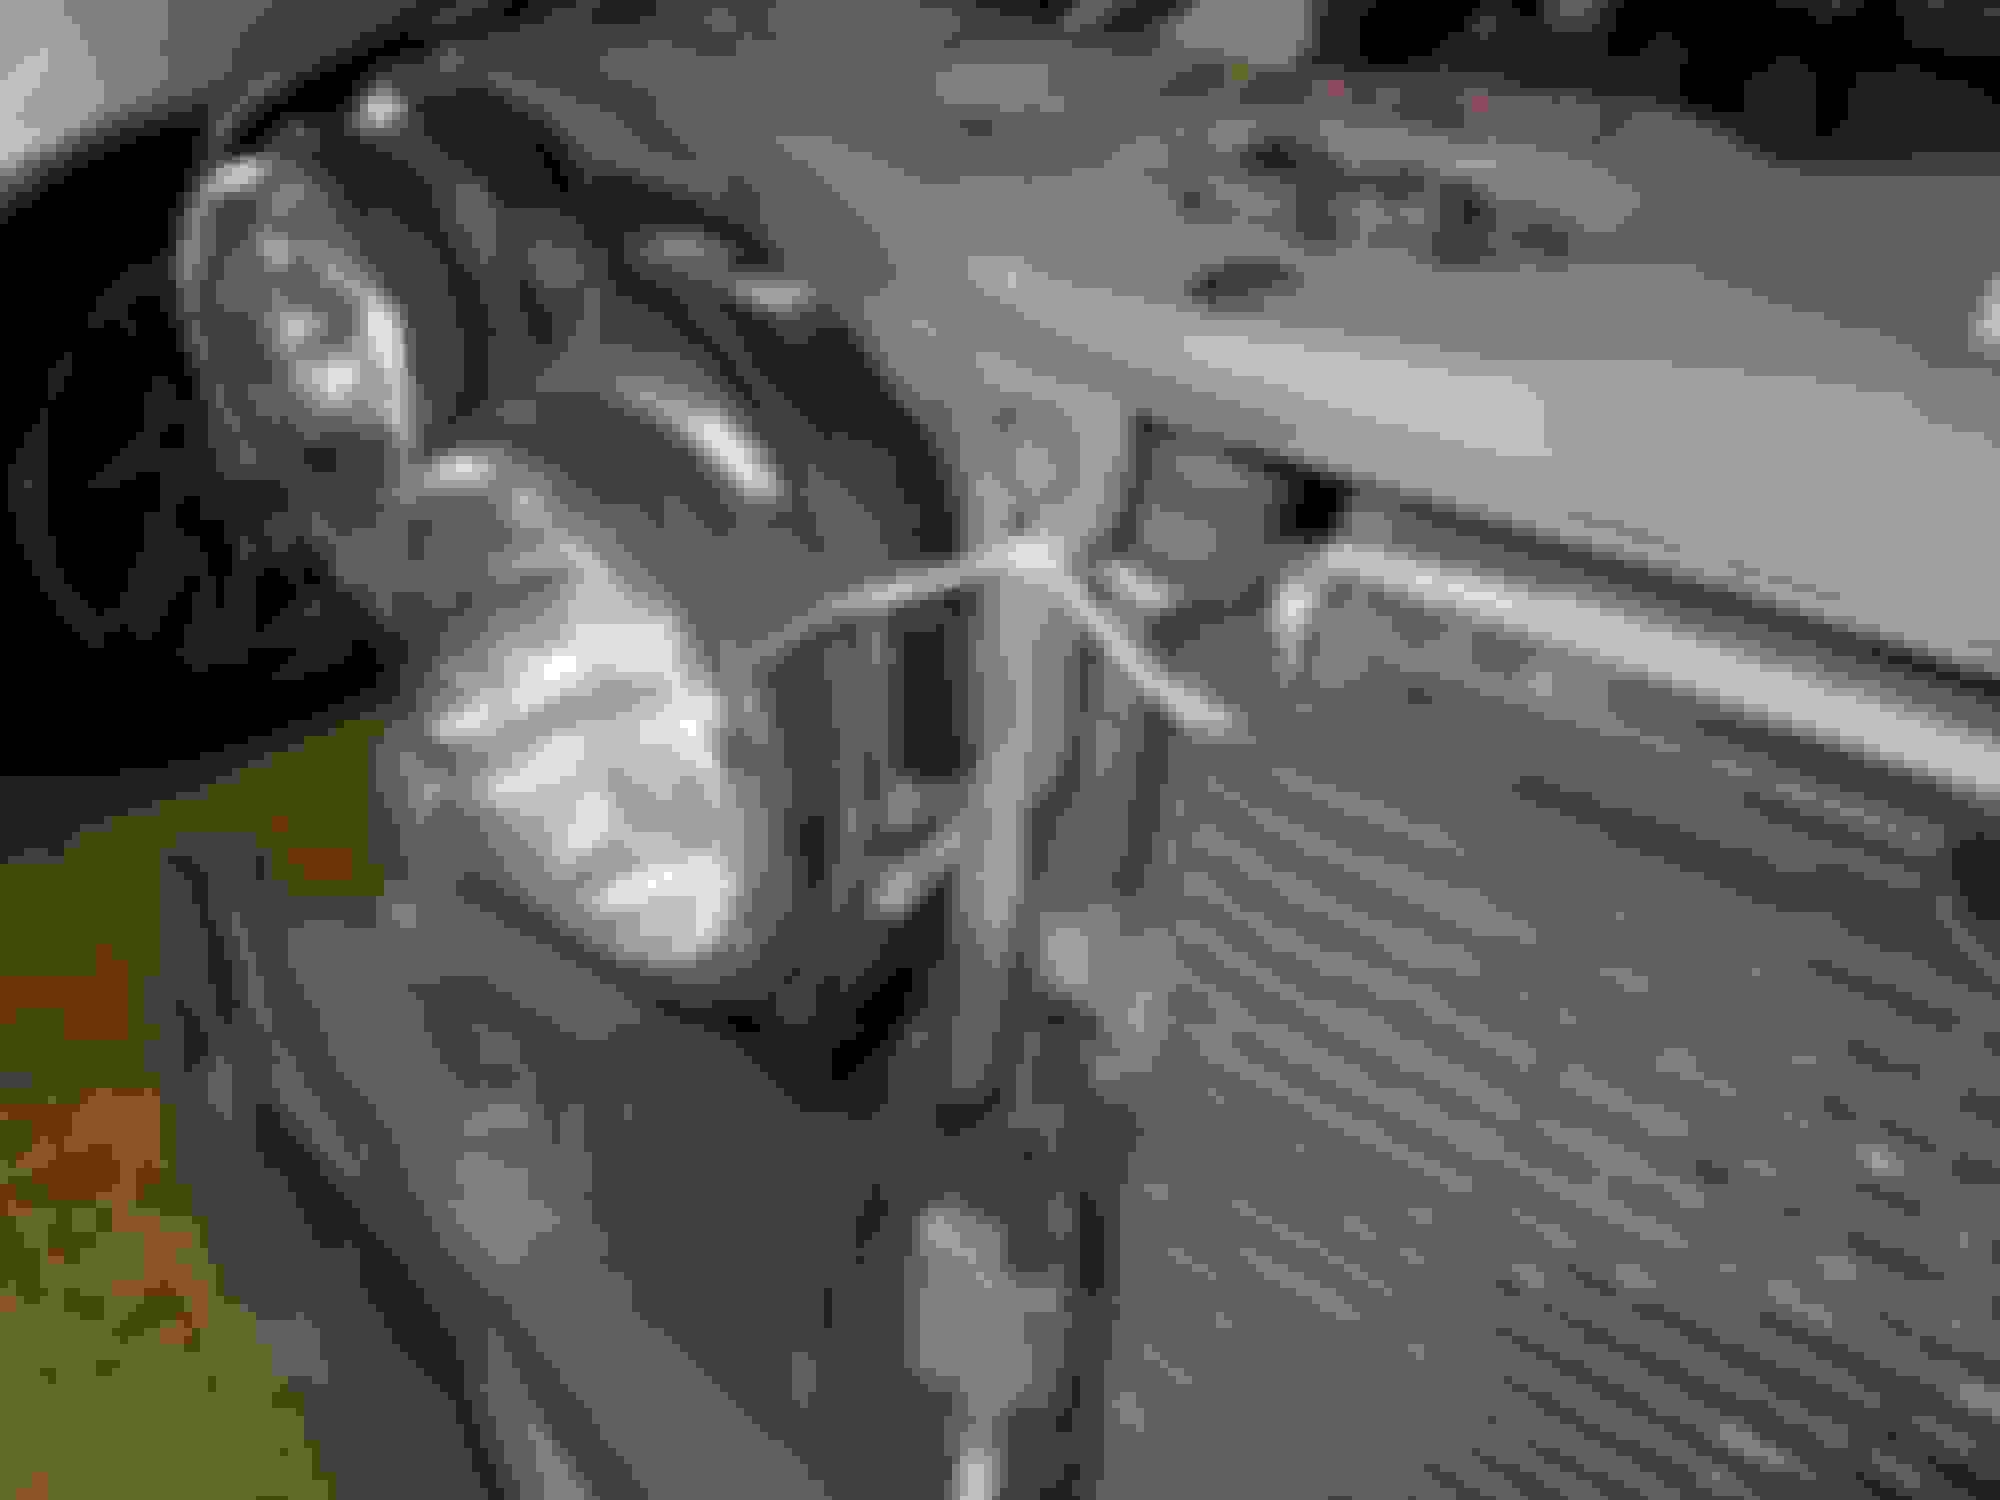
I found taking off the front wheels makes bumper removal much easier. All the fasteners are in full view 'cept one behind the wheel liner (on each side). When you pull the liner away you'll see two fasteners with heads facing outboard and one with head facing inboard (pictured is right wheel well). Remove only the inboard-facing one. I also recommend removing the front parking lights so as to not damage the wiring when you're ready to pull the bumper off. After you remove the lower splash shield you can unclip the fog light connectors and the associated cable that runs across the lower edge of bumper. Once that's done work the bumper loose then pull it straight off. As Thermo says it's 20 minute job.
Last edited by swingwing; Jan 31, 2017 at 07:49 AM.
Reason: Added word.
I found taking off the front wheels makes bumper removal much easier. All the fasteners are in full view 'cept one behind the wheel liner (on each side). When you pull the liner away you'll see two fasteners with heads facing outboard and one with head facing inboard (pictured is right wheel well). Remove only the inboard-facing one. I also recommend removing the front parking lights so as to not damage the wiring when you're ready to pull the bumper off. After you remove the lower splash shield you can unclip the fog light connectors and the associated cable that runs across the lower edge of bumper. Once that's done work the bumper loose then pull it straight off. As Thermo says it's 20 minute job.
Thank you for the pointers, reduces the learning curve.
Lifetime Warranty may be good, but this job is tough enough that I don't want to do it again anytime soon. Behr or Nissens are manufacturers' names I'm familiar with.
Last edited by swingwing; May 3, 2017 at 05:10 AM.
Reason: Changed wording.
I'd be skeptical of buying a $ 63.00 radiator off E-bay but thanks anyhow. The reason I posted the EEuroparts link is because Nissen is a well know European radiator manufacturer and I have use Nissens before. They usually exceed OEM radiators. EEuroparts is also an excellent, have used them for 10 years plus. I rarely use aftermarket parts and avoid them on critical parts.
Cost is $15.15 per gallon (think two gallons would be plenty) using our Preferred Customer program. PM me or call 682-465-6957 if you'd like more info on it.
Cost is $15.15 per gallon (think two gallons would be plenty) using our Preferred Customer program. PM me or call 682-465-6957 if you'd like more info on it.
Since I have a problem with my 2002 leaking antifreeze unto the
bottom trans. cooler hose on the right side of radiator, I still do'nt
know where the antifreeze leak is on my car.
The antifreeze loosened up the rubber on the hose and will require
replacing. I have those new cooler hoses.
Replaced the radiator with a Nissen unit yesterday. I was careful with the foam and used a razor and was able to remove it intact and in good shape so I was able to reuse it. I purchased a can of trim adhesive spray from Wallyworld and sprayed the foam then re-attached the foam to the new radiator.
What I did notice is the rubber radiator mounts sag a little with age thus the radiator is no longer snug and can shift and move which may be the cause of the radiator leaking. I am going to rectify this when I get some time.
I would suggest those who are going to do this job buy 4 new rubber mounts. They are basically rubber donuts. (Part #2 and #3 in diagram)