When you click on links to various merchants on this site and make a purchase, this can result in this site earning a commission. Affiliate programs and affiliations include, but are not limited to, the eBay Partner Network.
Water pump+Hoses+Alternator+Rear coolant crossover
As I said in this thread https://www.jaguarforums.com/forum/x...r-pump-184943/
Had to have the XFR flat bedded after it started hemorrhaging coolant on my way home from work last week, but after pressure testing found out it was actually the rear coolant crossover that supplies the heater. The pressure tester and adaptor I used can be rented from O'rieleys
The water pump didn't leak but did have a bearing going out so out it was coming too. Just 4 bolts hold it on, but both the drive belts, both tensioners, Both intake tubes, and the hoses need to come off to facilitate its removal.
Old water pump out, its important to note the position of this plastic pipe, the rise on that flange uses the back of the pump for alignment and clamping force when the water pump is bolted down in front of it.
This I figured would be a good time to replace most of the hoses too.
Lots of hoses on this engine.
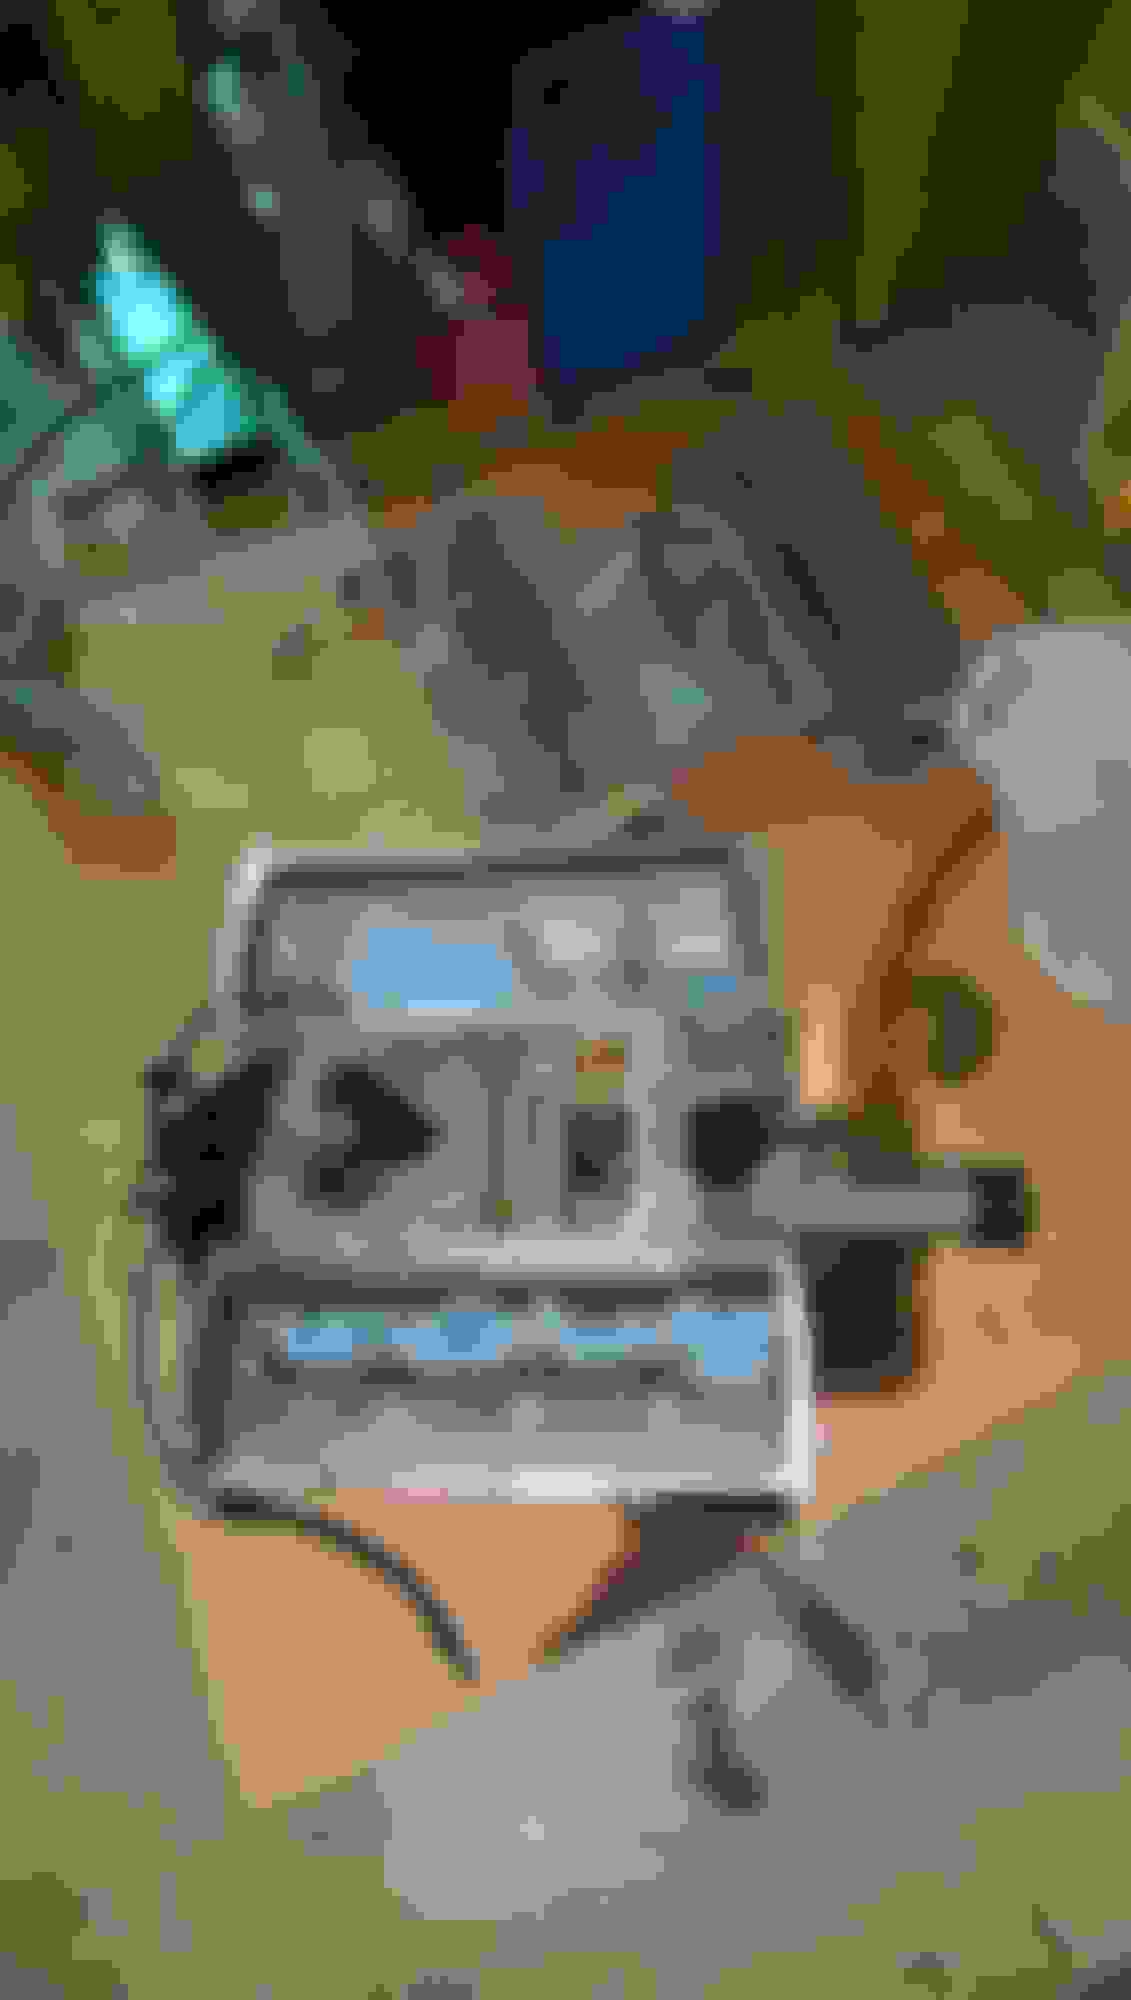
Then I saw how easy the alternator was to access now and with 82kmi on the car might as well get the alternator rebuilt, just 3 mounting bolts and 2 connectors, OF NOTE the plug in connector is a PUSH DOWN type connector its hard to see, and its wire has little slack.
This is the # you need to give anyone for a rebuild kit for the V8 XF alt.
I've bought a total of 4 alts, 2 starters and now 1 alt rebuild from the Good guys at quality Power, I had mine upgraded from 150 amps to 250 amps. This upgrade also requires you run an additional heavy gauge positive cable from the alt to the battery, due to its ability to supply so much current, BUT OUR BATTERY IS IN THE TRUNK..lol just run it from the alt to the positive side of the starter The one on the starter with the positive cable, only about 1.5 feet problem solved. I used a cut to fit old positive battery cable I had. Cut it to length, put some eyelet connectors on it, hooked it up from the alt battery output to the starter battery input, all done.
Rebuilt alt back in.
Last edited by Bigg Will; Aug 19, 2017 at 08:06 PM.
The car sat for a few days since I took the water pump off, I had a rag stuffed in the hole to capture the coolant, IMPORTANT all the bolt holes for the water pump are blind (no opening on the back) so you need to make sure you blow all the coolant out of them BEFORE you run a bolt into them. Remember water is a solid when compressed and you can severely damage the block as in I now need a new block.
Note the position of this pipe. The new one needs to go in the same way.
Old pump off.
New pump in, be sure to lube the 2 seals in the transfer tube on the back of the unit.
Last edited by Bigg Will; Aug 20, 2017 at 07:50 PM.
As I said in this thread https://www.jaguarforums.com/forum/x...r-pump-184943/
Had to have the XFR flat bedded after it started hemorrhaging coolant on my way home from work last week, but after pressure testing found out it was actually the rear coolant crossover that supplies the heater. The pressure tester and adaptor I used can be rented from O'rieleys
The water pump didn't leak but did have a bearing going out so out it was coming too. Just 4 bolts hold it on, but both the drive belts, both tensioners, Both intake tubes, and the hoses need to come off to facilitate its removal.
Old water pump out, its important to note the position of this plastic pipe, the rise on that flange uses the back of the pump for alignment and clamping force when the water pump is bolted down in front of it.
This I figured would be a good time to replace most of the hoses too.
Lots of hoses on this engine.
Then I saw how easy the alternator was to access now and with 82kmi on the car might as well get the alternator rebuilt, just 3 mounting bolts and 2 connectors, OF NOTE the plug in connector is a PUSH DOWN type connector its hard to see, and its wire has little slack.
This is the # you need to give anyone for a rebuild kit for the V8 XF alt.
I've bought a total of 4 alts, 2 starters and now 1 alt rebuild from the Good guys at quality Power, I had mine upgraded from 150 amps to 250 amps. This upgrade also requires you run an additional heavy gauge positive cable from the alt to the battery, due to its ability to supply so much current, BUT OUR BATTERY IS IN THE TRUNK..lol just run it from the alt to the positive side of the starter The one on the starter with the positive cable, only about 1.5 feet problem solved. I used a cut to fit old positive battery cable I had. Cut it to length, put some eyelet connectors on it, hooked it up from the alt battery output to the starter battery input, all done.
Well got the front engine stuff pretty much done now.
The hoses,Tstat, Inner drive belt and Water pump are now done. it pays to take pictures of EVERYTHING BEFORE YOU START. And a small amount of lube on the hoses and nipples, goes a long way in speeding up assembly, try not to use any silicon based lubricants, good old Vaseline works just fine.
on to the rear transfer pipe...This is gonna be fun..lol
Thanks for documenting this, I'm sure it will be useful to owners across the different model types. Did you have any particular tips or tricks to mention regarding any of the connectors or fittings. One of the XJ owners was having a problem shown in this thread:
I too take pictures of everything even if I do have a manual. It really helps to make sure that everything is replaced properly. I have done the coolant lines twice and end up replacing all of them as a set to make sure that no failures occur for a long time.
Well I go the supercharger off tonight, Jag seems to assemble things in groups which is exactly how it should be dissembled and re assembled. The problems show up when you work behind a hack that has left things undone or re assembled wrong. I hope most have noticed I've left out details like what tools are needed. This job has not been for the light hearted mechanically or money wise, and if you have any reservations in either category...TAKE YOURS TO THE SHOP!
Port and valve cleaning time too. the big coolant leaker is exposed in the back round.
Last edited by Bigg Will; Aug 28, 2017 at 04:33 PM.
Well I finally removed toe leaking culprit this morning.
The leaker
Cracked along the seam here, it won't even hold breath air pressure.
Some cleaning tonight since from this point forward is installation! Parts are cleaned and ready to go. Still waiting on the new supercharger oil though.
Last edited by Bigg Will; Aug 30, 2017 at 12:33 PM.
The plastic tube coming off the water pump from inside the V, this is why positioning it correctly is so important.
Making progress.
When possible I ditch the torx head bolt for 6 point flange head bolts, they are much more forgiving if you get on them wrong, and give you the option of using a wrench or even pliers..lol
Last edited by Bigg Will; Aug 31, 2017 at 04:48 PM.
About to fly the supercharger into place, made some locator pins out of some old bolts, a big help in jockeying in the supercharger and plugging in the electronics on the backside of the SC.