
carguy101's XJR-6 Build Thread


Thread Starter
|
Member
Joined: Jun 2008
Posts: 59
Likes: 8
From: St. Augustine
Hello all,
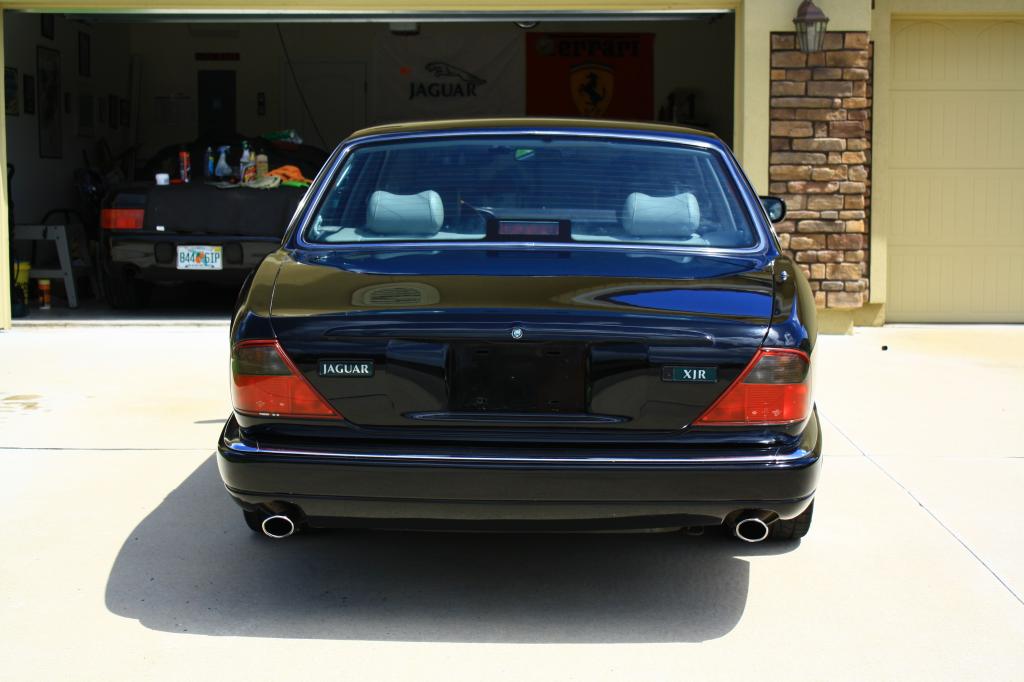
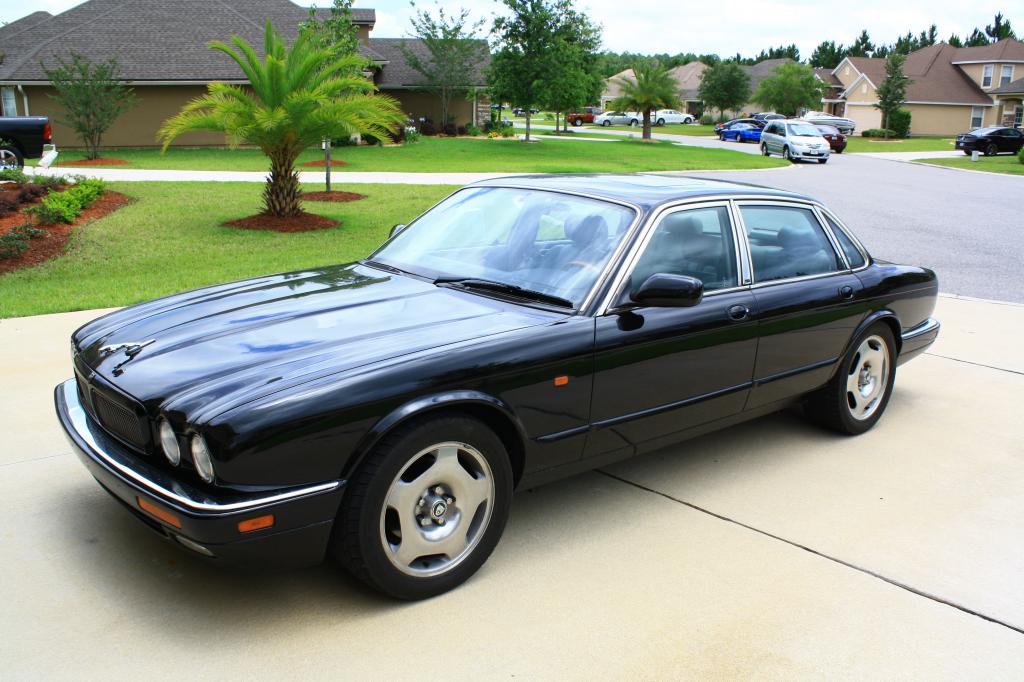
I am finally back in a Jag after a few year hiatus. I just picked up a 95 XJR with 128k miles. It is pretty straight, especially for the year. It needs a good cleaning but here is a picture of when I picked it up. I have a few plans for it, but nothing too crazy (at this time). I will post updates as they happen.
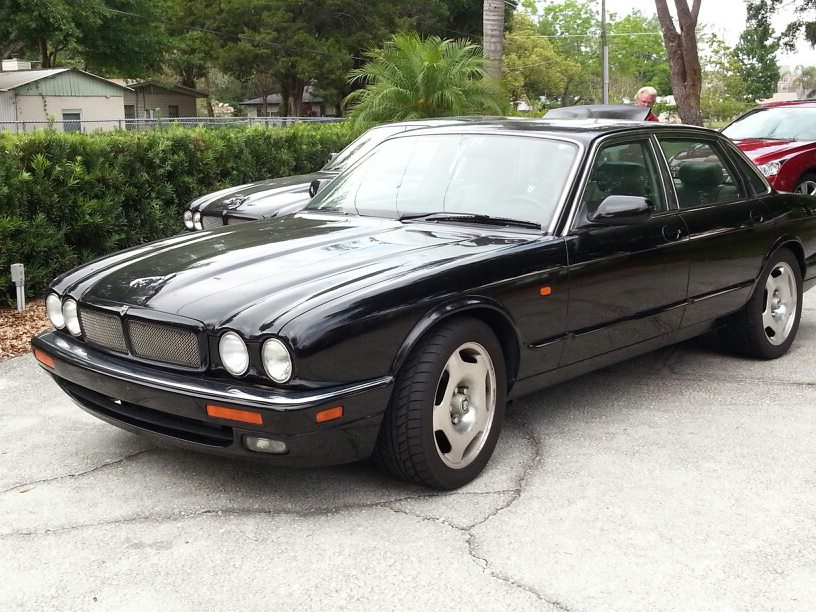
I am finally back in a Jag after a few year hiatus. I just picked up a 95 XJR with 128k miles. It is pretty straight, especially for the year. It needs a good cleaning but here is a picture of when I picked it up. I have a few plans for it, but nothing too crazy (at this time). I will post updates as they happen.

Last edited by carguy101; Jul 16, 2013 at 08:07 PM.


Thread Starter
|
Member
Joined: Jun 2008
Posts: 59
Likes: 8
From: St. Augustine
This was my last car that just about everything imaginable was done to it, from lightweight flywheel, to full suspension with delrin bushings, and I could go on a long list of things. It was way overbuilt for a street car, but it served its purpose as an autocross car (it was a lot of fun to beat Corvettes with half the number of cylinders).

I do not want to go nearly as crazy, but want to have a fun, fast car that is refined. I want to do some upgrades, but want to maintain streetability first and foremost. I think the brakes need some upgrading because they seem under-powered (at least to what I am used to, and this car weighs 1700 lbs more than my last so that is taking some getting used to too), bushings are on the list, some cosmetic things like tint and I want to have the window trim look like the UK cars, refinish the wheels, possibly an exhaust upgrade, and different wheels. I would LOVE to do a manual conversion, but that is a long ways down the road. I really want to keep this close to an OEM+ type "build."

I do not want to go nearly as crazy, but want to have a fun, fast car that is refined. I want to do some upgrades, but want to maintain streetability first and foremost. I think the brakes need some upgrading because they seem under-powered (at least to what I am used to, and this car weighs 1700 lbs more than my last so that is taking some getting used to too), bushings are on the list, some cosmetic things like tint and I want to have the window trim look like the UK cars, refinish the wheels, possibly an exhaust upgrade, and different wheels. I would LOVE to do a manual conversion, but that is a long ways down the road. I really want to keep this close to an OEM+ type "build."
Last edited by carguy101; Apr 27, 2013 at 10:33 PM.
Thread Starter
|
Member
Joined: Jun 2008
Posts: 59
Likes: 8
From: St. Augustine
Updates!!
I apologize that it has taken quite a while for me to update this thread due to work and school taking priority.
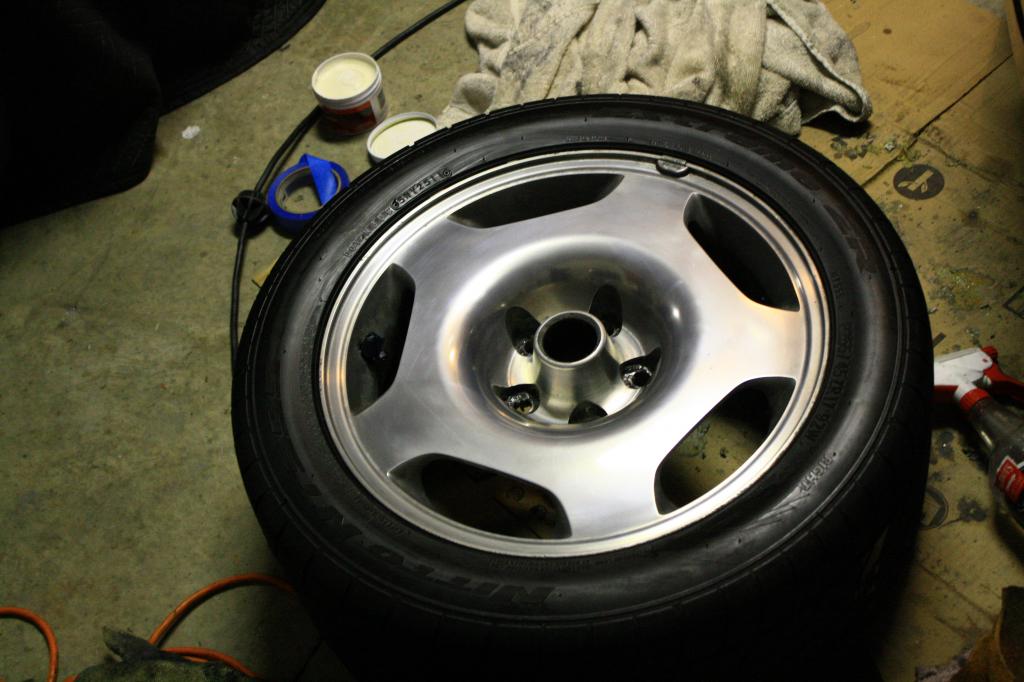
I refinished the wheels recently and I used the 3M Wheel Restoration kit, I paid $19.99 as it was on sale from $29.99. It was pretty easy to use. It suggests that it is used for only two wheels but I did all 5, using the kit sparingly. I got it from Advance Discount Auto Parts, but it is this 3M Wheel Restoration System 39052
These are the wheel contents:
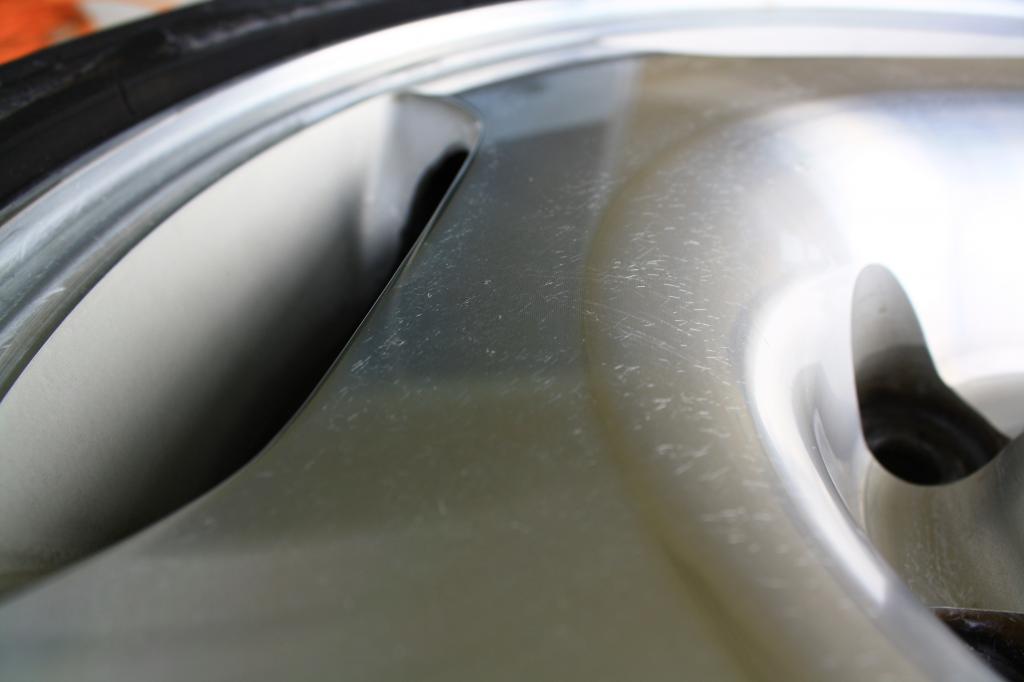
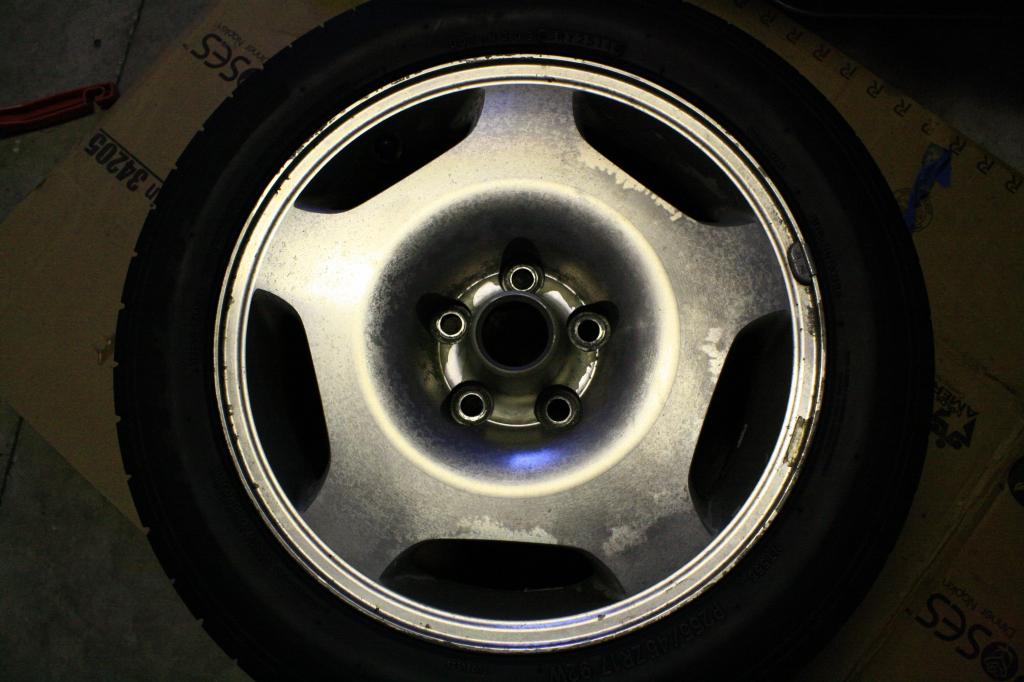
This was my spare that I tried it on first and to see if it was worth the trouble to do the rest.

As you can see, the surface was pretty messed up.

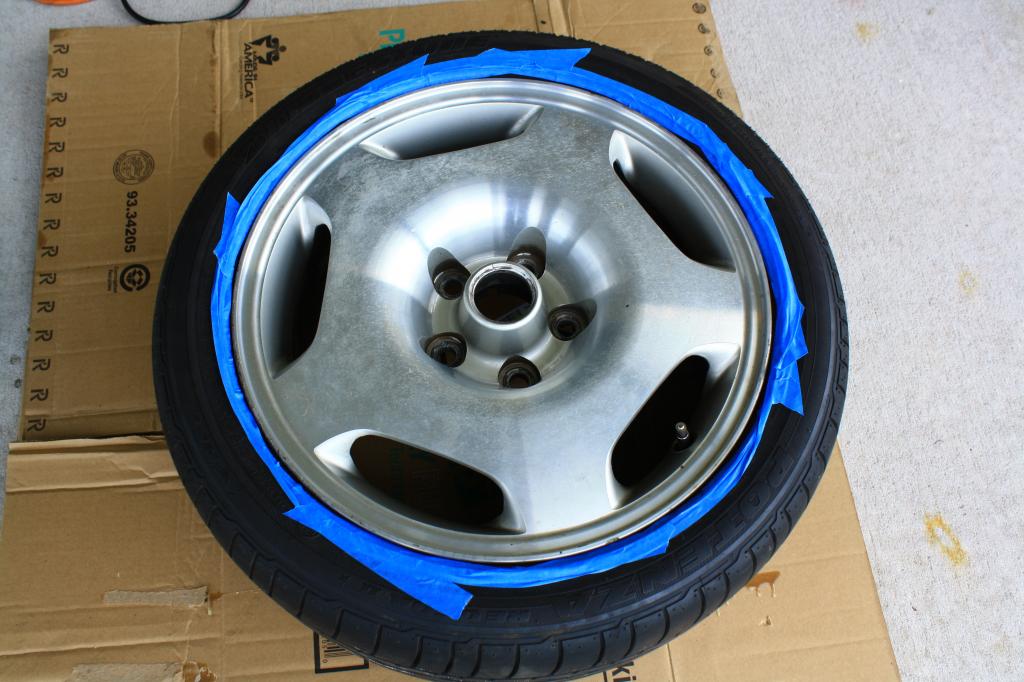
I masked off the edges of the wheels with painter's tape to prevent damage to the tires.
Using the sanding disks was a bit nerve racking as it started off.
IMG_0248_zpsb62fc01c.jpg Photo by carguy101 | Photobucket
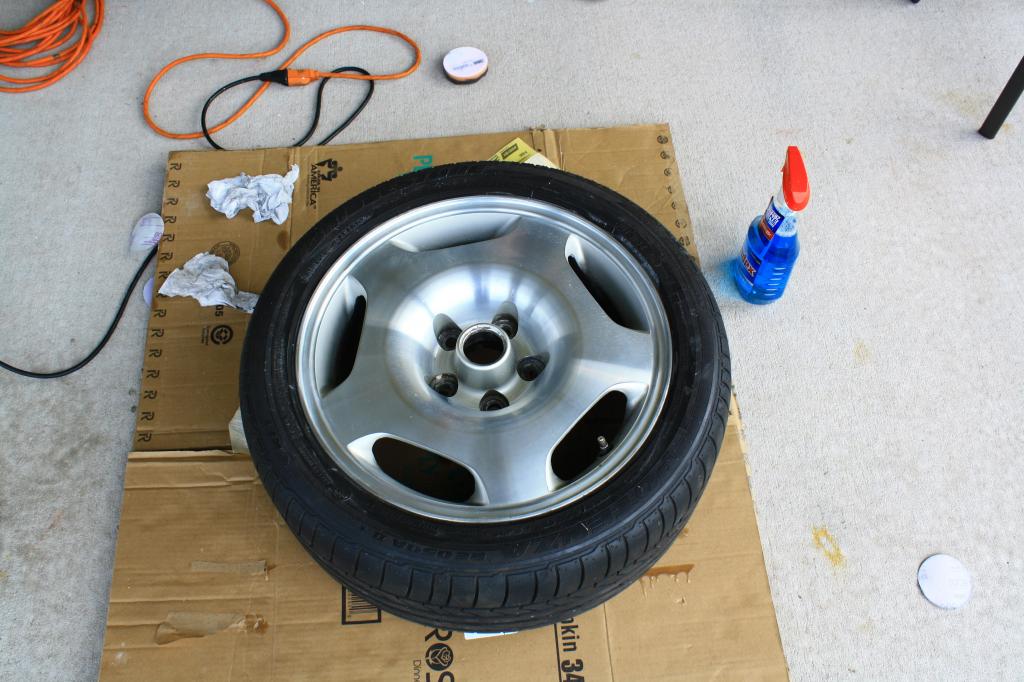
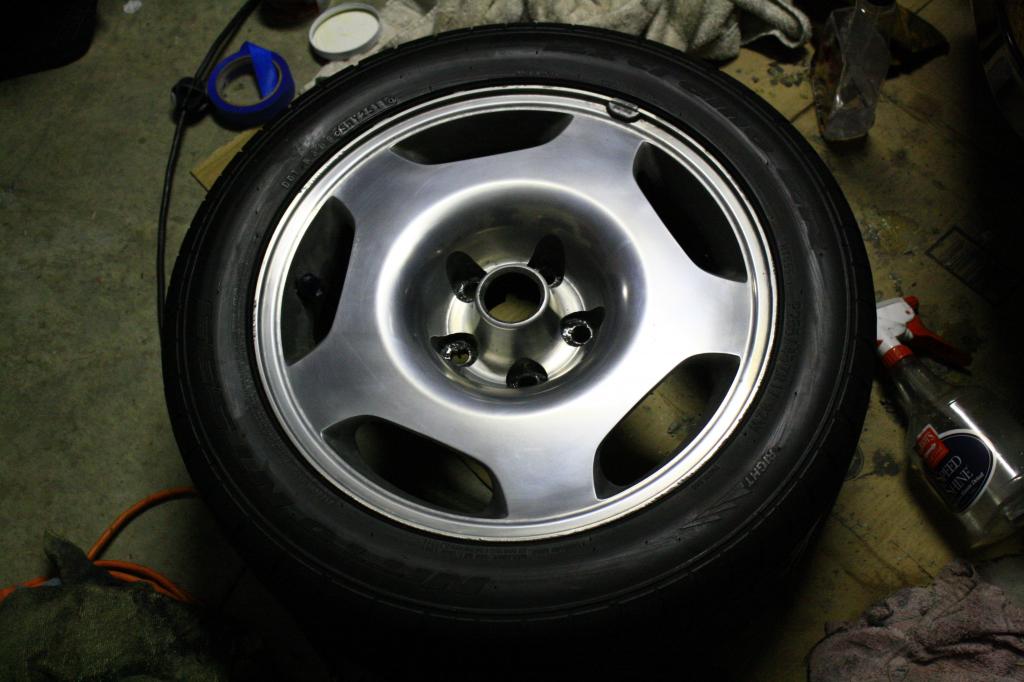
This was the final result of the spare, without using any aircraft stripper as I did on the other wheels.
On the rest of the wheels, I was not exactly happy with there still being some pitting in the surface as our wheels are clear coated. I bought some aircraft stripper and was much happier with the results. It took a while for the stuff to work, but I am much happier with the results.
This is what it started as, I figured the paint stripper couldn't make it much worse so I gave it a try!

Laying on the paint stripper heavy I found did a better job than lightly. I also would use gloves as the stripper will give you chemical burns if you don't, ask me how I know...

The centers of the wheels and in the holes to the monoblock are actually painted so it took some work with some sanding but this made the process much easier.

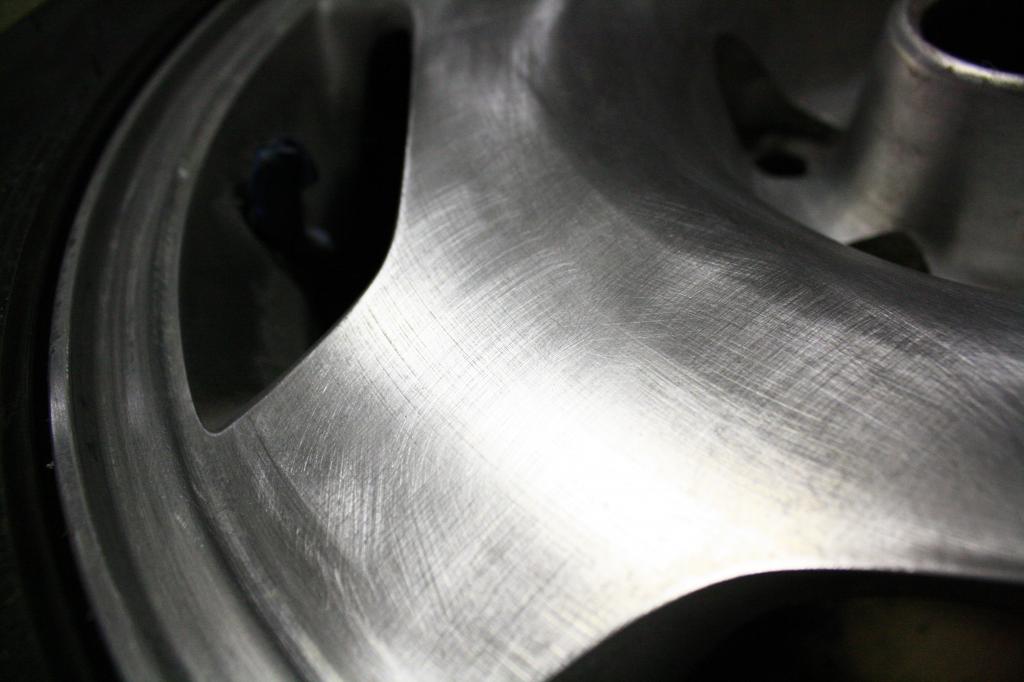
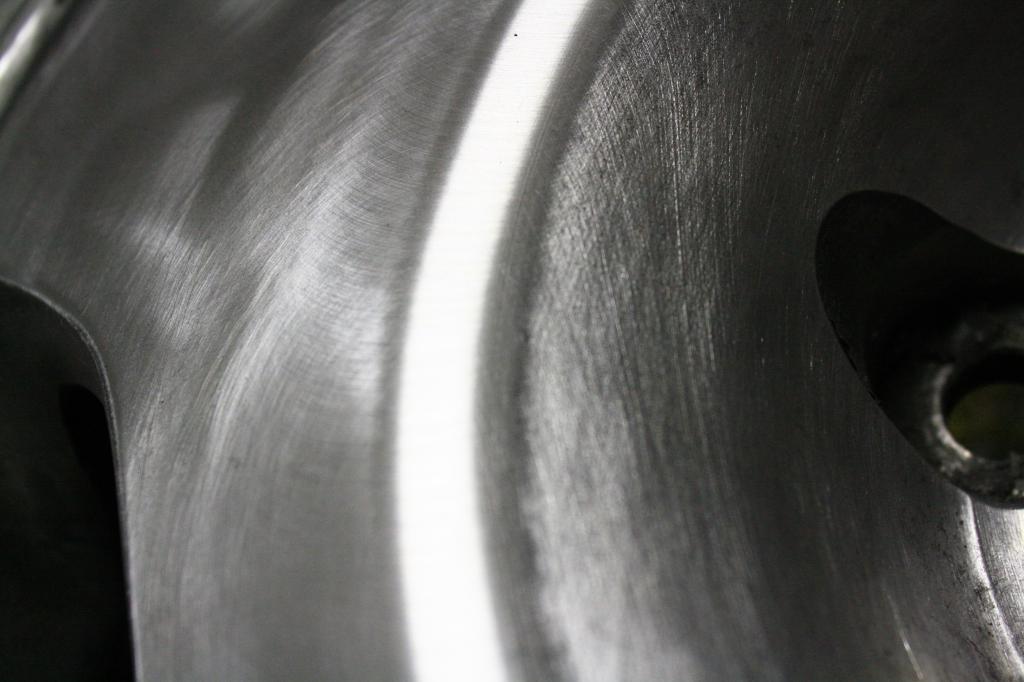
I used a plastic putty knife to scrape off the old clear coat and got to sanding. As you can see, it has much more effect to the bare metal. You will see the effect of the multiple passes with the different sanding pads.
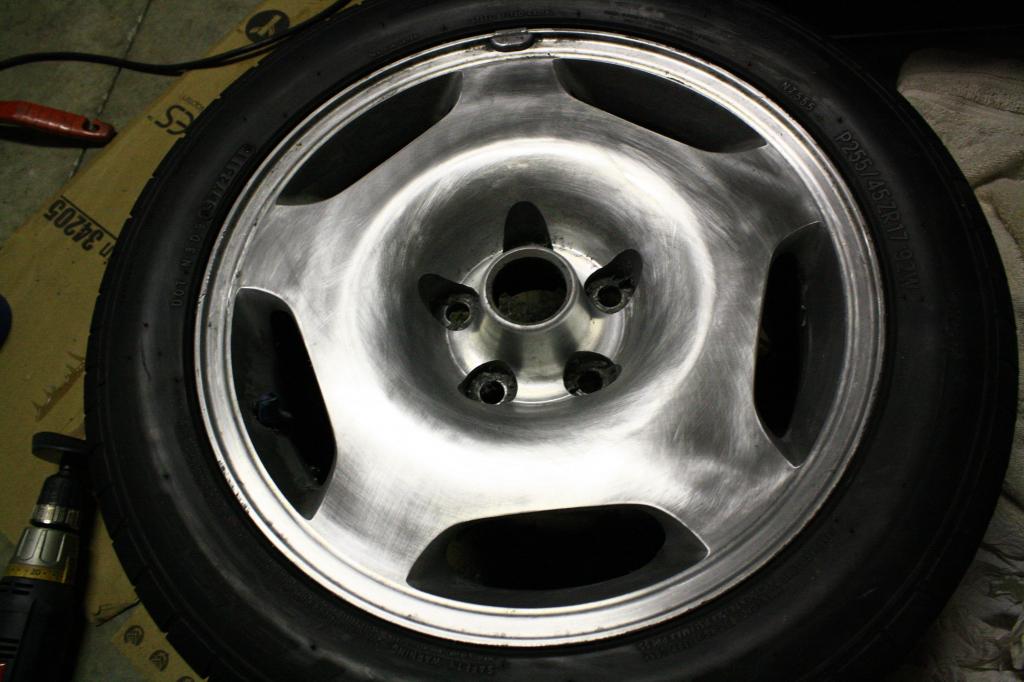


Just before a final buff!
And finished!
I apologize that it has taken quite a while for me to update this thread due to work and school taking priority.
I refinished the wheels recently and I used the 3M Wheel Restoration kit, I paid $19.99 as it was on sale from $29.99. It was pretty easy to use. It suggests that it is used for only two wheels but I did all 5, using the kit sparingly. I got it from Advance Discount Auto Parts, but it is this 3M Wheel Restoration System 39052
These are the wheel contents:

This was my spare that I tried it on first and to see if it was worth the trouble to do the rest.

As you can see, the surface was pretty messed up.

I masked off the edges of the wheels with painter's tape to prevent damage to the tires.

Using the sanding disks was a bit nerve racking as it started off.
IMG_0248_zpsb62fc01c.jpg Photo by carguy101 | Photobucket
This was the final result of the spare, without using any aircraft stripper as I did on the other wheels.


On the rest of the wheels, I was not exactly happy with there still being some pitting in the surface as our wheels are clear coated. I bought some aircraft stripper and was much happier with the results. It took a while for the stuff to work, but I am much happier with the results.
This is what it started as, I figured the paint stripper couldn't make it much worse so I gave it a try!


Laying on the paint stripper heavy I found did a better job than lightly. I also would use gloves as the stripper will give you chemical burns if you don't, ask me how I know...

The centers of the wheels and in the holes to the monoblock are actually painted so it took some work with some sanding but this made the process much easier.

I used a plastic putty knife to scrape off the old clear coat and got to sanding. As you can see, it has much more effect to the bare metal. You will see the effect of the multiple passes with the different sanding pads.


Just before a final buff!

And finished!

Thread Starter
|
Member
Joined: Jun 2008
Posts: 59
Likes: 8
From: St. Augustine
Another update! I did a full paint correction process on the car. I was able to purchase all of the stuff you see at a local auto parts store, except for the D/A a/k/a multi-speed orbital.

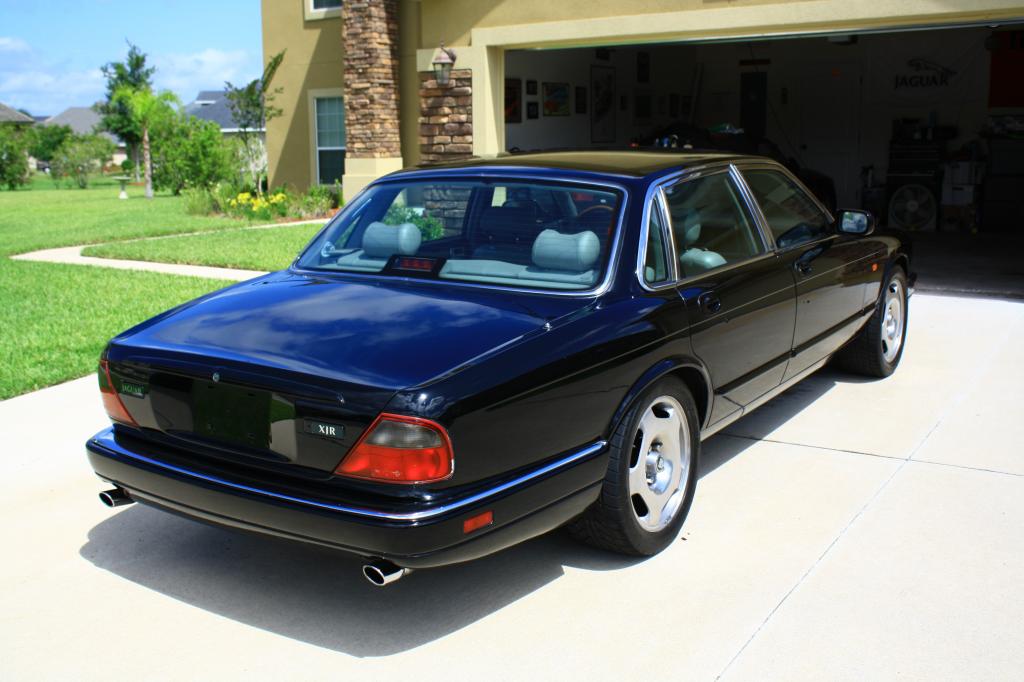
This was the final result:


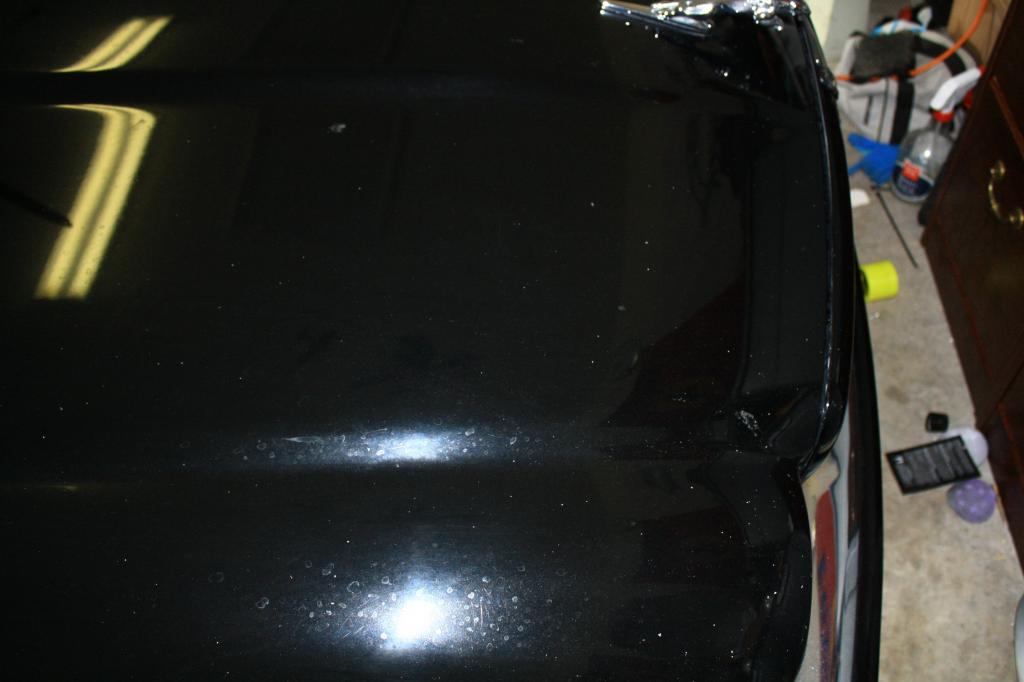
And this was before I started:
The steps are:
1. Wash the car with a dish washing soap to remove any previous wax on the car.
2. Dry the car.
This was what it looked like to this point.


3. Pull the car into the garage as this will take a long while to do correctly and it is paramount that the paint is cool to the touch.

4. Clay bar the car.
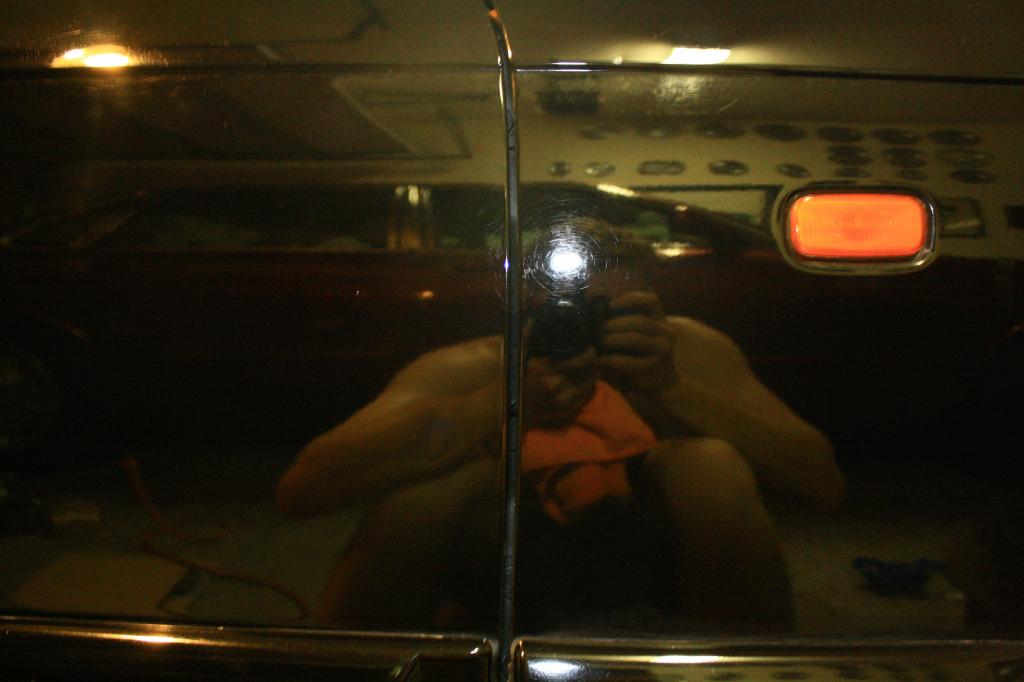
Before:


After:

5. Use the D/A or orbital on speed 6 with the firmest pad, in my case it was the red one. Put an "X" across the pad using the Medium Cut Glaze (the most abrasive) to be sure you get it covered.
You can see the difference between the two panels.

6. Switch to the yellow pad and do the same, but use a speed of 4 and the Professional Swirl Remover.
After:

7. Switch to the softest pad, the beige colored one and use your wax of choice while using a speed of 3.
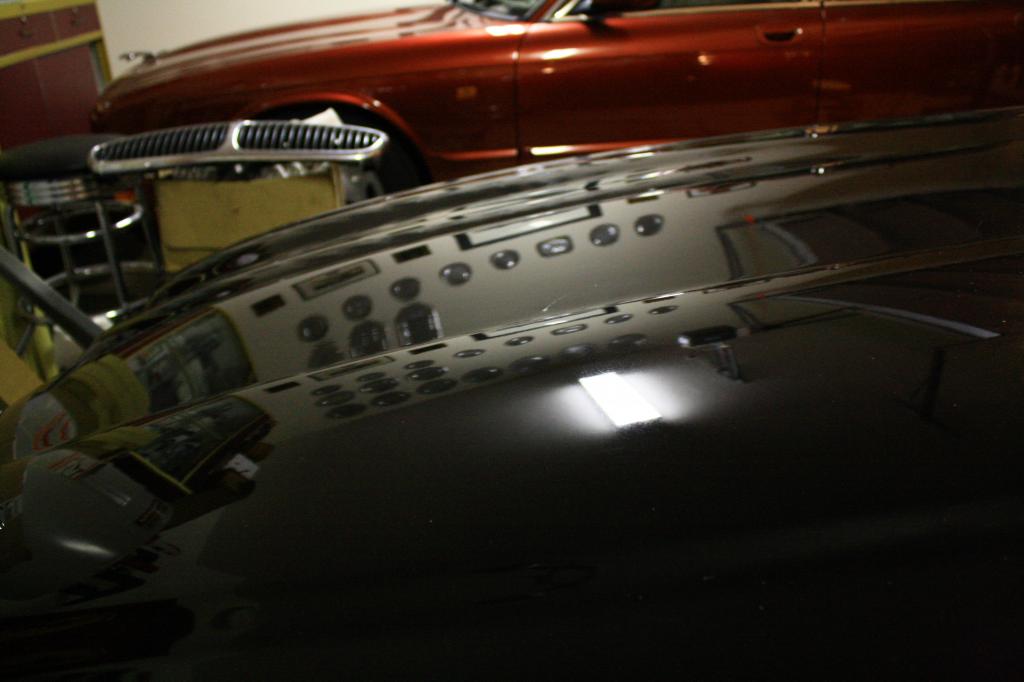


This was the final result:


And this was before I started:

The steps are:
1. Wash the car with a dish washing soap to remove any previous wax on the car.
2. Dry the car.
This was what it looked like to this point.


3. Pull the car into the garage as this will take a long while to do correctly and it is paramount that the paint is cool to the touch.

4. Clay bar the car.
Before:


After:

5. Use the D/A or orbital on speed 6 with the firmest pad, in my case it was the red one. Put an "X" across the pad using the Medium Cut Glaze (the most abrasive) to be sure you get it covered.
You can see the difference between the two panels.

6. Switch to the yellow pad and do the same, but use a speed of 4 and the Professional Swirl Remover.
After:

7. Switch to the softest pad, the beige colored one and use your wax of choice while using a speed of 3.


Thread Starter
|
Member
Joined: Jun 2008
Posts: 59
Likes: 8
From: St. Augustine
I will post pics of the interior shortly, but this is an idea of how dirty the car was before I used our carpet shampoo'er. The previous owner said he was more interested in the mechanical upkeep than the appearance. That is readily apparent.... 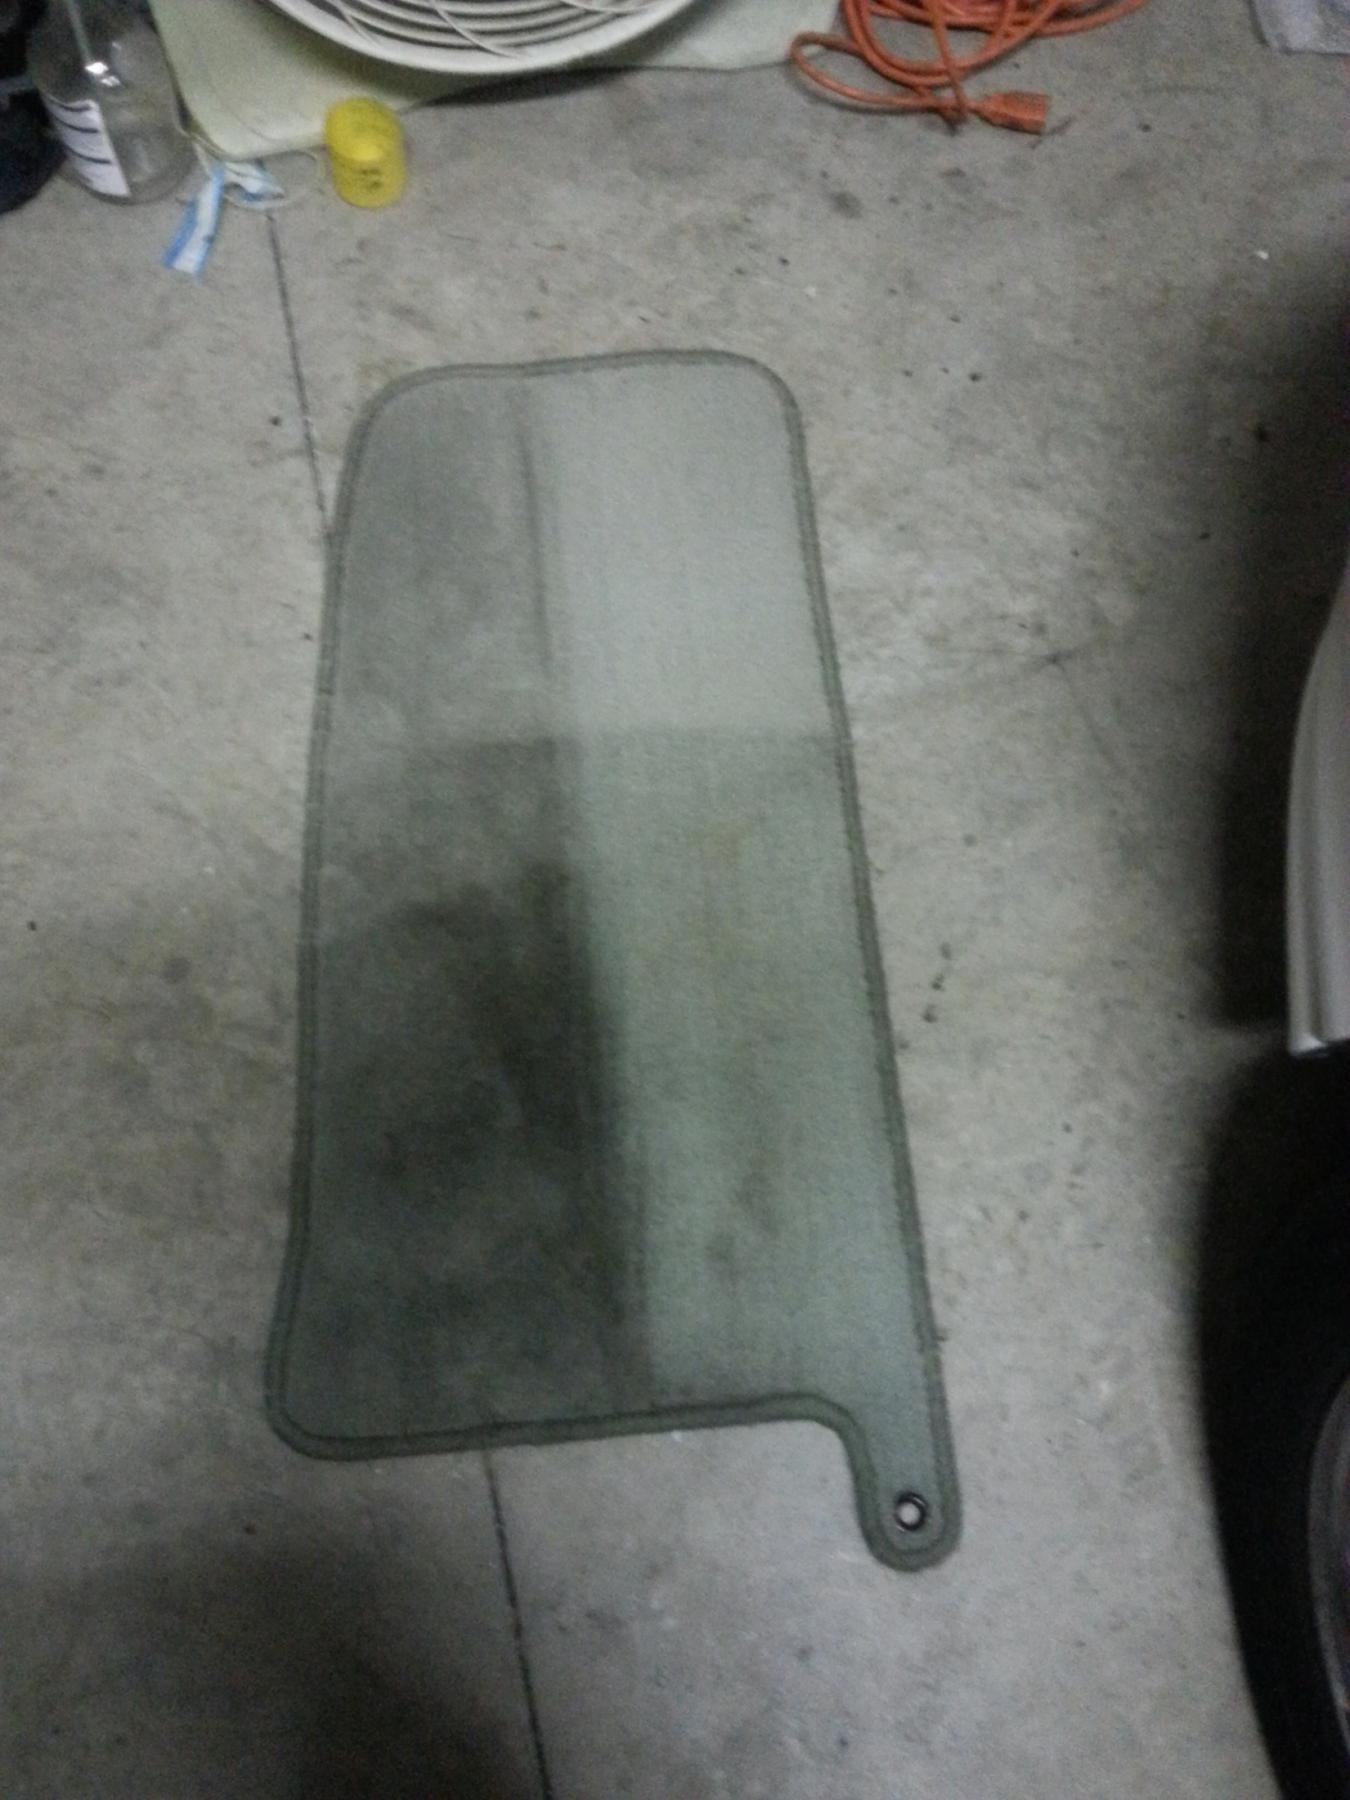

Trending Topics


Thread
Thread Starter
Forum
Replies
Last Post
aholbro1
XJ XJ6 / XJR6 ( X300 )
18
Dec 29, 2024 06:46 PM
Wolfy
XJ ( X351 )
58
May 28, 2024 08:06 AM
Andrew Fanshawe
New Member Area - Intro a MUST
7
Sep 14, 2015 07:40 PM
Currently Active Users Viewing This Thread: 1 (0 members and 1 guests)