When you click on links to various merchants on this site and make a purchase, this can result in this site earning a commission. Affiliate programs and affiliations include, but are not limited to, the eBay Partner Network.
Front sunshade - Movement issue and AWFUL noise - Any DIY fixes?
Hi,
Just new to this Jag Forum and so pleased to be here. Hoping that someone out there may have a knowledge of how to complete this problem and fix described below. As per the post title - My front sunshade (cloth) as sits below the front sunroof glass has stopped operating. On pressing the retract / close button in the front headlining console the motor now continues to run in the roof, but with no motion of the sunshade; solely a truly awful clicking (I'm presuming the motor/mechanism clutch) noise. Another owner has recently come across this problem and posted it very well here on YouTube:
Exactly the same thing as I am experiencing, and, as I posted to that YouTube channel:
"Hi @AIR_FUEL_SPARK - I have exactly this same problem since last week with my MY2011 Jaguar XJ. Any luck or further insights from here or other forums? Like you - I am enthusiastic to get this fixed. I haven't started dismantling anything as yet but your video as above is a massive help as a starter. Just that I do not want to start dismantling without a prior knowlegde that something can be completed as a fix...."
Does anyone here in this forum have any experience or guidance on a DIY resolution as might avoid $1,000's+ being gifted to a Jaguar dealer here?!
Might do some searches on the forum?
Sunshade problems have been reported and fixed but there are different problems depending on what went wrong.
.
.
.
My advice as a NON-DIY guy is don't try and force it like I did. Both my front and rear blinds would close to about being a 1/4" from being totally closed. As the car
was being driven , the gap would slowly get larger and larger until it was about 3/4 of the way totally open and this really irritated me. Then, I would push the close button
and it would close to about 1/4" again. One day I became so fed up that I decided to force it the last 1/4" and wound up breaking both the little plastic clips which hold
the sunshade to the frame . Snap, the sunshade went totally open and now it won't close at all though the motor seems to run fine. I really don't want to give the Jag
dealer $2000 for what amounts to taking the whole assembly unit out for two plastic clips and fixing the darn thing, so I just ride around with both sunshades in the open
position. Ah yes, the joys of my 2012 XJL which I just can't part with.
gpk
I also have the same issue as the video. Motor keeps trying to wind backwards not forward. I changed the motor out for one from a tear down but it didn�t make any difference. Tool access and visibility is also a bit annoying. An arched plastic piece fell off as I removed the motor. I think I put it back in the right place.
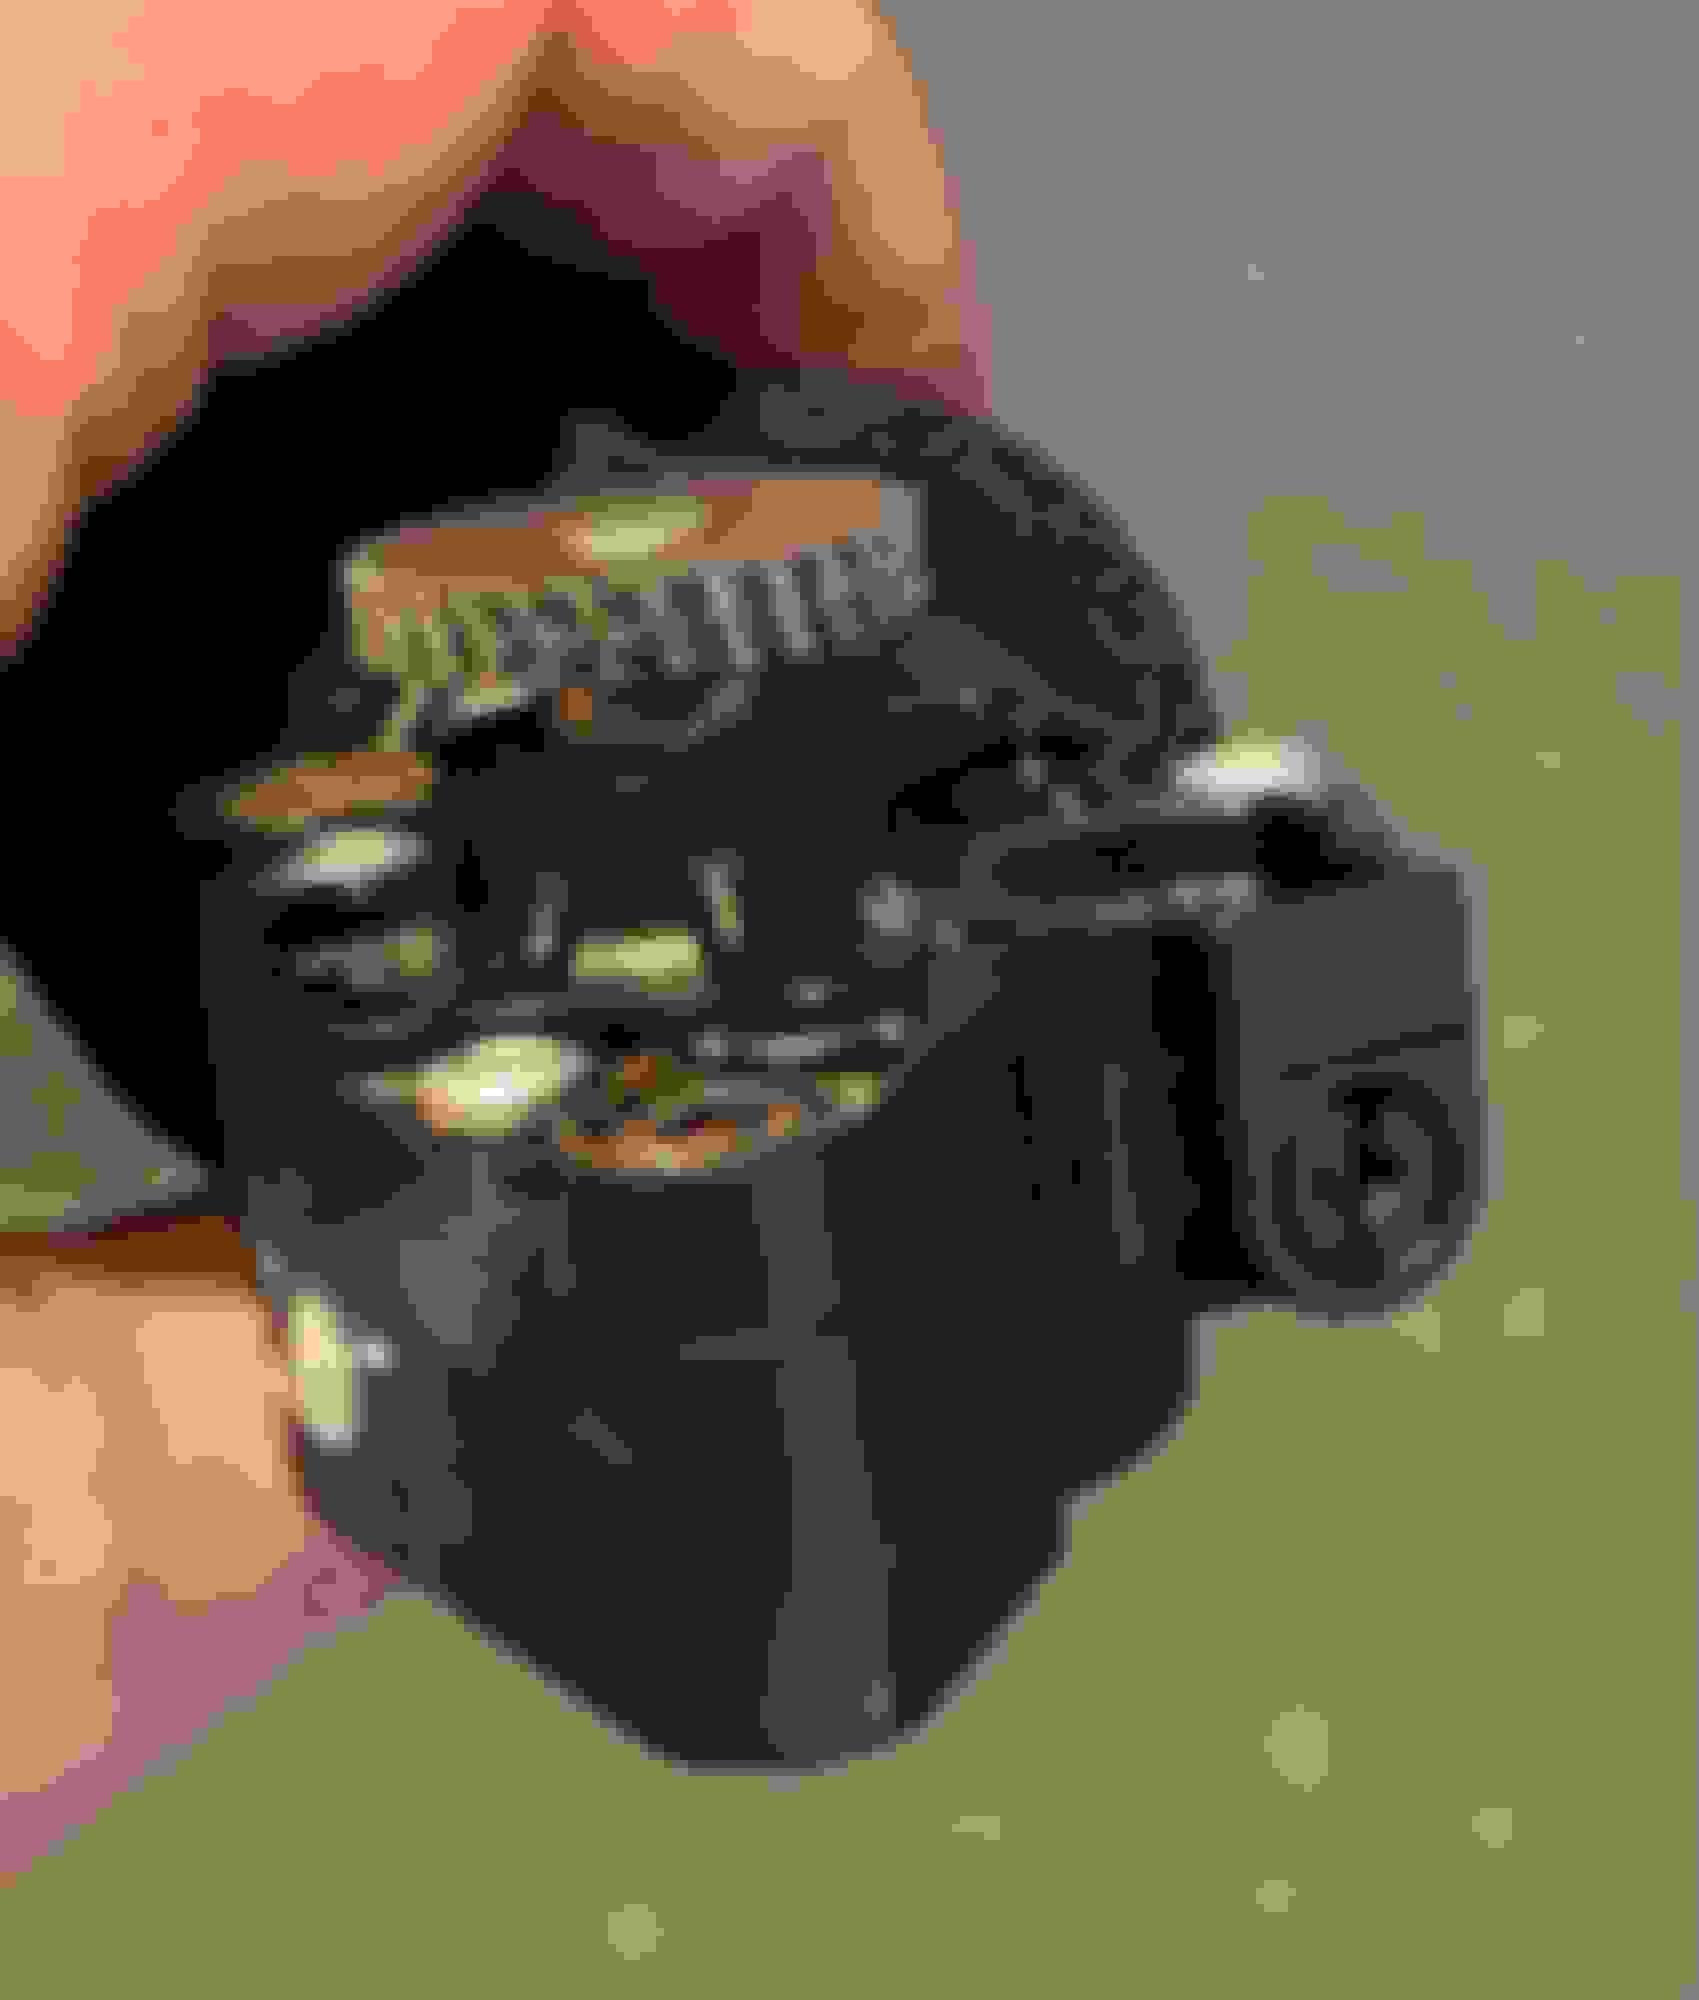
There is also a set screw in the front of the motor. Anyone know what it does?
Black set screw in the front of the sunshade motor. What does it do?
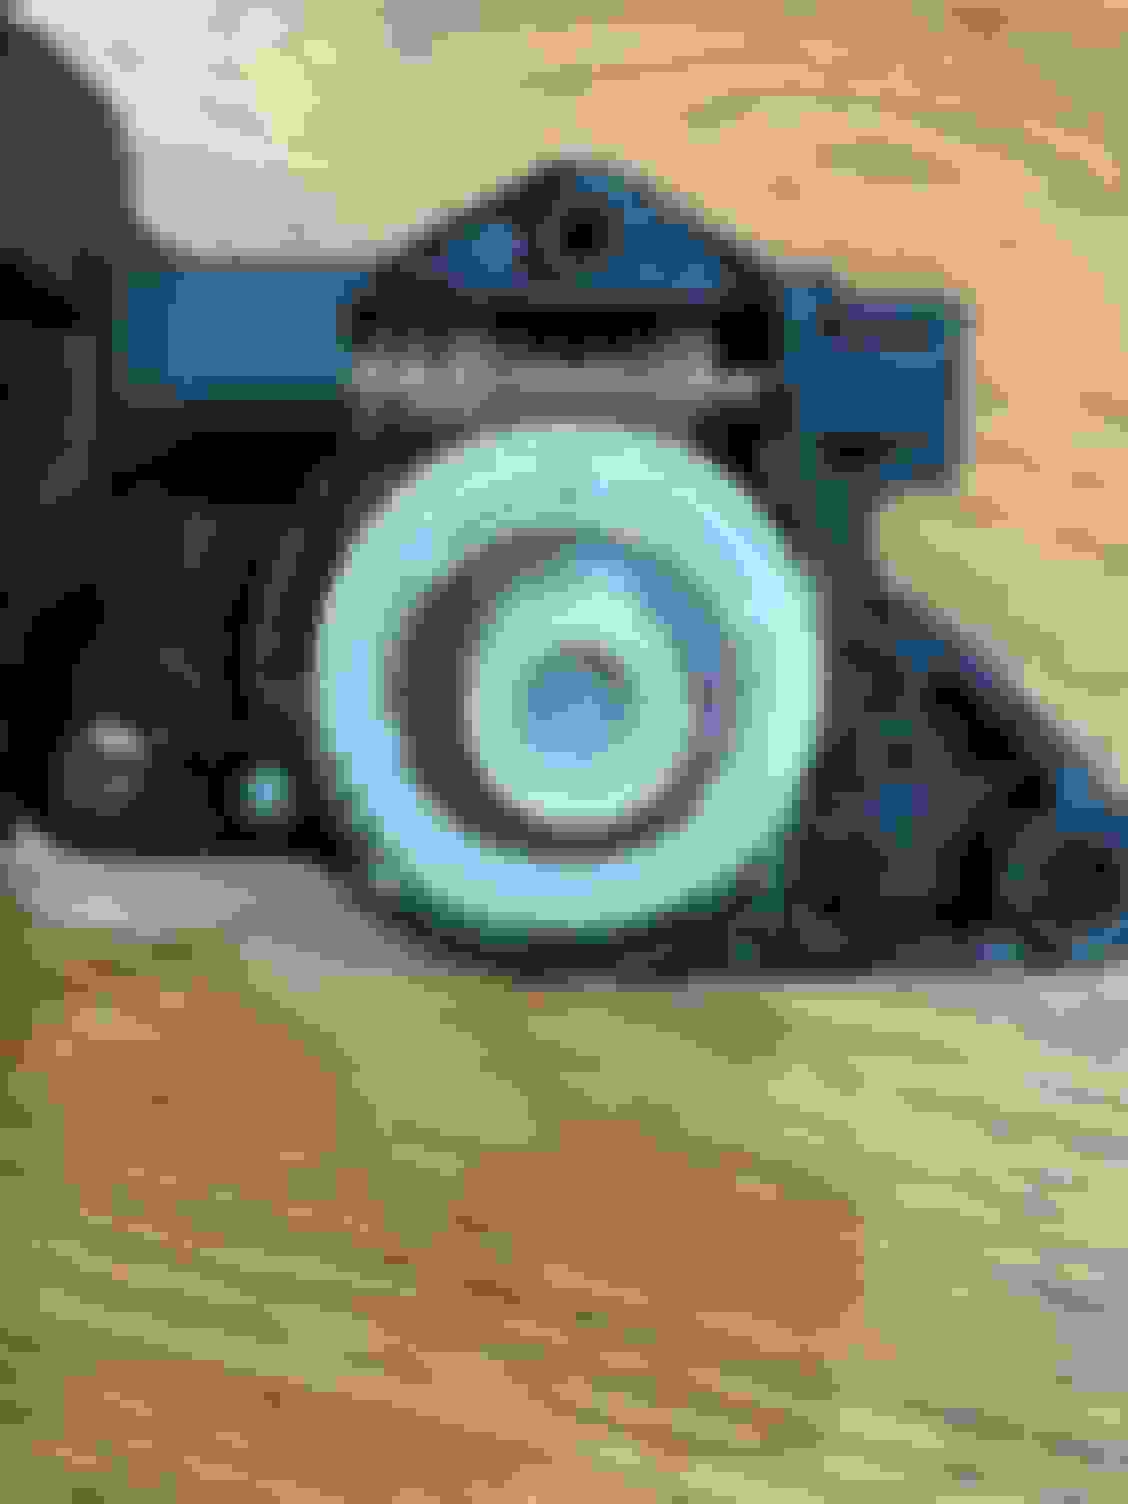
Edit: The set screw does nothing. It connects to the main motor and turning it may mess up the motor. The motor turns a plastic gear that in turn turns a metal gear (see picture of the motor opened up below). Why an engineer thought it would be a good idea to use so many different materials, I�ll never know.
See the attached TSB's on the Moon roof. As I posted there are a number of different problems that can happen.
There was a huge problem with the pano roof creaking and I have some more TSB's on that if your having that problem.
Since your motor is working I don't think that's your problem. Focus on the getting the timing of everything right.
Good pictures too! They are always a help so we can see what your doing.
Do you have the manual? It's got sections on the roof and how to adjust things.
.
.
.
Last edited by clubairth1; Apr 15, 2024 at 07:19 AM.
The horrible noise is likely due to worn gears on the drive motor. Most likely you'll need to replace the drive motor and drive spindle as I had to. If you've gone to all the effort to access the thing, you might as well do it once. Was an absolute pig of a job the first time around. Whilst there replace the sunroof guide shoes (cheap enough) and read up on how to preload the coiled spring for the sunroof blind. It's easier to refit the blind onto the shoes by taking the glass out otherwise it's a lot of trial and error and swearing trying to do it blind - so to speak. You'll also need to recalibrate the blind with a decent diagnostic tool so it closes and opens to the correct points.
Also have a few of the roof clips as spares as these easily get brittle and break with age. Easier to have them and not need them then break one or two and stop you in your tracks 👍
Last edited by fossberry; Apr 15, 2024 at 03:35 PM.
See the attached TSB's on the Moon roof. As I posted there are a number of different problems that can happen.
There was a huge problem with the pano roof creaking and I have some more TSB's on that if your having that problem.
Since your motor is working I don't think that's your problem. Focus on the getting the timing of everything right.
Good pictures too! They are always a help so we can see what your doing.
Do you have the manual? It's got sections on the roof and how to adjust things.
.
.
.
Thanks. Read the documents and have a better idea now. Also found this link with pictures:
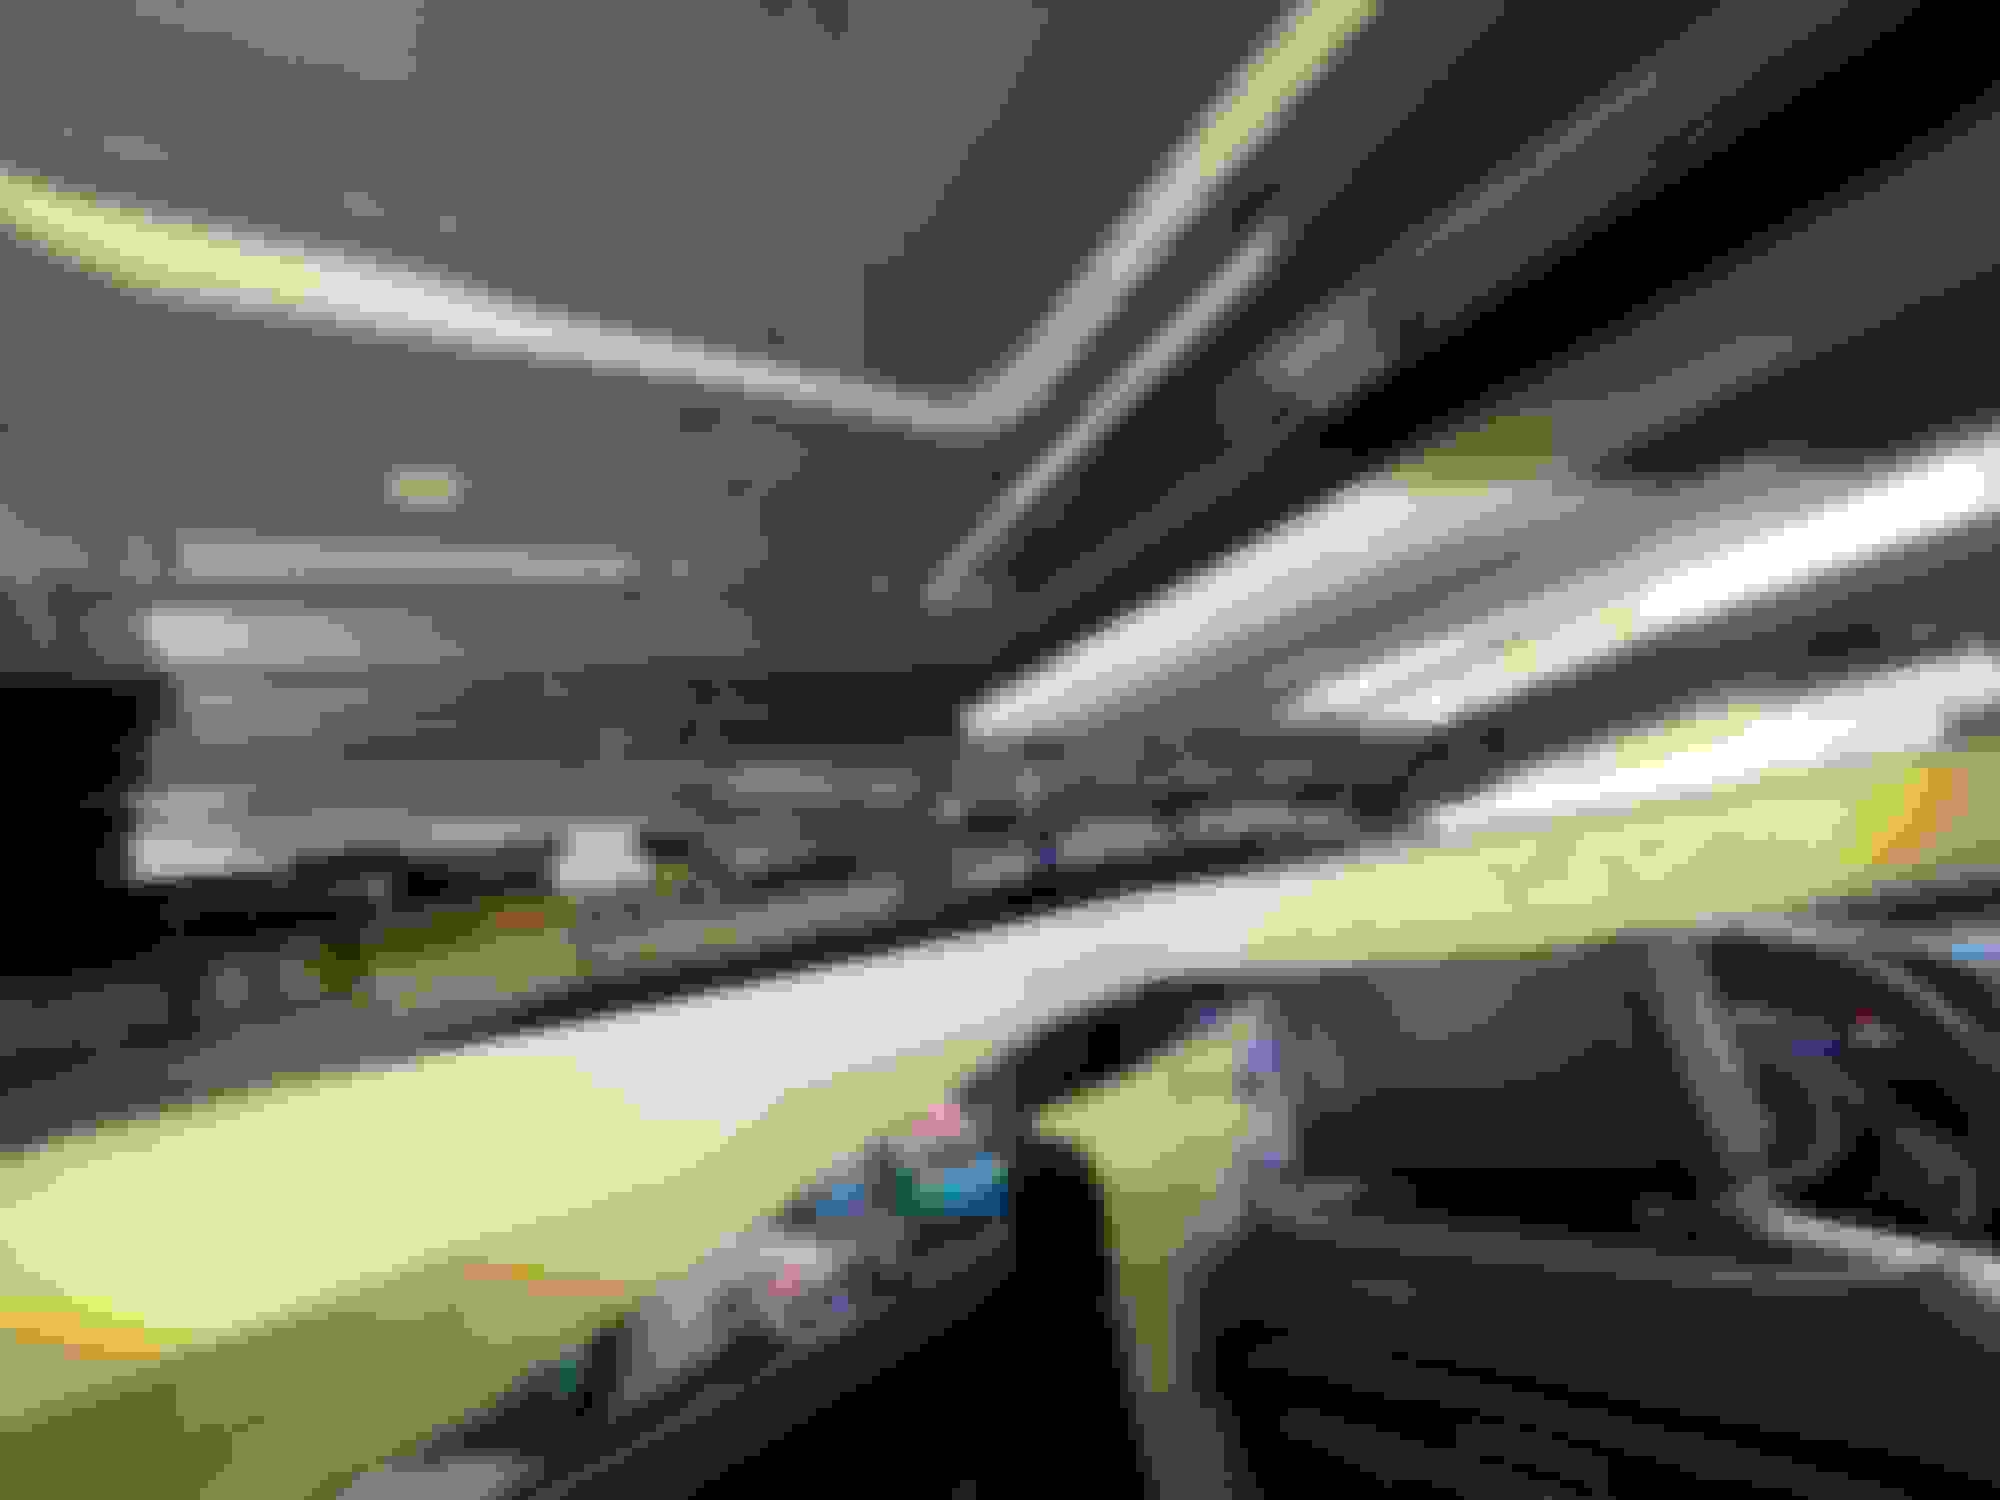
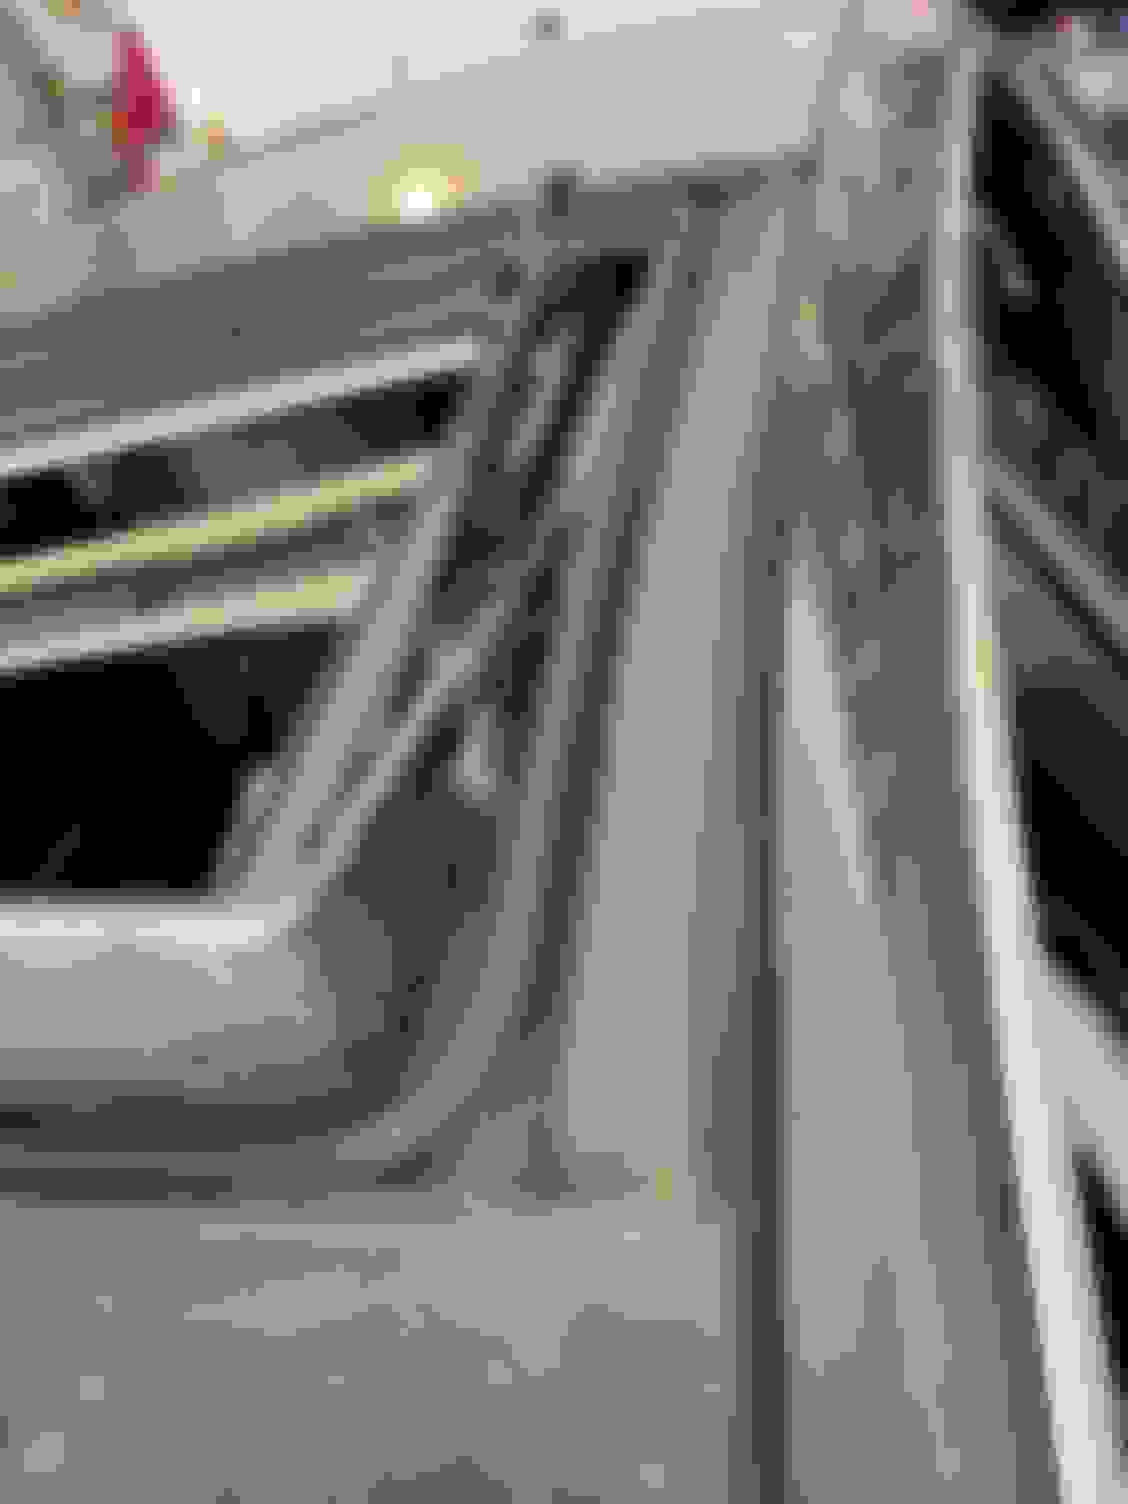
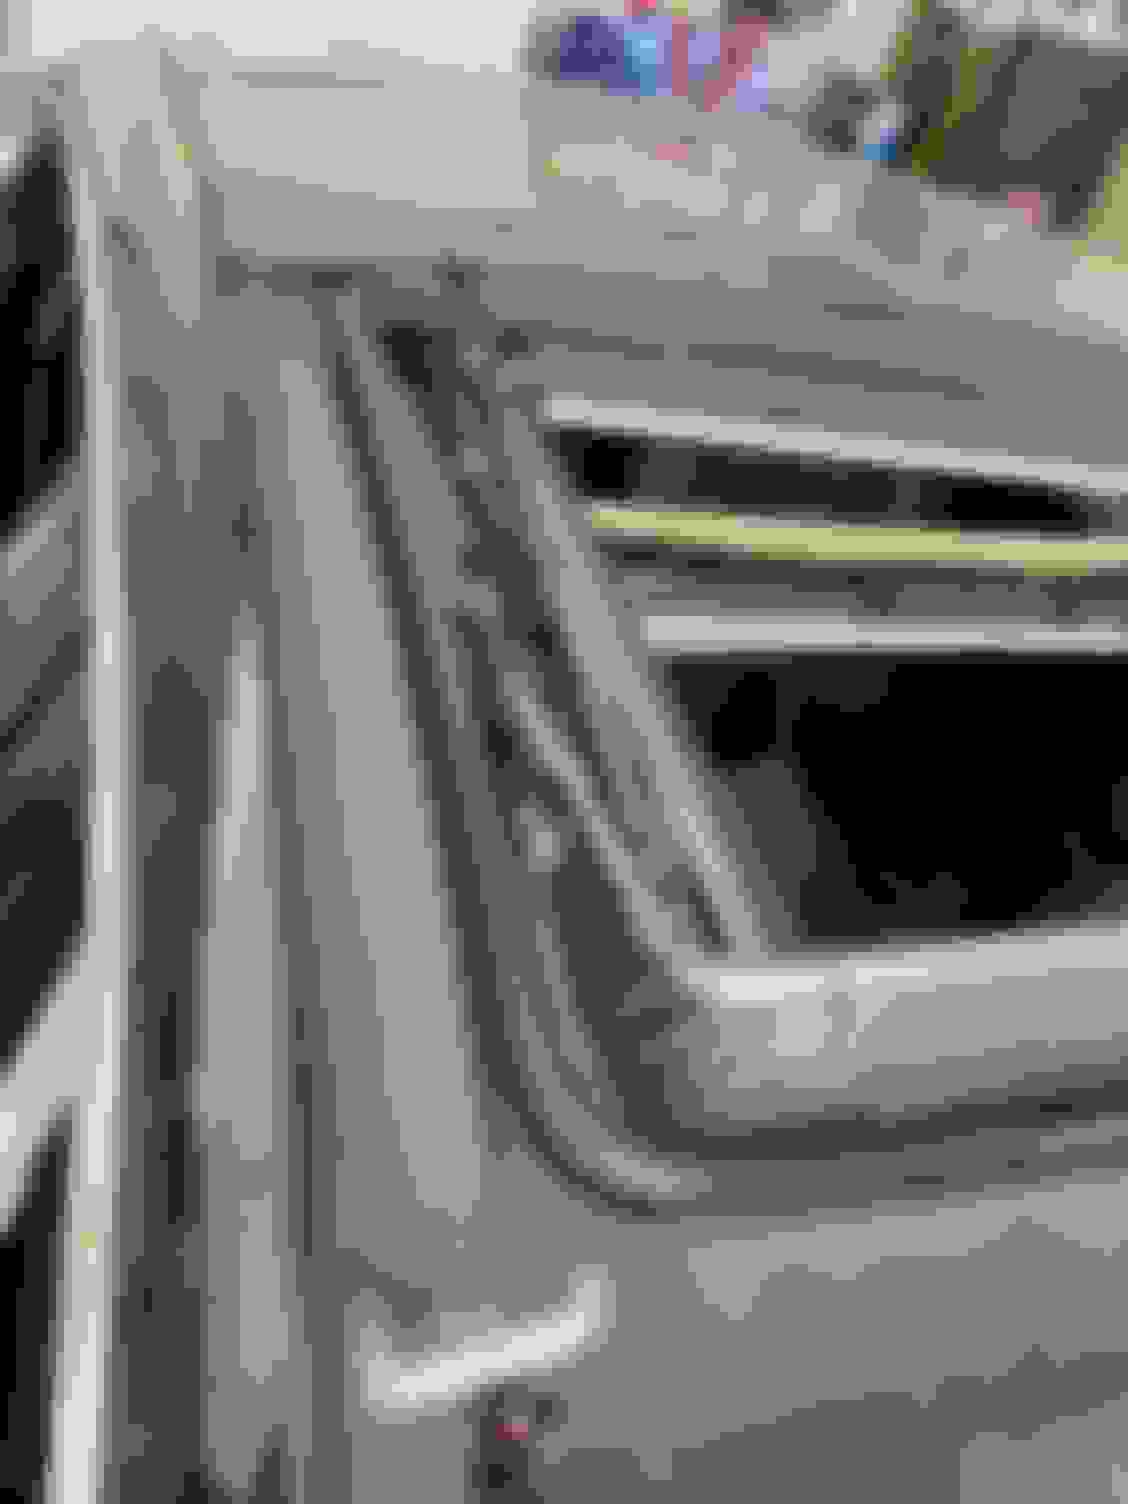
Making slow progress. Dropped the headliner and removed front sunroof for better visibility.
Dropped headliner Removed sunroof
Took a video of motor working, but no movement (see below). It�s clear I need to remove the entire blind motor assembly to see what�s going on. To do this it looks like I need to remove the blind first (while maintaining its spring tension using a special clip) and then remove the assembly.
I am slightly concerned about the poor quality of the cartoon-based instructions; they are hardly good enough to build IKEA furniture, let alone fix a complex car module.
I am traveling again, so will have to put the sunroof glass back on and resume again later. Let me know if anyone has any good tips. Thanks.
Making good progress and yes the manuals and instructions leave a lot to be desired for sure!
Thanks for the pictures because it's hard to follow what's going on and they show many details we otherwise would miss.
.
.
.
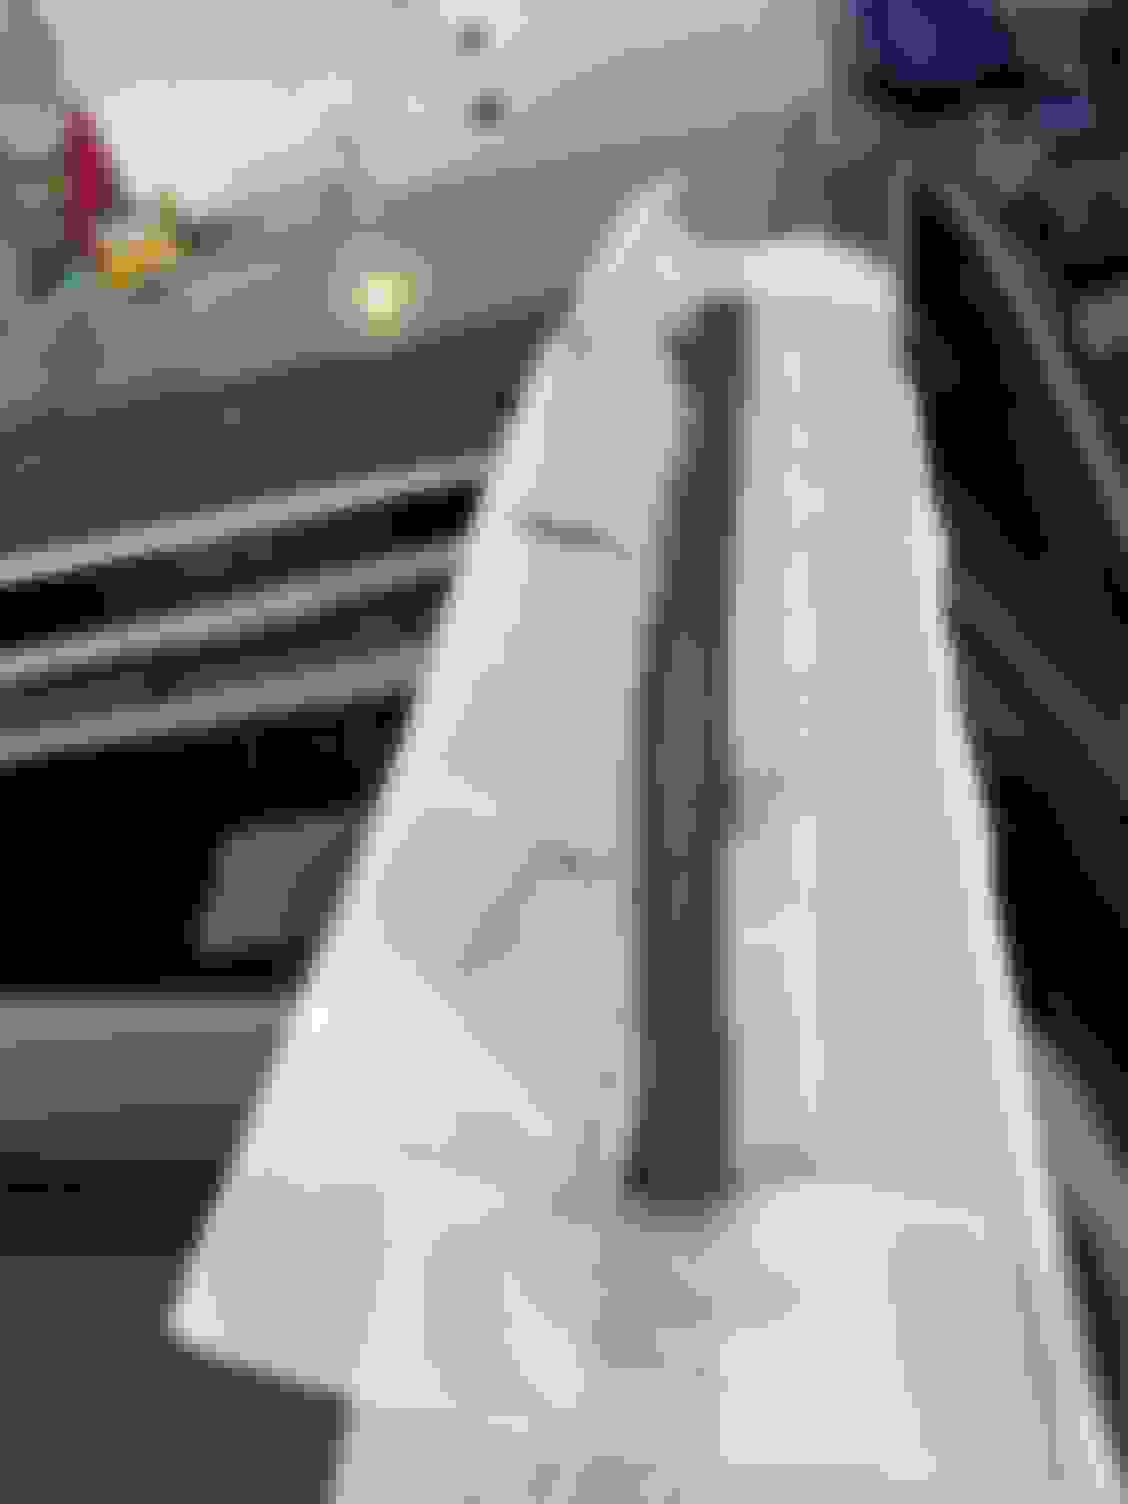
Before re-affixing the sunroof glass for my pause, I took the opportunity to treat some of the rust (a known issue, at least on earlier models). I used Rustoleum rust converter for this. I also treated all the rubber weatherstripping/ seals with Gummi Pfledge Stift to soften them back up. There are seals both on the car where the sunroof sits and the underside of the glass mounting bracket.
Products used Taped up before painting After painting with rust converter on the drivers side After painting rust converter on the passenger side Underside of glass, showing mounting bracket.
I got stuck trying to figure it out, so I sought out help from my local indie shop. He said he needed the headliner fully removed to diagnose/fix it, so I took the opportunity to do a full replacement of the headliner as well (so I had an interior upholstery shop coordinate with my mechanic to do the work). He identified that the main issue is broken plastic footings pieces (I'll request the part numbers and update with them soon), but said the motor was slow as well so he replaced the whole rail at the same time. He said full rail replacement was a beast of a job because the front sunshade mechanically crosses-over to the rail on the other side (passenger side connects to the drivers side) because both rails move together via one motor. He had to lock the sunscreen in place under tension with a pin tool and then remove/replace the rail and connect to the cross-over element. He indicated he probably wouldn't want to do the full rail replacement again as it is very annoying.
It works wonderfully now and I am very happy, but it was not a cheap or quick repair. If you only need to replace the plastic support footings, then it is likely easier/ cheaper. If you need the full rail replaced, I suggest considering refreshing the headliner at the same time.
So in addition to the rail/motor on the drivers side, the broken plastic sliding blocks that needed replacing were, I believe parts C2D30280 and C2D30281. A picture of my sliding blocks are shown below.
My guess is that the sliding blocks are all that really needed to be replaced, but I went full tilt and got the motor and rail swapped out while doing the headliner. I don�t think the headliner needs to be fully removed to replace the sliding blocks.
My indie said only the plastic bits were broken, but also that the motor was moving the rail slowly and non-smoothly. He recommended replacing the full rail, which comes with the new motor, because of this but sounded like only the replacement of the plastic sliding blocks was required to restore basic motion. He let me supply my own parts. It now definitely moves faster and smoother than I ever remember.
I probably damaged the rail a bit by using it for too long with the broken plastic pieces/ grinding the gears and helping it move along with my hand.
I have replaced my slides on both of my sunshades but only one side of the slides are connected to the track and the other side isnt. Trying to connect the other side to go in the track. So does the headliner have to be dropped to do that or is there another way it can be done without dropping headliner. I put one side in at an angle then put the other slide in at the front of the track after the other side was in. Seen a guy do it like that on a video I found about it but i know thats not the right way. Thanks any input is very much appreciated.
I have replaced my slides on both of my sunshades but only one side of the slides are connected to the track and the other side isnt. Trying to connect the other side to go in the track. So does the headliner have to be dropped to do that or is there another way it can be done without dropping headliner. I put one side in at an angle then put the other slide in at the front of the track after the other side was in. Seen a guy do it like that on a video I found about it but i know thats not the right way. Thanks any input is very much appreciated.
To be honest, I am not sure how it would be done without dropping the headliner, but I am not familiar with the video you�re referring to. Dropping the headliner isn�t too challenging though, I followed the video the OP shared (linked again
) on how to do it. Some of the plastic clips are easy to break though. Removing the headliner completely, however, is a pain as the seats have to be removed to slip it out of the car.
To be honest, I am not sure how it would be done without dropping the headliner, but I am not familiar with the video you�re referring to. Dropping the headliner isn�t too challenging though, I followed the video the OP shared (linked again Here) on how to do it. Some of the plastic clips are easy to break though. Removing the headliner completely, however, is a pain as the seats have to be removed to slip it out of the car.