When you click on links to various merchants on this site and make a purchase, this can result in this site earning a commission. Affiliate programs and affiliations include, but are not limited to, the eBay Partner Network.
Here�s how to upgrade your older styled remote over to the new styled remote. This process involves very slight modification to the circuit board but will not require any programming after.
you can purchase newer styled remotes (new or used) off eBay. The remote you purchase could have the circuit board included or it may be just the case. Either way, all you need is the case for this project.
I personally purchased a used remote with a circuit board for around $50 and then I took the circuit board out and put it away for a different use in the future.
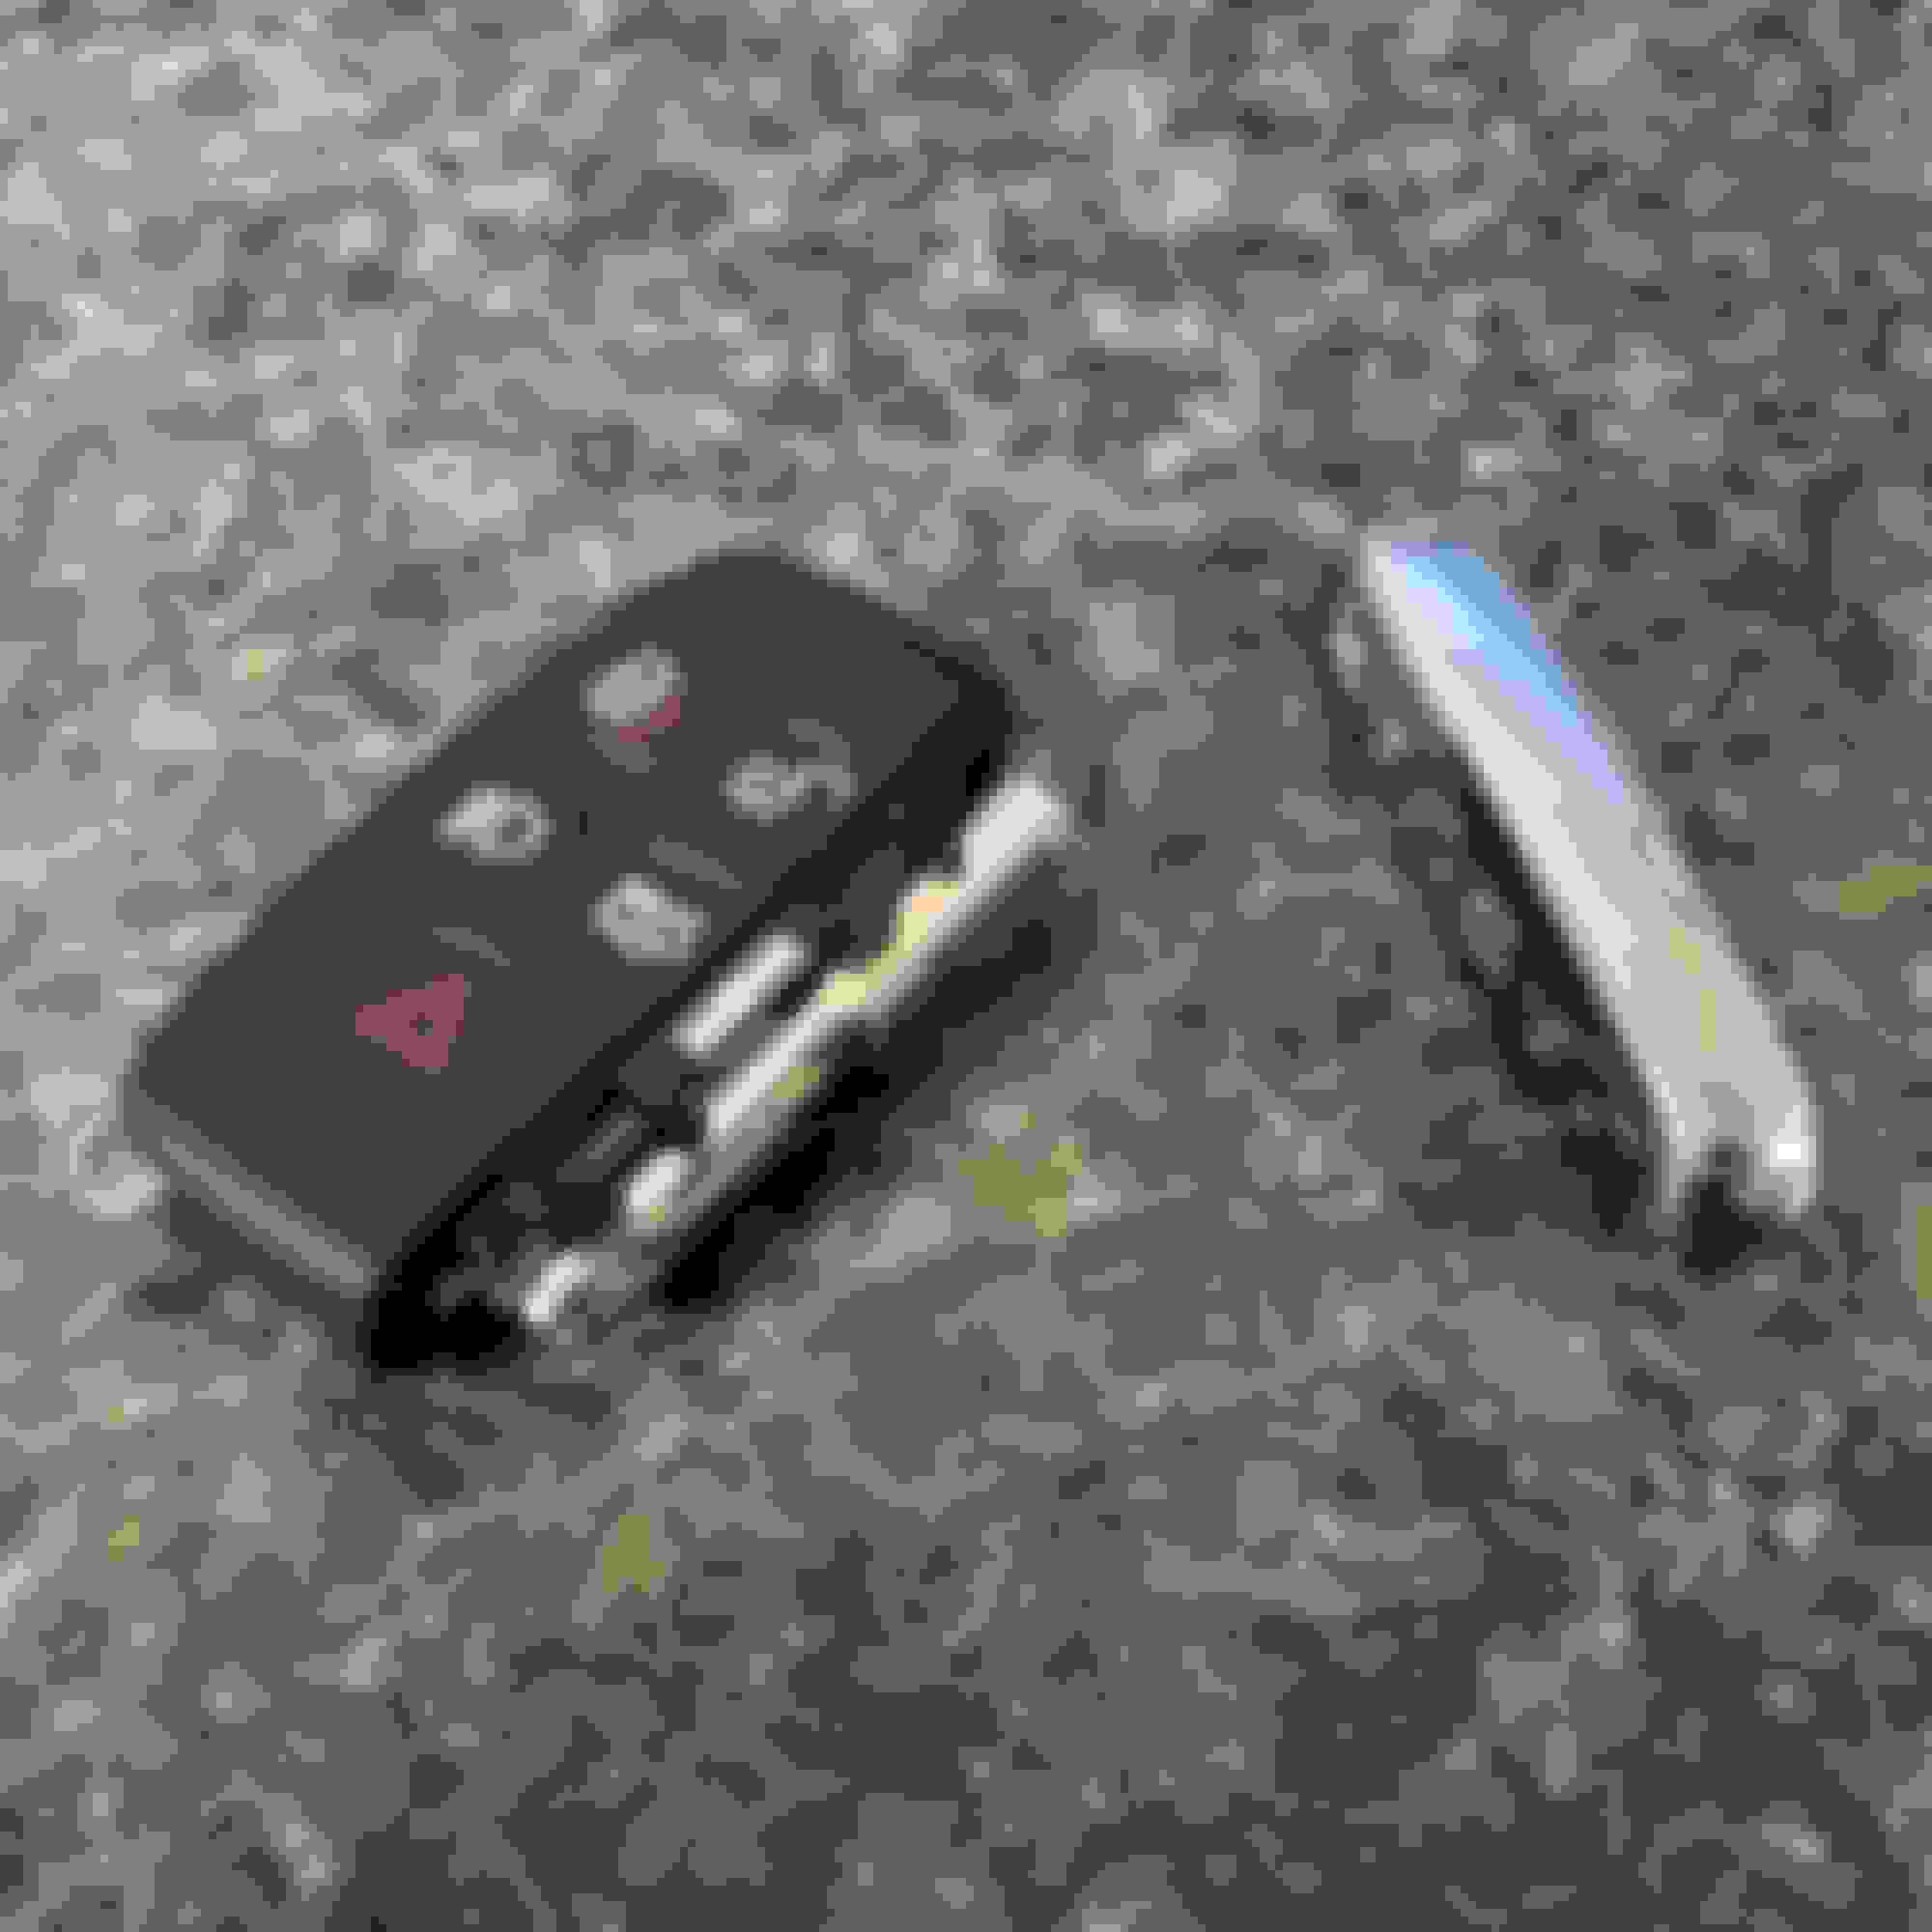
heres a few pictures of the old and new together just to compare size and shape.
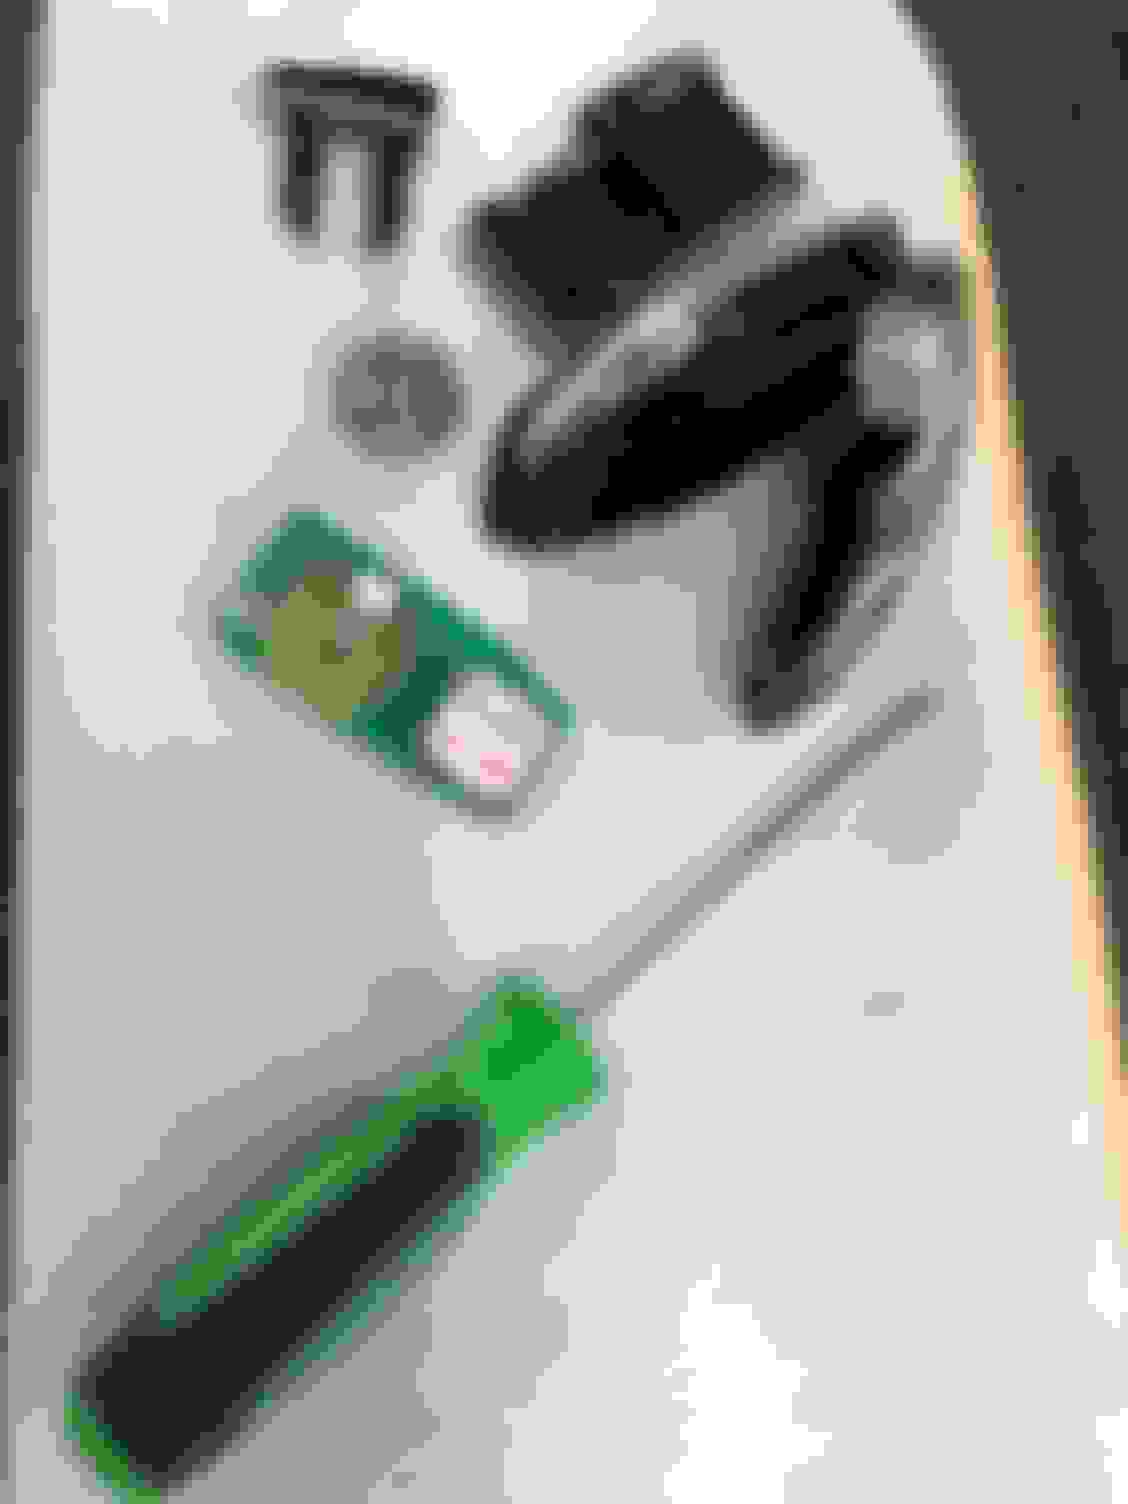
first take the old remote apart. The process is easy enough, press the button on the side to open the clam shell case, pull the battery out (tray just below side button pulls out) then pop the inside sealed layer up using a small flat blade or butter knife. Once you�re at the circuit board you�re going to remove it carefully.
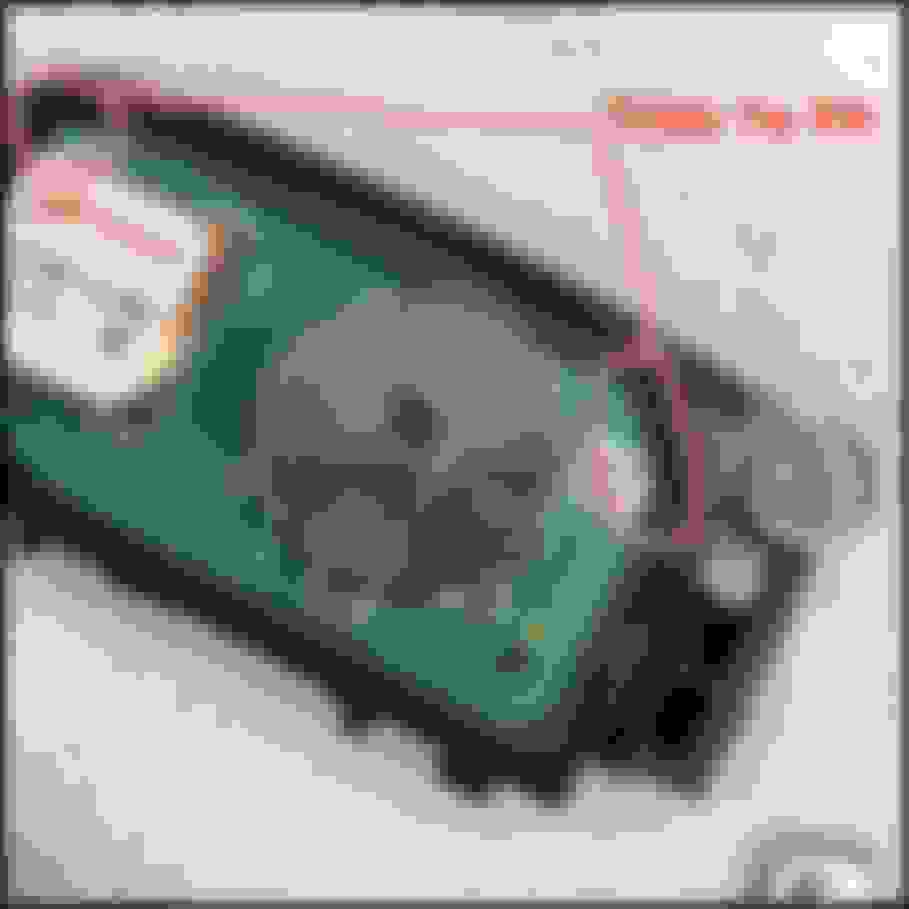
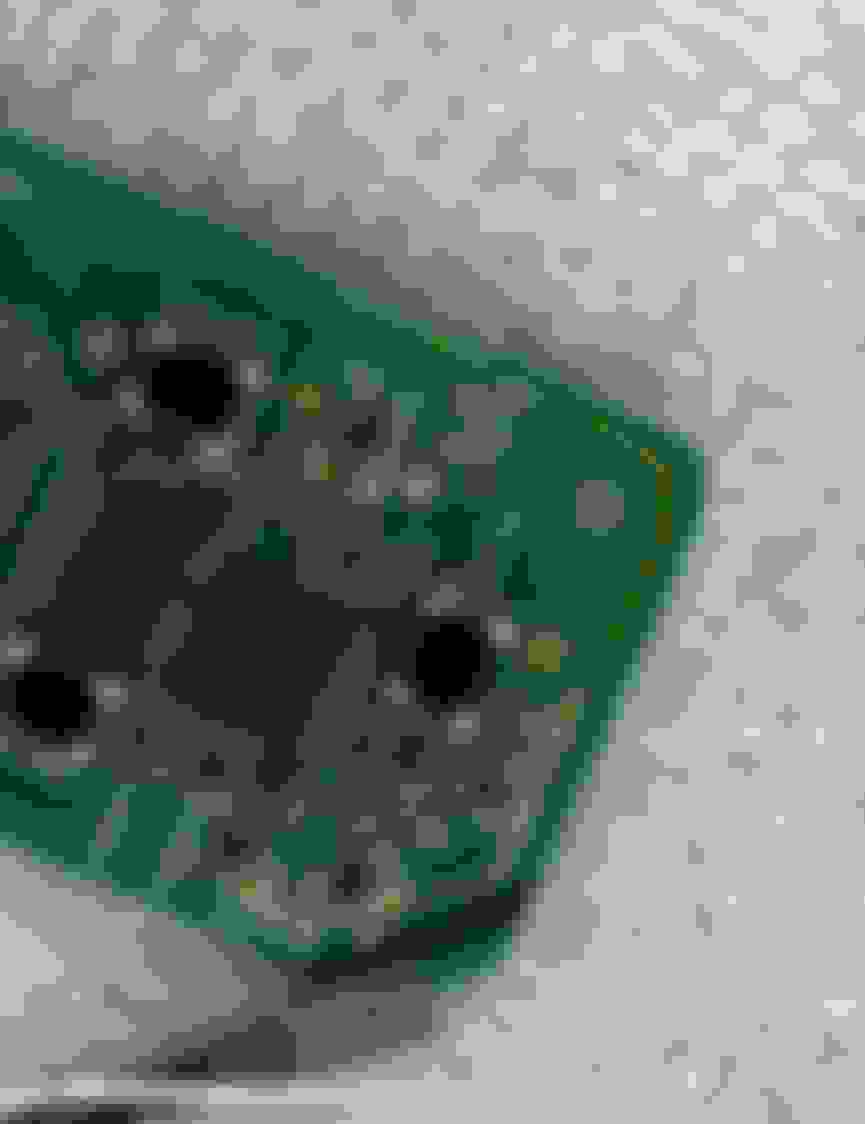
Now that you�re at the circuit board you�re going to need to take a good look at it to understand where not to cut. There is a thick lead that follows the outside of the board (yellow line in picture) this lead will obviously need to stay intact but in order to get this upgrade complete you will need to cut the corner of the circuit board off just next to the lead (I�ve drawn a line on the board and placed a flat blade over what needs to be cut off)
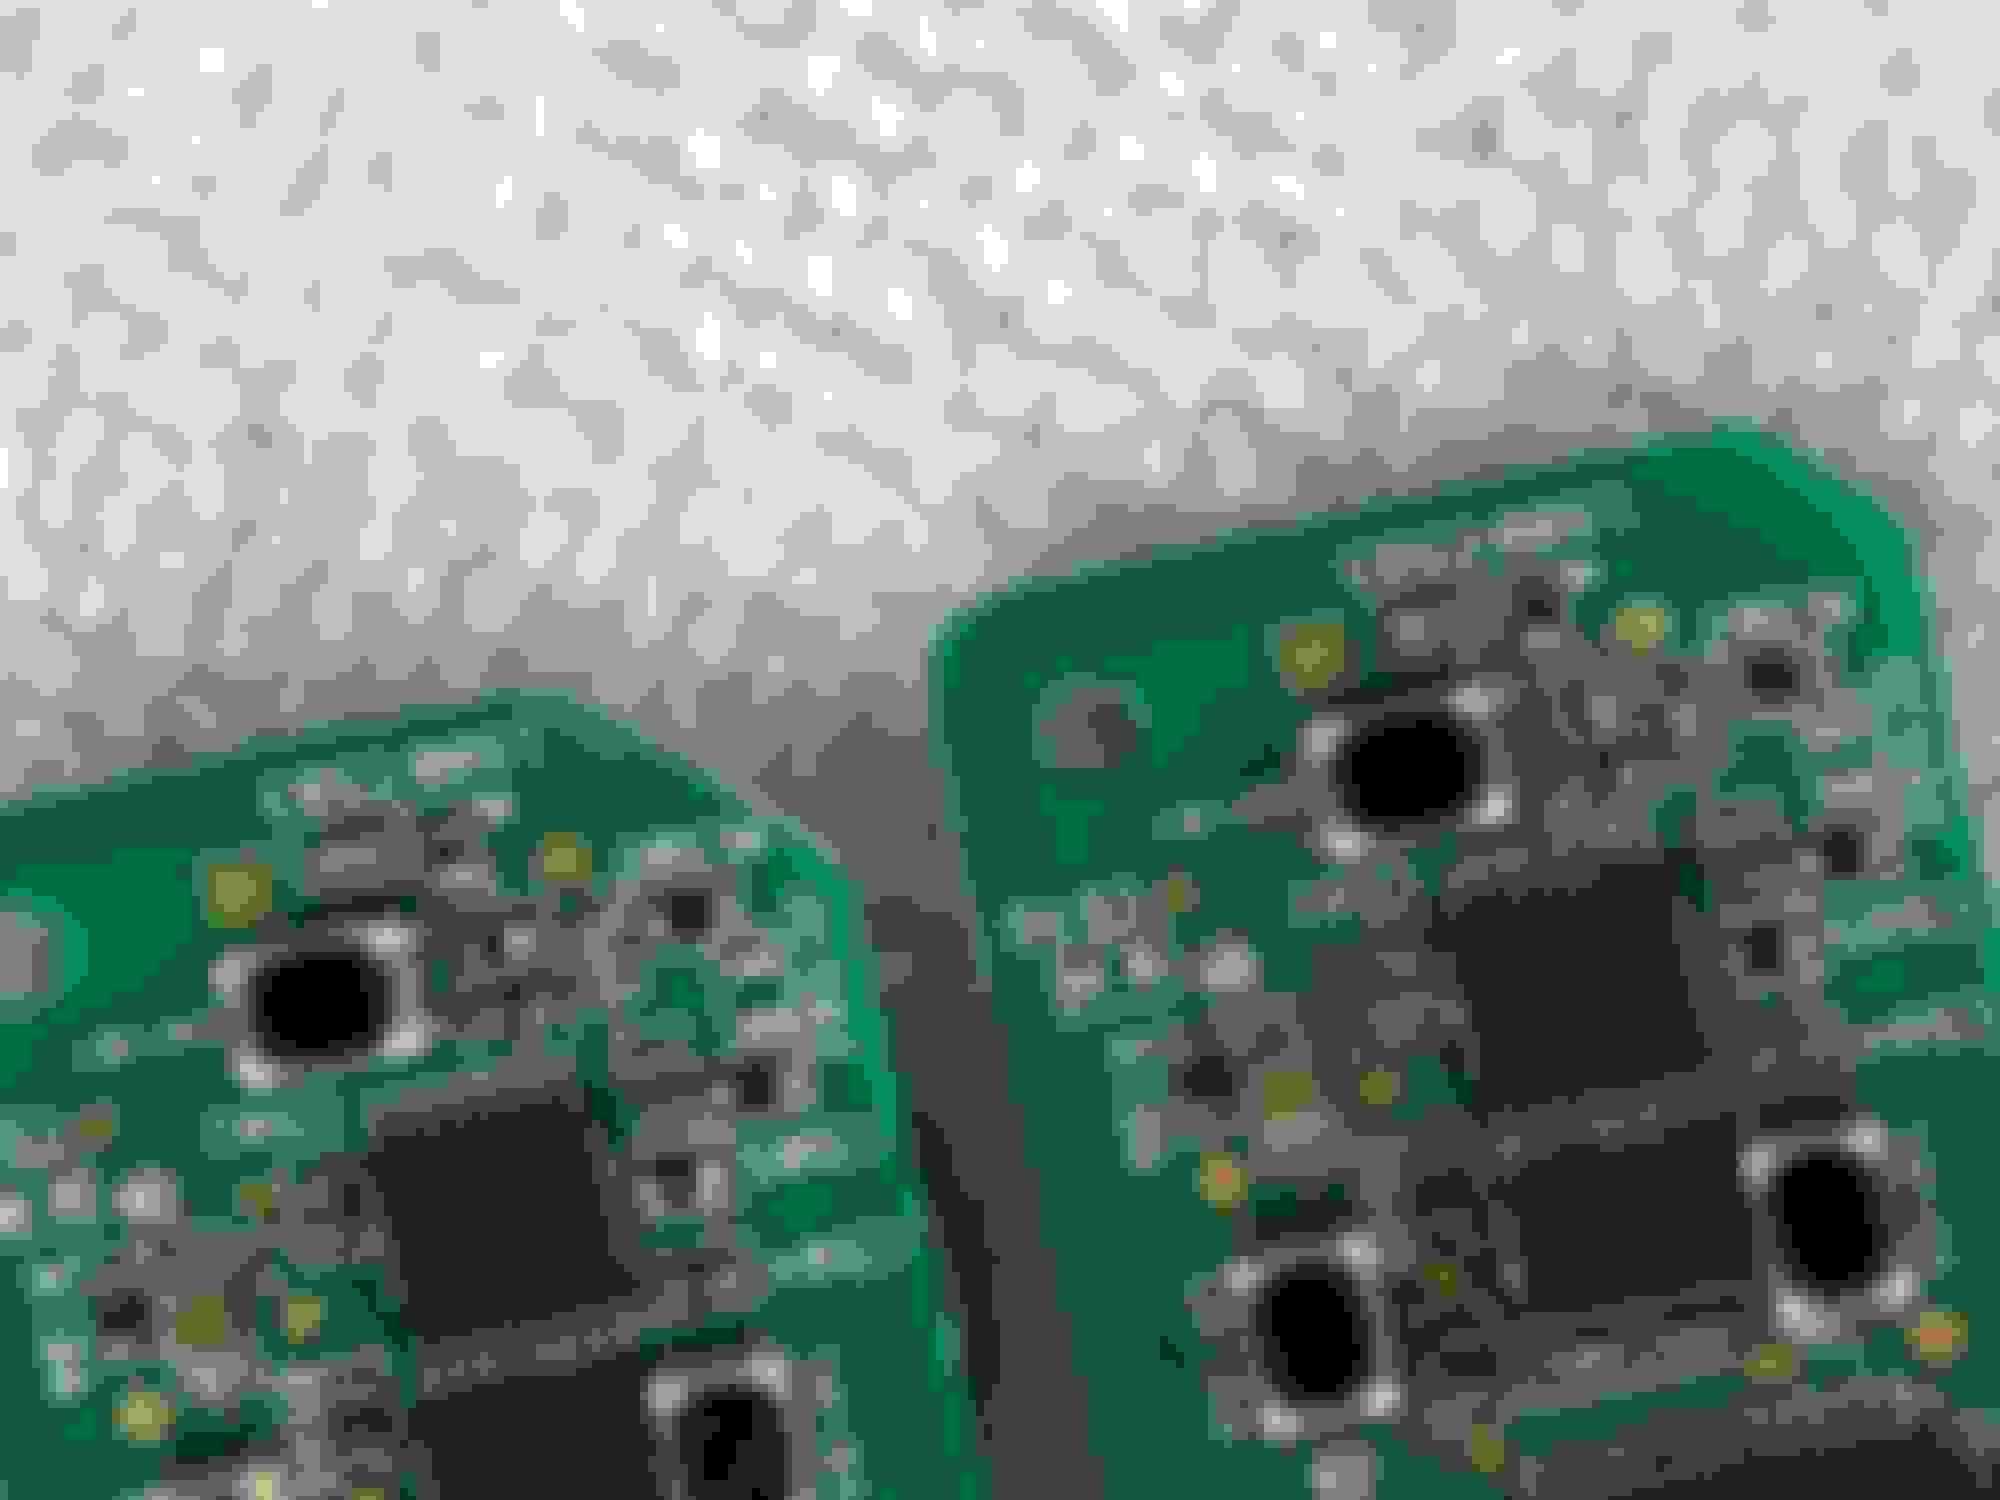
You can compare the modified circuit board to the original below.
my cut is crude but it gets the job done. You can cut the circuit board a few ways, Dremel tool, knife, saw etc. don�t use scissors, clippers or anything else that can apply unnecessary pressure to the board or any of its components.
now that the board is cut its time to place the board into its new home. You�re going to notice a rubber seal along the sides of the board as the board is sitting in the case and you�re going to want to make sure the board is fully inside of the seal at the point where you made your cut.
Snap together the new shell, try out your remote for function and enjoy your new styled compact remote.
That is pretty awesome, i cant believe its that simple.
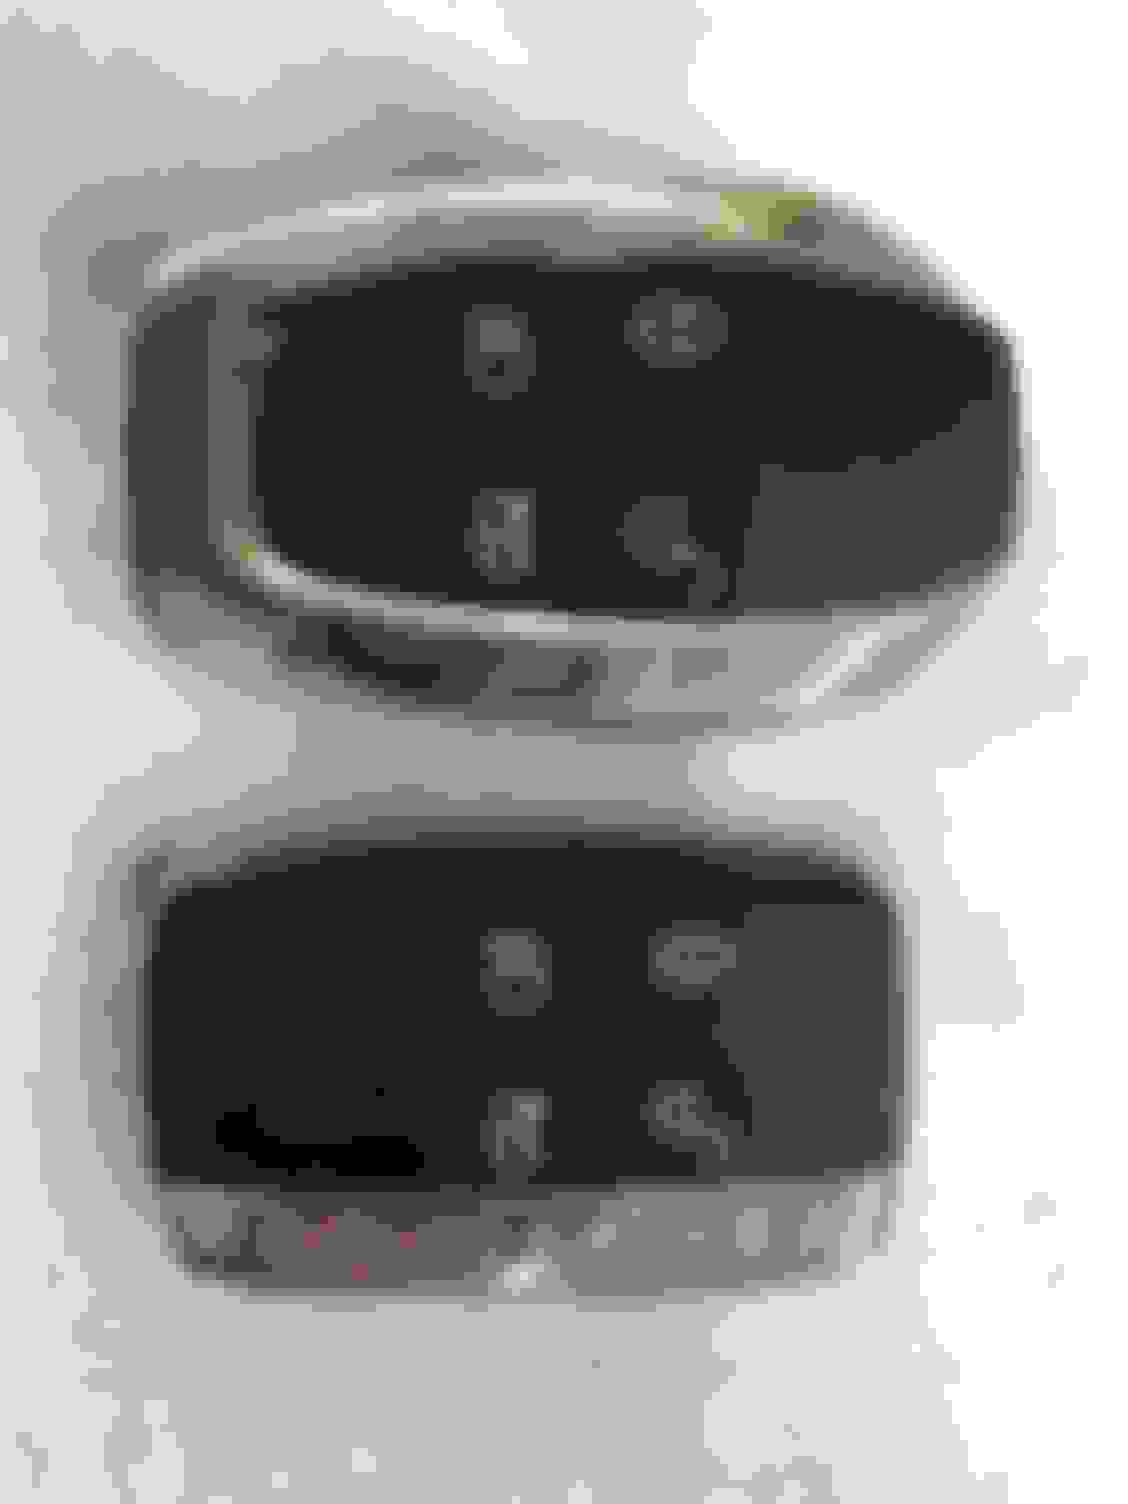
Does the emergency key from the old fob fit in the new fob?
I�m not sure really, I purchased my car without emergency keys. The one in the pics isn�t for my car.
have a look at the emergency key, if it looks like the ones in the pictures it will fit.
edit, just realized the key isn�t really displayed well in the pic (it�s the last pic)
I can confirm that the emergency key is the same for all X351s and will fit in either key-less fob as I have both old and new fobs as my XJ was purchased during the transition and was delivered with the old style and then they provided and programmed the new styli and let me keep the old style too. So I have 4 fobs, 2 old and 2 new.
Nice and neat job adapting the old circuit board to the new fob housing. For those with SDD programming capabilities and reluctant to try this out you/I was able buy a new style fob from ebay for <$30 so like XJsss I have both the old style and new useable but not with as official parts as XJsss I do however have Jaguar embossed in the chrome part
This is a great thread! Thank you to the OP for a great tip. The original fob for my 2012 XJL was huge and heavy. I ordered a fob off eBay and did this conversion today. Dead simple, and looks great! The eBay fob I found isn’t OEM, but it has “Jaguar” embossed in the chrome and seems to be good quality. Seems heavy and solid for about $22. What a great tip, thanks again!
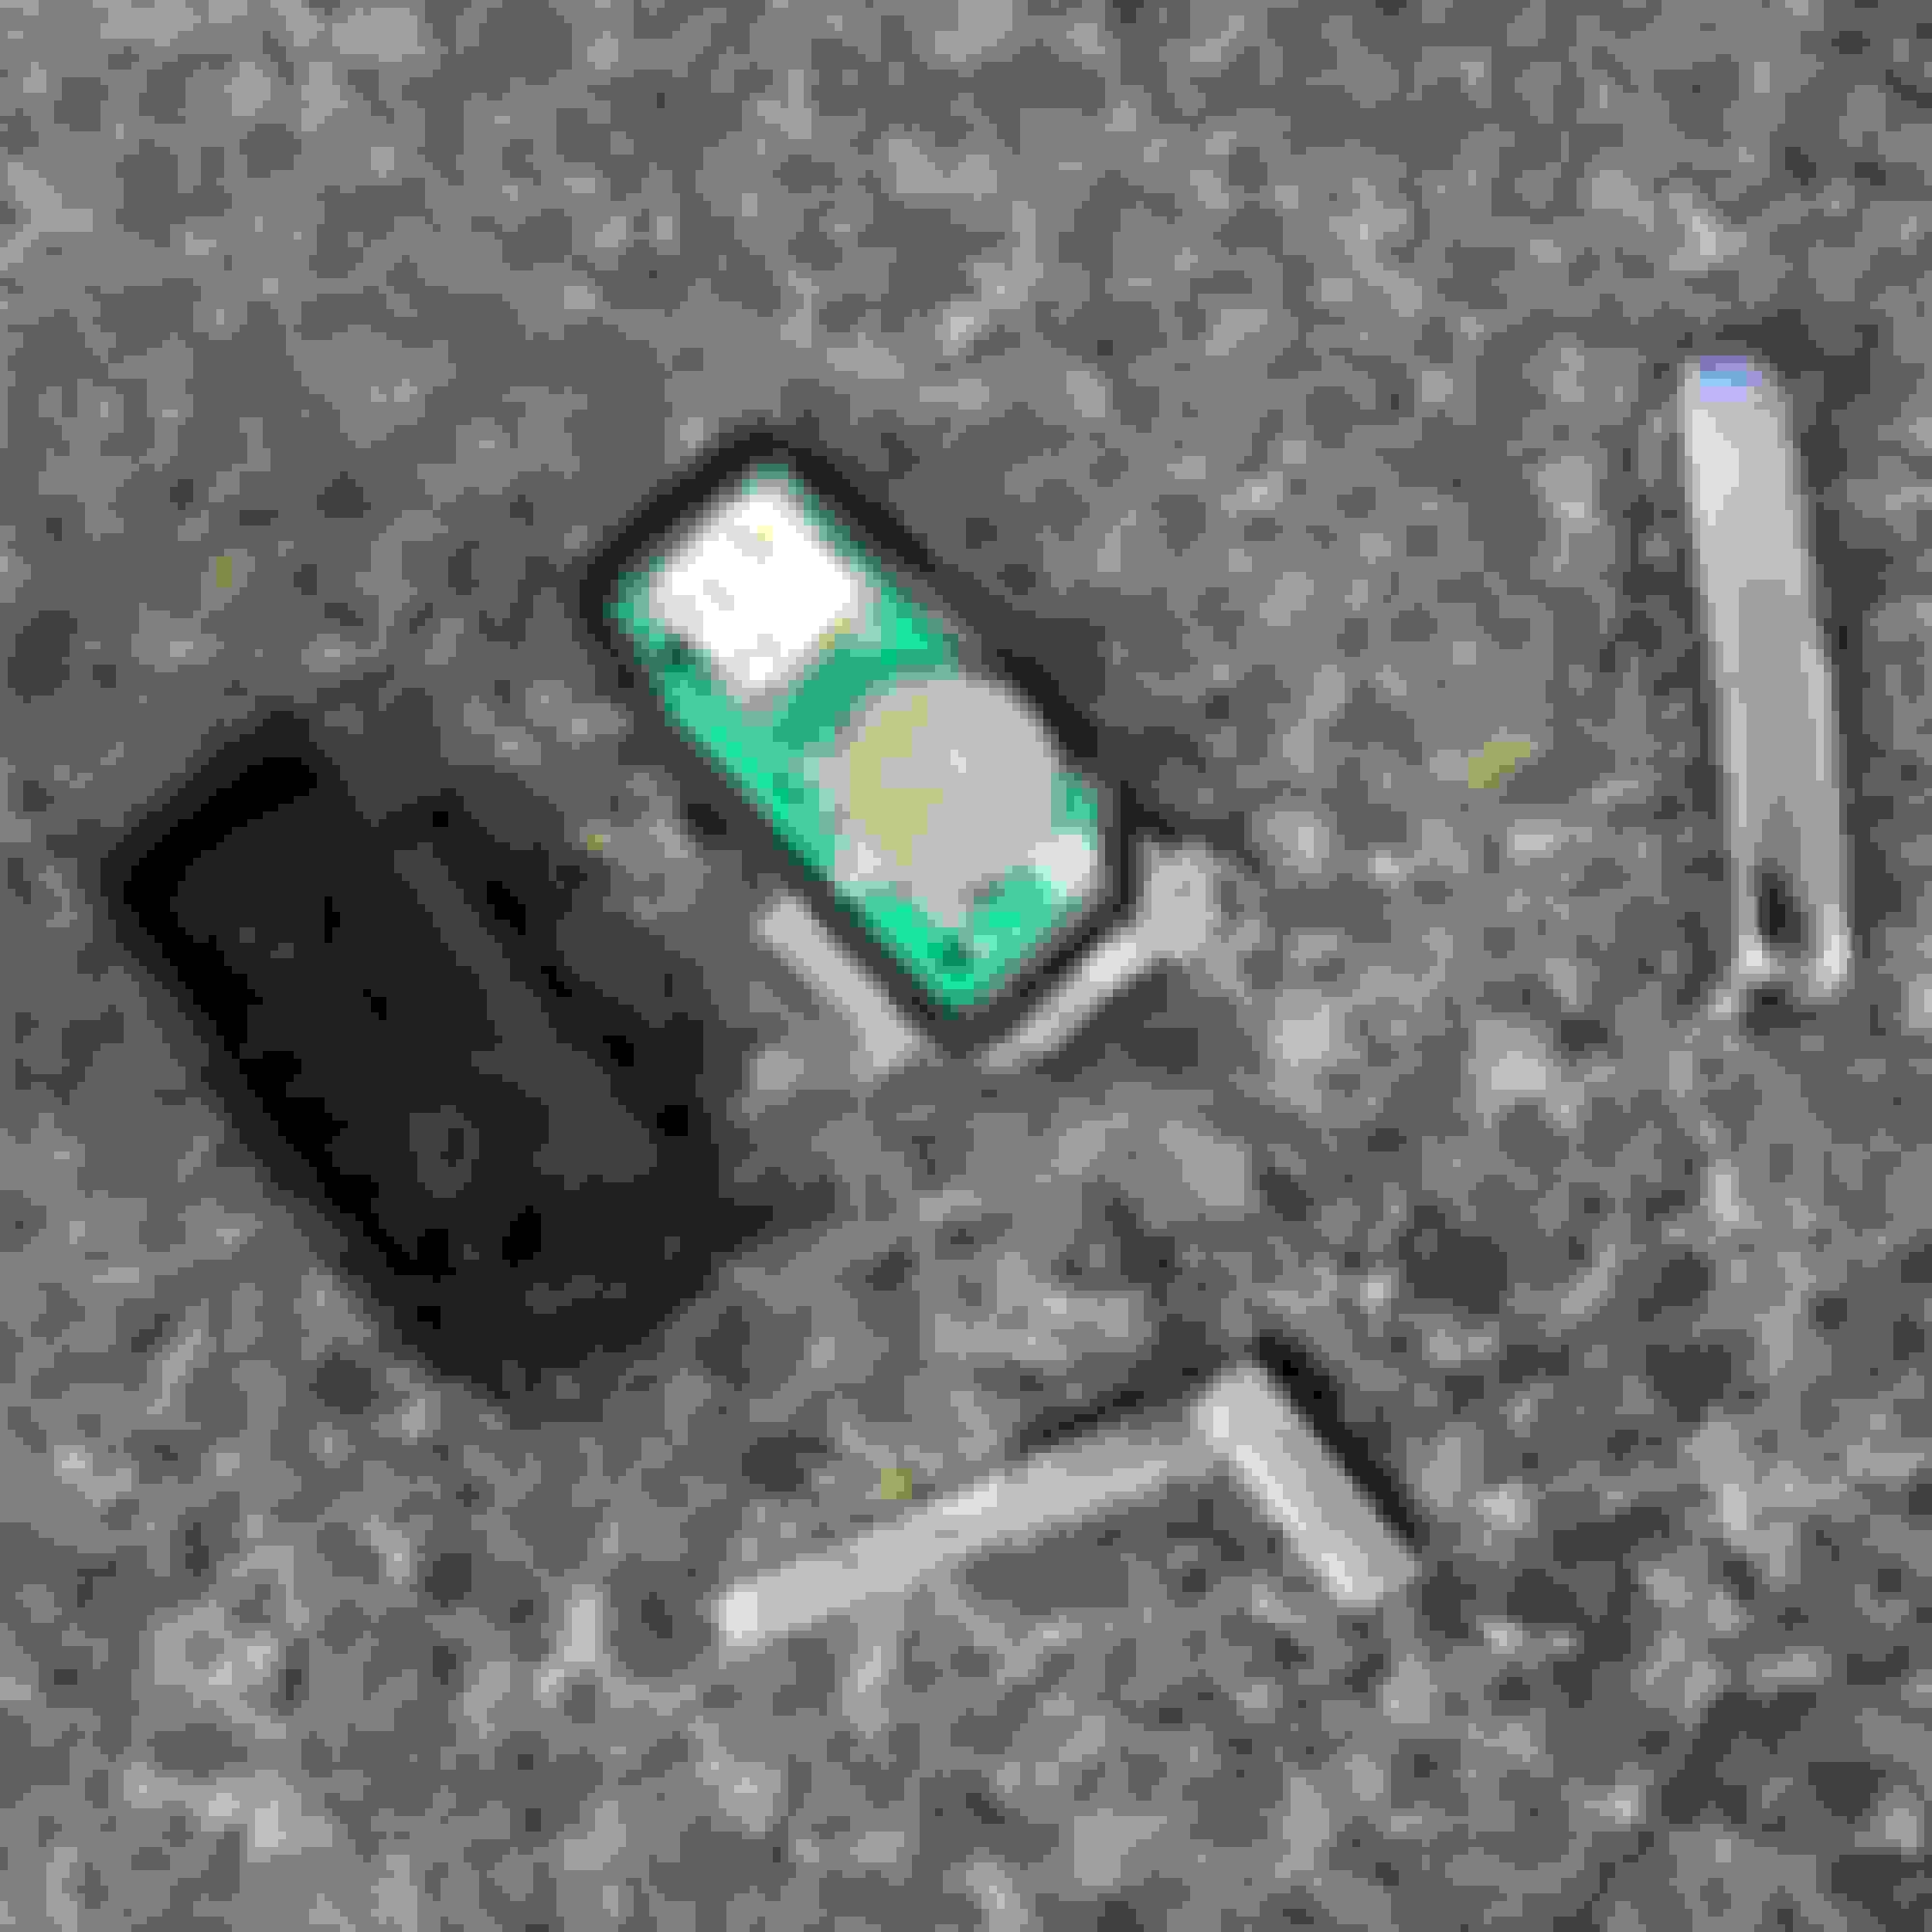
� Open the old key fob clam shell by pressing the small black button on the side.
� Remove the battery tray on the same side (see image 1)
� Remove the emergency key from the old fob
� Using a flat blade screw driver, carefully pry up the large black plastic cap (this cap is Very tight and will take some force, be very careful, so as to not damage the internal circuit board)
� Carefully remove the circuit board
� Remove battery from the tray you pulled earlier and place it directly into the board. (Now, might be a good time to replace the CR2032 battery)
� Open the new key fob (see image 2)
� Using a dremel tool or a file, cut away the corner nearest to the key ring. Be careful not to remove too much. (see image 3) You may also need to remove 1/16 from the other corner for a perfect fit.
� Place fitted board into upper half of the key fob
Well that was a large recap/ more in-depth. That�s interesting.
I feel like you didn�t actually trim this corner down as it still seems to have an overhang.. am I right about that?
ive found that there really couldn�t be much gained by attempting to cut this corner as there�s not much extra board there to play around with.
I think this should be edited from your post.. even though you specifically say 1/16� and that you �might have to� trim the corner. someone might actually try to cut that top corner near the transponder coil and screw up a fob. Like I said I just didn�t find it necessary myself.
Thanks for the the added info, I�m sure it will help someone who didn�t understand the first post well.
and this diy has a pretty satisfying end result.
Actually I did trim it down, just not by much. It doesn't look like I did likely due to the angle of the photo, or possibly this photo was taken Before I trimmer it down. But I did trim it about 1/16
Well good to know you trimmed that other edge then.
I'm curious if it’s typical behavior to re-make someone else’s tutorial and post that within the original thread on forums?
Just curious what to expect if I make any other guides or tutorials in the future.
I can’t speak for everyone, but I think it’s a little odd to re-make someone else’s tutorial from start to finish within the same thread. It’s a type of thread hijacking, and is generally considered rude. A better way to do it is for the ‘hijacker’ to add a clarifying comment about the original tutorial based on personal experience, or to reply with a clarifying question if one of the steps is not clear to them.
The original tutorial worked great for me. I didn’t need to trim the other corner. I hope you will continue to post these kinds of tutorials, mcmism. It was easy to follow and was very helpful for me. For now, I will choose to believe that the ‘hijacker’ just intended to add his own experience, and not to take over the thread. Thanks again for what I still consider to be a great tutorial!
I can�t speak for everyone, but I think it�s a little odd to re-make someone else�s tutorial from start to finish within the same thread. It�s a type of thread hijacking, and is generally considered rude. A better way to do it is for the �hijacker� to add a clarifying comment about the original tutorial based on personal experience, or to reply with a clarifying question if one of the steps is not clear to them.
The original tutorial worked great for me. I didn�t need to trim the other corner. I hope you will continue to post these kinds of tutorials, mcmism. It was easy to follow and was very helpful for me. For now, I will choose to believe that the �hijacker� just intended to add his own experience, and not to take over the thread. Thanks again for what I still consider to be a great tutorial!
I appreciate the response. Yes this is exactly how I felt about it.
The comments have been deleted by a moderator now but after you wrote this response Aaron Schwartz replied with an immature comment about my wife and how he could do things better than me so I�m going to call this more of a rude thing rather than simply trying to help with his own experience.
Very helpful thread. I bought an empty case online from Aliexpress. Initially, I thought they had made the case so that it fits my board with no trimming, because it fit with no problem. Looked like this:
After not being able to put the two halves of the case together, I looked at your picture again. I then realized this aftermarket case had no rubber around the edges. If the rubber was there it would be hanging over. I used the other half of the case to determine when I had enough trimmed for a fit, and all is well.


 I do however have Jaguar embossed in the chrome part