When you click on links to various merchants on this site and make a purchase, this can result in this site earning a commission. Affiliate programs and affiliations include, but are not limited to, the eBay Partner Network.
This will be yet another first for me. Even though the valve cover bolts are in tight places I think can get them out. What worries me is torquing them back in. The shop manual calls for a specific torque sequence with a torque value of 12 Nm. About 30% of the valve cover bolts do not seem accessible via a torque wrench.
Has anyone done this job that might have some insight? I have ordered the two valve cover gaskets and the 8 spark plugs boss seals.
did this recently and no dont need to replace grommets,
As to torque just follow the sequence using 1/4" socket wrench and you wont overtighten,
important part is to clean surface of cyl head and add a little dab of silicon RTV where the joins are: you can see where they are already when you remove.
Well I got all the bolts out of the driver's side valve cover except the one that the oil level indicator tube rests on. The book says to "remove" the tube (after removing the nut that holds it in place on the valve cover). I tried pulling it from the top but it won't budge. It is totally not accessible from the bottom.
Shoot, never mind. I pulled a little harder and it came off. I am hoping I won't have any problems putting it back on since I won't be able to tell where its going to...
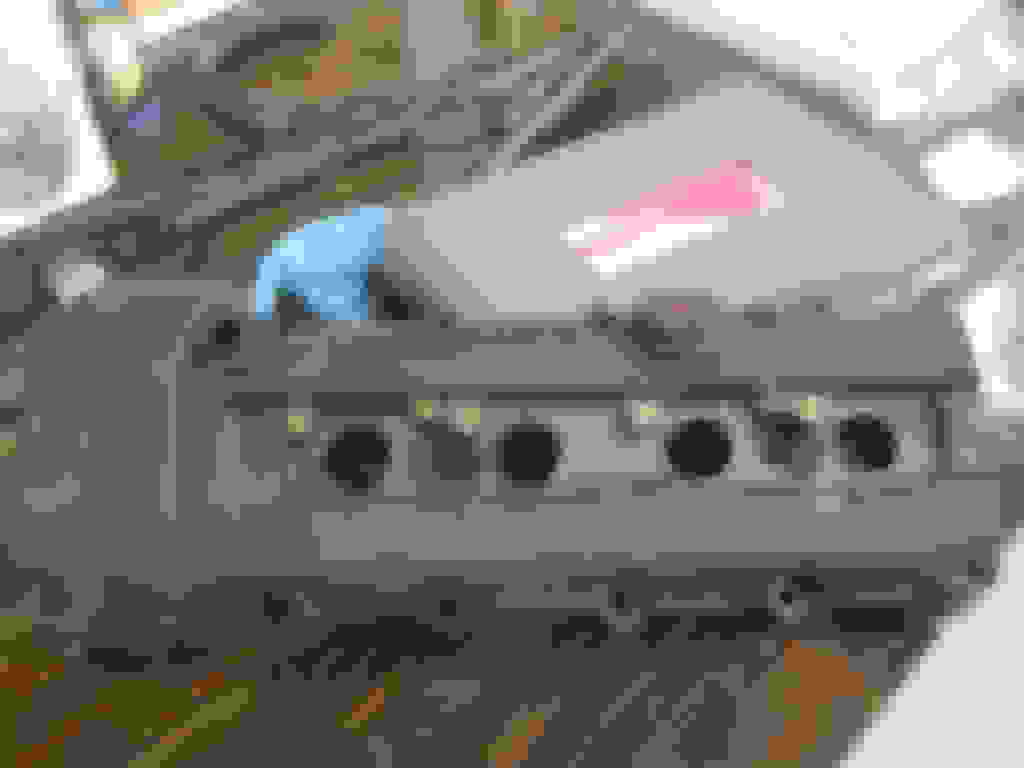
The driver's side valve cover is out. I do not have the parts in yet. I ordered them from ebay Monday thinking they would be here by the weekend but they have not been shipped yet.
You've got to be happy to see that there's no gunk built up under those covers.
Indeed! For 136000 miles it looks really good. Dunno what the previous owner used for oil but I am using Mobil 1 synthetic 5W-30 every 5000k miles for the last 20000 miles or so.
I took the valve cover and cleaned the grooves thoroughly. Now, when you put the gasket on, the gasket will not stay when you try to fit it on the cylinder head. So, what I did, I dabbed some Permatex ultra black gasket maker, enough to ensure that the gasket would not fall off the cover. Again, don't slather it, just some dabs to ensure that the damn thing won't fall from the cover while adjusting it.
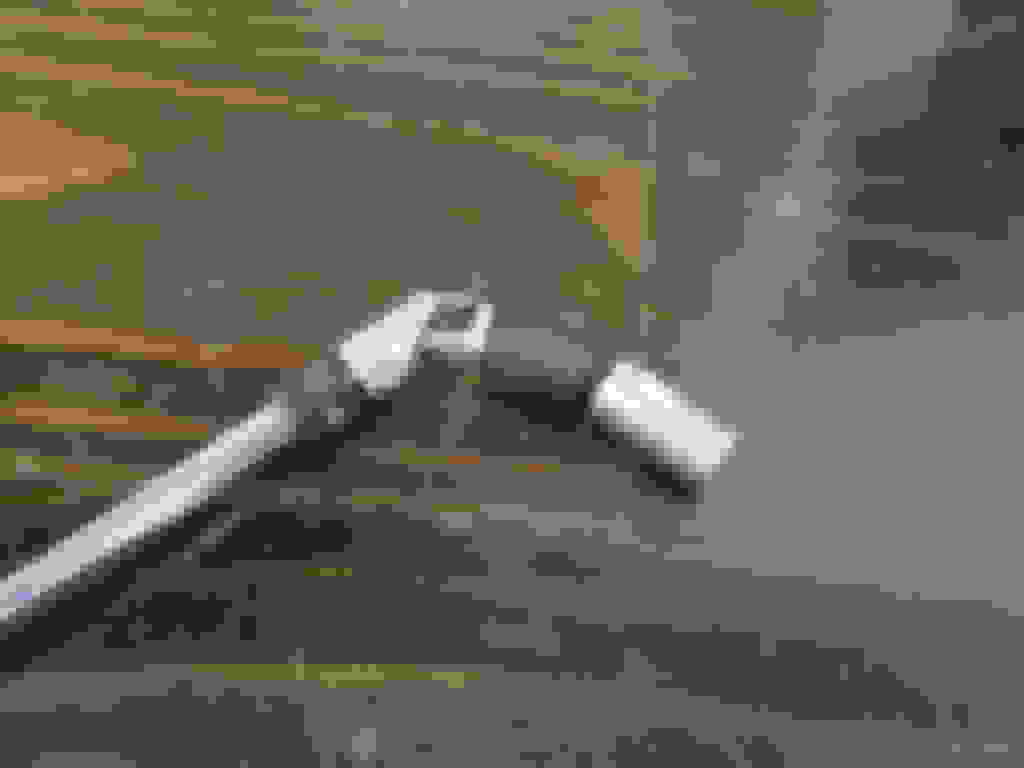
No torque wrench is needed. You will know when it is tight. Follow the tightening procedure spelled out in page 732 of book #3. On one bolt, I had to use a double universal joint to get to it.
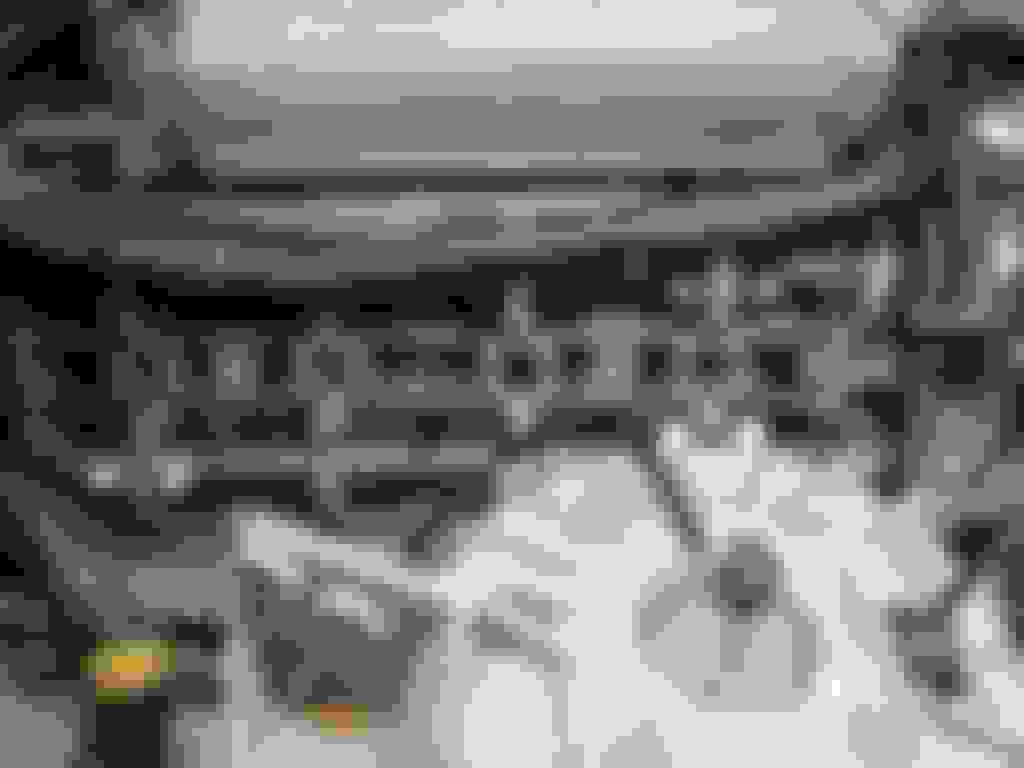
I cleaned the mating cylinder head surface with brake fluid and a cloth rag
I put some Permatex gasket maker on the cylinder joint with the timing cover. There are two of them - this is the top
Bottom joint
Double universal joint to get to the cover bold adjoining the strut tower
So, I just about have the driver's side done (that was the bitch side) and I am stuck. I did remove the oil level indicator tube and putting it back on its proving to be near impossible. I cannot get a visual where the tube goes whether the car is on the lift or on. Even an inspection camera is not helping much. Talking about being frustrated.....
You will be f****d. What you should do instead, leave the oil level indicator in the tube, unbolt the nut that holds the oil level indicator tube on the valve cover, pull on it to remove it slightly so that you can reposition it to remove the valve cover BUT LEAVE the oil level indicator in the tube. The indicator will be in the oil tube hole and when you ready to install it, this will guide the tube back on the block peacefully.
I managed to finally insert mine back in using a remote inspection camera. Also credit goes to the following thread (post #5)
Glad you got it back in. Way back in post #6 I said uh-oh
when I read it.
Owners of the 4.0L engine who have read the tensioner
replacement threads know about this "feature" and the
usual advice to slit the loop on the tube for clearance.
Thanks for this information .I shall be doing this as part of my supercharger removal to change the knock sensors and relavent pipes in the valley of hell that is the supercharged V8 !!!
I'm tuned in. I bought the gasket set, but have not started the job yet
It's not hard, just a need lots of extensions and U-joint on your sockets which I used a mixture of 1/4 and 3/8 sizes on. Then the valve covers can need a bit of "persuasion" to actually remove themselves from the same spot they've been for years!
Just becoming confused on where this spare heatshield fits!
Last edited by scrappydoo; Apr 17, 2021 at 10:42 PM.