When you click on links to various merchants on this site and make a purchase, this can result in this site earning a commission. Affiliate programs and affiliations include, but are not limited to, the eBay Partner Network.
How to change the starter 1995 -1997 xj6 VDP
Before you begin double check that the positive battery cable firewall pass thru is solid and does not wiggle. If it wiggles replace the stud before changing the starter to see if it fixes your problem
This play in this stud can also cause charging problems.
Wile your in here clean all the electrical contacts!!
Step 1 drive over pit or onto a lift
2.)Disconnect the battery
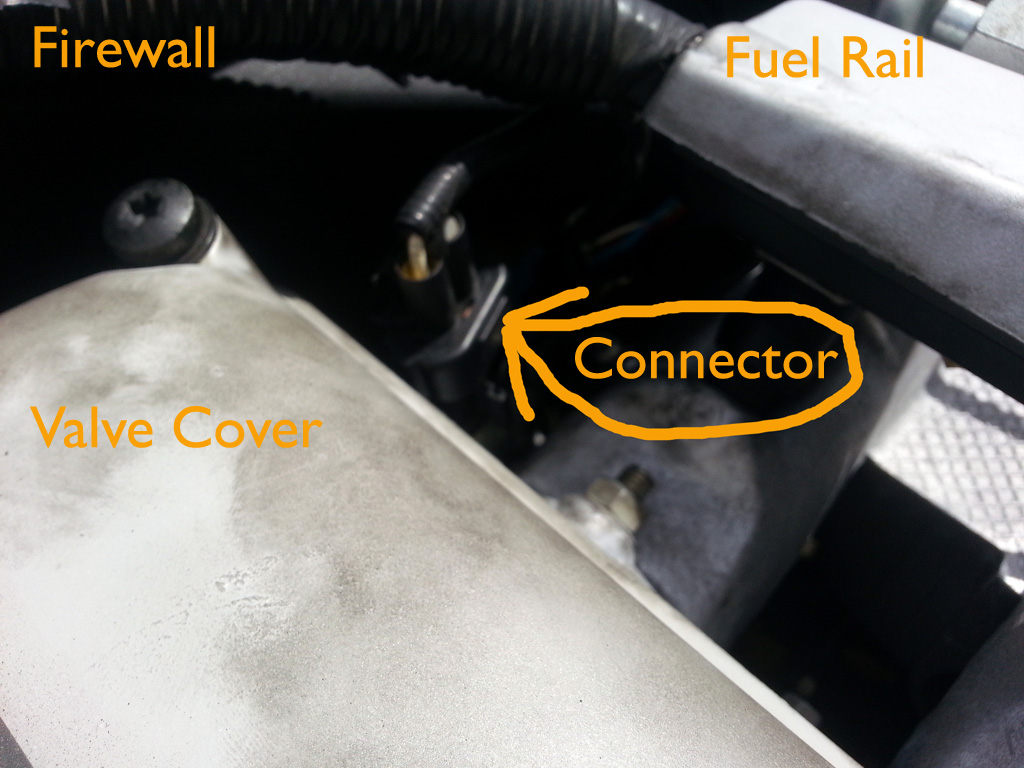
3.)disconnect the postitve battery cable where it comes thru the fire wall on the passenger side
(this is nutted)
4.)Disconnect the starter signal wire from the back of the cylinder head its the only one of the
3 connectors with only 1 wire
3.)support Transmission mount with pole jack or similar
4.)unbolt the transmission cross member
5.)you will needabout 4ft of 1/2in extensions
1 swivel joint, and
1 13mm impact socket
1 1/2in ratchet
1 piece of pipe or wrench for extra leverage
6.)lower the pole jack/transmission until the cylinder head is almost
in contact with the firewall
7.)remove the top starter bolt from the transmission side of the
bell housing with your extensions and swivel I found it
easiest from behind the trans cross member
8.)Remove the lower starter bolt from the engine side of the bell housing
9.)remove 8mm bolt that hold the + wire going to the starter from
the underside of the intake manifold support bracket
10.)twist the starter clockwise until you can remove the
nut(Battery +) and screw(signal wire) from the starter
11.) remove the starter
12.) to put the new one inn reverse the steps switching 8 & 9I wrote this because i couldn't find anything about how to do it when i went looking because i needed to change mine.
Hope you find it helpful let me know if you have any questions.
Last edited by GGG; Nov 28, 2020 at 03:50 AM.
Reason: Close Poll
My question: is the starter impossible to reach/replace from above?
If so, then I may be ringing you up to help do my VDP (yes, that too....), since you have all the necessaries and know how! It does not sound like fun, especially with no pit and no lift.....
My question: is the starter impossible to reach/replace from above?
If so, then I may be ringing you up to help do my VDP (yes, that too....), since you have all the necessaries and know how! It does not sound like fun, especially with no pit and no lift.....
I don't know if its possible to change the starter from above but i wouldn't want to try it.
also i would check the stud i refer to in the begining of the article before changing the starter.
(I edited it)
How to change the starter 1995 -1997 xj6 VDP
Before you begin double check that the positive battery cable firewall pass thru is solid and does not wiggle. If it wiggles replace the stud before changing the starter to see if it fixes your problem
This play in this stud can also cause charging problems.
Wile your in here clean all the electrical contacts!!
Step 1 drive over pit or onto a lift
2.)Disconnect the battery
3.)disconnect the postitve battery cable where it comes thru the fire wall on the passenger side
(this is nutted)
4.)Disconnect the starter signal wire from the back of the cylinder head its the only one of the
3 connectors with only 1 wire
3.)support Transmission mount with pole jack or similar
4.)unbolt the transmission cross member
5.)you will need
about 4ft of 1/2in extensions
1 swivel joint, and
1 13mm impact socket
1 1/2in ratchet
1 piece of pipe or wrench for extra leverage
6.)lower the pole jack/transmission until the cylinder head is almost
in contact with the firewall
7.)remove the top starter bolt from the transmission side of the
bell housing with your extensions and swivel I found it
easiest from behind the trans cross member
8.)Remove the lower starter bolt from the engine side of the bell housing
9.)remove 8mm bolt that hold the + wire going to the starter from
the underside of the intake manifold support bracket
10.)twist the starter clockwise until you can remove the
nut(Battery +) and screw(signal wire) from the starter
11.) remove the starter
12.) to put the new one inn reverse the steps switching 8 & 9
I wrote this because i couldn't find anything about how to do it when i went looking because i needed to change mine.
Hope you find it helpful let me know if you have any questions.
Auto,
Thanks for the loose bulkhead tip, that was my problem. I tightened it and all is good in my world. You mentioned replacing it... you wouldn't happen to have a P/N and vendor would you?
Auto,
Thanks for the loose bulkhead tip, that was my problem. I tightened it and all is good in my world. You mentioned replacing it... you wouldn't happen to have a P/N and vendor would you?
Thanks,
Blair
The OP auto666 has not been on the forum for six years.
My question: is the starter impossible to reach/replace from above?
About a year later I replaced the VDP's starter from above. With the manifold off, it is easy to do, the Devil Hose and the Octopus hose too. Also the knock sensors, oil pressure sender, oil bypass o-rings, and coolant rail gaskets as the mood suits, all easy to reach then.
This is for the normally aspirated AJ16. Supercharged engines will be more involved!
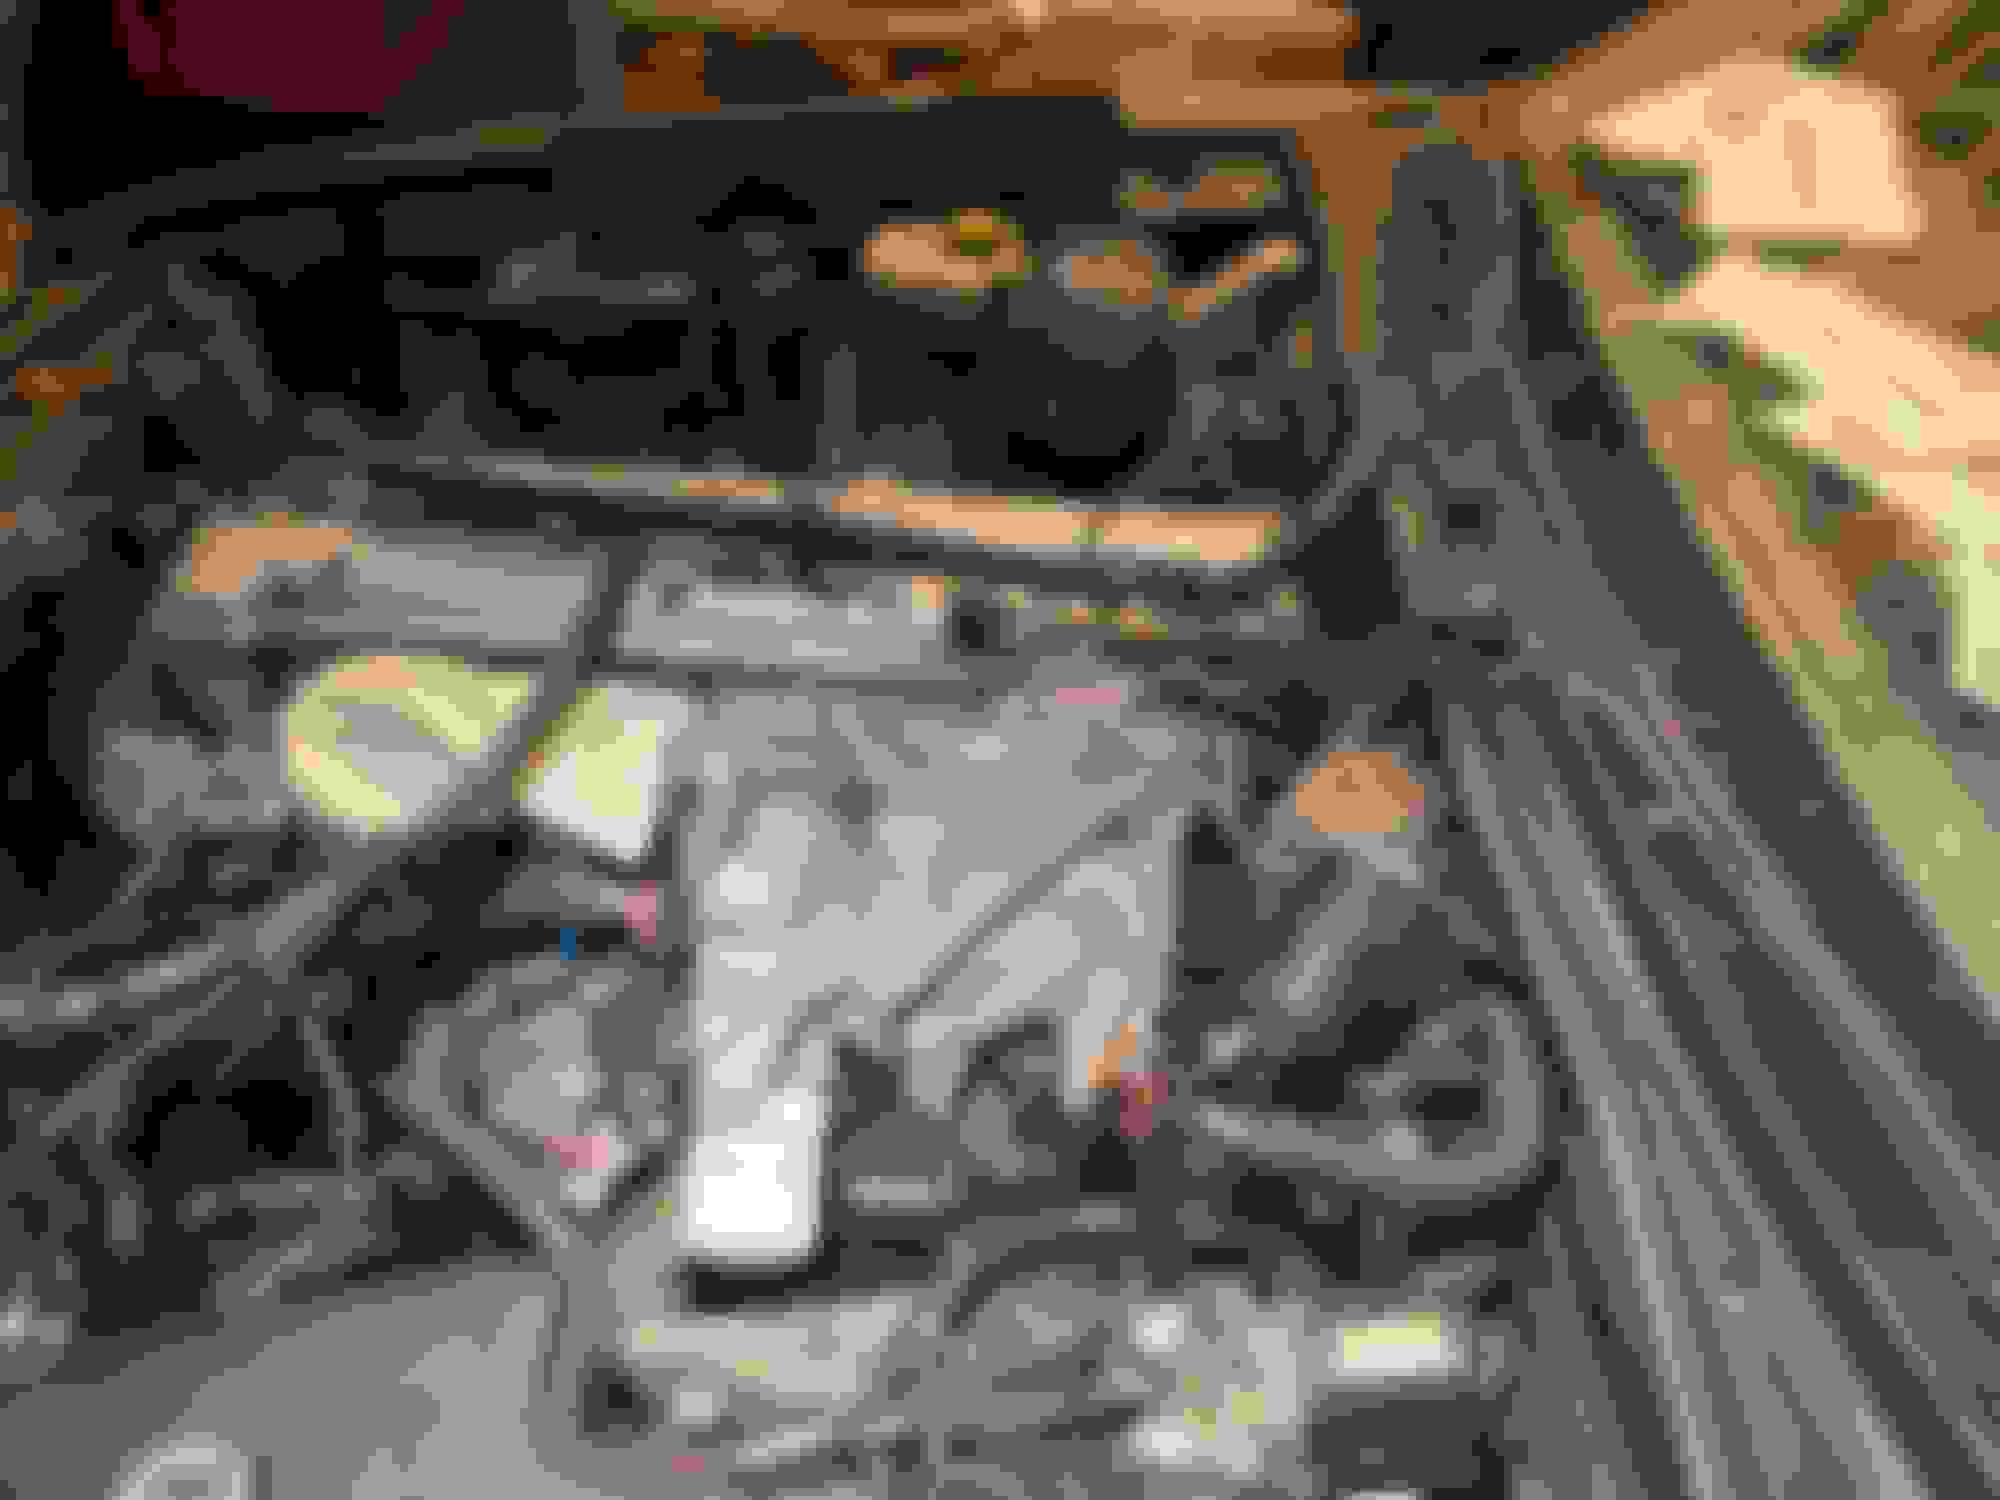
I will be replacing my starter this weekend as it�s making some strange noises. Going to go down the intake removal option as have oil leak on this side of engine to track down. Wish me luck, will add pictures.
Well it�s all stripped, I hope I can remember where all the bits, wires and hoses go for putting it back together. Would be easier if there was plug on wiring loom so you don�t have to disconnect everything and feed through the manifold. Don�t know if I�m brave enough to cut loom and fit a plug ?
Think my oil leak might be filter housing, that starter top bolt still looks a pig. Saving that for tomorrow.
After some reading last night my oil leak might by oil bypass o rings. Interestingly it sounds like you can remove the bypass and bolt filter housing direct to block with shorter bolts ?
Starter changed from above but that top bolt still tricky. Oil filter housing bolted
direct to block with shorter bolts, (cooler horseshoe segment removed completely)
Time to put it all back together now.......
Good spot on the earth strap, yes I nearly forgot that. Oil cooler bypass easy enough with manifold removed what about this coolant bypass. Not heard if that one before, might be too late as manifold back on now and I don�t plan on removing it again for a while.
Sorry, it's the #4 hose here from the water pump. Clamp 5 is under the manifold. It can be changed without removing the manifold but would be much more difficult. It is what I referred to above as the Devil Hose, aka the B*st*rd Hose.
Yes I did see that, looked pretty crusty so I left well alone. Got everything back together and all is good. Next job oil catch can as TB and intake looked pretty oily.
I refer to Stu Jags comment regarding a plug on the wiring loom going down through the intake manifold, yes it is a pain when removing the manifold.
I was brave enough to to fit a wiring plug, fitting a 8 pin Deutsch connector for the following -
TPS, IACV & oil pressure sensor. I have only the air intake connector then left to disconnect.
The two Knock sensors, one at the rear & one at the front, I have rerouted the wiring from the wiring tray ( loom & injectors wire are in it) direct to the front & rear sensor without travelling through the manifold.
In the interests of accessibility I have also rerouted the rear 02 sensor wires and mounted the connectors on the brake booster casting (RHD) instead of having them buried
at the rear of the engine against the firewall.
Photos attached.