When you click on links to various merchants on this site and make a purchase, this can result in this site earning a commission. Affiliate programs and affiliations include, but are not limited to, the eBay Partner Network.
I used the product Renny Doyle Double Black Bead Maker to seal my rims, I cleaned them thoroughly with Eagle One A2Z All Wheel & Tire Cleaner w/ micro fiber hand agitation, let air dry. I then saturated each wheel via bottle sprayer w/ Bead Maker & followed up directly afterwards to wipe/cover & dry using 2 micro fiber towels in same succession in mid 70 FH temps. It smeared on thick then wiped off with little effort, so I initially doubt if it had sat long enough cure. I waited 2 hours & sprayed heavily with moderate pressure water & the bead was magnificent. I then let air dry & there was zero water spotting or streaks & the surface was as slick as I've felt on rims in a while. Only time will tell if it's as durable as billed.
I then went for about 100 mile cruise & checked the rims with a white microfiber towel & found no brake dust. Right now I feel like this was the best $9.99(for 16 oz. eBay) I've spent in a while lol.
I sealed my Pentas 3 days ago & the last 2 days we've had heavy rain, so I'm taking note of the wheels' reaction to mud,water etc. It literally sheets on & off w/ no residual debris. This Bead Maker's seriously impressing me thus far. After my paint's completely off gassed(about 13 more days) I'm going to seal it w/ Bead Maker & top w/ Collinite 845. In between wash & waxing my very own detailing spray(more on that to come lol).
Last edited by King Charles; Apr 6, 2019 at 03:41 AM.
gulp... I actually told someone I would sell my Vanden Plas
OK, fine - it's my absolute favorite car of all time, and I've had 1988, 1990, and 2005 XJs, but my black 2001 XJ Vanden Plas is the most comfortable and prettiest car I've ever owned. The transmission went out a couple of years ago and I just haven't had time to mess with it or the heart to sell it. So, I told someone who has been asking that I'd let it go... Nothing official yet, but trust me, that was a big step.
My former business associate has a fight Saturday in Atlanta Ga. & sent me cage-side tickets. It's about a 910 mile round trip(450+ each way) journey. I have enough card points to fly for free but w/ the car looking & driving so damn good, I'm driving lol. Did my normal pre-roadtrip checklist, the new Michelins haven't lost any pressure 6 months in.
Also picked up some new OEM XJR exhuast tips.
Last edited by King Charles; Apr 11, 2019 at 07:37 PM.
Improvements since my last ATL trip, 488 miles in 6 hours 43 minutes @ 28.8 MPG, I cut 20 minutes & MPG is up by 3, not bad for a 19 year old 2 ton land yacht lol. My analytical scientific mind tells me the super slick new paint improved aerodynamic performance, therefor a justifiable expense lol.
Last edited by King Charles; Apr 12, 2019 at 12:13 PM.
Improvements since my last ATL trip, 488 miles in 6 hours 43 minutes @ 28.8 MPG, I cut 20 minutes & MPG is up by 3, not bad for a 19 year old 2 ton land yacht lol. My analytical scientific mind tells me the super slick new paint improved aerodynamic performance, therefor a justifiable expense lol.
Car performed great, I even got a young valet fawning over her @ the hotel lol. In paint the door handle gaskets disintegrated on removal so now there's a mm or 2 of play which I don't like, so I ordered 4 more of those.
The OEM ones are going for upwards of $60 per pair, but I found these laser cut clones for $20 per pair on eBay if anyone else is in need.
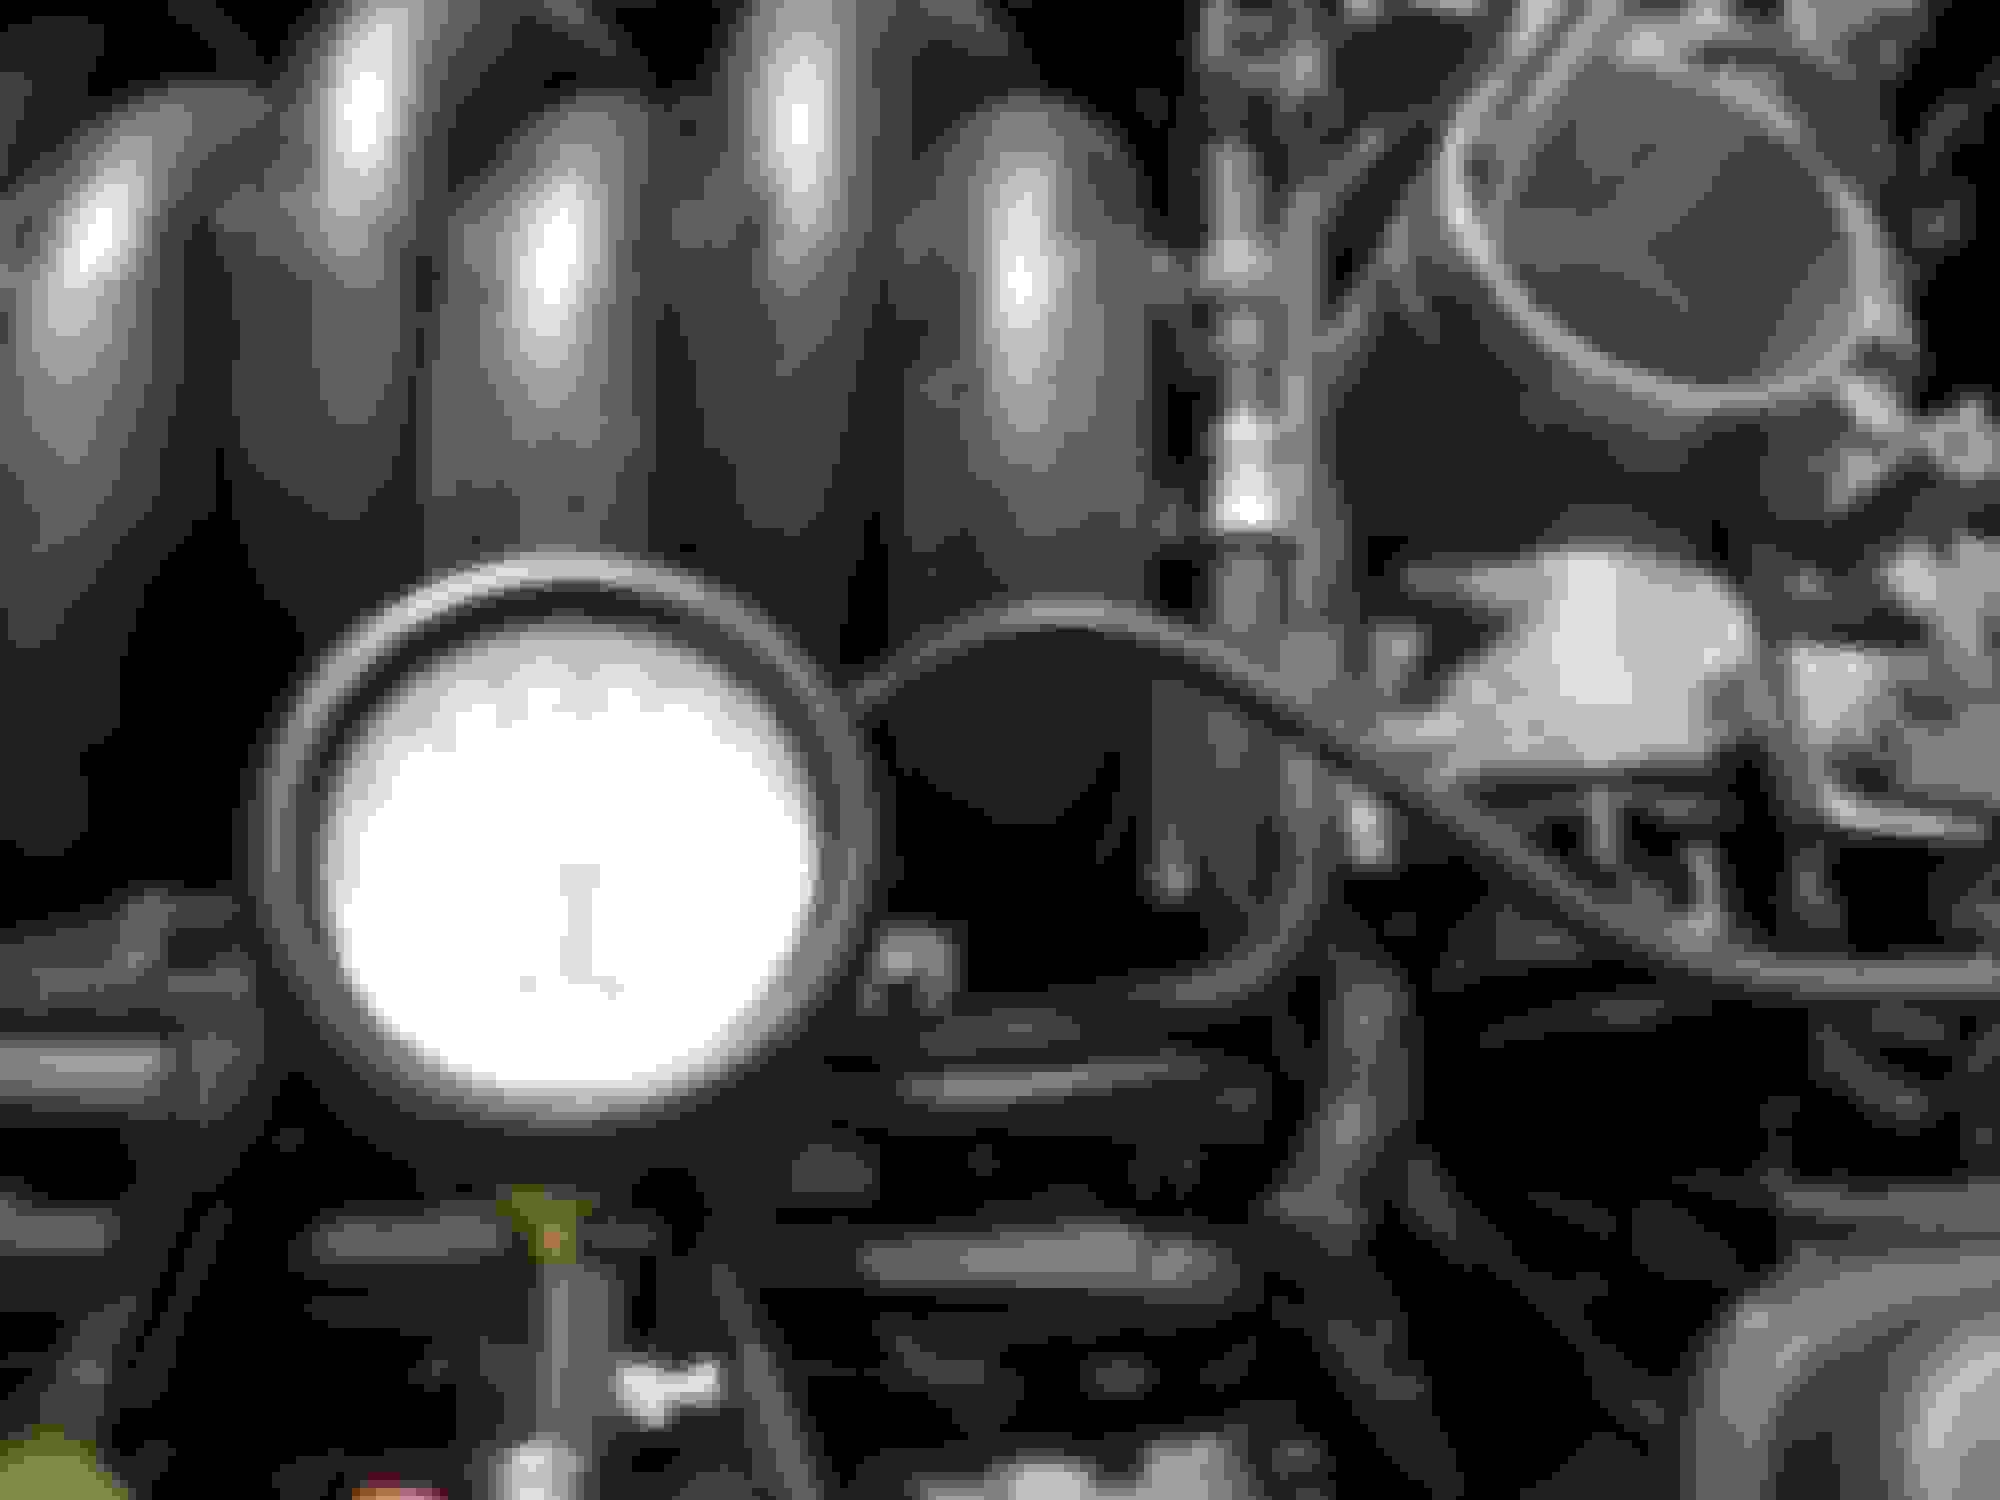
One of my temperature display bulbs went out on the console ski-slope and new bulbs arrived yesterday so I tore into it this morning. I purchased them from Terry's Jaguar because theirs were a few dollars cheaper including shipping and tax. https://www.terrysjag.com/
There are several excellent videos on this, Charles O's being one of them,
The first thing is to turn the ignition key so that you can place the gear selector in neutral or drive with the engine off������.then DISCONNECT THE BATTERY.
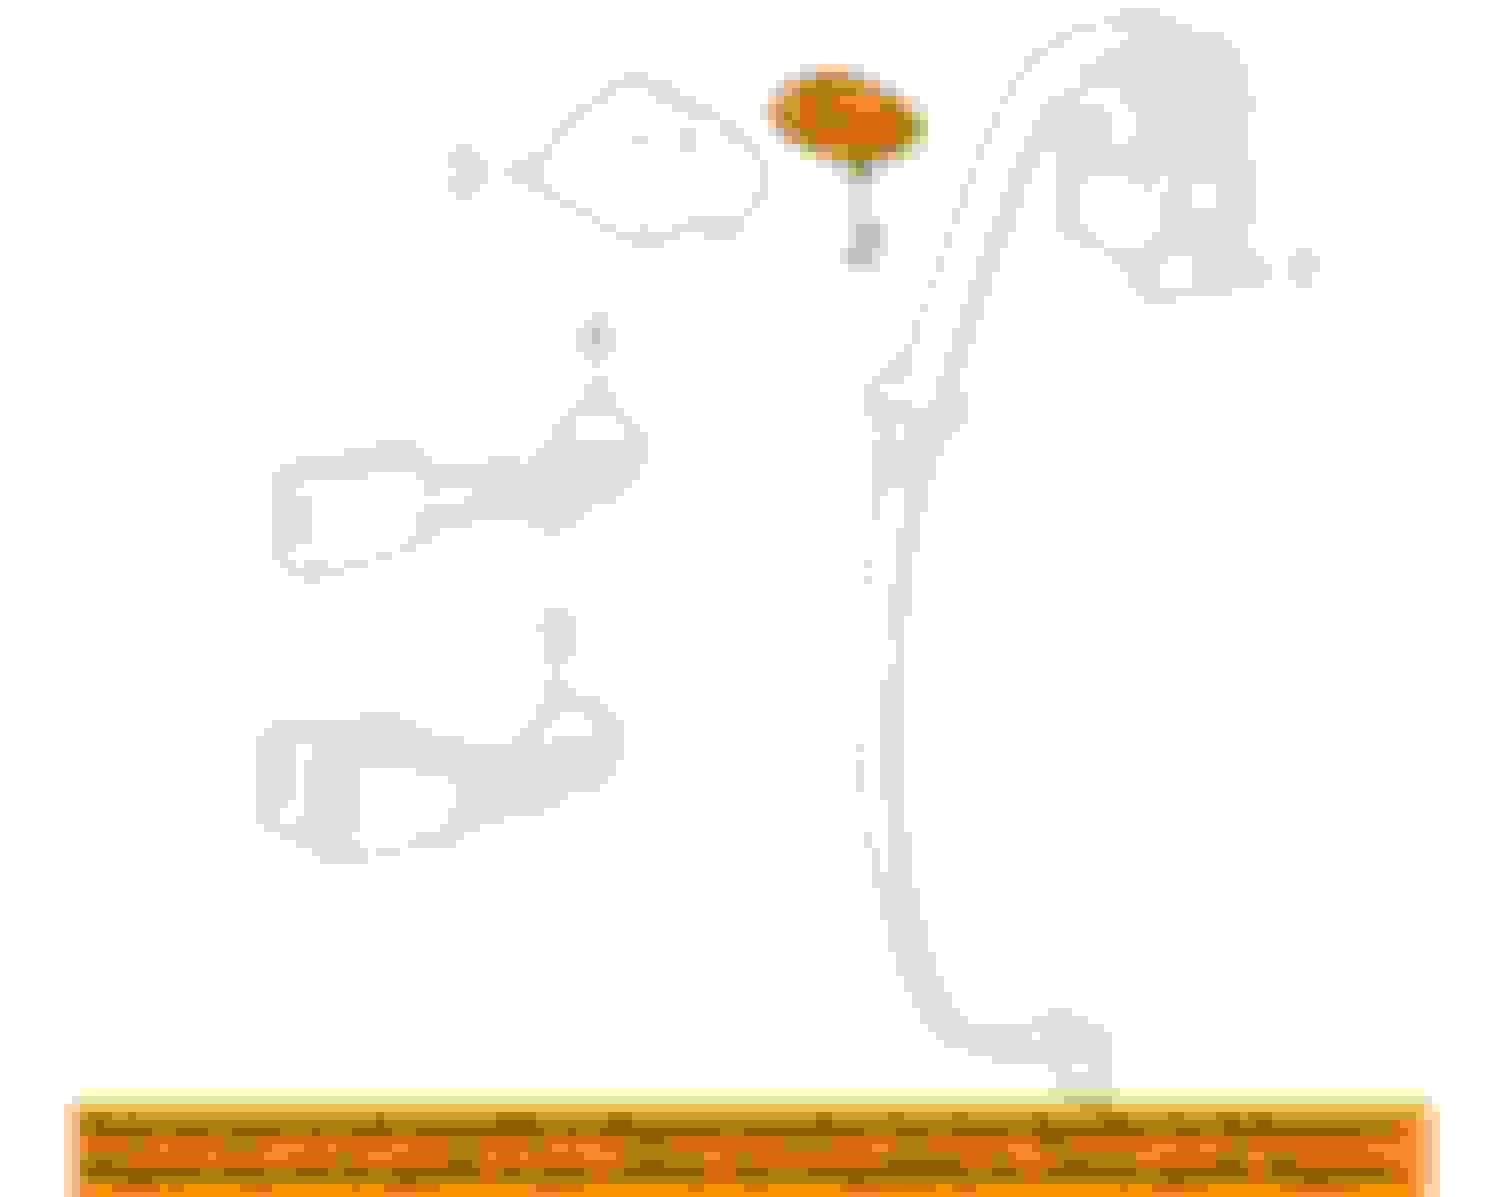
The J-Gate finisher easily lifts off with some gentle prying around its edges. Put this to one side.
Two 7mm screws and two 7mm nuts hold the similar shaped-black plastic surround that contains the cruise control and sport mode buttons, be careful not to drop any of the two screws or two nuts.
Disconnect the electrical connectors to the cruise control/sport mode buttons, and remove the item and put it to one side.
This now allows the wood veneered "ski-slope" to slide out of place. The veneer part is glued to a stronger backing, but time had allowed mine to become separated and I simply removed them both individually. (and then glued them back together before refitting)
With the wood ski-slope removed you now have access to three Phillips screws, one in the middle at the top holding the upper section of the console display, and one on either side of the lower portion of the console. Remove these, being careful not to drop them into the innards, I recommend placing a clean rag over the area.
With the three screws removed you can now wiggle the lower portion of the console containing the radio, by wrestling it gently side to side, while also pulling, and gently levering it from under the upper console display. I found a small plastic trim lever was useful here. The lower unit will eventually slide forward and out. Leave it connected electrically, and rest it to one side.
This now leaves plenty of room for the upper console display to be pulled out. It is held by two plastic "barbed" prongs at the top and by placing both hands up and behind the unit it can be gently pulled away.
The electrical connector to the upper display unit can be disconnected (the release tab for the connector is "conveniently" placed on the back side where you can barely get to it, they could have design it so that the release tab was on the upper, accessible side, but that would have been too easy!)
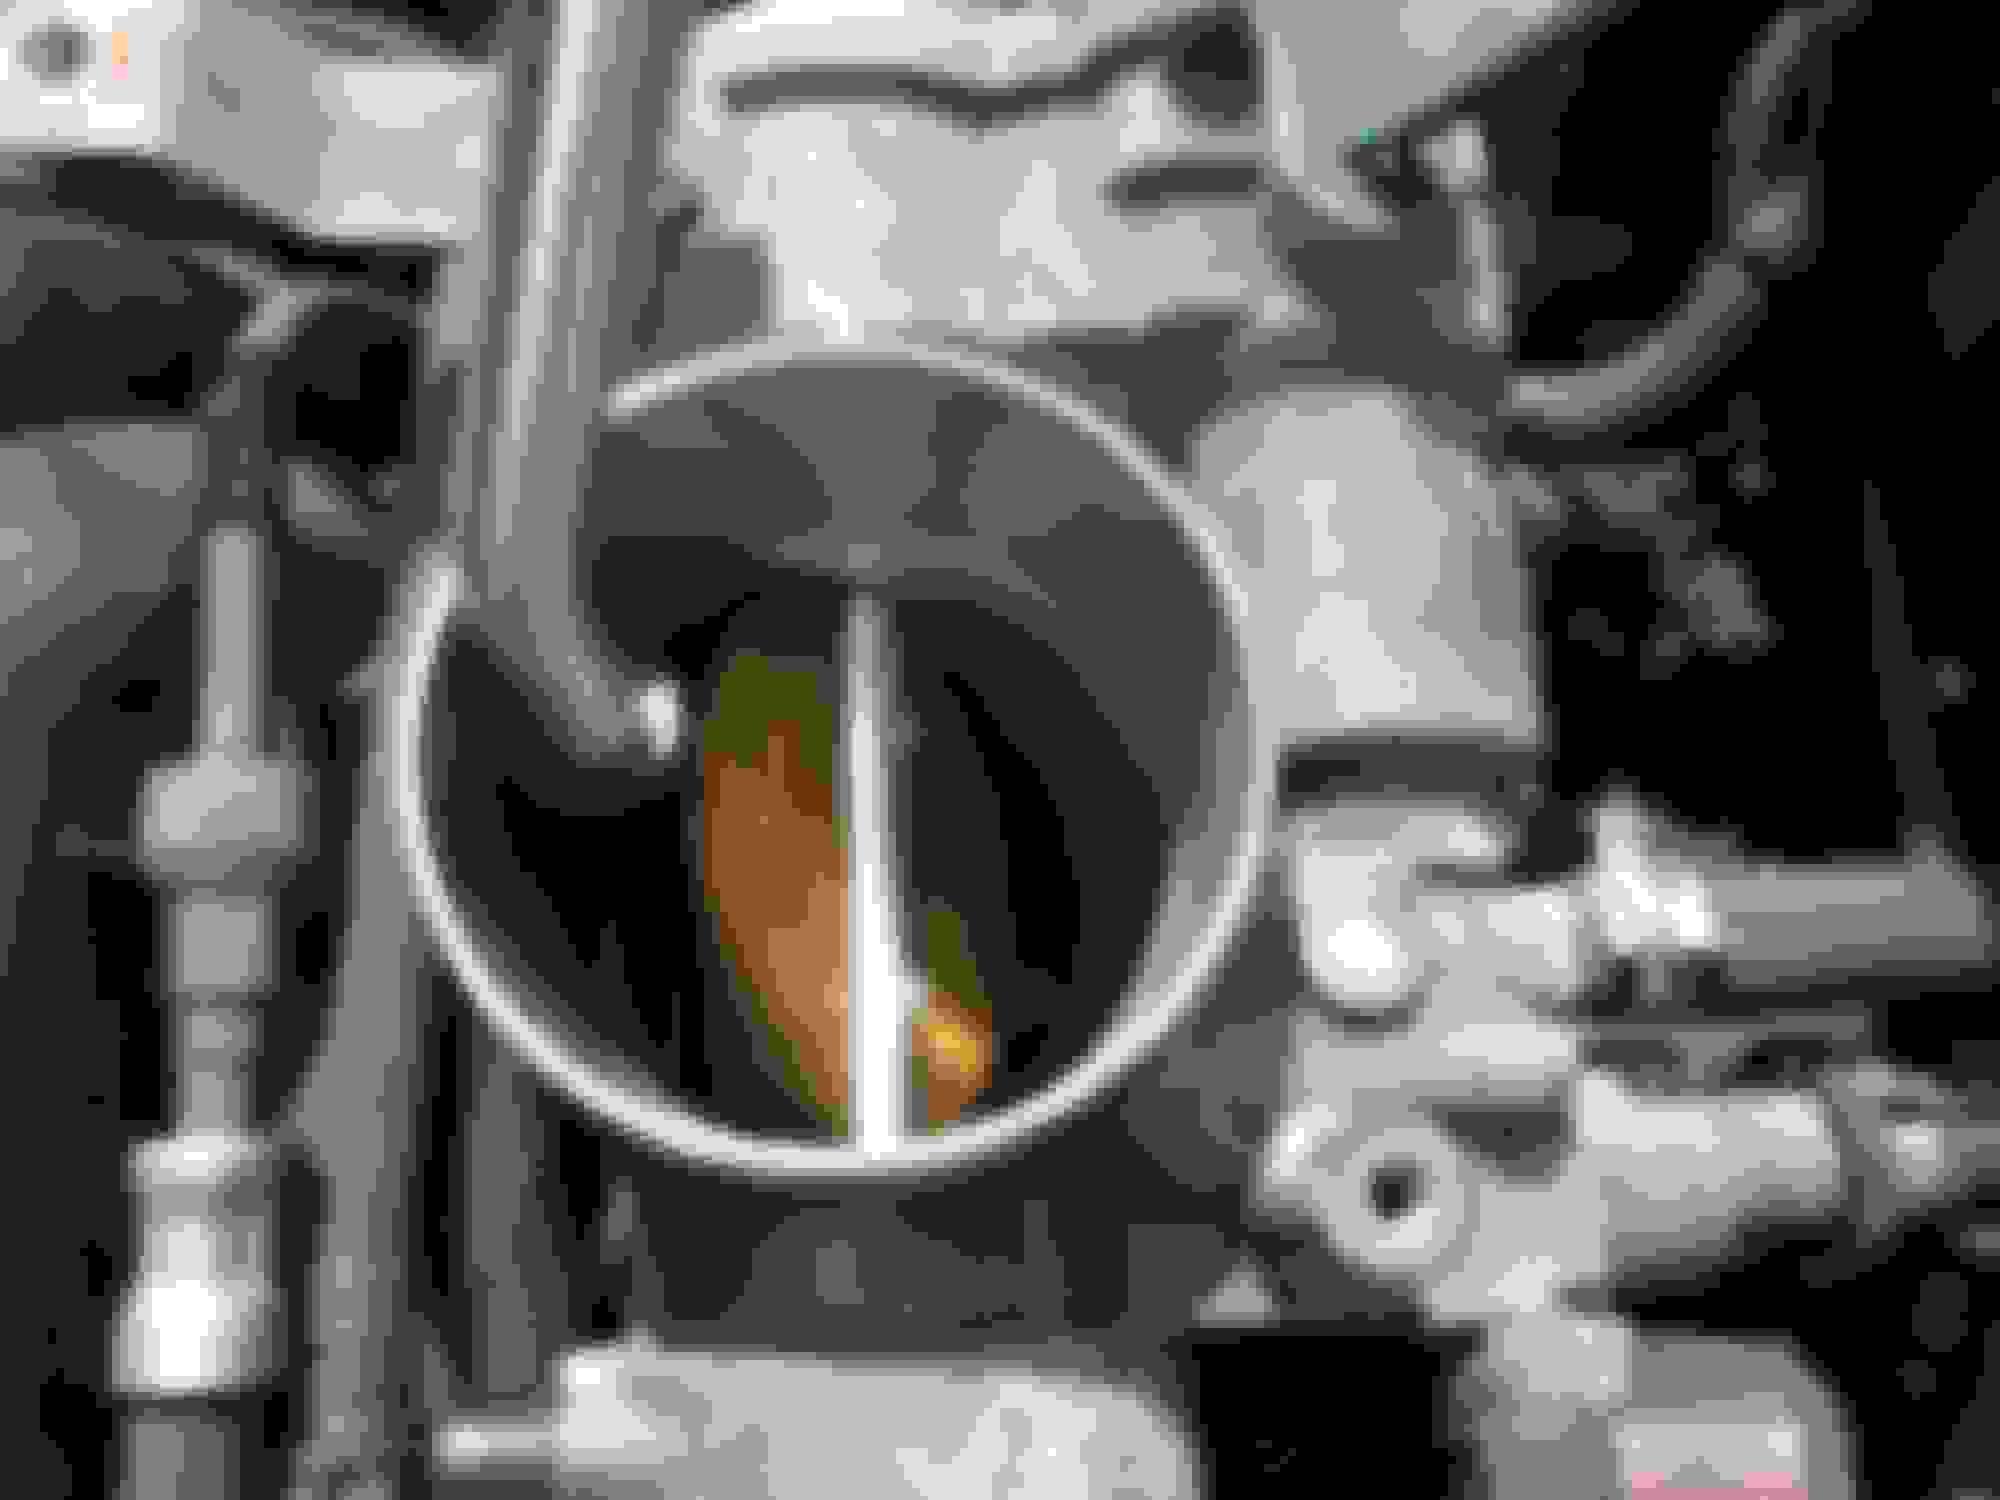
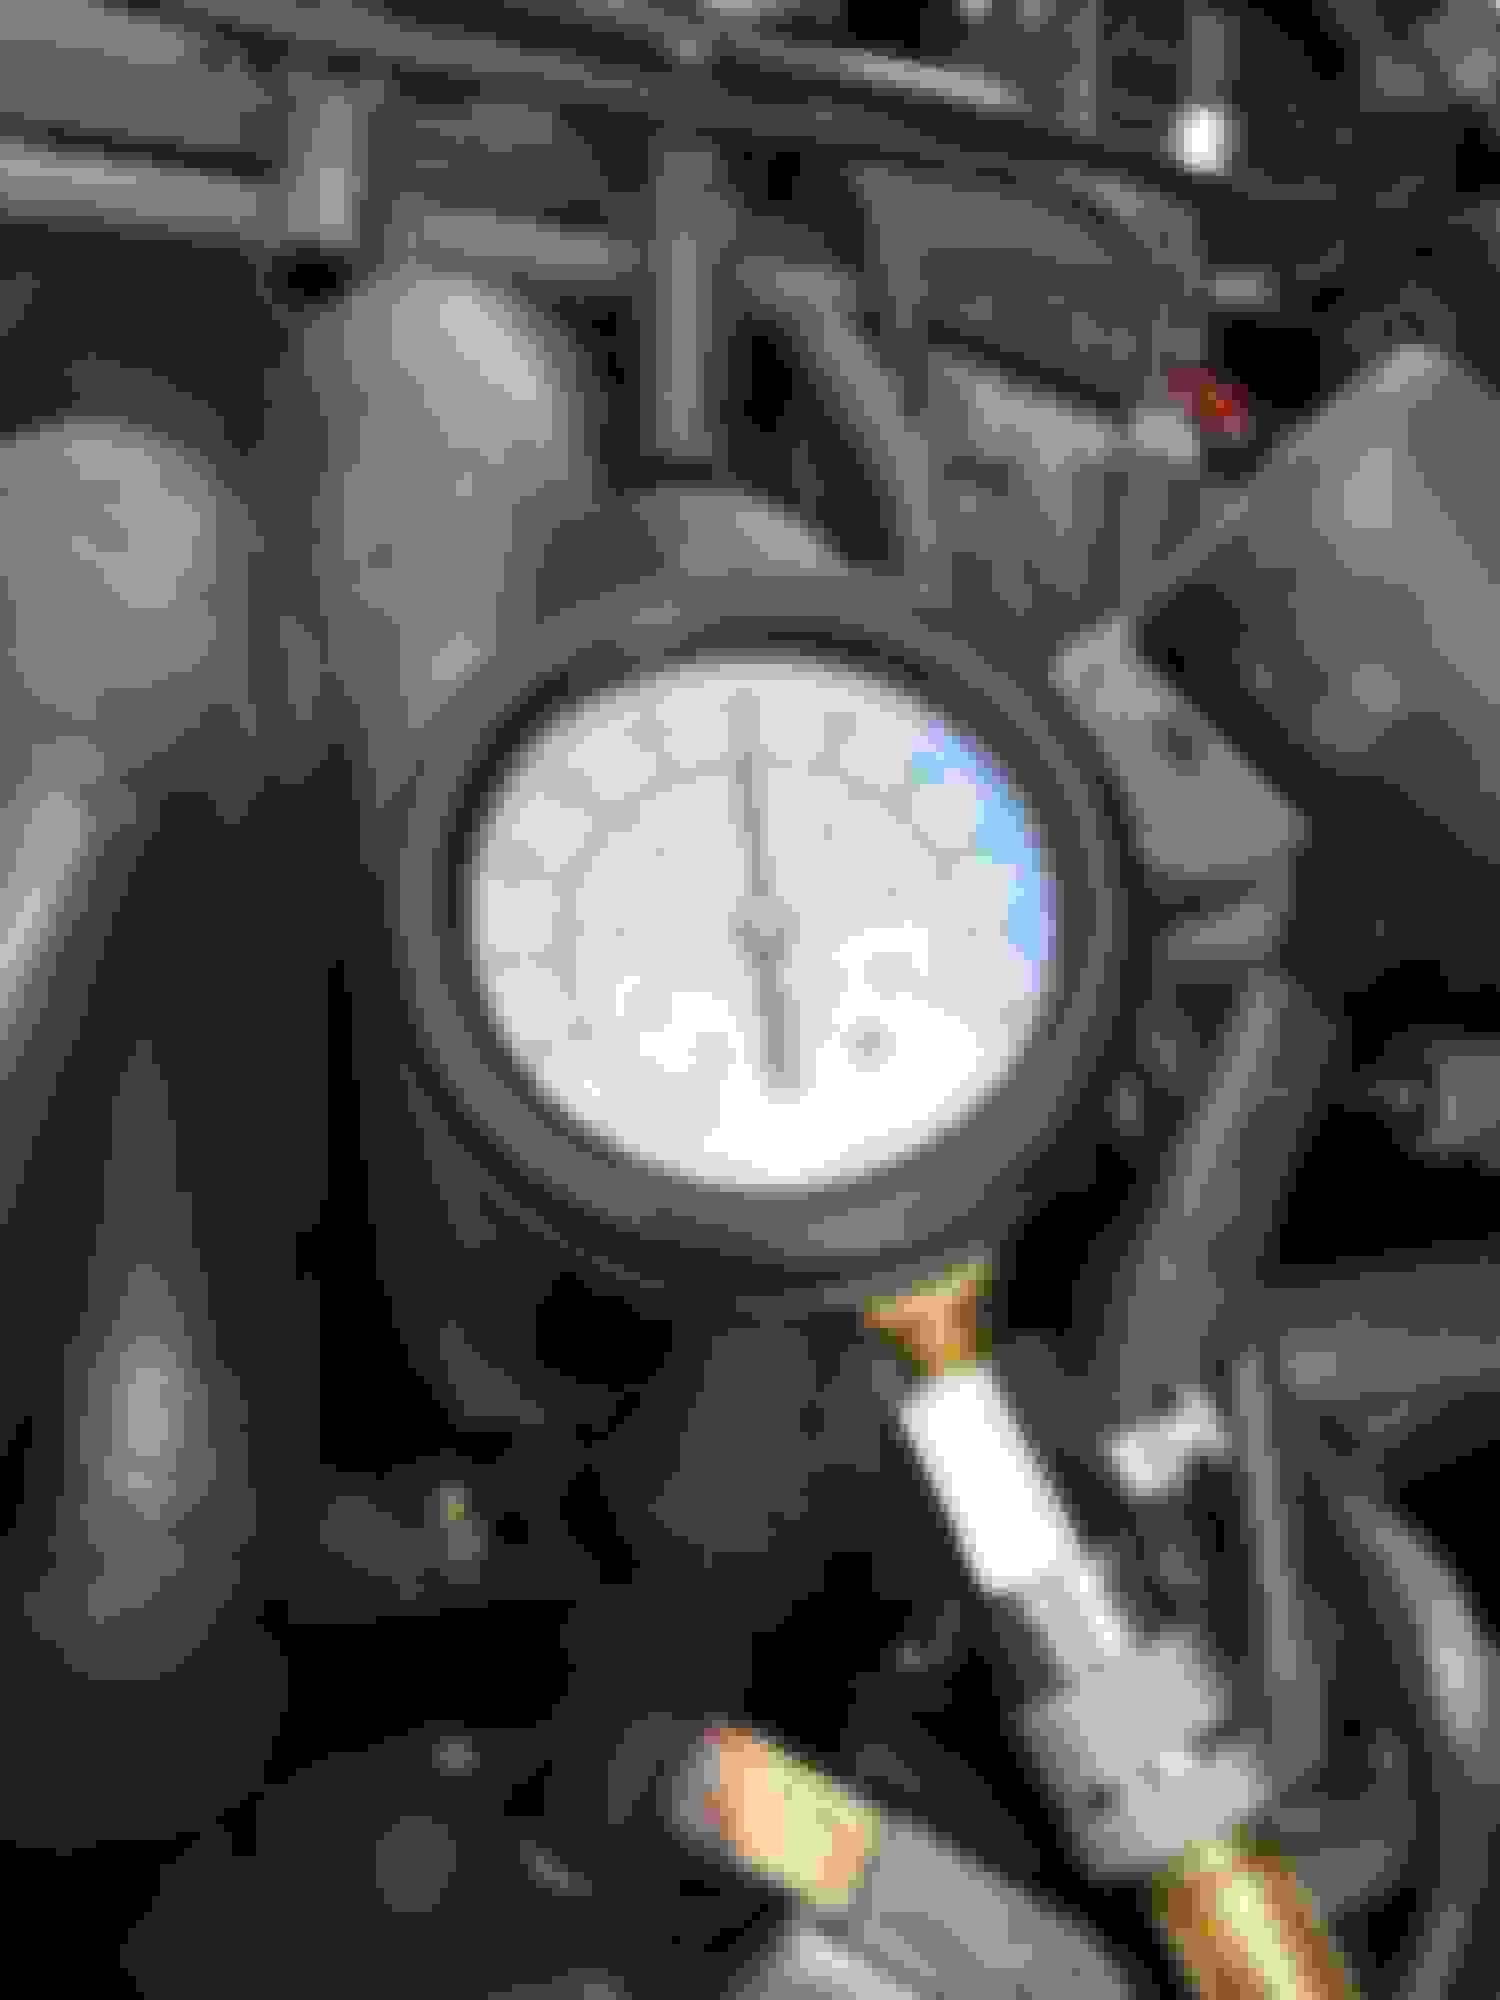
The long plastic cover concealing the two temperature bulbs in question is held by two Phillips screws, one at each end. With these removed you have to squeeze the plastic cover at each end to release the four tabs that hold it in place. With this removed you now have access to the bulbs. There is a clear plastic protector-sheet covering the circuit board, remove this, but remember to replace it before replacing the black plastic cover after you have fitted the new bulbs. ( I forgot to take pictures here, so I blatantly stole these two pics from Charles O's video!)
The two bulbs are easily removed by twisting them counter-clockwise with your fingers. The new ones don't go in as easy but they are designed with a small screwdriver slot and you should use this to insert the new bulbs, making sure the bulbs rotate to their original 90 degree position.
Assembly is the reverse of disassembly, and now that you are not afraid of breaking anything, it goes together quite easily and quickly. I did find that it was easier when installing the J-Gate finisher, to remove the small plastic surround of the cruise control/sport mode buttons and insert it after the J-gate finisher was clipped in place.
SUCCESS!!
It's a pretty easy job, there are only four 7mm screws/nuts and five Phillips screws, so you only need a 10mm wrench to disconnect the negative terminal of the battery, a Philips screwdriver, a 7mm socket, and a small plastic door trim lever is useful. Only takes about 30-45 minutes, even taking your time to make sure you don't drop any screws or break anything plastic. (You will need to reprogram your seat memory positions and reset your dash clock).
.
Last edited by Carnival Kid; Apr 16, 2019 at 06:03 PM.
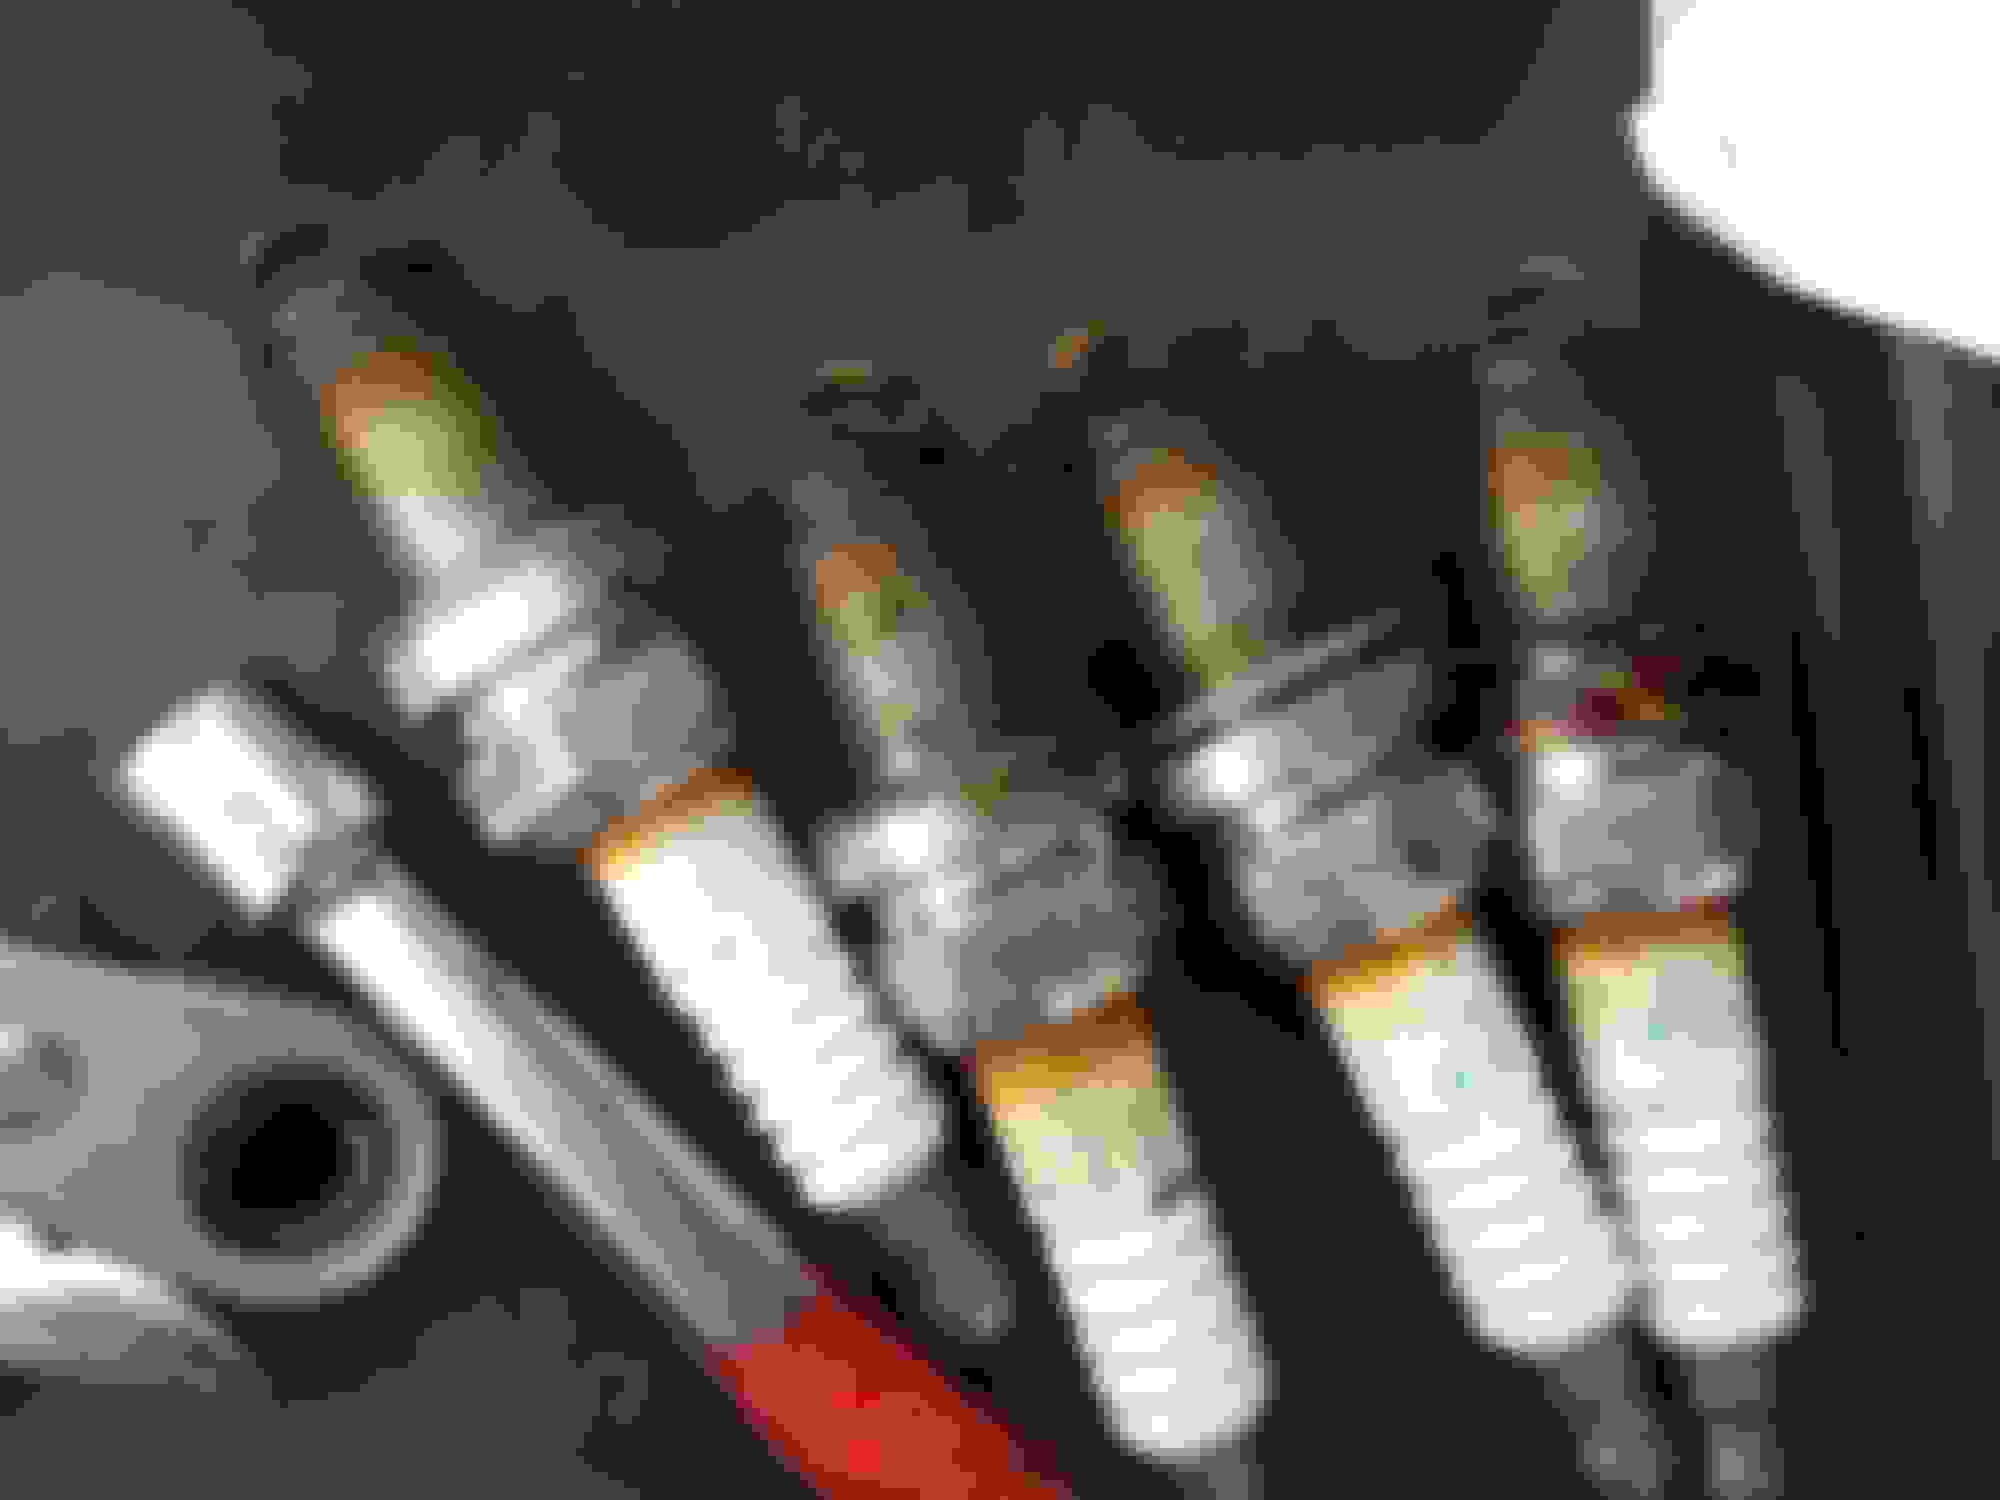
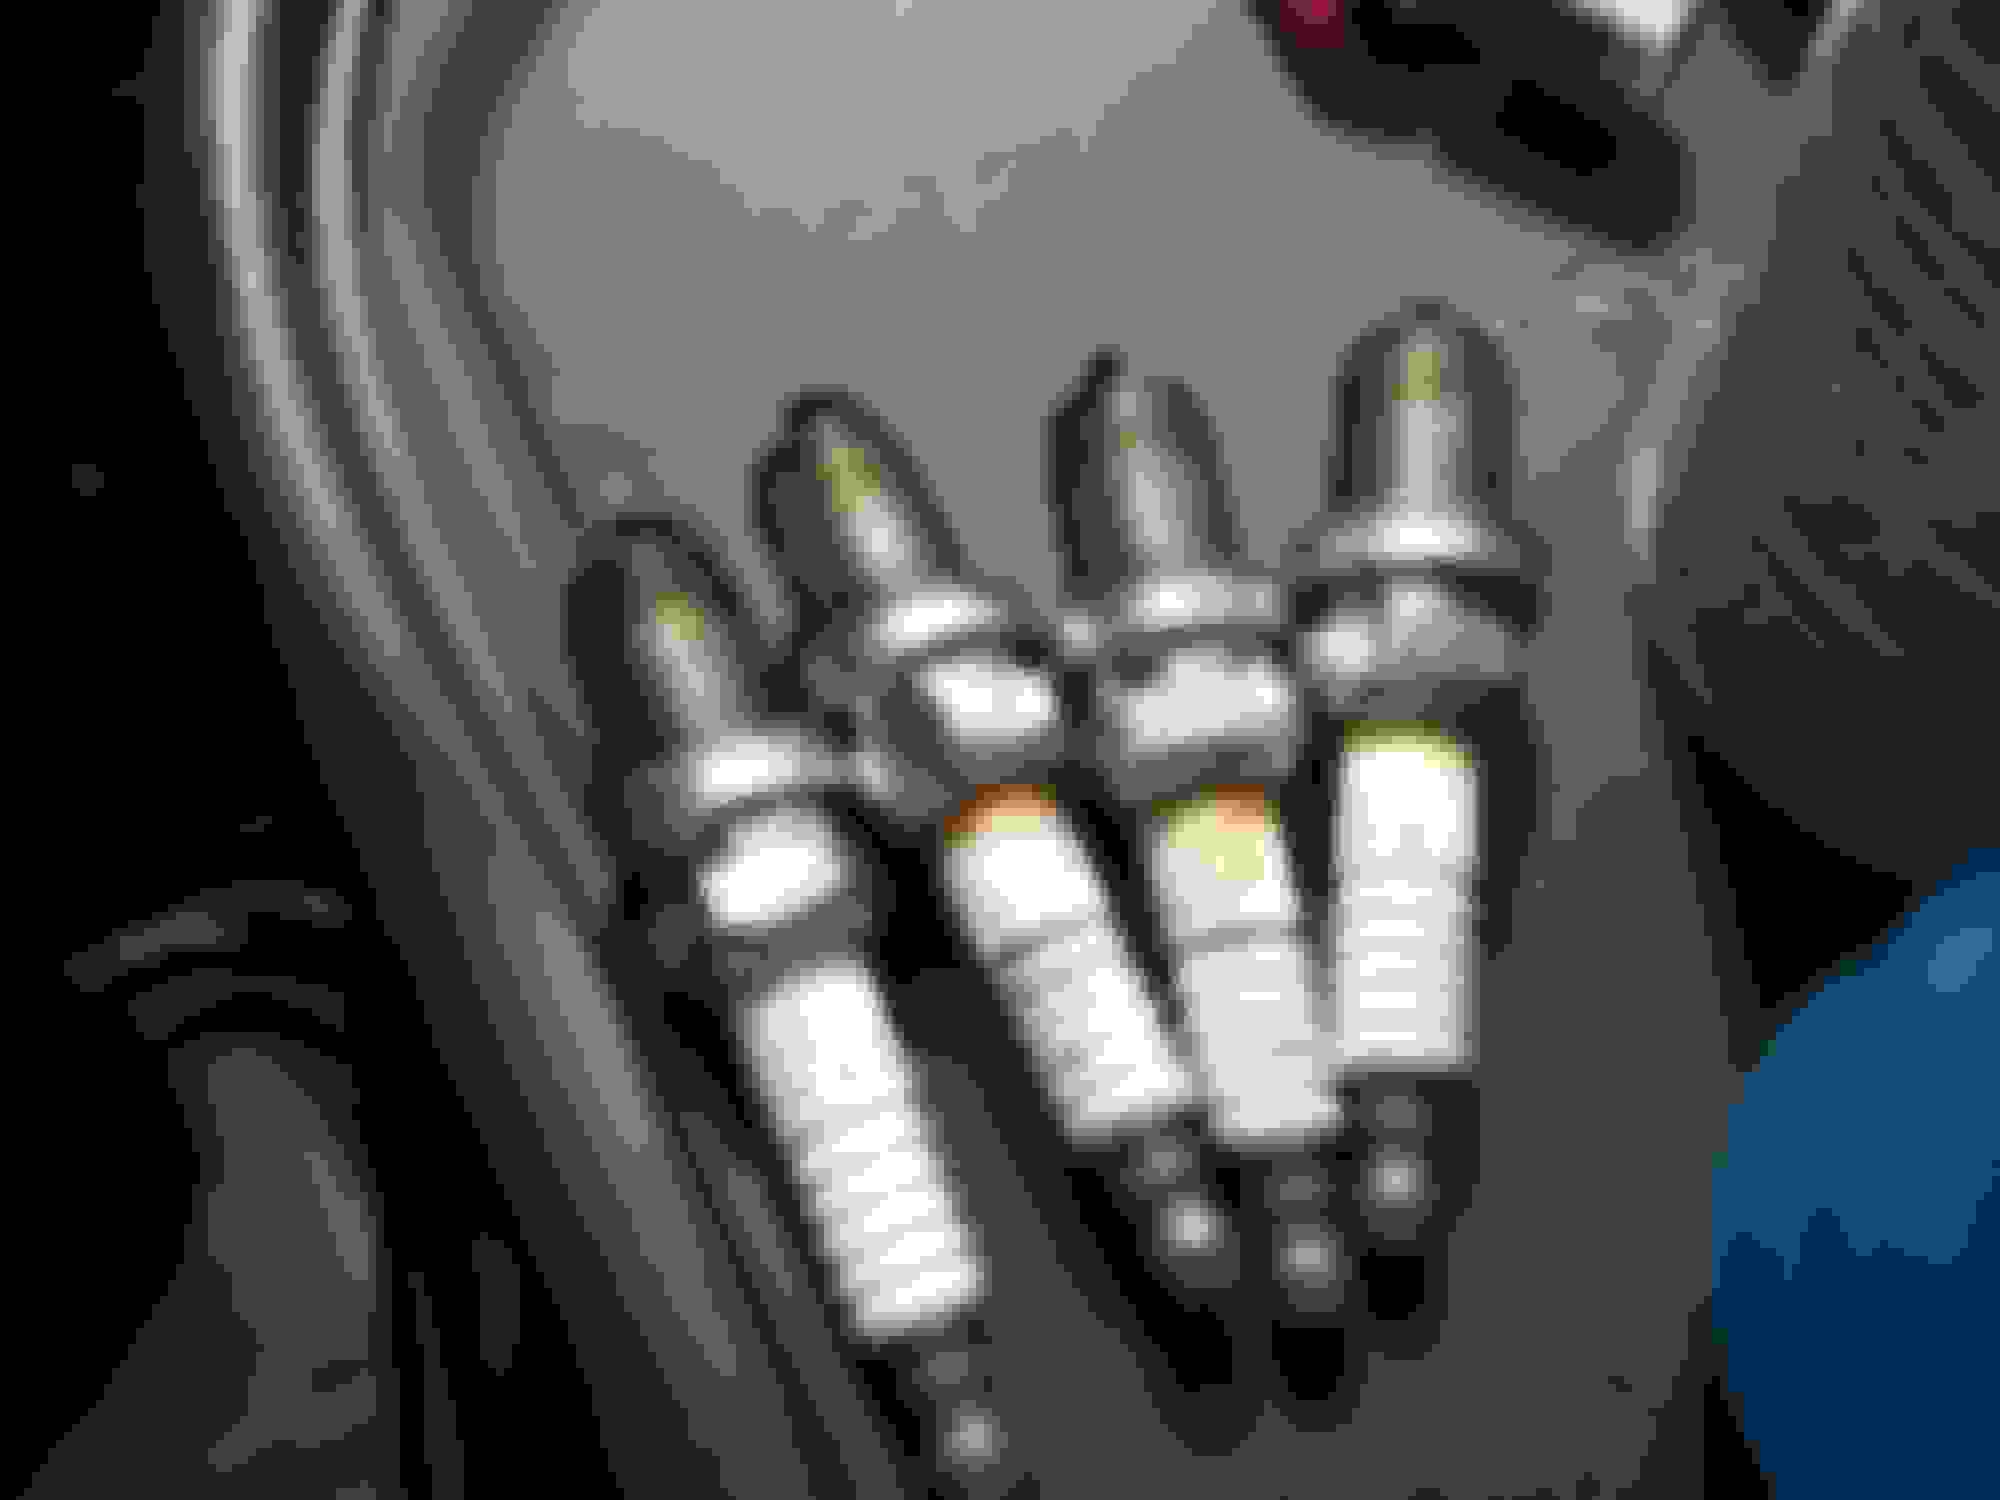
Just ordered $100+ in climate control bulbs, I finally dissected my donor panel & deciphered every damn bulb in it (display,buttons,knob) lol. Details coming soon.
Edit :
It's a bit shady how some of these sites charge $12-$19 shipping per bulb for units that are the size of a sunflower seed. Safe to say I made an exerted effort to find one that would combine orders @ a fair rate.
Last edited by King Charles; Apr 17, 2019 at 07:41 AM.
My rear seat belt holders were a hodge-podge of mismatched colored & JB Weld mended pieces, so today I finally replaced the last one of the offending lot. Everything is now SDZ & ready for years of solar punishment lol.
Got my tires rotated and one bead-sealed to help with an air leak issue. Now the two on the front are leaking quicker than they used to be. I guess I really need to get them refinished to deal with this more properly, but don't wanna spend the money until my final nagging mechanicals are sorted... Plus it's tempting to get a modern set and sell the Pentas instead, the Milanni Clutch were looking good for the price...
Hoped the rotation would help with the pulling left issue, that the suspect tire moved to the rear would make a difference in feel. The answer is... sort of? I guess the next hail mary is to replace the FL bearing, suspecting it being the cause of my 30/57mph howl, and maybe it'll cure the weird steering wheel vibration as well, even though there's no play or roughness felt in the bearing. Cheap enough job, and it looks like it's not too difficult (famous last words)
Also, spent some time prodding at my rearview mirror with a multimeter to figure out why my auto headlights were always on, with no clear result. Been like that for years, never thought much about it. Plugged it back in, come back after being out of town for a week, auto headlights are now working. Guess there was a loose wire or something *shrugs*
I guess the next hail mary is to replace the FL bearing, suspecting it being the cause of my 30/57mph howl, and maybe it'll cure the weird steering wheel vibration as well, even though there's no play or roughness felt in the bearing. Cheap enough job, and it looks like it's not too difficult (famous last words)
Cheap enough, yes. The only hiccup is if you aren't mechanically inclined, or know someone with a press to replace the bearing. Hardest part is the ABS ring, but after that, was relatively straight forward. Done it three, four times? I lost count. I think i was at about an hour a side with mostly hand tools at this point.
Weather's finally forecast to be clear for a few days w/ pleasant temps. Just in time for my 1st waxing/sealing of the new paint, looking to get it done tomorrow.
You have to disassemble the riveted together parts of the handle to install the "OEM" versions (they go under the spring). Just get the oval, perimeter only ones and call it good.
I had some OEM ones I'd had for years and I ended up cutting out the middles with a razor.
Well I sealed the virgin paint today, so it's a fitting title lol. Overcast conditions don't do the picture justice but made for prime sealing conditions, no sun streaking or spotting & low metal temp.
I used P&S Bead Maker Paint Protectant.
Well pleased to say the least. I will keep you guys' updated on the Bead Maker's durability & hydrophobic properties. I kept seeing it highly spoken of & picked up a pint for a mere $12 & it took about 8oz to do the entire car including rims. So @ this rate 2 sessions @ $6 a piece is great. It also comes in a gallon size, but I wanted to give it a test run before committing.
Going to modify my speaker set-up this week, going w/ bass blockers on the front speakers as the subs in the trunk are providing perfect bass/lows.
Last edited by King Charles; Apr 21, 2019 at 10:38 PM.
Going to modify my speaker set-up this week, going w/ bass blockers on the front speakers as the subs in the trunk are providing perfect bass/lows.
In audio shop now, along w/ the speaker mod I'm getting all the climate control panel bulbs installed,LED license plate bulbs installed,overhead console re-sat & tangs adjusted.
I was halfway along installing the CC bubs myself but as I went to remove things I cracked my aftermarket head unit fascia/insert. I figured I'd stop while still ahead of the damage curve lol. Being this shop did all my audio work & head liner, he's well familiar w/ my car & what I expect.
All CC bulbs replaced along w/ the cruise control button bulb, license plate bulbs switched to LED & my overhead console tabs were reset to the proper angle to remove that nuisance from my life lol.
Originally Posted by King Charles
Going to modify my speaker set-up this week, going w/ bass blockers on the front speakers as the subs in the trunk are providing perfect bass/lows.
The stereos's now tuned perfect as to where I can go from Tupac to Andreas Bocellii w/ no ill effects lol.
Last edited by King Charles; Apr 27, 2019 at 10:53 AM.
Took a 200 mile round trip to Mount Shasta City and Lake Siskyou today.
I had to look up where exactly this is, but that looks absolutely beautiful, bot car and surroundings.
Still I prefer the 95F here over the snow there .
I had to look up where exactly this is, but that looks absolutely beautiful, bot car and surroundings.
Still I prefer the 95F here over the snow there .
Thanks Eric. In person the views are absolutely spectacular and awe inspiring. Temps are not too bad, even as close as we got to Mt Shasta, at around 6,000ft, it was 48 degrees. It was 70 degrees in Mt Shasta City, and been 90 in Redding the last few days.


 .
.