When you click on links to various merchants on this site and make a purchase, this can result in this site earning a commission. Affiliate programs and affiliations include, but are not limited to, the eBay Partner Network.
I know question wasn�t aimed at me, but I had my opti rebuilt by the optidoc, and he added the msd vented cap setup, rest of the opti itself factory, optidoc would only rebuild the ones with the Mitsubishi sensor in them, it seems he is nowhere to be found now though
Same here as Darren. My Opti came vented and I also have a spare. Also, I ran my LT1 for months before I installed the MAF sensor. I guess the runs of the MAP sensor if the MAF fails.
I plan on doing the same Air cleaner setup when I am able to get my car out of the garage. Right now it is blocked in as I am working on rebuilding a V12 engine for my XJS coupe. @Thorsen Your car looks great. Your desire for perfection never ceases to amaze me.
I still have to pull the wiring off my engine and start to rewire it. I think I did something wrong as my CEL is on and I cannot read any codes off the PCM. I am using a PAINLESS harness and their tech line is useless. Very Painful indeed.
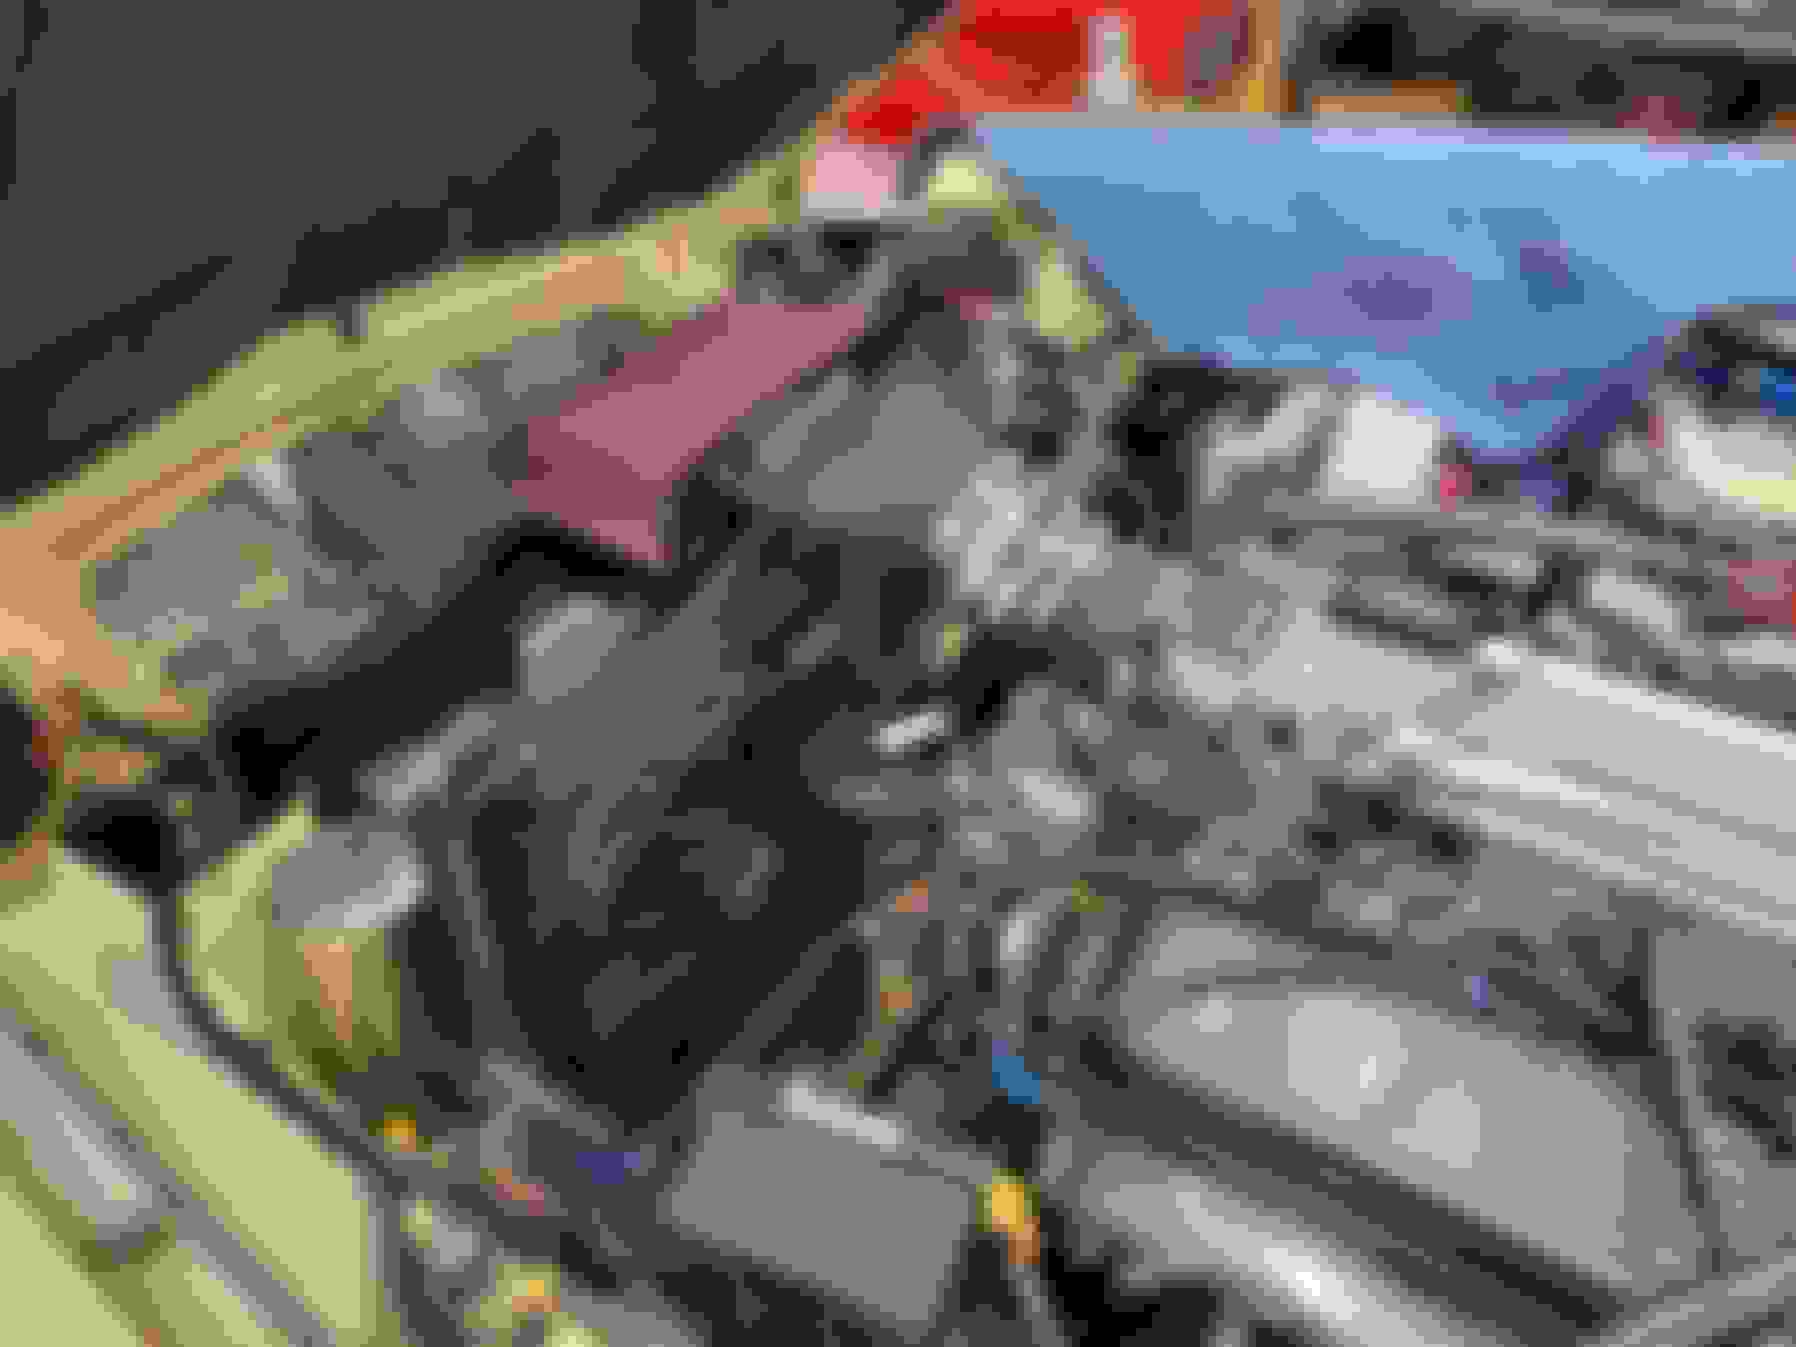
The filter kit came today and was quite easy to install. I had to trim the top of the radiator mount to make room for the filter but that was a modification I knew I had to make going into this.
Apart from that, the only other fabrication required was a bracket to hold the front of the filter to the top radiator mount.
The last problem to solve for is the distributor vent. The 1996 and 1997 LT1 engines had a vented distributor that helped extend the life of the distributor.. The factory configuration has the air supply for the distributor after the MAF sensor; this is important as the air flows through the distributor and into the intake manifold. The engine measures this (albeit small) amount of air and uses it to determine the fuel/air ratio. To keep the engine happy I'll need to drill a hole in the hose between the MAF sensor and the throttle body, install a bulkhead fitting, and plumb a feed hose from there.
Using the Intake Air Temperature sensor that is part of ECU I have the following empirical data to report:
Air filter located behind radiator:
- Temperature as measured while driving 50mph on 80� day: 165�
- Temperature as measured at the end of a 3 minute idle after a 10 minute drive on 80� day: 224�
Air filter located on top of radiator:
- Temperature as measured while driving 50mph on 80� day: 85�
- Temperature as measured at the end of a 3 minute idle after a 10 minute drive on 80� day: 105�
To make myself feel better, each 1� drop in Intake Air Temp while cruising only cost me $6
For a short-term fix for the distributor vent, I hooked up a 12 volt vacuum pump to pull air through the distributor. This lasted long enough to get me to/from Coffee and Classics and is not a permanent fix. The vacuum pump is loud enough to be heard over the engine.
For the permanent fix I ditched the vacuum pump and connected the distributor vent back to the intake manifold. Next I drilled a 1/8" in the coupler after the AFM and glued a 3/16" brass splicer in place.
I'm about 75 days away from my 2,000 mile road trip and slowly working through the to-do list. Before hitting the road I did want to replace the rear seat lap belts with a lap/shoulder belt. The original Kangol belts have served their time dutifully.
I did have to modify the seat belt to a small degree. As I am mounting the reel to the back deck, the "shoulder hanger" wasn't needed and got cut off. I used a rag to protect the belt while I cut the end with the angle grinder.
I needed a couple of spacers so I chucked up some 7/16" nuts in the lathe and drilled them to the correct ID.
A spacer is born.
I kept the original Kangol lap belt for the center position but I now have shoulder/lap belts for the outer positions.
I added another 700 miles to the odometer this weekend with a trip to my parent's house. This brings my total mileage up to 3,200 miles this year. The trip down Friday was cool so I left the AC off and opened up the footwell vents to get some fresh air flowing through. The trip back today was on the warmer side so I cranked the AC low, flicked on the cruise control, and listened to some tunes while I clicked off 300 miles. This is really a great car and loves to cruise down the interstate.
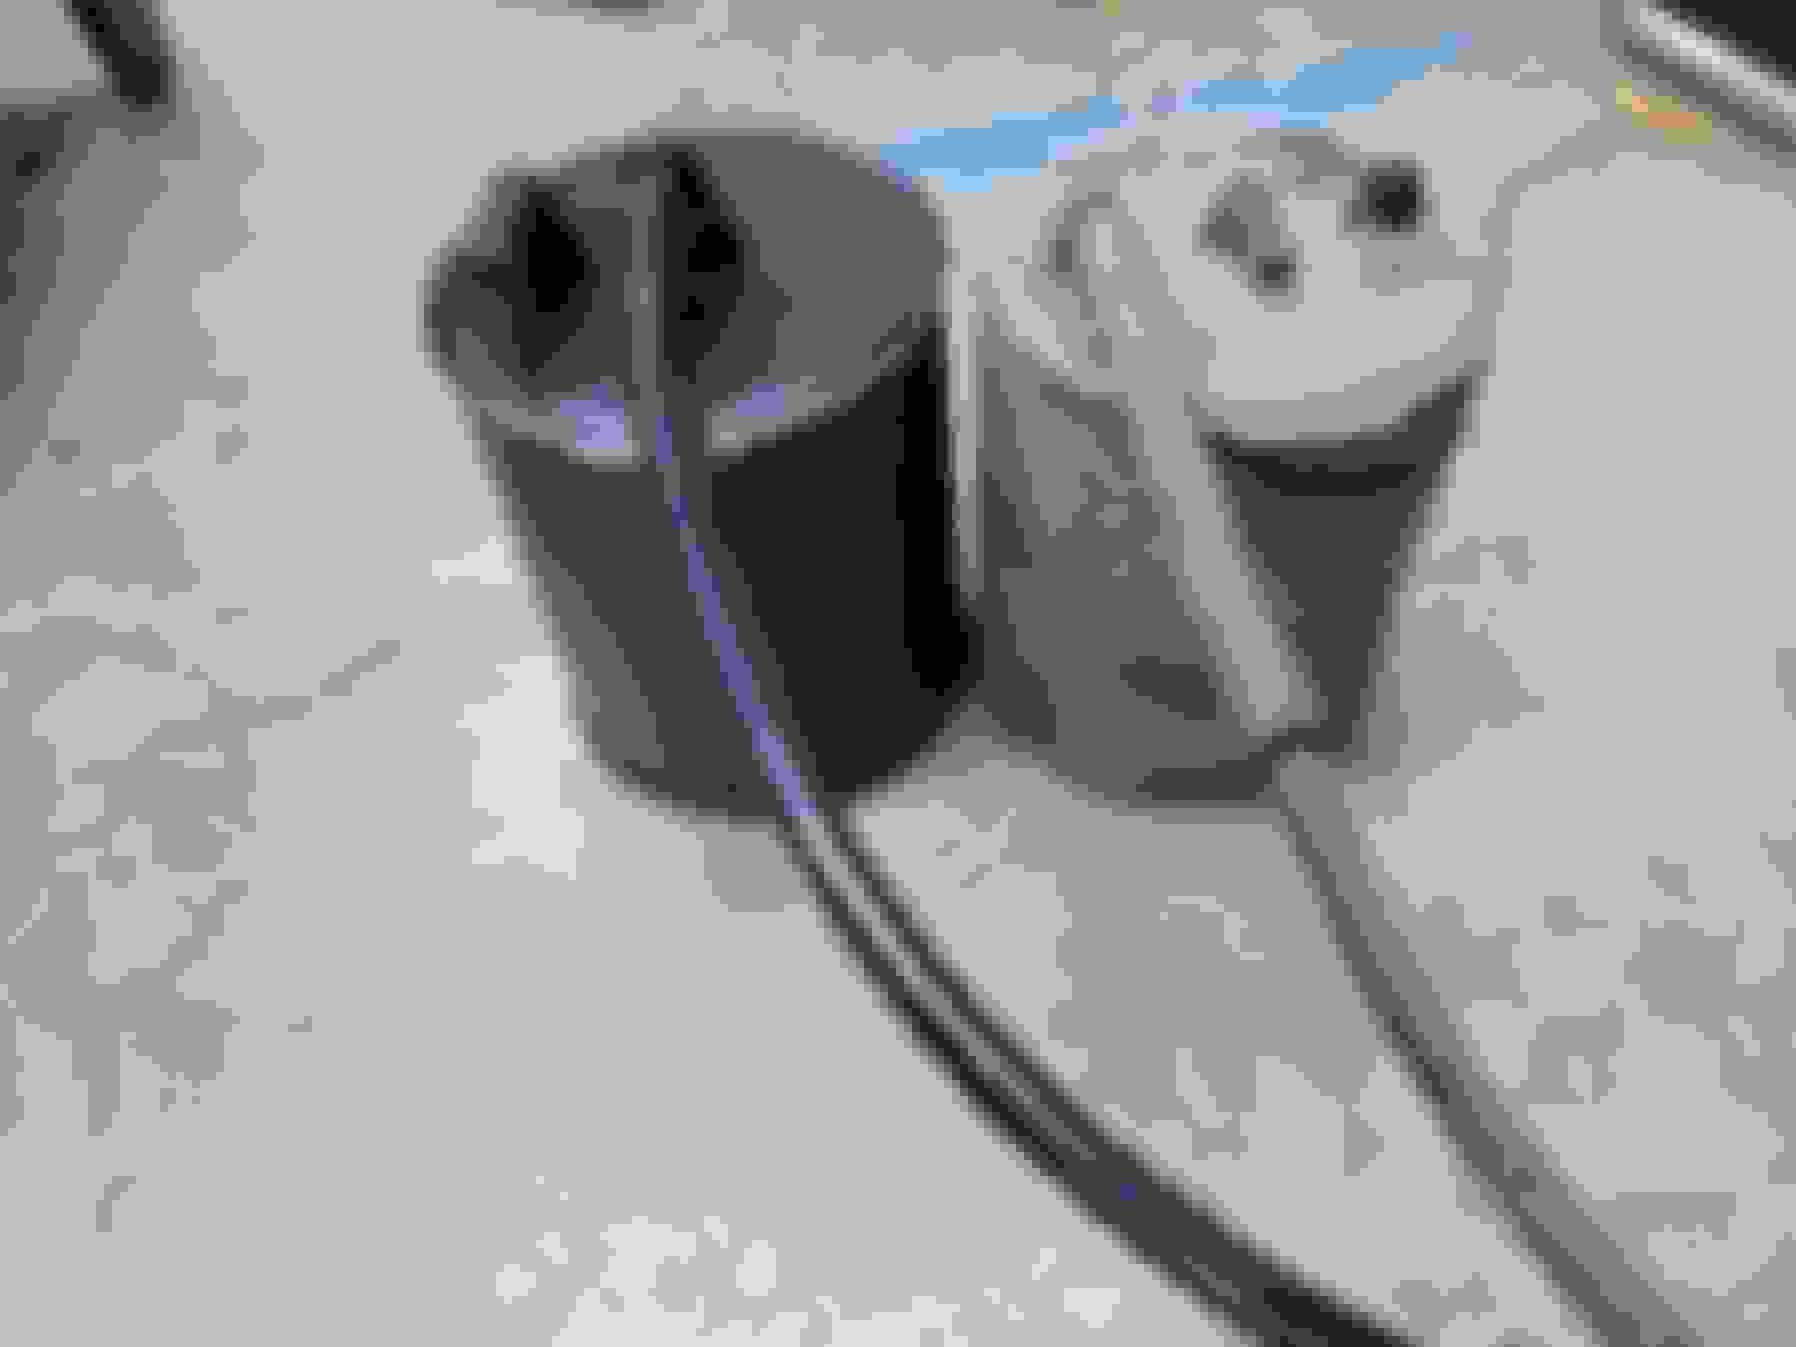
This evening I corrected the EVAP system tubing. The original charcoal canister got swapped out for a new one.
I smoke-tested the line from the front wheel well to the gas tank and had no leaks, so it was easy enough to plumb the system in using silicone tubing.
The engine has an EVAP solenoid that opens when the computer tells it to. Everything is all hooked up and operational.
This was a fun one. I had noticed that the windshield washer nozzle would "spit" onto the windshield, usually when driving for a while and coming to a stop. It would also do it while driving down the street. Secondary to this I noticed the windshield washer fluid tank would be empty - I assumed it was leaking.
First I disconnected the washer pump, thinking maybe I had an intermittent electrical issue. That wasn't it, I was still getting some spitting on the windshield. Not a full blown washer pump engagement, but maybe about half force.
It took me a couple weeks but I finally figured it out. The
I used was sealed; once the cap was screwed on there was no way for air to get in or out. What was happening was the tank - like everything else under the hood - was getting hot and so was the washer fluid. Aluminum is a great conductor of heat and when the washer fluid got hot, it expanded. With no where for the pressure in the tank to go, it pushed its way through the washer pump and out of the washer nozzle, spitting fluid on my windshield. Coming to a stop meant that the temp under the hood would spike and this was the most frequent time for windshield spitting.
A 1/16" hole in the top of the cap provides an escape as pressure builds and I no longer have pressurized washer fluid randomly squirting on my windshield.
Greg-
The tank comes with a hole about 3/8" in diameter drilled in the bottom. The idea is that you use a grommet and a piece of hose to draw from the tank. Obviously you will never be able to completely drain the tank. Also, that's not a water-tight arrangement so you'll get some leaks.
What I did was enlarge the hole in the tank and install a
to connect the hose from the tank to the washer pump. You still can't completely drain the tank but it works much better than a hose sticking up from the bottom.
After owning an S1 XJ6 about 10 years ago, I've been on a tour of other Jaguars and have come back to the XJ's, this time with an S2 XJ12L.
Things are a little different this time around as the Jaguar V12 is missing and a small block Chevy with a TH350 is in it's place.
My goal is to leave that alone until I address the other issues, but I'm thinking that a supercharged AJ16 from a mid- to late-90's XJR would look good sitting there.
First things first, I got her cleaned up and put on a couple coats of wax to get her shiny.
I also ordered the 7" outer head lamp kit. I can't stand the small outer lights.
Next up was to defuse the old tires that were at least 25 years based on the date codes. I think the spare was 35 years old.
It definitely needs all 6 shock absorbers replaced and I think I will rebuild the front brakes while I am here. Rear brakes were recently rebuilt.
This is also time to freshen up the wheels a bit. The chrome is generally OK...
Other things I need to address are the complete lack of a hazard switch, intermittent turn signals, and a complete inability to switch the headlights from high beams to the low beams. I am hoping I can rebuild the turn signal switch and that will take care of that issue. The next pressing issue is the wipers only move about an inch every 30 seconds. I'm guessing the motor and rack needs a rebuild.
With all the heavy work done there's nothing else to do but drive it, and drive it I have. Last weekend I had to make a run to Wisconsin to stock up on beer and the trunk can easily swallow 4 cases + 1 spare 6 pack.
Today marks two weeks until the South Alabama British Car Festival in Fairhope AL and I spent the morning finishing my preparations. This will be the 3rd year in a row I have attended and the first time I will be taking both of my cars. The MGB needed an oil change and both cars got washed and waxed this morning.