When you click on links to various merchants on this site and make a purchase, this can result in this site earning a commission. Affiliate programs and affiliations include, but are not limited to, the eBay Partner Network.
Hey folks!
I’ve been restoring a 1974 XJ12L since last fall and got it back on the road in the last few months. It’s Fern Grey with Chocolate leather and Moss Green carpet—the colors are so ‘70’s that it hurts. It’s an original 81k mile car that was last driven in 1992. It has no rust as it was stored by its pilot owner in airplane hangers all that time. The colors, lack of rust, and most importantly, the fact that it was off the road and not taken apart by an idiot previous owner is what sold me. Oh, and also the fact that it has 4!!!! carburetors, which is Sisyphusian in terms of making a car run well.
Anyway, I got it running and driving and was pleased with the experience—except the transmission. Not only the lack of an overdrive but there was a noise/whine that may or may not have been “normal” in the stock Borg-Warner auto (I found a road test from 1974 that noted a whine in 1st gear).
And so the tranny swap!! Here are some initial pics of the swap, some differences between the Borg-Warner cars and later ones with the TH400 tranny (I’ll elaborate those later in this thread). Repainted Fern Grey. Stock chrome wheels powder coated silver with chrome trim rings and hubcaps. Original carpet with new seat covers. Adaptor plate. Hole drilled in 2004R to access upper starter bolt. Inside shot of hole for upper starter bolt. Flexplate adaptor attached to 2004Rtorque converter.
What a beautiful car. I've always wondered why there aren't any Jaguars with darker brown leather and yet here's one. I can't remember seeing another (thinking mostly series-XJs but even the 60s models).
Thank you for not only the excellent pictures of your adventure, but leading some of us "4-speed auto curious.." towards the GM 200R4 transmissions. Have done some research on 700R & 4L60's, didn't even know to look at 200R4's. The smaller size promises no (or less) body cutting or pounding.
Quick question, does anyone know the stock drivetrain angle (engine and tranny)? I forgot to measure before i took the original out.
The reason I'm asking is because the 2004R has a different mount than 700R4 and so the tranny bracket supplied in the kit needs to be modified. Thus, I need that angle to know how to make new tranny mount.
Or, if anyone has other ideas/insights about drive train angle and rear differential angles.
I have no specific knowledge. but, I have two thoughts.
1. it is not a critical angle. As the IRs does not move, there is no angle change at th rear trsnsmsion mount.
2. but, the universal jints do not like to wirkat more thn about 3 1/2 degrees.
3. So, as clsoe as you can get to a staright line from the transmission out put to the differential input should be fime. No more than a 3/2 degree deflection.
The kit comes with a preformed bent steel tranny cross member, but it’s for a 700R4 and doesn’t fit the 2004R. I thought about cutting it and re welding but….
But after looking at the stock cross member I thought it could be used. I added a piece of square steel across the front edge and welded it to stiffen it. I installed the rubber tranny mount to the tranny and checked for clearance. The stock cross member hit the mount so I then added the same square tubing to the cross member to drop it down. I experimented while adding those square tubing spacers to the cross member…
I added a thin layer of polyurethane roof sealant by Loctite between the square tubing and the stock cross member, trowling it like you would with ceramic tile. This stuff is crazy strong, Herculean even. It smells like chocolate, which is a plus, but it takes forever to dry, (a real 24 hrs).
My thinking was that this might add an extra layer of insulation for NVH.
When trying to figure out where to drill new holes for the tranny mount bolts I used a trick I learned on TikTok. With the tranny mount and crossmember installed there wasn't enough room to scribe through the hole onto the crossmember-and so I filled a syringe with bright green paint and squirted into the tranny mount bolt hole and let it drip through the bolt hole onto the cross member—marking the exact location to drill. (I’ve recreated the process here since it was too hard to photograph in situ.
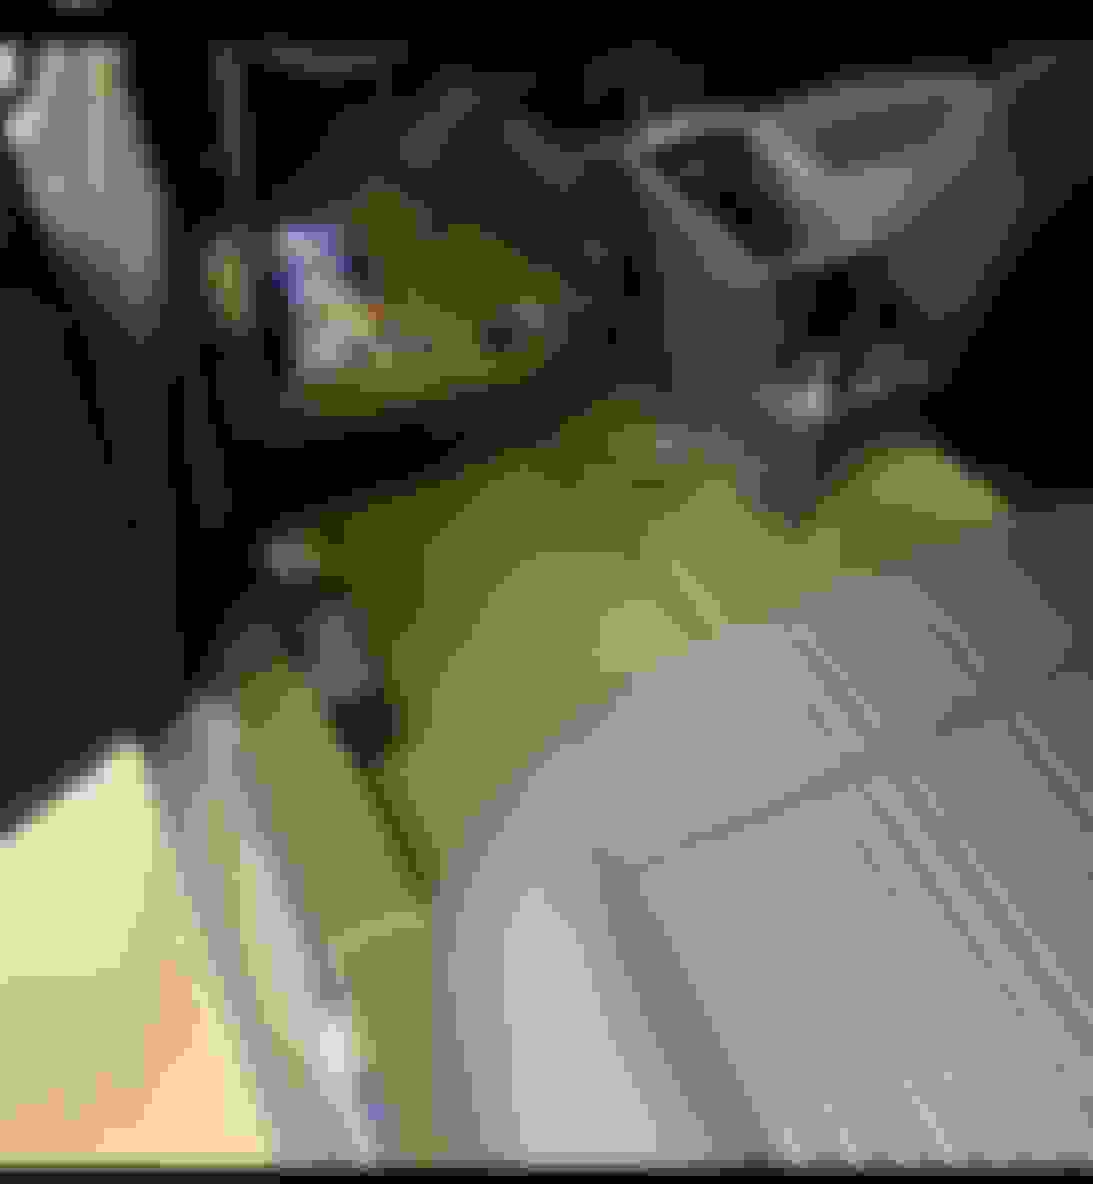
(please ignore the distracting thumbnail photos within each pic, I took a screen shot of the parts to group photos together and forgot to edit out the camera roll. Don't worry, nothing inappropriate, just pics of my kittens and my dogs) The dripped paint for locating hole for tranny mount Recreation of process, inserting paint through tranny mount hole onto cross member PU sealant between spacers and cross member Spacers between crossmember and body (not seen are two small square spacers on the middle bolt location Loctite PU sealant The stock cross member with reinforcing square tubing seen
Last edited by bullittandy; Jul 26, 2022 at 12:16 PM.
Reason: PHOTO DESCRIPTION
Configured new cooler lines. You can order a pair of extra cooler lines and included are compression fittings to connect the new lines to factory lines. Don’t do what I did and remove the original lines while trying to install a set of aftermarket braided lines, deciding against it, and then having to reinstall the original cooler lines alongside the engine. What a nightmare because they have numerous bends and only install one way.
Recall that this kit is for a 700R4 and the lines in kit needed some new bends to clear. No big deal. Lines installed on tranny. Originals connected to included lines. New rubber hoses connected to radiator.
Also completed shifter mods. Again this kit is for 700R4 so the supplied bracket doesn’t line up with holes on 2004R and so this required some extra effort. I welded a washer to back edge of supplied bracket to catch a new hole. Then drilled a new hole in front of bracket.
the instructions are confusing here (and everywhere) but all you’re doing is adding the round extension (has bolt through it) and new shifter arm on shifter shaft leaving transmission. and then there are two spacers under the bracket against the pan (not installed here). Installed shifter mods. Modified bracket close up. Shifter bracket after welding a washer to catch new hole.
New progress: one disadvantage of using the 2004R is that the selection of aftermarket pans is limited. They’re available, but expensive $250-400. I wanted a drain plug and a finned pan but that was too much money for unknown benefit. So I had the idea of adding my own cooling fins with a heat sink. I attached it with an epoxy that’s supposed to conduct heat. The heat sink and epoxy were $50, so not cheap but less than an aftermarket pan. And as an experiment it’s totally worth it. (I would’ve liked to get before and after numbers for the trans temp but didn’t want to install pan, fill and drive and then have to take off and clean and have the mess of dropped pan).
I also added a drain bolt while it was apart.
Some tips:
1.make sure your pan is straight, I had to hammer mine with a small sledge and a block of wood.
2. I used a 25 ml tube of epoxy and that was barely enough because even though I straightened the pan, there were some small gaps remaining. Those might be filled with epoxy, might not. I’d have to break off the heat sink to see.
3. As I was typing this I realized I should’ve put the fins in line with airflow. Doh.
4. Won’t know about ground clearances until it’s back together but the heat sink is only 1/2” (or 13 mm) deep so not losing much clearance.
Stock pan My kitten Alice inspecting the work after the epoxy cured. I jacked the pan and heat sink under the subframe while the epoxy cured to ensure there was good contact between them.
Last edited by bullittandy; Aug 7, 2022 at 06:24 AM.
The Quarterbreed kit doesn’t include a torque converter cover. And even if it did it wouldn’t have fit since the kit is for a 700R. So I bought a plastic torque converter cover for a 2004R off eBay and modified it. Cut it and added a strip of 1/16” thick plastic to widen it. I used Lexel sealant and rivets to attach the pieces. Then I sprayed Duplicolor truck bed coating over the entire thing to hide its Frankenstein nature.
Last edited by bullittandy; Aug 8, 2022 at 05:21 AM.
Well, my plan to fortify the original transmission crossmember hit a setback when I went to install the exhaust as the 1” tube I used to space the bracket away from the body interferes with the exhaust. Not sure how I didn’t think of this—or why you experts didn’t warn me!! Just kidding.
anyhoo, I took the crossmember off and cut it apart and stepped it, adding the 1” tube towards the middle. See pics. Original crossmember with 1” square tube to space it away from the body. Exhaust hitting the crossmember. 2nd attempt Modifying the crossmember (view is of the bottom like if you were under car looking up). You can see the outside of the crossmember now mounts flush against the body and the the center section where the transmission mount sits is stepped down 1” with the square tubing. And here the modified crossmember’s topside (side that installs against body). I again troweled the PU sealant onto the crossmember as an experiment with reducing NVH. I used a 3/16” v shaped trowel.
The stock dipstick for the 2004R doesn’t fit easily. There are flexible braided metal ones available, but the only choices are a $150 Lokar one or a cheap knockoff from Amazon with the worst reviews available. Still, I bought a garbage one, just in case my mod to the stock one didn’t work.
I used a piece of PEX 1/2” water line to make a new dipstick, using a few inches of the original metal ends of the original so that it installed easily into the tranny and still held the dipstick securely.
Some PEX uses metal clamps to secure the fittings, I used an expander tool that swells the tube (blue in pic) and the securing collar (white ring in pic) and then slipped it over the ends of the original metal dipstick tube (and then the PEX shrinks back to its original smaller size—amazing stuff)