When you click on links to various merchants on this site and make a purchase, this can result in this site earning a commission. Affiliate programs and affiliations include, but are not limited to, the eBay Partner Network.
Some of you may be familiar with my most recent post in which i discussed the head removal of an 86 Xj6 as well as asked some questions reguarding specific tools or parts.
Hopefully making a new thread for this question is acceptable as i dont want to bog down the forum with repetative posts, however im looking to see if anyone has reccomendations on things to replace/check on now that the head and majority of the "guts" have been removed.
So far the things ive written down to get to are:
1. Core plug(s) removal and replacement
2. Checking head stud bases for rust behind core plugs (may replace even if no visible rust)
3. Possible starter replacement (mine is still fine however if it were to go bad the position it is in doesnt seem like a favorable one to have to work in without removing much of the intake.
4. replace fuel hoses (and possibly injectors)
I know it seems im essentially asking for "things to look out for" which is an incredibly broad question but im more so just asking for reccomendations on parts to check that would otherwise be difficult to access with the head on as i figure now is the best time to get around to it even if it isnt nessecarily causing any current issues.
As always all comments and advice are appreciated!
Thanks!
IF you have the hood off, and the radiator and front "stuff" off, you might as well pull the harmonic damper and replace the timing cover oil seal. Not a hard job and a major source of Jaguar marking her territory.
If not replaced before, now is the time to replace the Cylinder Head Studs. They sit in the coolant all the time, If they have been weakened, they will fail when you everything back together and are doing the final torqueing. I would invest in new stud nuts as apposed to cleaning up threats of original ones. To prevent premature head gasket failure, the correct torqueing procedures have to be followed meticulously.
It is very important to clean up stud threads in bottom of the block to ensure new studs are seated all they way down, or you will have the dome nuts torqued to the stud, not the cylinder head; This will give a very early head gasket failure.
Rgds
David
Are the head stud bolt holes blind holes? If so, make sure to use a bottoming tap to clean up the threads all the way to the bottom of the hole. Then clean out the holes with some carb cleaner followed with a shot of compressed air. If you don't have a compressor, you can use canned air made for cleaning computer components. These holes should be meticulously clean.
It would be worthwhile checking the condition of the oil cooler pipes while you have the head off. Replace them if perished - access is very tricky with the head in place.
Cleaning the cylinder head stud holes in the bottom of the block after you have removed the current studs - If you have the intake and exhaust manifolds off (you probably do), then remove the "freeze out plugs". Below brass plugs. You can then see the stud holes. If after cleaning out the stud threads with a specially made tool, I would then vacuum, not blow out, the crude. You can do this by attaching a straw to a vacuum attachment and sticking it down into the hole from the top. This will get most of the crude out. Maybe then I might blow with compressed air to get remaining stuff out. Anyway, that's what I did.
14� long �� socket extension, 7/16-20 bottom tap, forced into 9/32 socket. Work slowly with tap back and forth. Had to make sure socket and tap did not fall off inside engine (Supper glue gel).
To clean holes and get rid of any fluids in hole I used 5/16" brass tube (Ace Hardware) with slots cut in one end to allow airflow, hooked up to shop vacuum cleaner with 3/8� plastic tubing (Ace Hardware) and a cut-up small funnel, duct taped to the shop vacuum hose
Last edited by David84XJ6; May 9, 2023 at 04:47 PM.
I have a now disused 4.2 litre engine with a broken tap jammed in the cylinder block! There waa clearly a lot of "crud" in the base of the studs! The replacement engine is a later version without the inter-bore cracks! AlecG.
Apologies for the late response has been a hectic week, I appreciate all the suggestions though and will be replying to the majority of them here (Ill be lumping the ones regarding the head studs together to keep this post from being too long.)
Originally Posted by yachtmanbuttson
IF you have the hood off, and the radiator and front "stuff" off, you might as well pull the harmonic damper and replace the timing cover oil seal. Not a hard job and a major source of Jaguar marking her territory.
The entire engine bay is absolutely caked in grease and old oil (I suspect) so any easy gasket replacements that are also likely leaks or sources of crud are definitely something ill look into, thanks for the reply!
Originally Posted by David84XJ6
To prevent premature head gasket failure, the correct torqueing procedures have to be followed meticulously.
It is very important to clean up stud threads in bottom of the block to ensure new studs are seated all they way down, or you will have the dome nuts torqued to the stud, not the cylinder head; This will give a very early head gasket failure.
Rgds
David
I suspect this to be the cause of the current HGF Im dealing with as it was replaced by another mechanic not too long ago and while removing the dome nuts I noticed a significant difference in how torqued some dome nuts were compared to others, some were barely on at all and others were very tight.
Originally Posted by Andy T.
It would be worthwhile checking the condition of the oil cooler pipes while you have the head off. Replace them if perished - access is very tricky with the head in place.
they seemed to be alright but will give them a closer inspection to be sure as I can see how annoying it would be to deal with with everything in place.
Originally Posted by yachtmanbuttson
Cleaning the cylinder head stud holes in the bottom of the block after you have removed the current studs - If you have the intake and exhaust manifolds off (you probably do), then remove the "freeze out plugs". Below brass plugs. You can then see the stud holes. If after cleaning out the stud threads with a specially made tool, I would then vacuum, not blow out, the crude. You can do this by attaching a straw to a vacuum attachment and sticking it down into the hole from the top. This will get most of the crude out. Maybe then I might blow with compressed air to get remaining stuff out. Anyway, that's what I did.
Whew cleaning these stud holes arnt going to be very fun I see.
I was planning on removing/replacing all of the "freeze out"/Core plugs as I believe they're the originals and I can see rust beginning to form around the edges and have heard that can become a problem.
as for the studs themselves, is it best to replace them regardless of how they look?(will probably do this anyways as to adhere to best practice but if they look clean I may be a tempted to save a buck or two)
finally, (And excuse me if this is a stupid question this is the first time ive worked on a motor this in depth) looking into the passages into the block from the top I can see rust on the inside, which given the fact the block is meant to be full of coolant constantly makes sense. it isn't awful but I figured I should ask if there's anything I should do (or even can do) about this while the head is off.
I think my favorite thing about seeing peoples processes for fixing up these cars are the amount of homemade tools that float around complex or simple they're all (usually) super effective and fun to see peoples ingenuity in action.
as always thanks for the replies and advice!
I cleaned the tops of the pistons while the head was off, and the combustion chambers. I also pulled the valves and re-lapped them in. While all the front stuff was off, I also pulled the timing cover and replaced the timing chain tensioner and the tension pads as they were worn. All this fell under "project creep". And yes, I would changed ALL the studs. And ensure the right size ones go in the correct holes.
Even if the head is not off yet, it is never too early to start a 3 times a day drip of liquid wrench (or similar product) around the studs so the bottom of the studs get soaked before you try to remove them. Double nut (Grade 8 or above) method is fine, if you want to try to used the studs again. The top of Stud is some-what round, so a sharp 4" downward blow with a sledge hammer will assist in breaking the bond between stud and block.
Rgds
David
Last edited by David84XJ6; May 10, 2023 at 10:23 PM.
I endorse Bill Watsons recommendation to remove the timing cover and replace the timing chain tensioner and pads. It is also worthwhile to consider replacing the chain as well.
My 1980 S3 XJ6 which I have had for 30 years was a repossession from a finance company and I acquired it at auction for about 1/3 the normal retail price as the head was off and in the trunk and nobody knew what the problem was.
It turned out the lower timing chain had stretched and the chain tensioner had "blown" allowing the chain to jump a few teeth. That in turn ended up with some out of timing camshafts and the inlet valves striking the pistons and getting bent.
A new timing chain, tensioner and pads fixed that problem and with six new inlet valves it was back on the road.
At this point ive gotten the core plugs out (on the exhaust side) and have begun cleaning the threads, the studs themeselves look suprisingly okay, i suspect this is due to how long this car sat without useage (13ish years) my guess is that coolant maybe evaporated over time and prevented it from rusting too bad reguardless ill be replacing them.
as for the intake side of things, i was going to start with the large 15/16ths threaded "Core Plug" (Not sure exactly what this is but core plug seemed the most fitting) but its extremely rusted and wouldnt budge with a huge breaker bar, instead of stripping it further i figured id let it sit in some pb blaster but have a feeling that thats not going to change very much.
any ideas on getting this thing out would be great. ive heard the plugs really need to be removed to allow for full cleaning of the threads so am not sure if i could go without removing this one.
also when replacing the studs how should i go about tourqing them down the correct amount? (into the block that is)
Originally Posted by Bill Mac
I endorse Bill Watsons recommendation to remove the timing cover and replace the timing chain tensioner and pads. It is also worthwhile to consider replacing the chain as well.
.
Ill have a deeper look at the timing chain and cover although im not too sure i need to mess with the pads, tensioner or replace the chain (unless these parts tend to break down over time reguardless of useage) due to the cars low mileage (29k). the cover gasket may need to be replaced however as the front area is indeed caked with greese and old oil.
I never did remove that screw in plug. As it would not come out. Was able to access all studs threads without a problem without removing it. Let sleeping dogs lie.
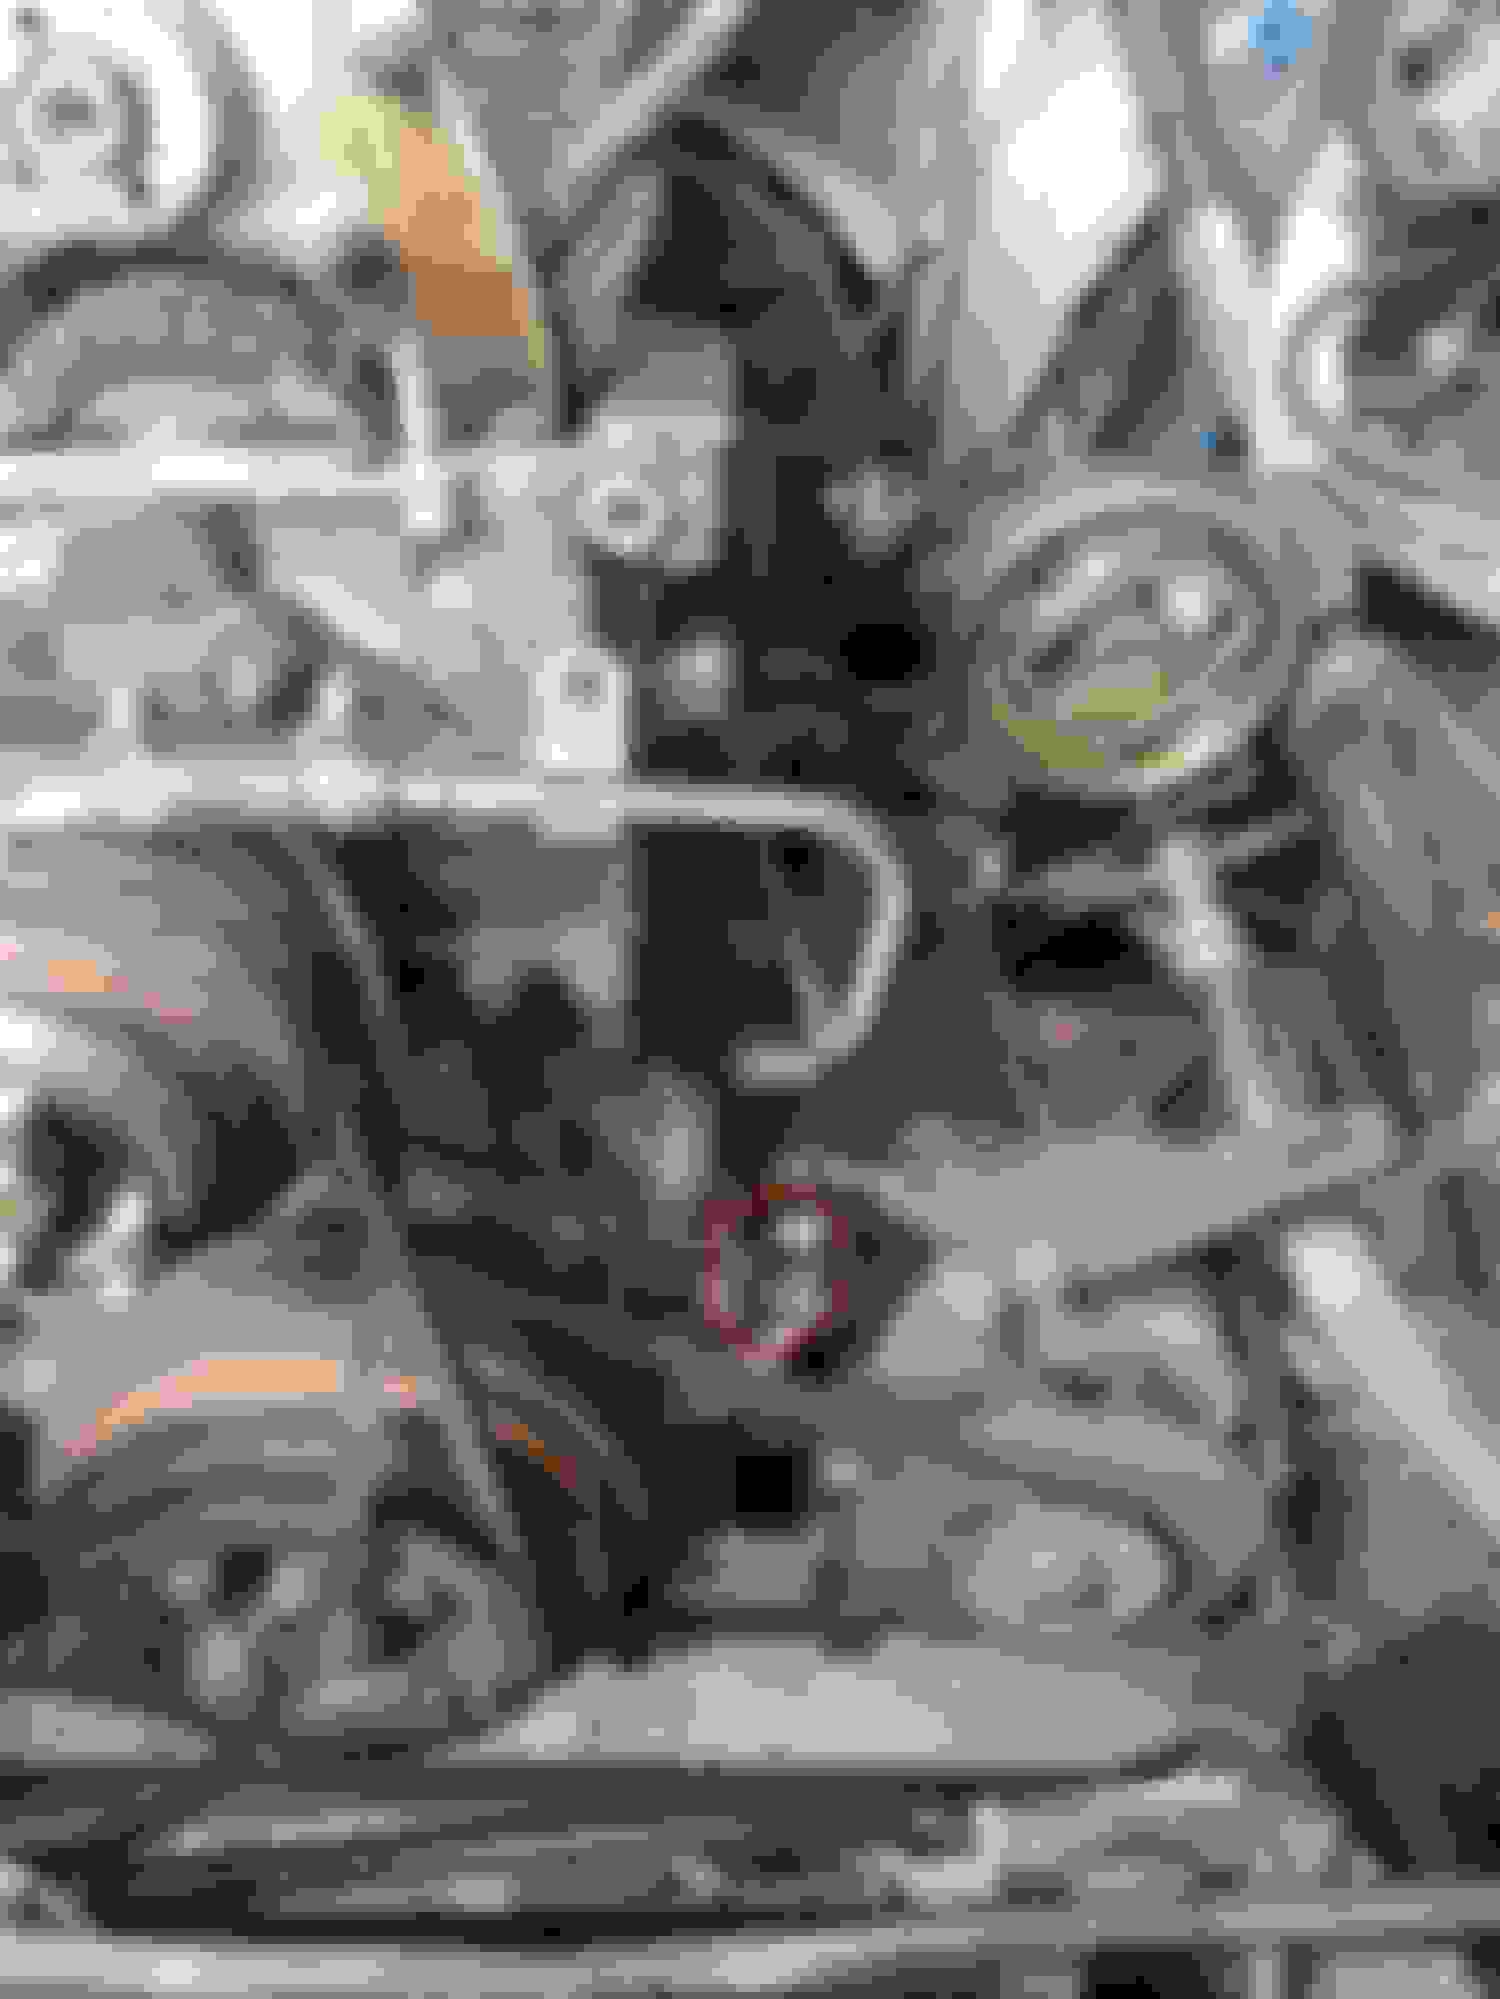
Whilst doing some general cleaning and degreasing in hopes of not walking away covered in grease every time i touch something, i discovered a hole...
I cant imagine this to be something from the factory due to its odd shape, and for the same reason i dont think it is due to rust.
i have no idea what may have caused this but thats not too important right now the bigger question is will this cause any problems?
i never noticed any issues from this area although due to its location and the fact it was completely buried/covered up by grease i probably never looked.
figured this was worth posting and asking about before doing too much more.