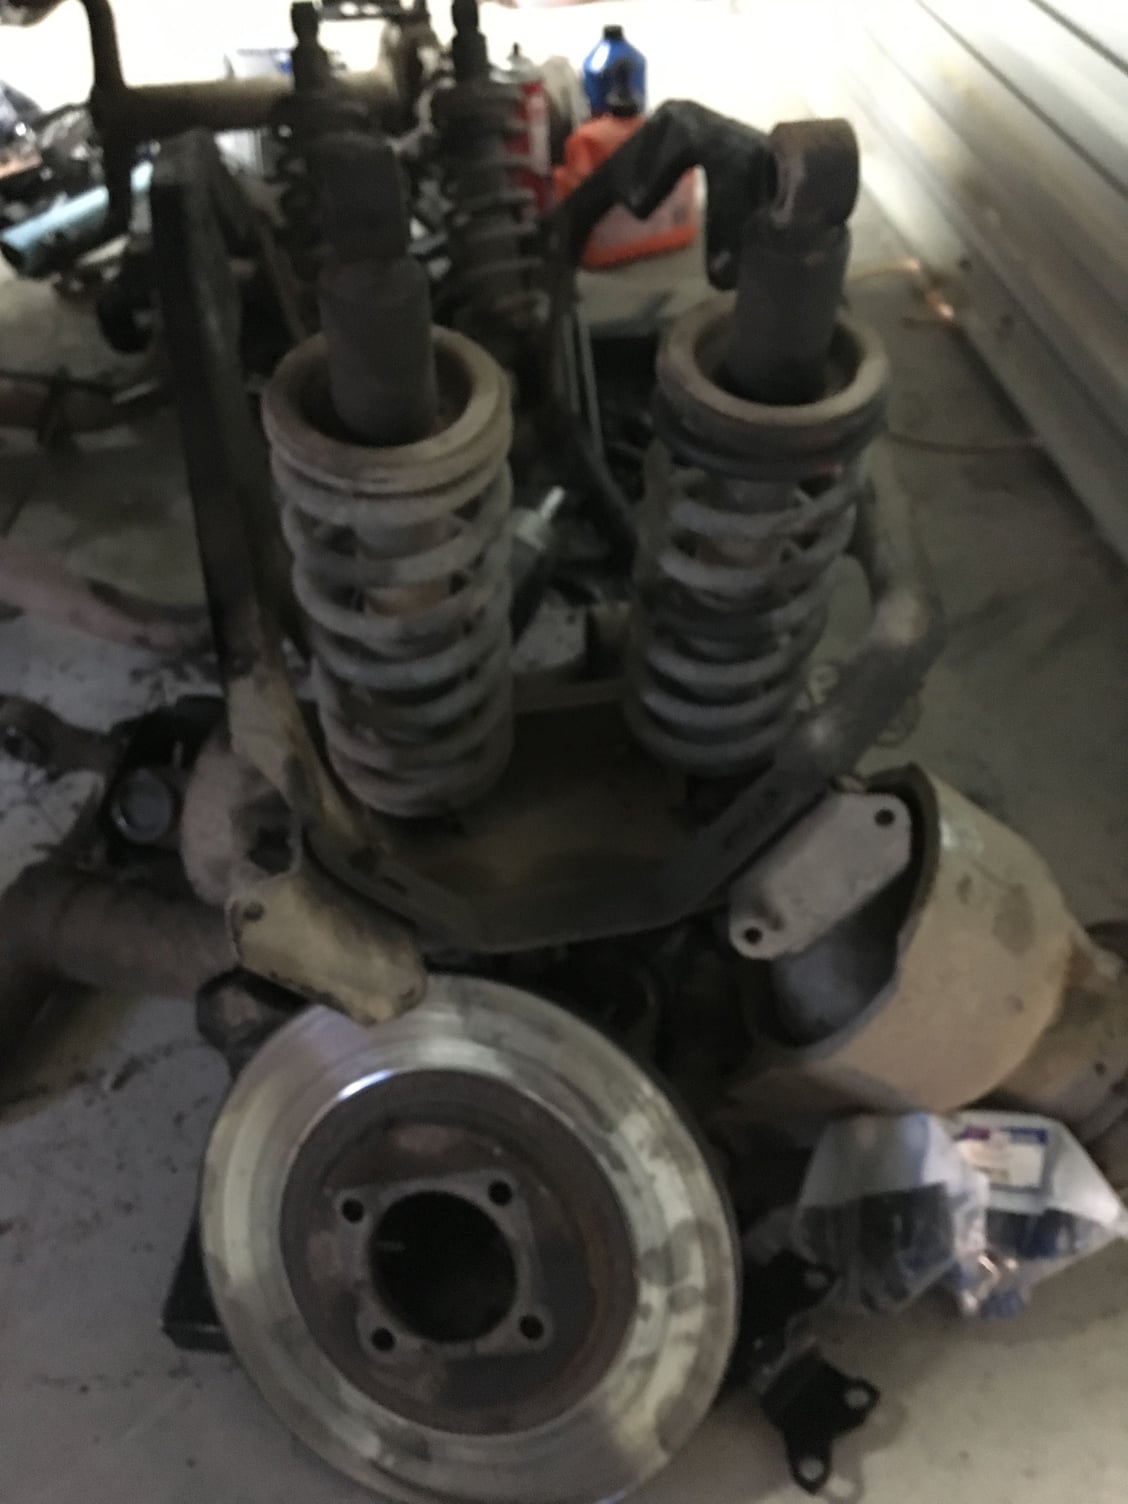
rear axle overhaul
#1
Well, I finally bit the bullet and decided it was due time to pull the rear axle assembly from underneath the 87 XJ6. All four subframe brackets were shot, Changing both output axle seals, one, back u-joint, replaced input shaft seal, redid the caliper seals, new rotors and brake pads, This has to be one of the dirtiest repairs I have jumped into. There was so much grease from leaking seals and leaking brakes. I went through a roll of paper towels, and half a dozen nitrile gloves. I'll degrease and power wash tomorrow. It will be in swell shape when I get it all back together.
The following users liked this post:
o1xjr (09-15-2018)
#2
Join Date: Jan 2014
Location: Delaneys Creek,Qld. Australia
Posts: 28,379
Received 6,317 Likes
on
4,367 Posts
#3
Agreed. Hopefully, tomorrow after a lot of engine degreaser and the power washer, I'll have some clean parts to reassemble. The axle oil seals I ordered were wrong so I had to order the correct ones plus, one U joint, rotors, and two more subframe bushings. I also want to see if I can get new press in bushings for the leading arms?
#4
With over 200 views, there are several owners hoping to gain something from this post. Please feel free to ask what I have learned through this process. I pulled the axle cage assembly based on a mildly seepy axle seal and a suspected caliper brake seep. as a result, i found several other issues that needed to be addressed including the obvious, axle seals, driveline input seal, real pumpkin seal, brake caliper rebuilds, one bad u joint, all four sub frame supports shot, rear brake rotors right at adjustable thickness and needing replaced. one bad parking brake pad, rubber bushings in the "Leading", Trailing arm approaching failure and in combination with the subframe brackets would have proven a dangerous failure. SO, don't delay if you have signs. Also, 4 tapered bolds that hold all the pumpkin assembly in place were loose even when they were secured with wire.
#5
So I received the axle seals in the mail today and finished replacing those and reinstalled the output shafts on the diff. I'll clean everything up the next couple days to be ready to reassemble since all the parts are scheduled to arrive this weekend. Might get this baby done before the end of the weekend and ready for the next project what ever that may be. Here's a pic of all the steeds in the stalls.
#6
So I received the axle seals in the mail today and finished replacing those and reinstalled the output shafts on the diff. I'll clean everything up the next couple days to be ready to reassemble since all the parts are scheduled to arrive this weekend. Might get this baby done before the end of the weekend and ready for the next project what ever that may be. Here's a pic of all the steeds in the stalls.
#7
Trending Topics
#8
Join Date: Jul 2012
Location: Walnut Creek, California
Posts: 6,796
Received 2,399 Likes
on
1,880 Posts
#9
Join Date: Jul 2012
Location: Walnut Creek, California
Posts: 6,796
Received 2,399 Likes
on
1,880 Posts
#10
Thread
Thread Starter
Forum
Replies
Last Post
innzane
X-Type ( X400 )
4
10-24-2017 04:04 PM
Currently Active Users Viewing This Thread: 1 (0 members and 1 guests)


