When you click on links to various merchants on this site and make a purchase, this can result in this site earning a commission. Affiliate programs and affiliations include, but are not limited to, the eBay Partner Network.
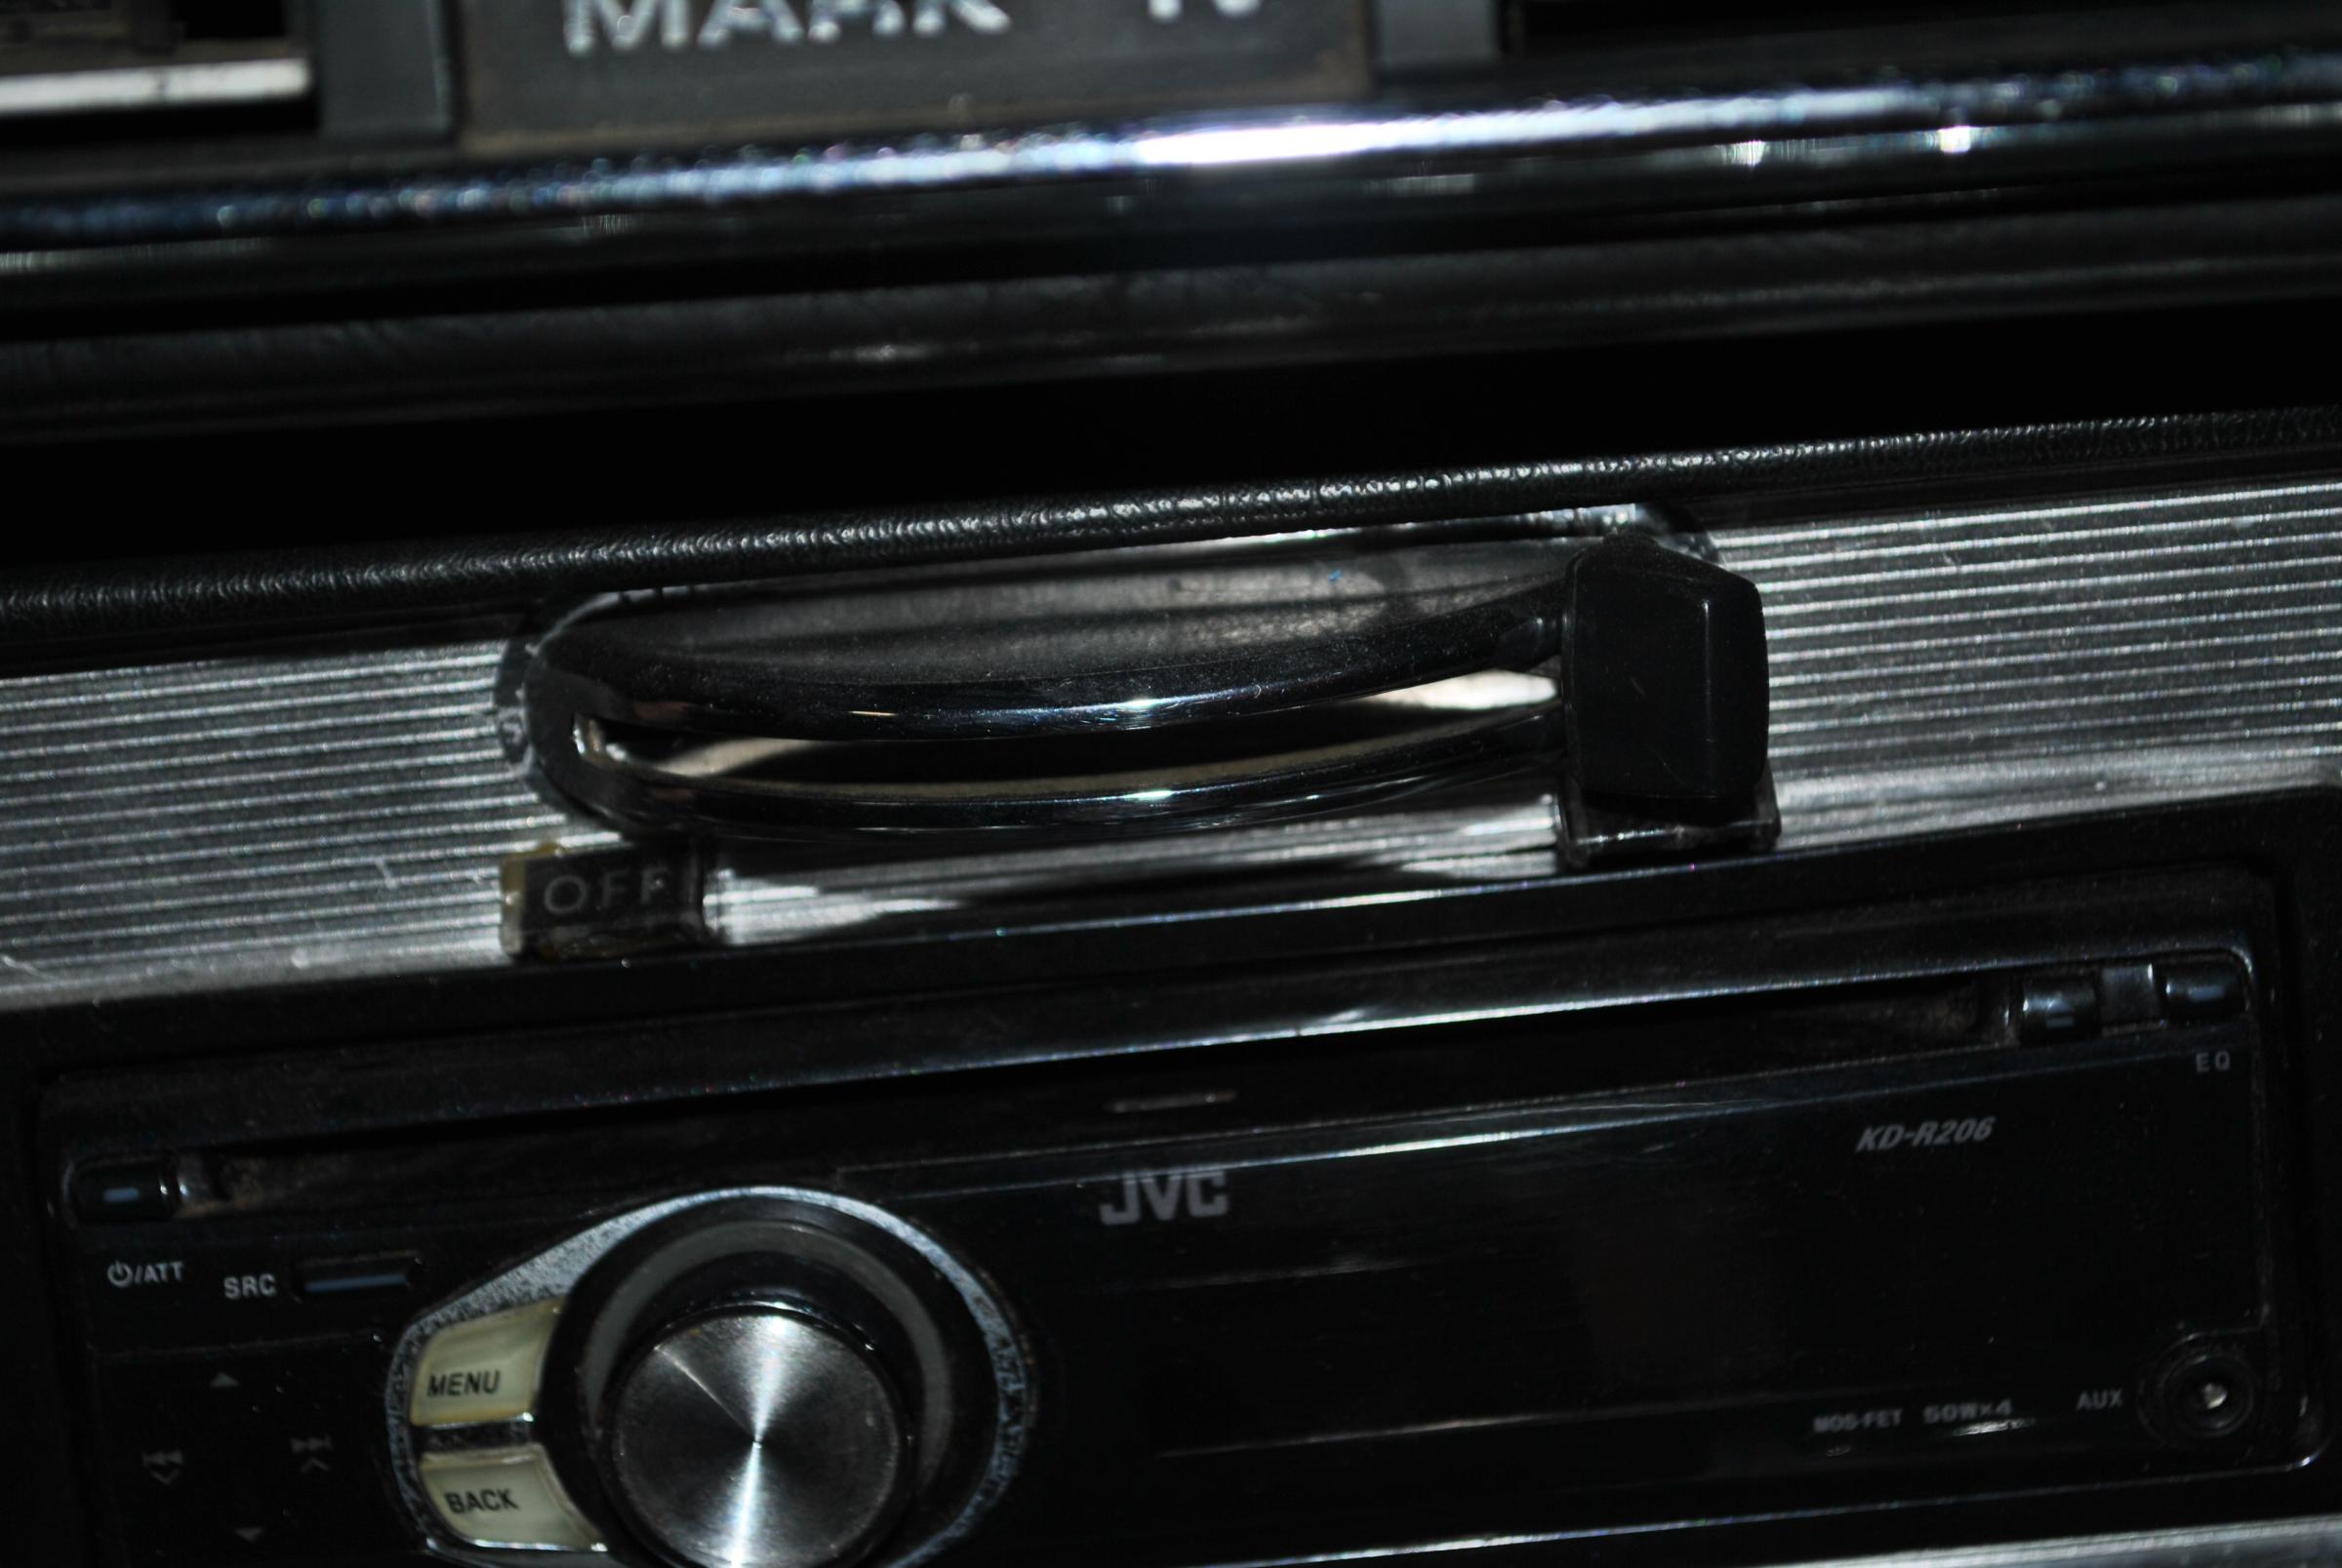
Series 1 Air con. Where to start. Or is best left to a professional? HOW TO
In a couple of weeks time myself and fellow member paulyling (Paul) are going to see if we can find out why my air con does not work. Paul has experience with industrial size air con units but not automotive.
The air has not worked since I have had the car (17 months). The PO told me it just needed a regas, but were a lot of small things that just needed a little work..... 12 months and $6k later all works except the air.
The car was fitted with the air con at the dealer where it was sold new( found the original paperwork and service records book yesterday)
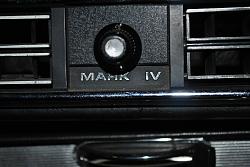
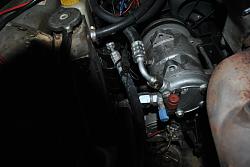
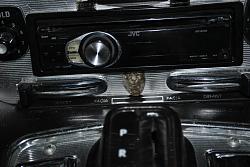
The only identifying thing on the unit is "Mark IV", it doe's not look like the two units pictured in manuals I have for series 1 cars.
The fan works and it blows ambient temp air, not sure what else doe's or doe's not work. Any pointers or ideas where to start would be a great help.
If it is something we cannot do I will eventually have it looked at by a mobile air con guy.
I have included some pictures, but if any more pics will help I will post what is needed.
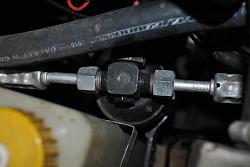
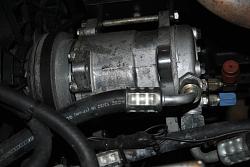
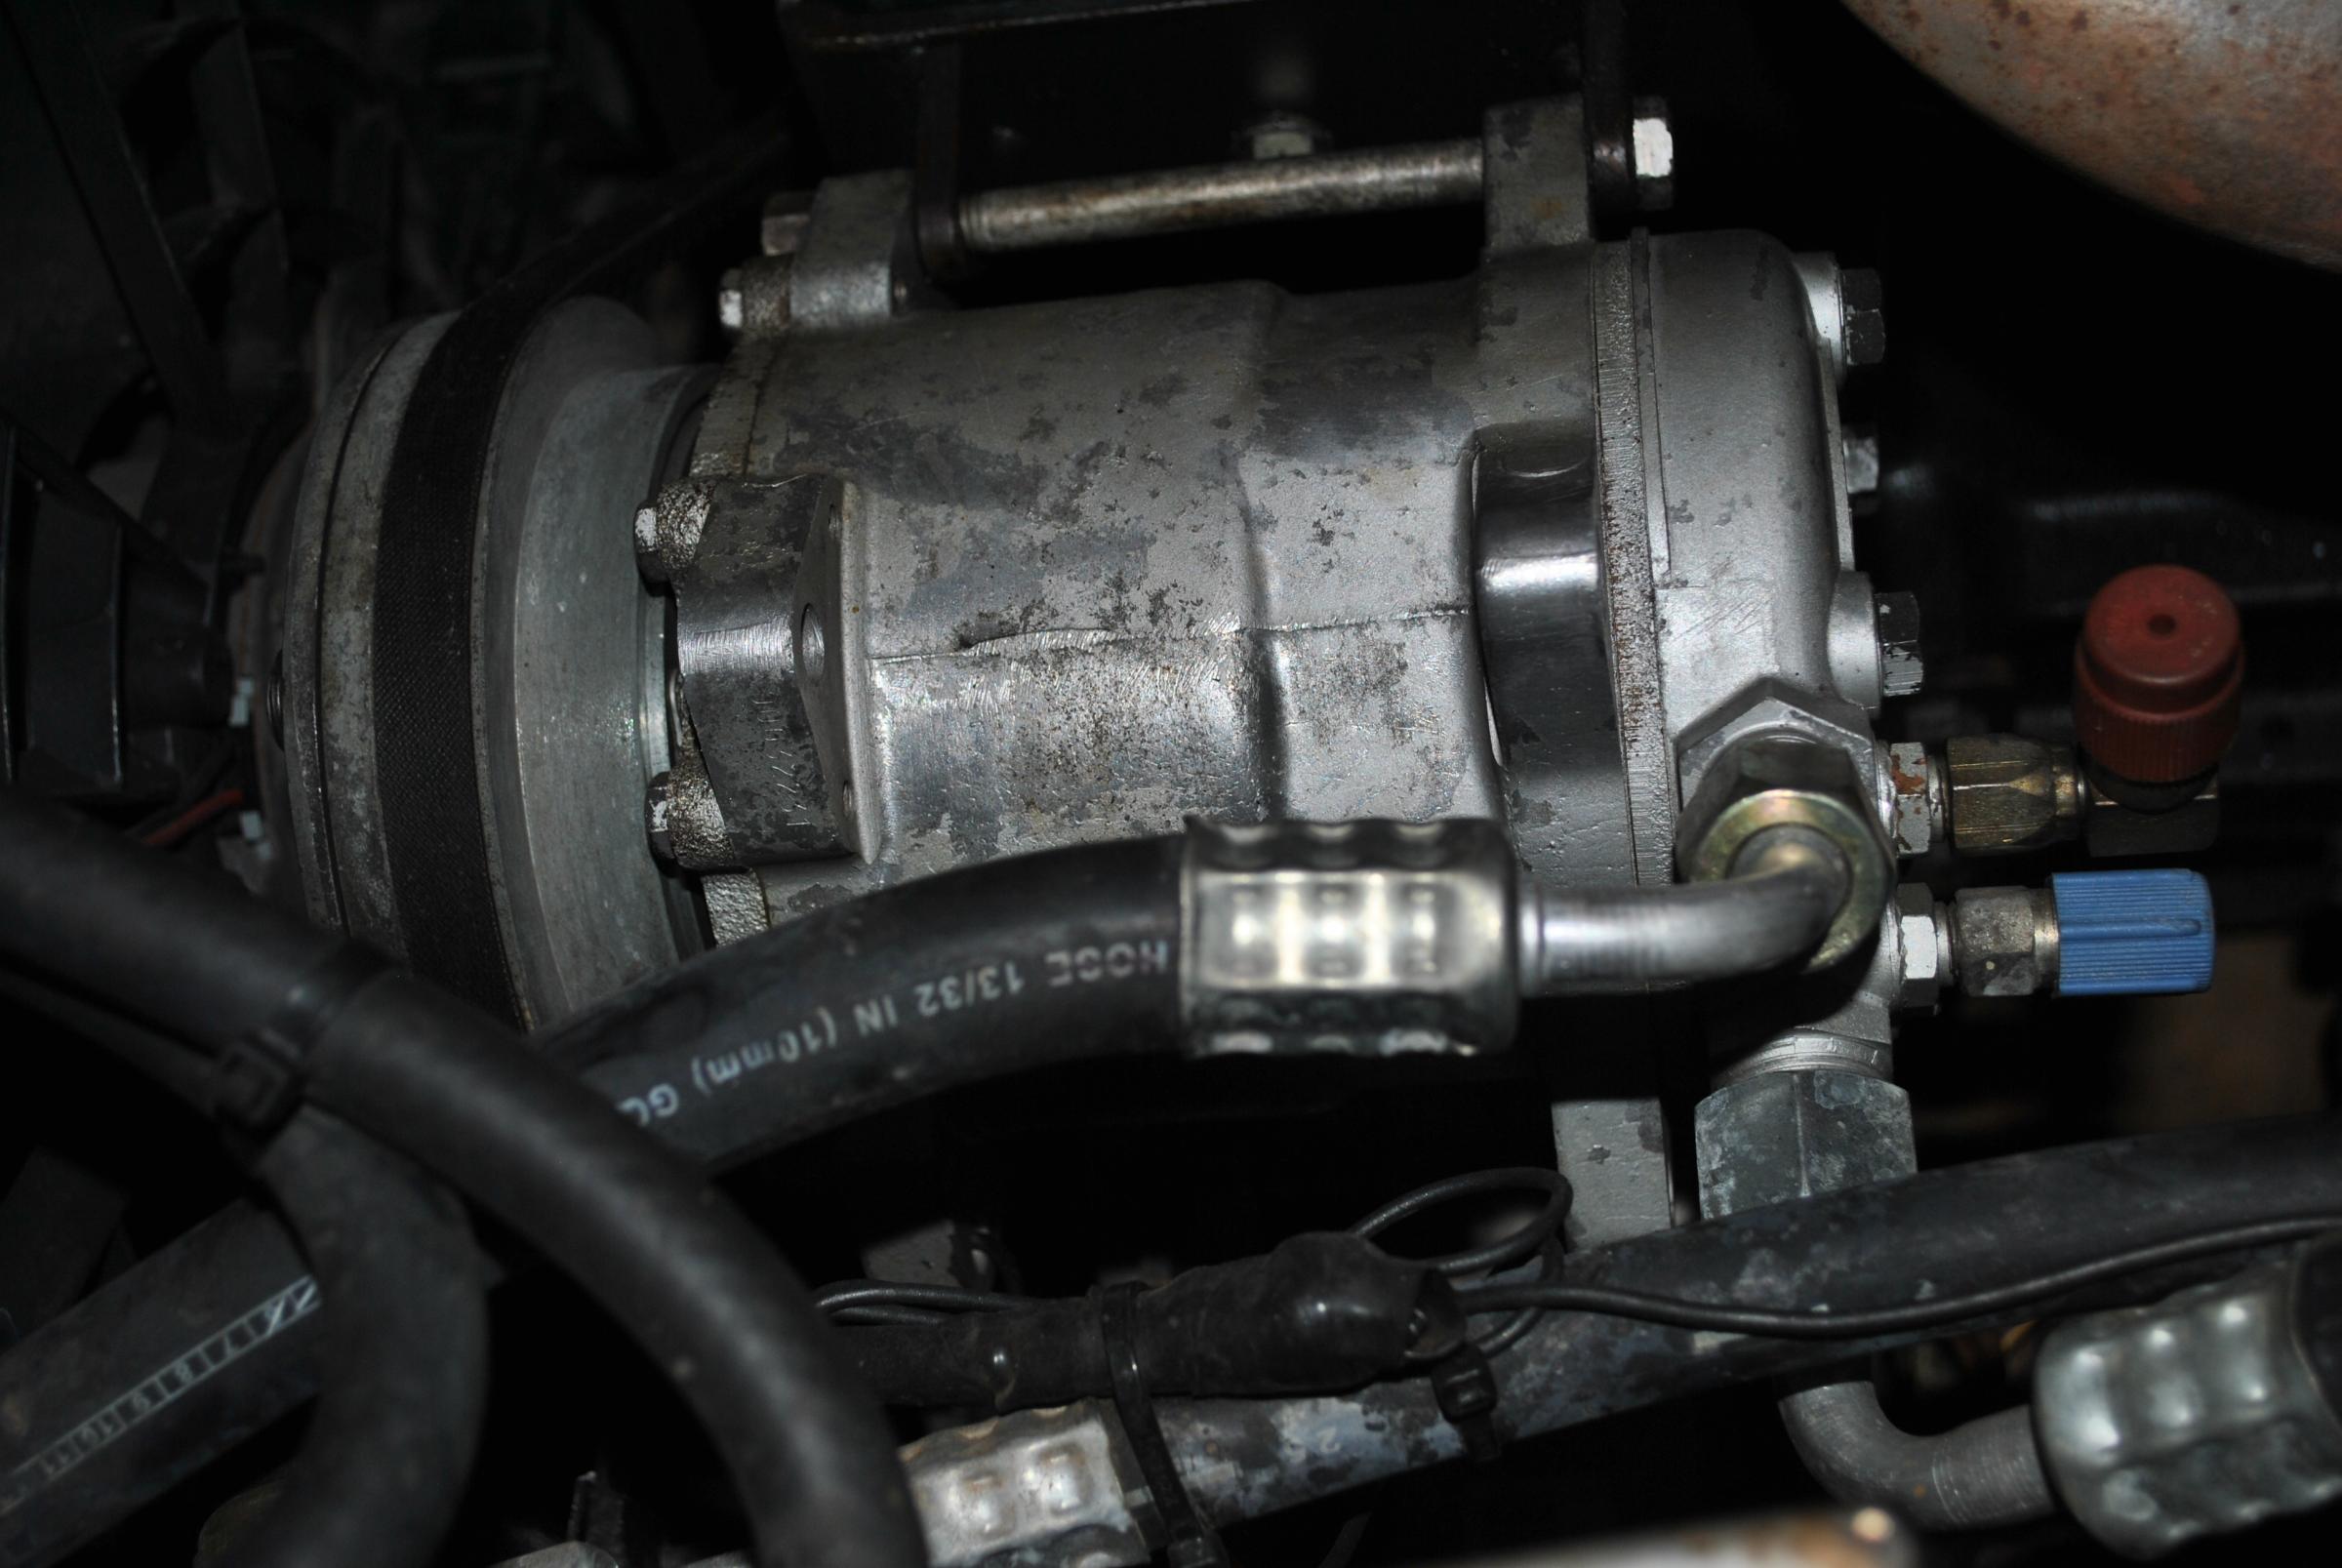
It looks complete, and the charge ports on that newish compressor indicate retro to R134a gas.
That also means that there SHOULD be a Hi/Lo switch somewhere in the plumbing. This switch will cut the system if pressures get too high, or too low. Too low is generally "out of gas".
I would be getting a mobile type guy to vac it down, and see what happens after that. If it holds vac, it may only require a simple regas, with a new Drier.
Electrically, that compressor should NOT see any volts if there is NO gas in it, so a regas will sort that, or find that pressure switch, and by-pass it for testing purposes only.
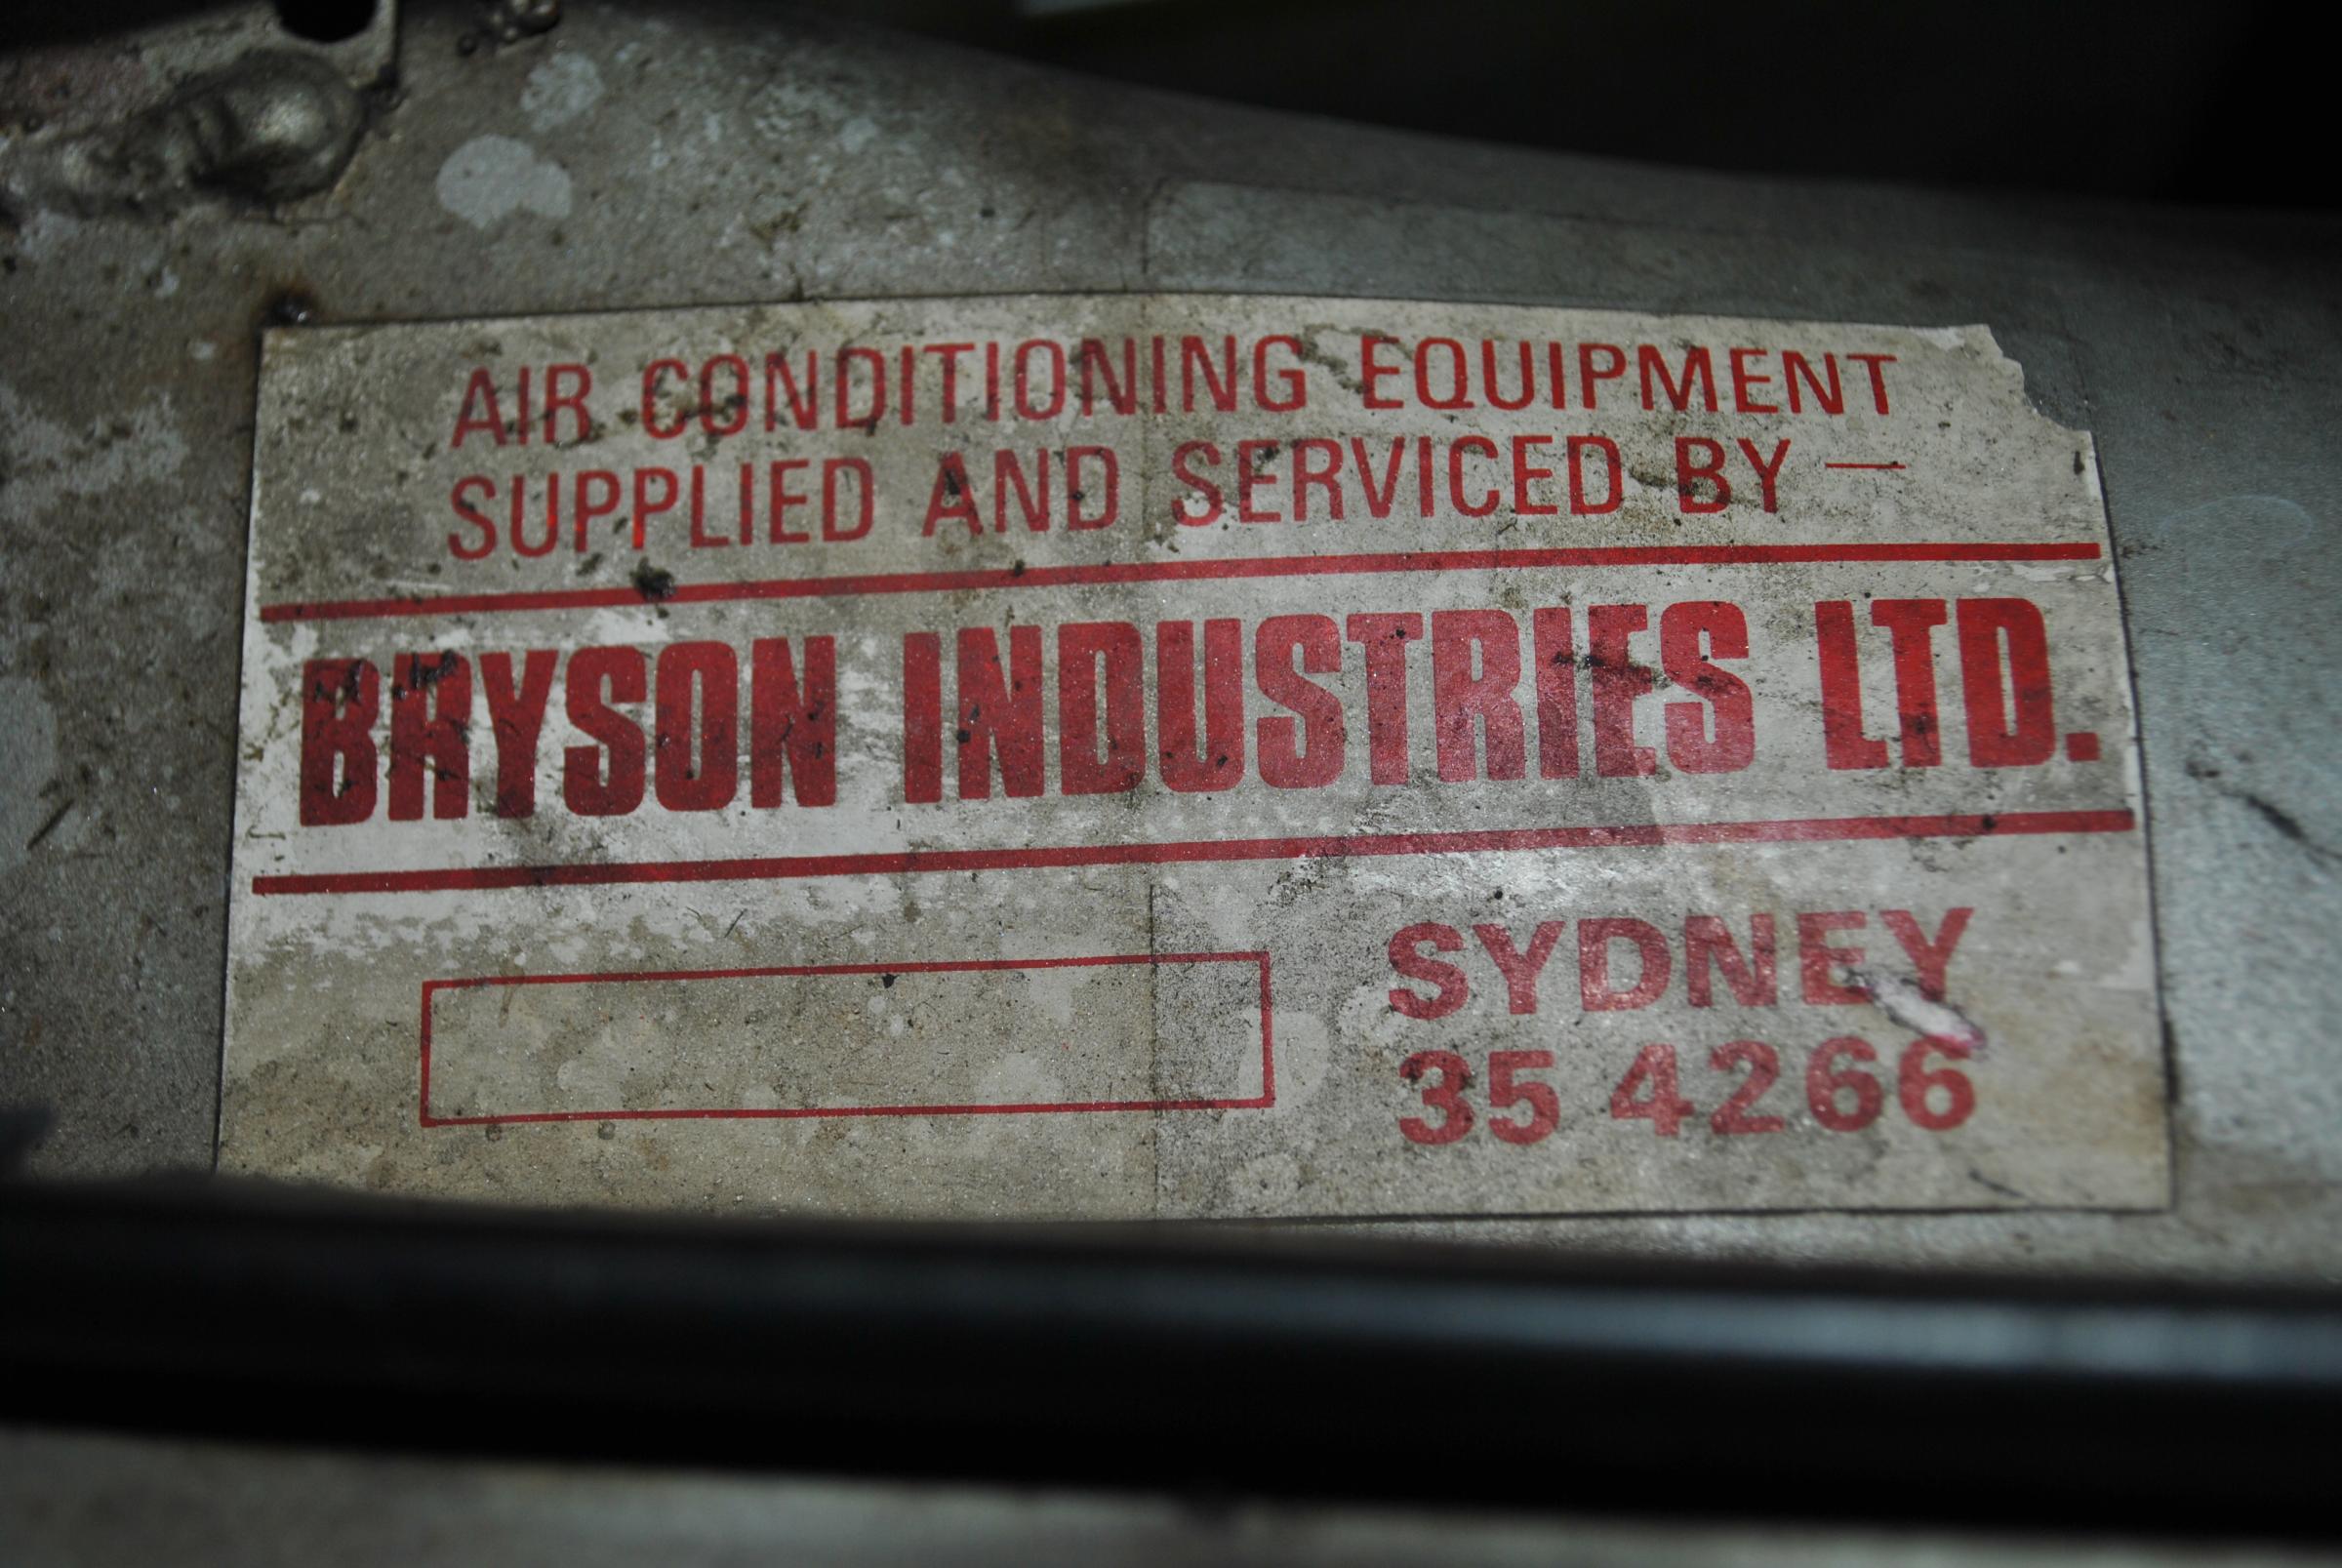
Interesting. The Mark IV was once a popular after market under dash unit here. In 1957, I reported to company offices in La to get my company car and thence to the Imperial Valley for my "promotion". Brand spanking new yellow 57 Chevy 150 stick shift six. But, with a Mark IV, dealer installed. n he 120 F's of the Imperial valley, t was marginal, but a lot better than nothing. The other guy in the offce had a similar car, but with GM factory air. Worlds better.
It looks like the one in question has been up dated. Were it mine, I'd make a visual for connections and then charge it with a couple of cans of R134. It might just work.
Failing that, get a simple VAC pump and evacuate it and see if will hold a vacuum. if not, leaks must be found and fixed.
Clue. Is the charge port R12, or adapted to R134? A whole set of things to ponder.
Well in my experience, what Grant says is identical to looking at larger commercial systems (except for the gas type)
The only thing I would like to add is that I was taught an air con system does not "USE" gas, it leaks it. In theory, a perfectly sealed system should hold the gas forever. If she's low on gas then chances are you have a leak. We could get it topped up and all but chances are it's gonna get lost again.
Might be easy to find the leak though as it isnt a very long run in a car. Larger systems can leak from the dyer, pipe work and even on the compressor itself. Any valves missing their caps can have slow leaks over time too if they are the shrader type valves.
Grant are the dryers in Automotive A/C copper soldered on?
The tricky thing about troubleshooting this is we will be working without a Gauge Manifold set (to check pressure and for charging the system) and a vaccum pump. Is there a simple way to confirm no gas? Can we perhaps crack the ports a smidgen and see what happens? I have always had the luxury of a gauge mainifold set at work.
So an automotive AC has a high/low pressure cut out too eh? Also same with larger systems. Is this the same with most automotive ac's?
Anyways, this will be cool to learn more about as the fundamentals I think will apply to most Auto's.
p.s In regards to the gas conversion. On larger systems there was no direct replacement for gas. If you converted you had to change the type of oil in the compressor to suit (to do it properly). The reason for the change as I am to understand, from R12 to R134A, is they no longer produce the former due to the environmental hazard. I think you can still get the gas but it is all reclaimed (eventually will run out). If you have a 2010 stamp on your hose chances are it has been converted to R134A.
p.s.s
I posted this the other day from my old Air Con Text Book. A chapter on Automotive. Might be of some further help, very old school though
My modus operandi for auto ac has always been to put a set of guages on the high and low ports. If thereis some charge, the add more and see if it will hold. After i add charge (thats got uv dye and pag oil mixed), ill use an electronic sniffer (about 30 or 40 usd on amazon if i recall)
On the other hand, if its empty then pull vacuum and see if it will hold
Without guages youre working blind. Here in the US we can get loaner guages and vacuum pumps from auto parts stores
mmmm...Clarke I wonder if we could rent some gauges on the day just to check absence of charge, until we can get to James's house? Then we'll know for sure.
That also means that there SHOULD be a Hi/Lo switch somewhere in the plumbing. This switch will cut the system if pressures get too high, or too low. Too low is generally "out of gas".
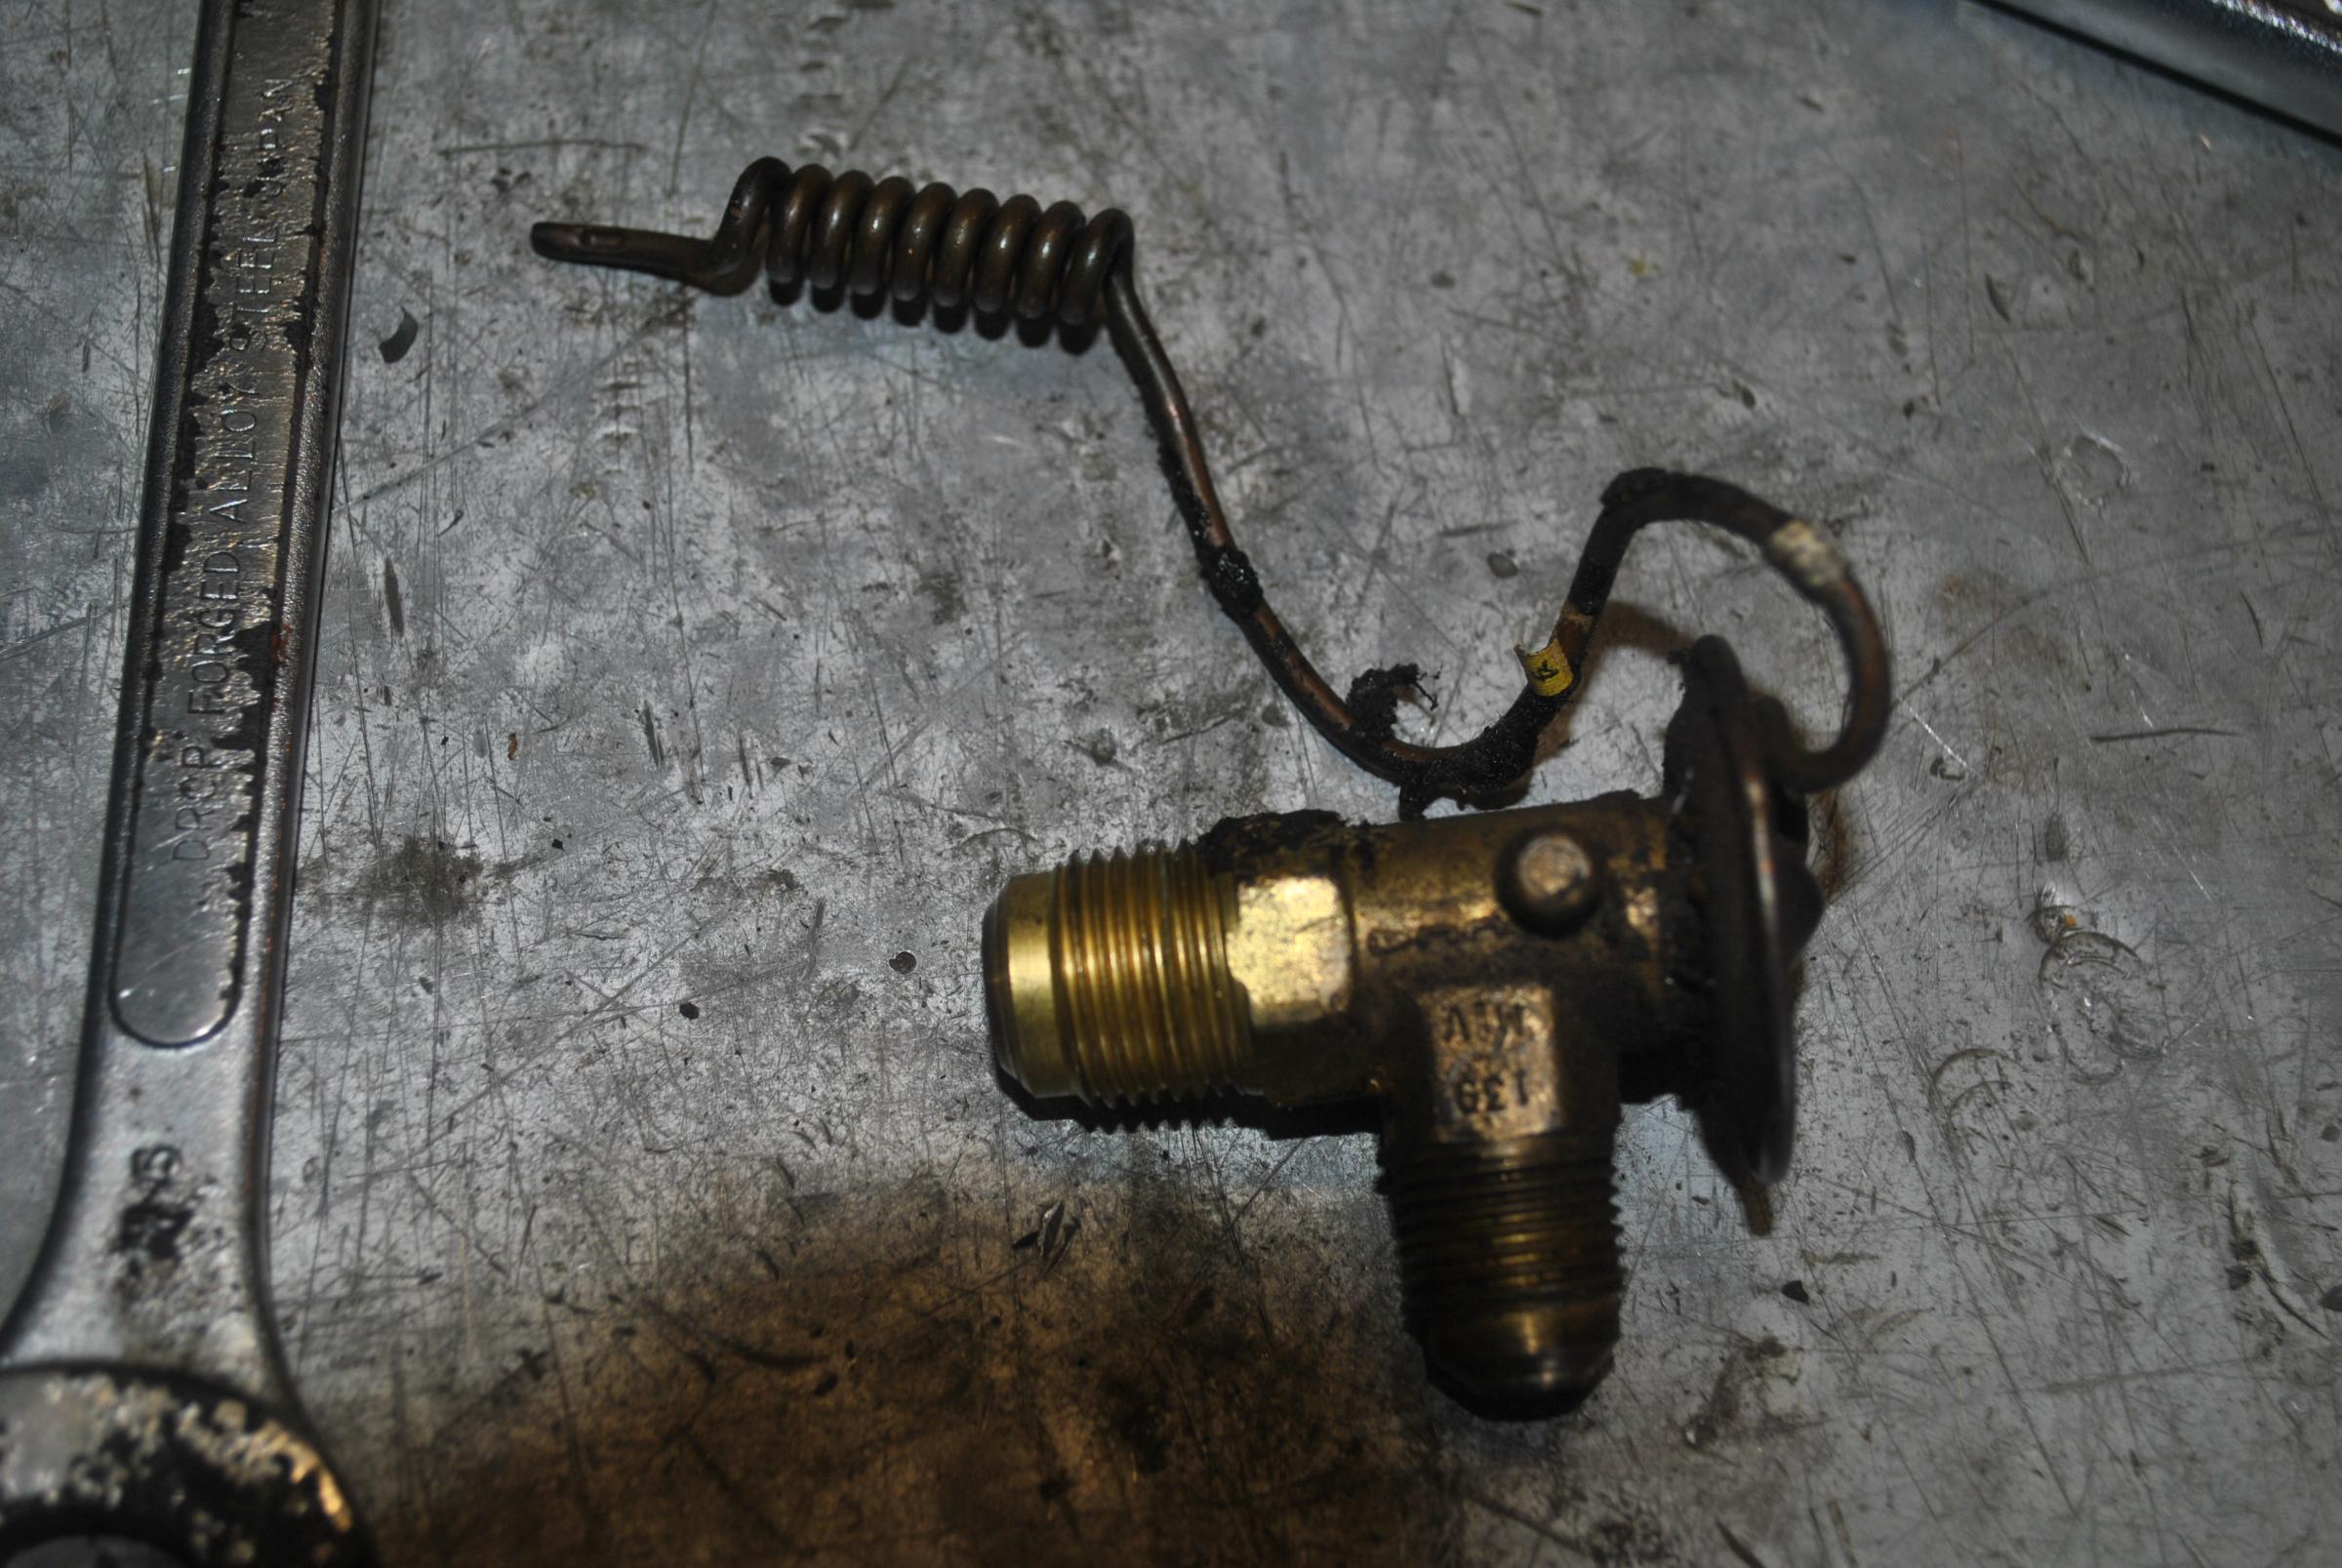
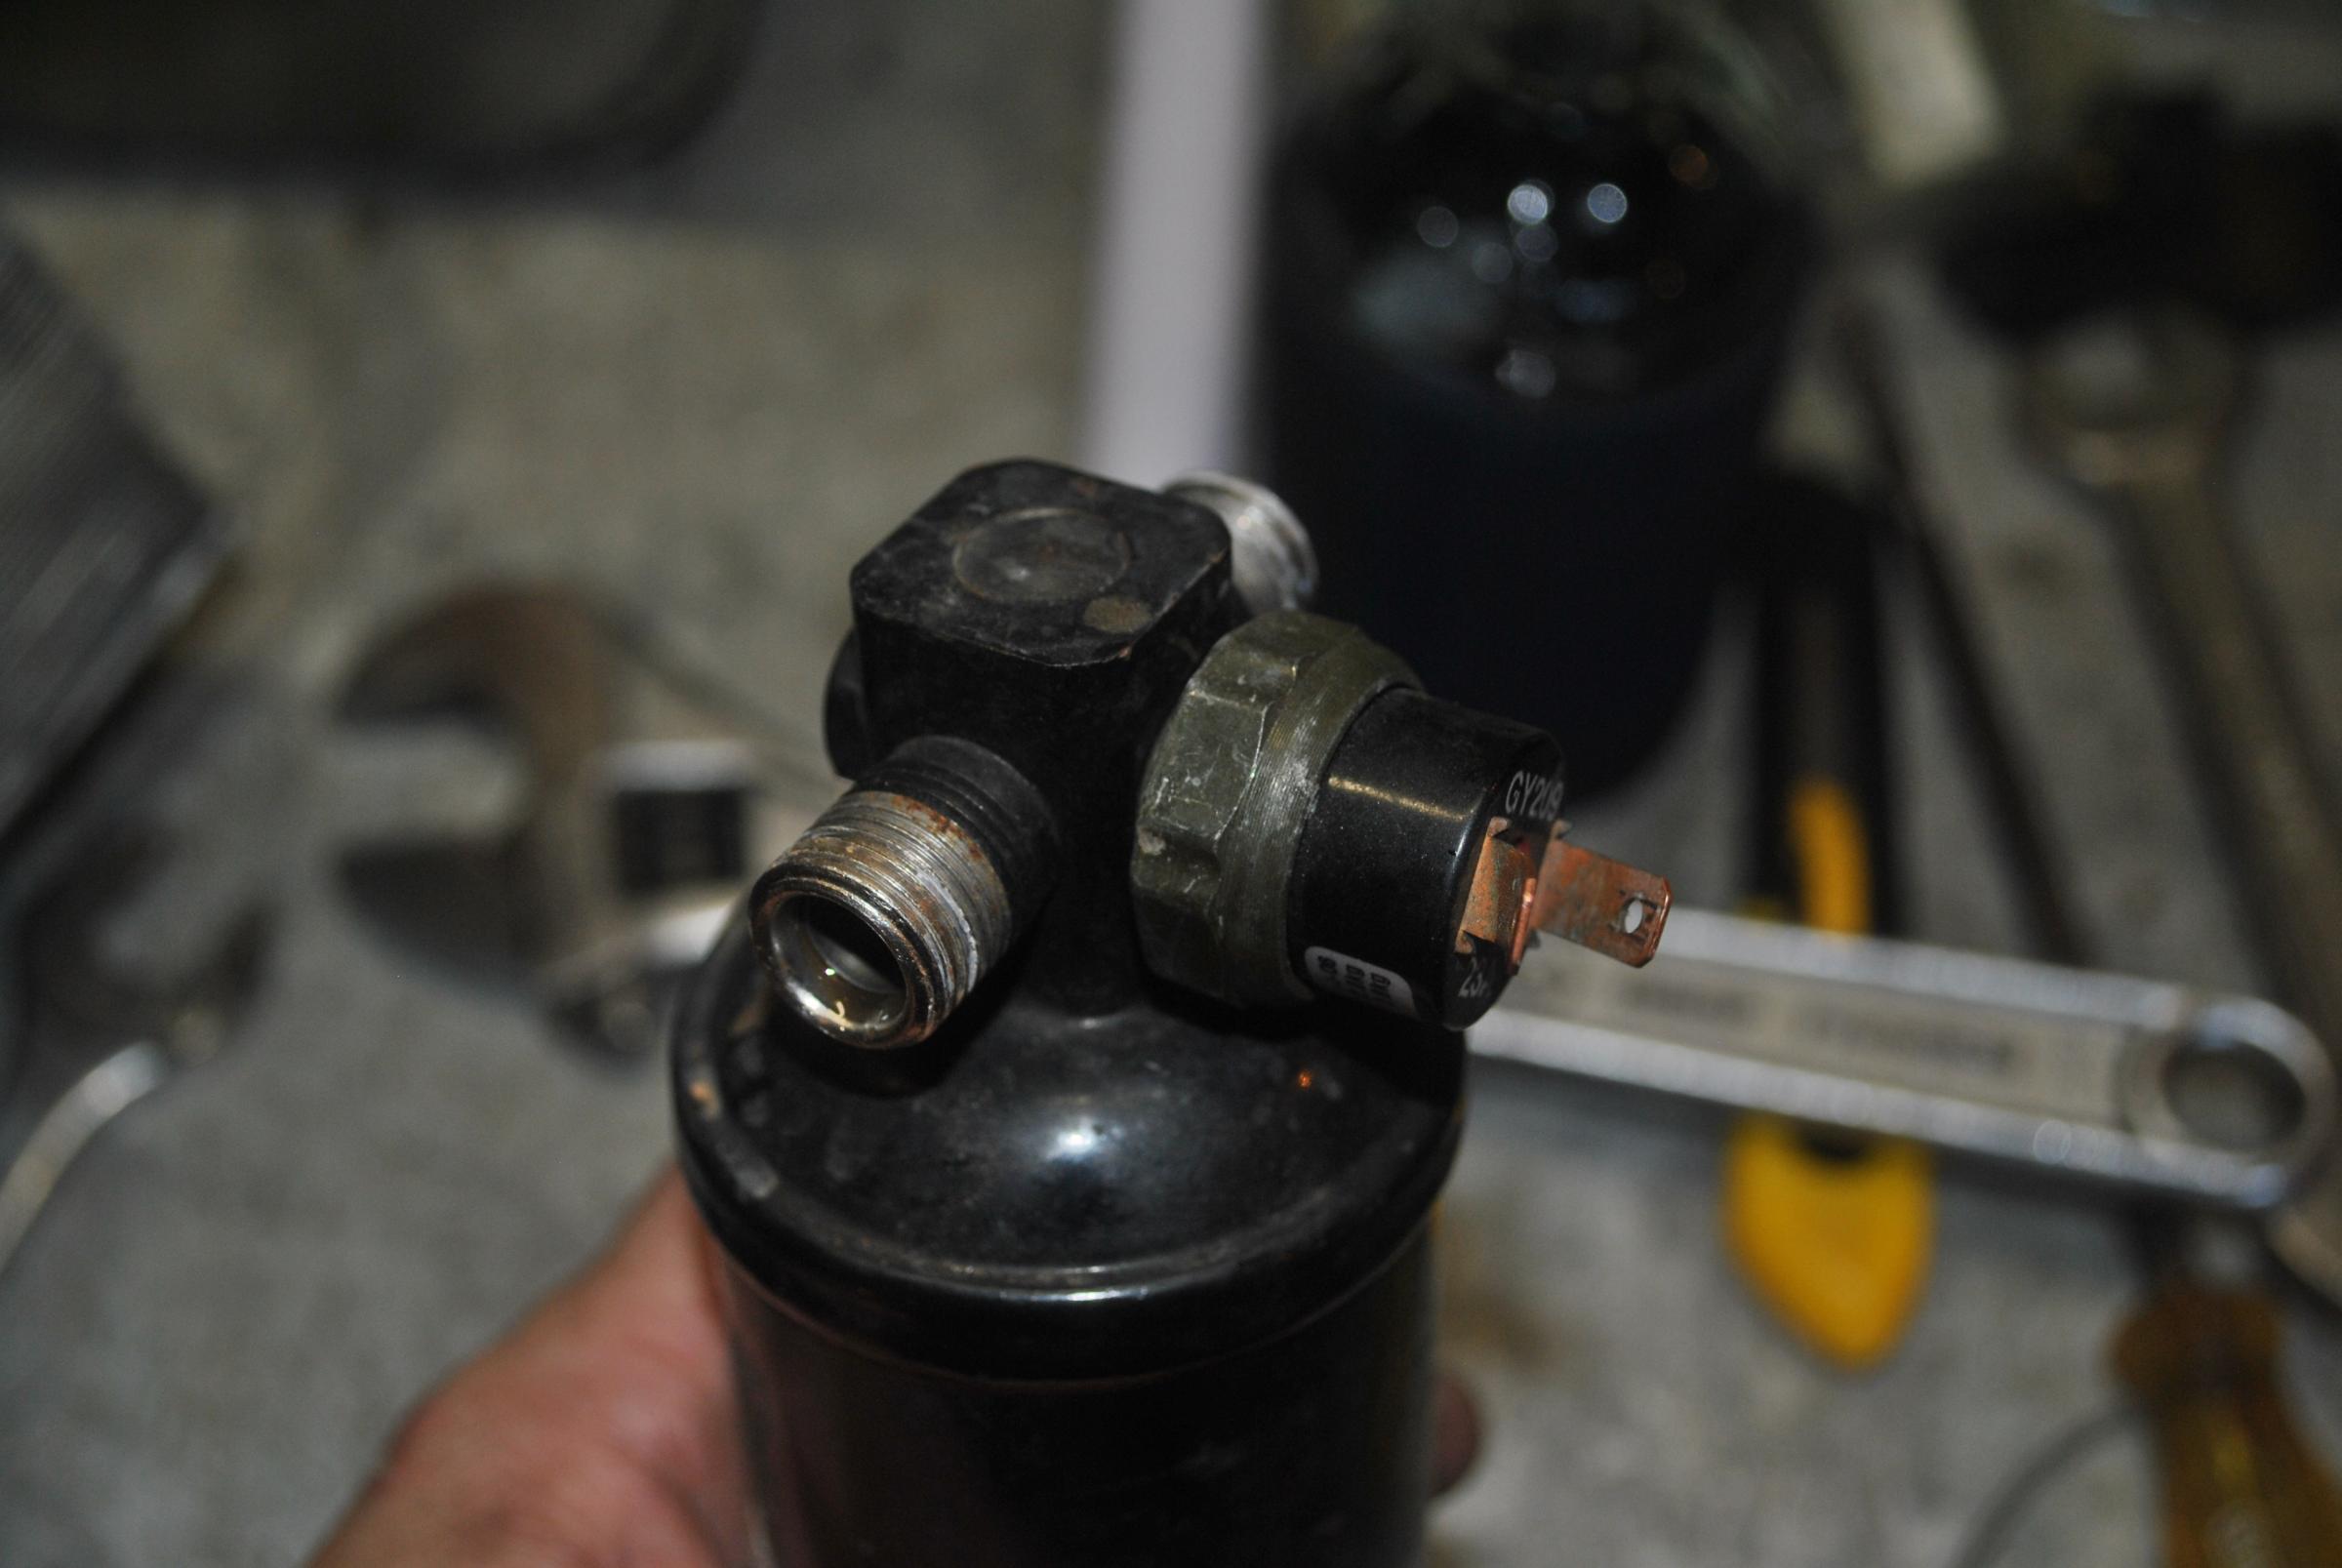
Would the hi/low switch be on the top of the receiver/dryer with a wire coming from the relay on the thermo fan going to the compressor( it is t'ed to the pressure switch), the other wire from the pressure switch goes to the knob labeled "cold" in the console .
That looks like the switch I was refering to. Different legislation in different States. Most R134a have a Hi/Lo pressure switch, but not always.
A 2 wire switch is "generally" a Lo pressure switch.
Based on what you are describing, the switch on the unit goes to ON, and that supplies volts to that pressure switch, and IF that switch is "contact closed" as in the system has pressure, the volts flow through TO the compressor, and you get COLD air. No, or Lo, pressure in the system, and the volts will STOP at that pressure switch.
Paul,
The Auto Driers are either JIC flare, or swage and o/ring seal. Never seena solder on ever, as they are a sevice item.
Yeah I was wondering about removal of auto dyers. In commercial units that I have worked on they are silver soldered on most of the time. Pain in the *** to remove except when you have the on board welder to come over and do it for you
I am thinking, same as in commercial/industrial units, you have to have no charge in the system to swap them out correct? (ie. else you let all the gas out!)
Did you mention you have provision to re-charge A/C's mate? ALso wondering if you have a Gauge Manifold set?
If so was also wondering how you go about obtaining R134A?
We are gonna try and get Clarke's A/C up and running.
Originally Posted by 34by151
I don,t have a gauge set but do have the vacuum pump
As it happens I need to do the a/c on the magna
It will either be the TX valve or Receiver/Dryer on that so ill replace both as they are cheep
The gauge set is under $100 bucks so I can get one of them
The gas can be purchased form any of the gas suppliers Linde BOC ect
You also need some oil that is cheep
Its also good to get some red oil to trace leaks
Hows this for a Plan
I will get the bits for the Magna and the gauges
You guys rent a gas bottle from BOC ect
We can do the A/C on both cars at my place on the same day
Many hands and all that we will get though both quickly
Clark,
Its best practice to replace the TX and Reciever/Dryer when doing a refill.
You will have universal parts but the A/C is simple thing
As long as the compressor is OK we can easily chase down a leak. Other than that it will
Sounds like the TX is or Reciever/Dryer is dud in yours to me
Cheers
James
Originally Posted by paulyling
Do you charge via the lo or the high side and do you charge as a vapour or liquid?
Originally Posted by 34by151
That's a loaded question
If you don't run the compressor while charging you open both high and low
If you are running the compressor just the low side
As for Liquid charge its risky. If it hits the compressor as a liquid it will stuff the compressor.
Guys do it but only because it faster, I prefer not to take the risk
So For me I charge on the low side only while running the compressor and use gas not liquid
I prefer this way for a few reasons
1. First the compressor will draw in the gas quicker and without risk
2. As soon as you get close to charging the system the compressor will cycle
3. You can see it working in the manafold sight glass and see the performance on the guages
As soon as the gas starts to go in the low will begin to rise. This will go up and down quite a bit as the compressor cycles.
IE it climbs till the compressor comes on then drops
The compressor is then pressurising the high side
You will see the high come up and begin to cycle
These pressure changes will stay but the amount of change will fall off as you get a charge in
Now some just use this change to fudge the amount of gas put in
I weigh the cylinder as you are meant to.
On the car is a sticker showing how much charge in grams
You put the cylinder on the scale and zero the reading before charging. While charging you observe the reading and when it drops by the charge amount in grams you shutoff the center line on the manifold
If all is going well you should have passed the point where the 2 pressure gauges are cycling pressures correctly and air will be cold
Last thing I like to do is note down the high/low pressures on both gauges
Now if you need to come back and check the system you can as you have the readings when you charged it
Oh yeah why do we add die (or get gas with die in it) simple. If there is any leak the die shows up under UV light
Clear as Mud?
Cheers
James
Originally Posted by o1xjr
Bursons sell the Hichill in 300g cans
Going to see them soon to make sure Re/dryer is the right one.
Doe's tx need changing?
I've been trying to get at it for 2 hours
Do you guys mind if I copy some of this info over to the thread with quotes from you both and carry on the discussion from there
Originally Posted by paulyling
Fine by me Clarke
Hope we can get it sorted then she'll be one COOL *****
Originally Posted by 34by151
Just make sure the cans have the die
The XJ takes 300g, Magna 200g
Somewhere on the car (under bonnet, on compressor or dryer or under dash unit) you will have a sticker saying the gas type and charge weight
Im guessing it below 300 so we need 2 cans, 3 to be safe
If the cans don't have die we some of that as well
All dryers are basicly the same. The only difference is the connection threads.
In AC terms this is rated by the oring size
Most are 8 and 6
Just remove yours and measure the o rings and get anyone that matches
Its most likely the TX and dryer are stuffed
The TX is mounted to the blower box under the dash
You will probably need to remove it
TX valves come in 2 styles
one is a block (you wont have that)
The other is a diaphragm
Easy to tell one is a rectangular block the other has a round body and looks like a capillary temp switch
These have 2 styles, one has an internal balance and the other external
Both have the 2 ac line hoses where the external balance has 2 sealed tubes and the internal has one
Again you just need to match the oring sizes and get the number of tubes right.
Any TX matching this will work
FYI the TX is the part that converts the liquid to gas so it often the point of failure
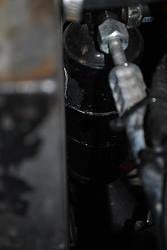
The receiver dries the charge and filters it
These often get blocked like your oil filter and prevent the refrigerant moving
This is why you just change both and be done with it
The only other parts are the compressor and check if it is pumping and the clutch works
So assuming the TX and receiver is changed and the compressor works the only other can be leaks or the pressure switch. We check these as we vac down the system
James
I have new orings to fit
If you are following this thread you are up to date with the discussion we had going in the background.
Clarke do you know if there is a sight glass installed near the receiver or does anybody know if the XJ6 A/C pipe work usually has a sight glass installed?
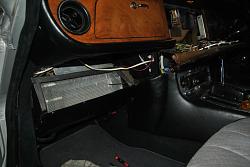
It took me about 3 hours to get the evaporator unit free from under the dash,after removing half the interior I finally had a brain wave and removed the battery to discover the Jag dealer that installed the unit screwed a bracket from the battery tray?
So when I wriggled the unit down to the floor I found the hoses hanging loose inside the firewall, no wonder the aircon isn't cold. Not even connected to the compressor or the receiver/drier.
So after that I had a look at the receiver/drier and compressor, all connections for the hoses were finger tight only.
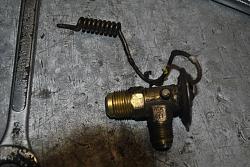
The receiver/drier is Nippon No.6 universal ($16 for an equivilant) and the TX valve is generic($49). The TX will be here tomorrow, the parts guy held onto mine just to make sure he ordered the right one before he calls me to say he has it.
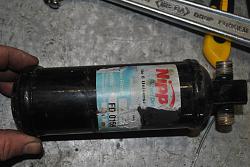
The Hichill gas is $28 for a 300g can, and can be used in systems with R12 & R134A gas. Got to buy the die separate.
Clarke do you know if there is a sight glass installed near the receiver or does anybody know if the XJ6 A/C pipe work usually has a sight glass installed?
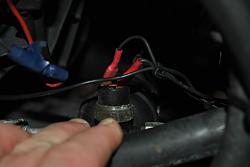
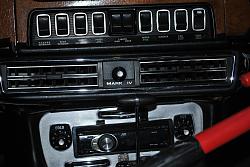
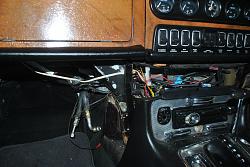
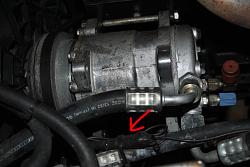
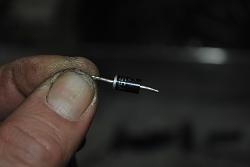
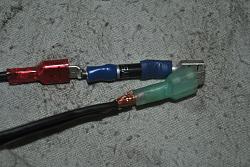
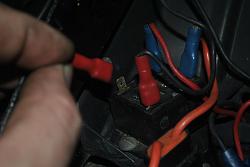
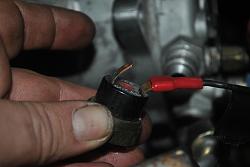
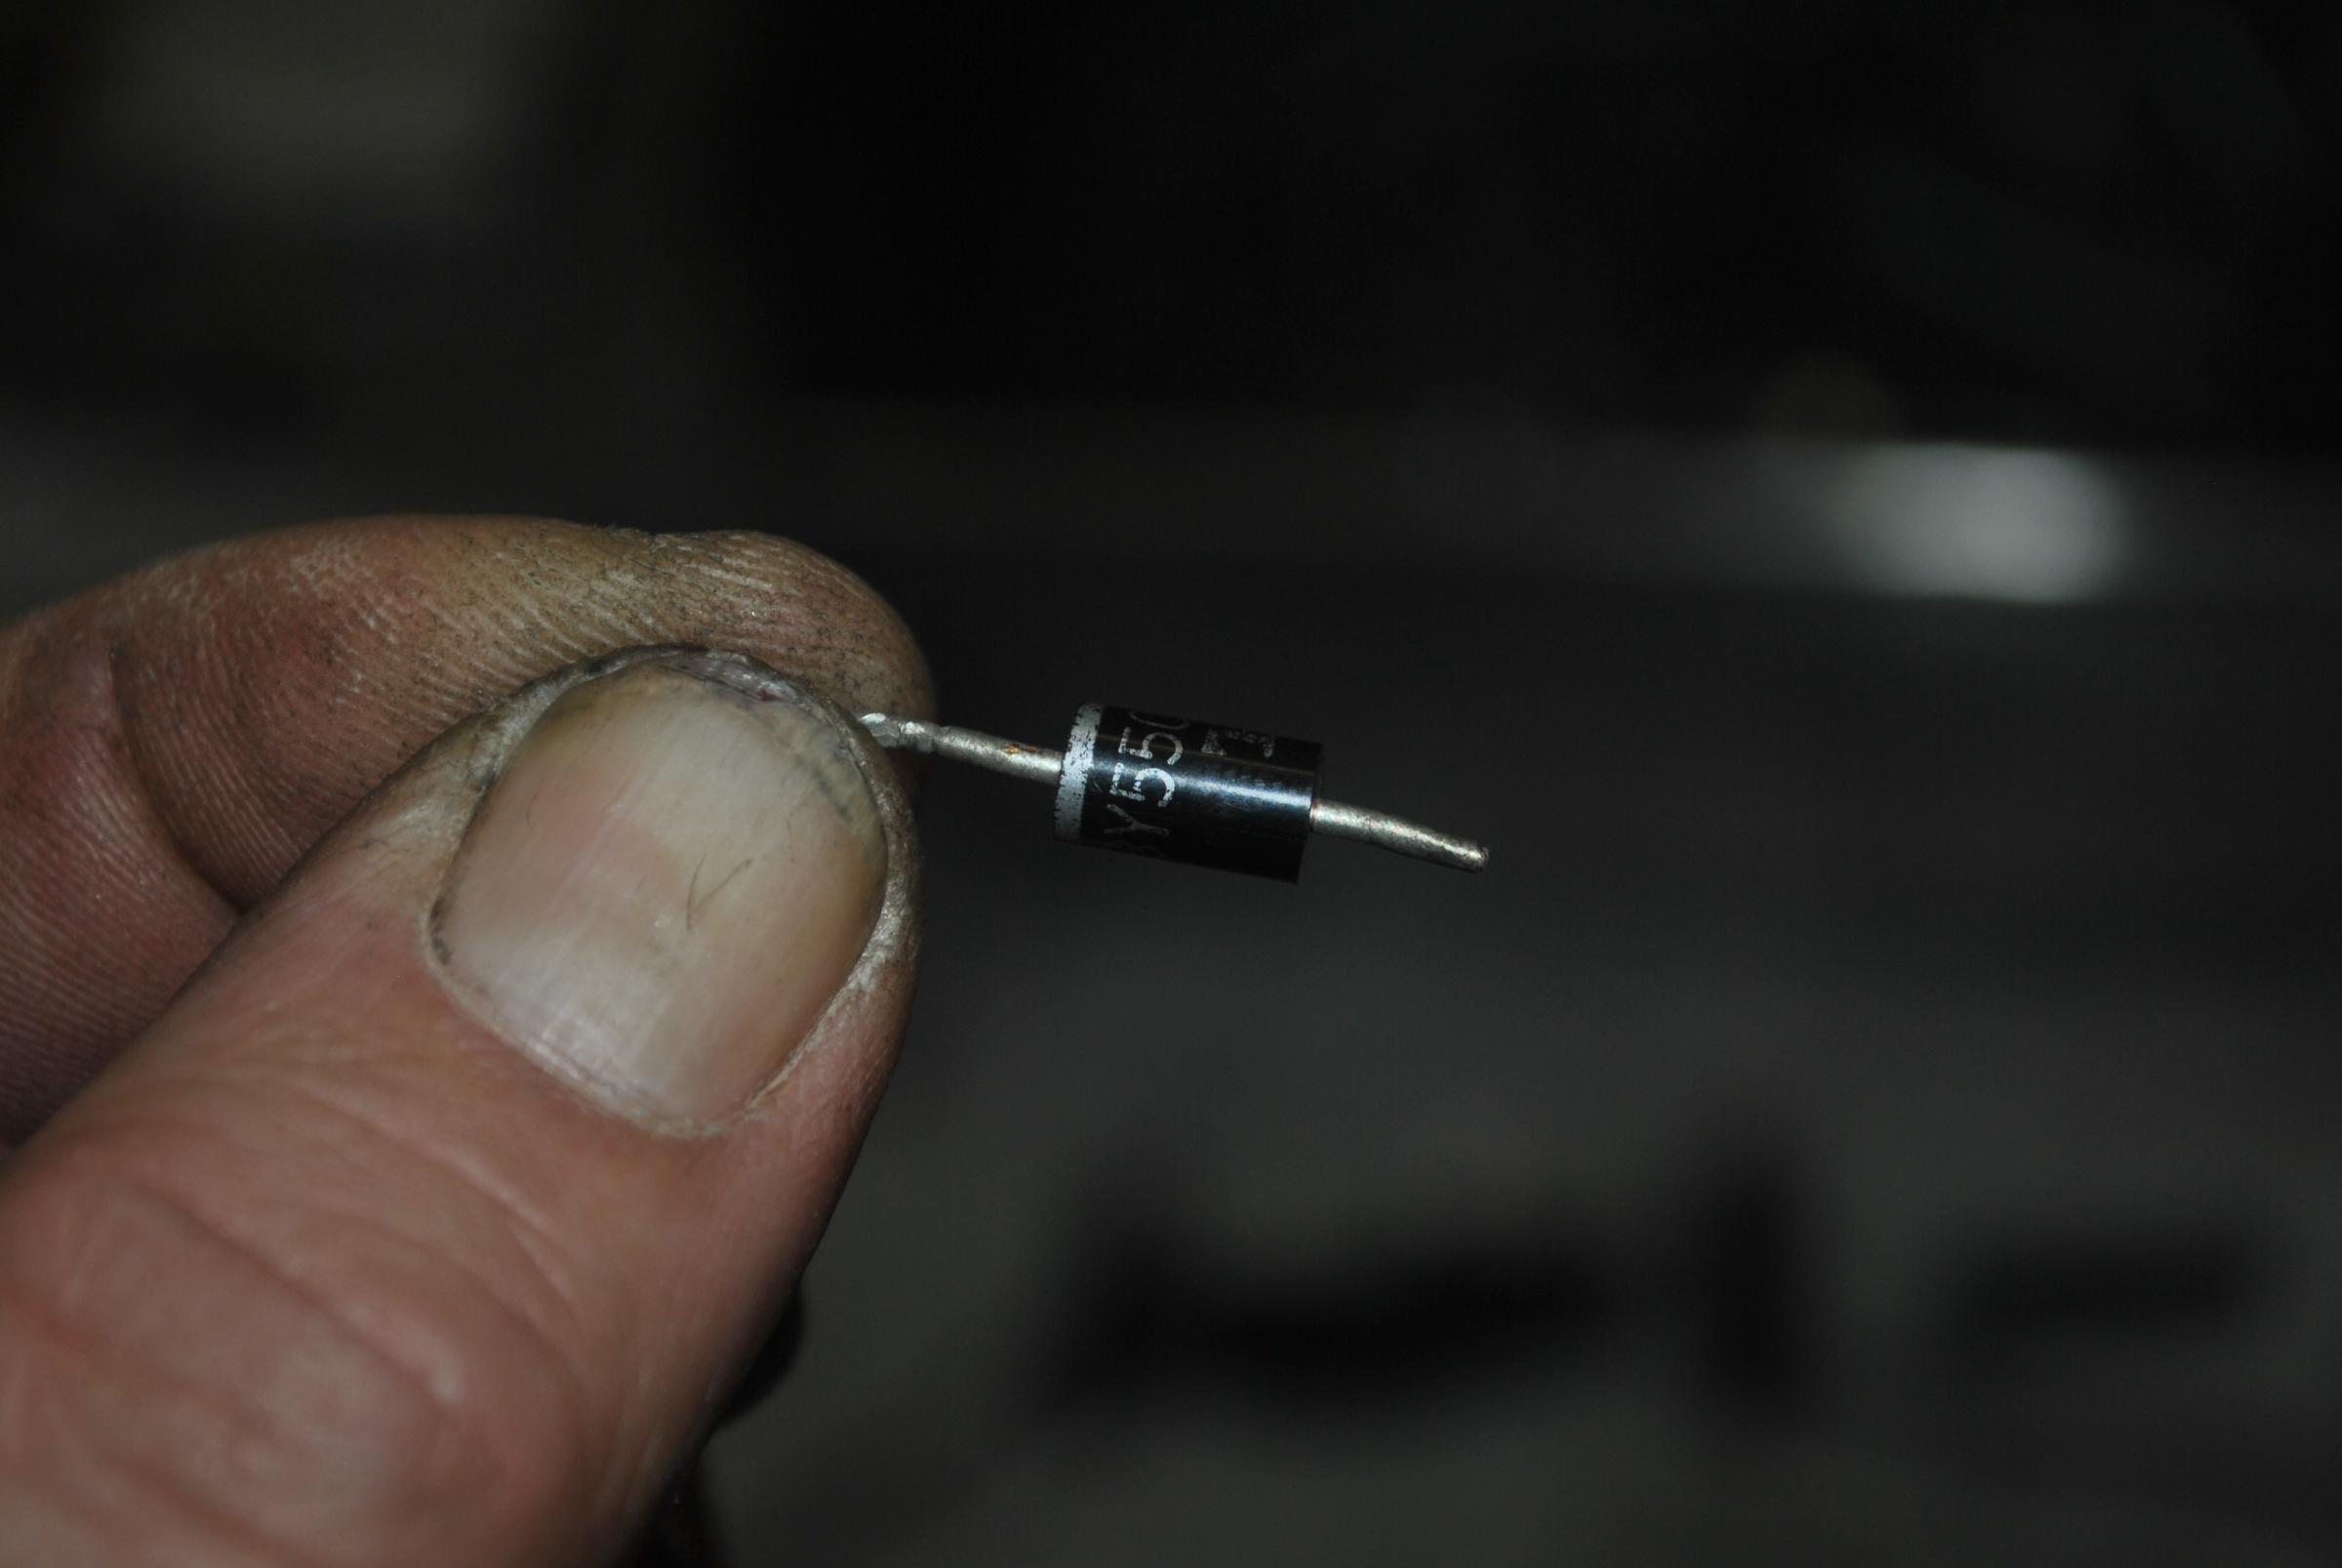
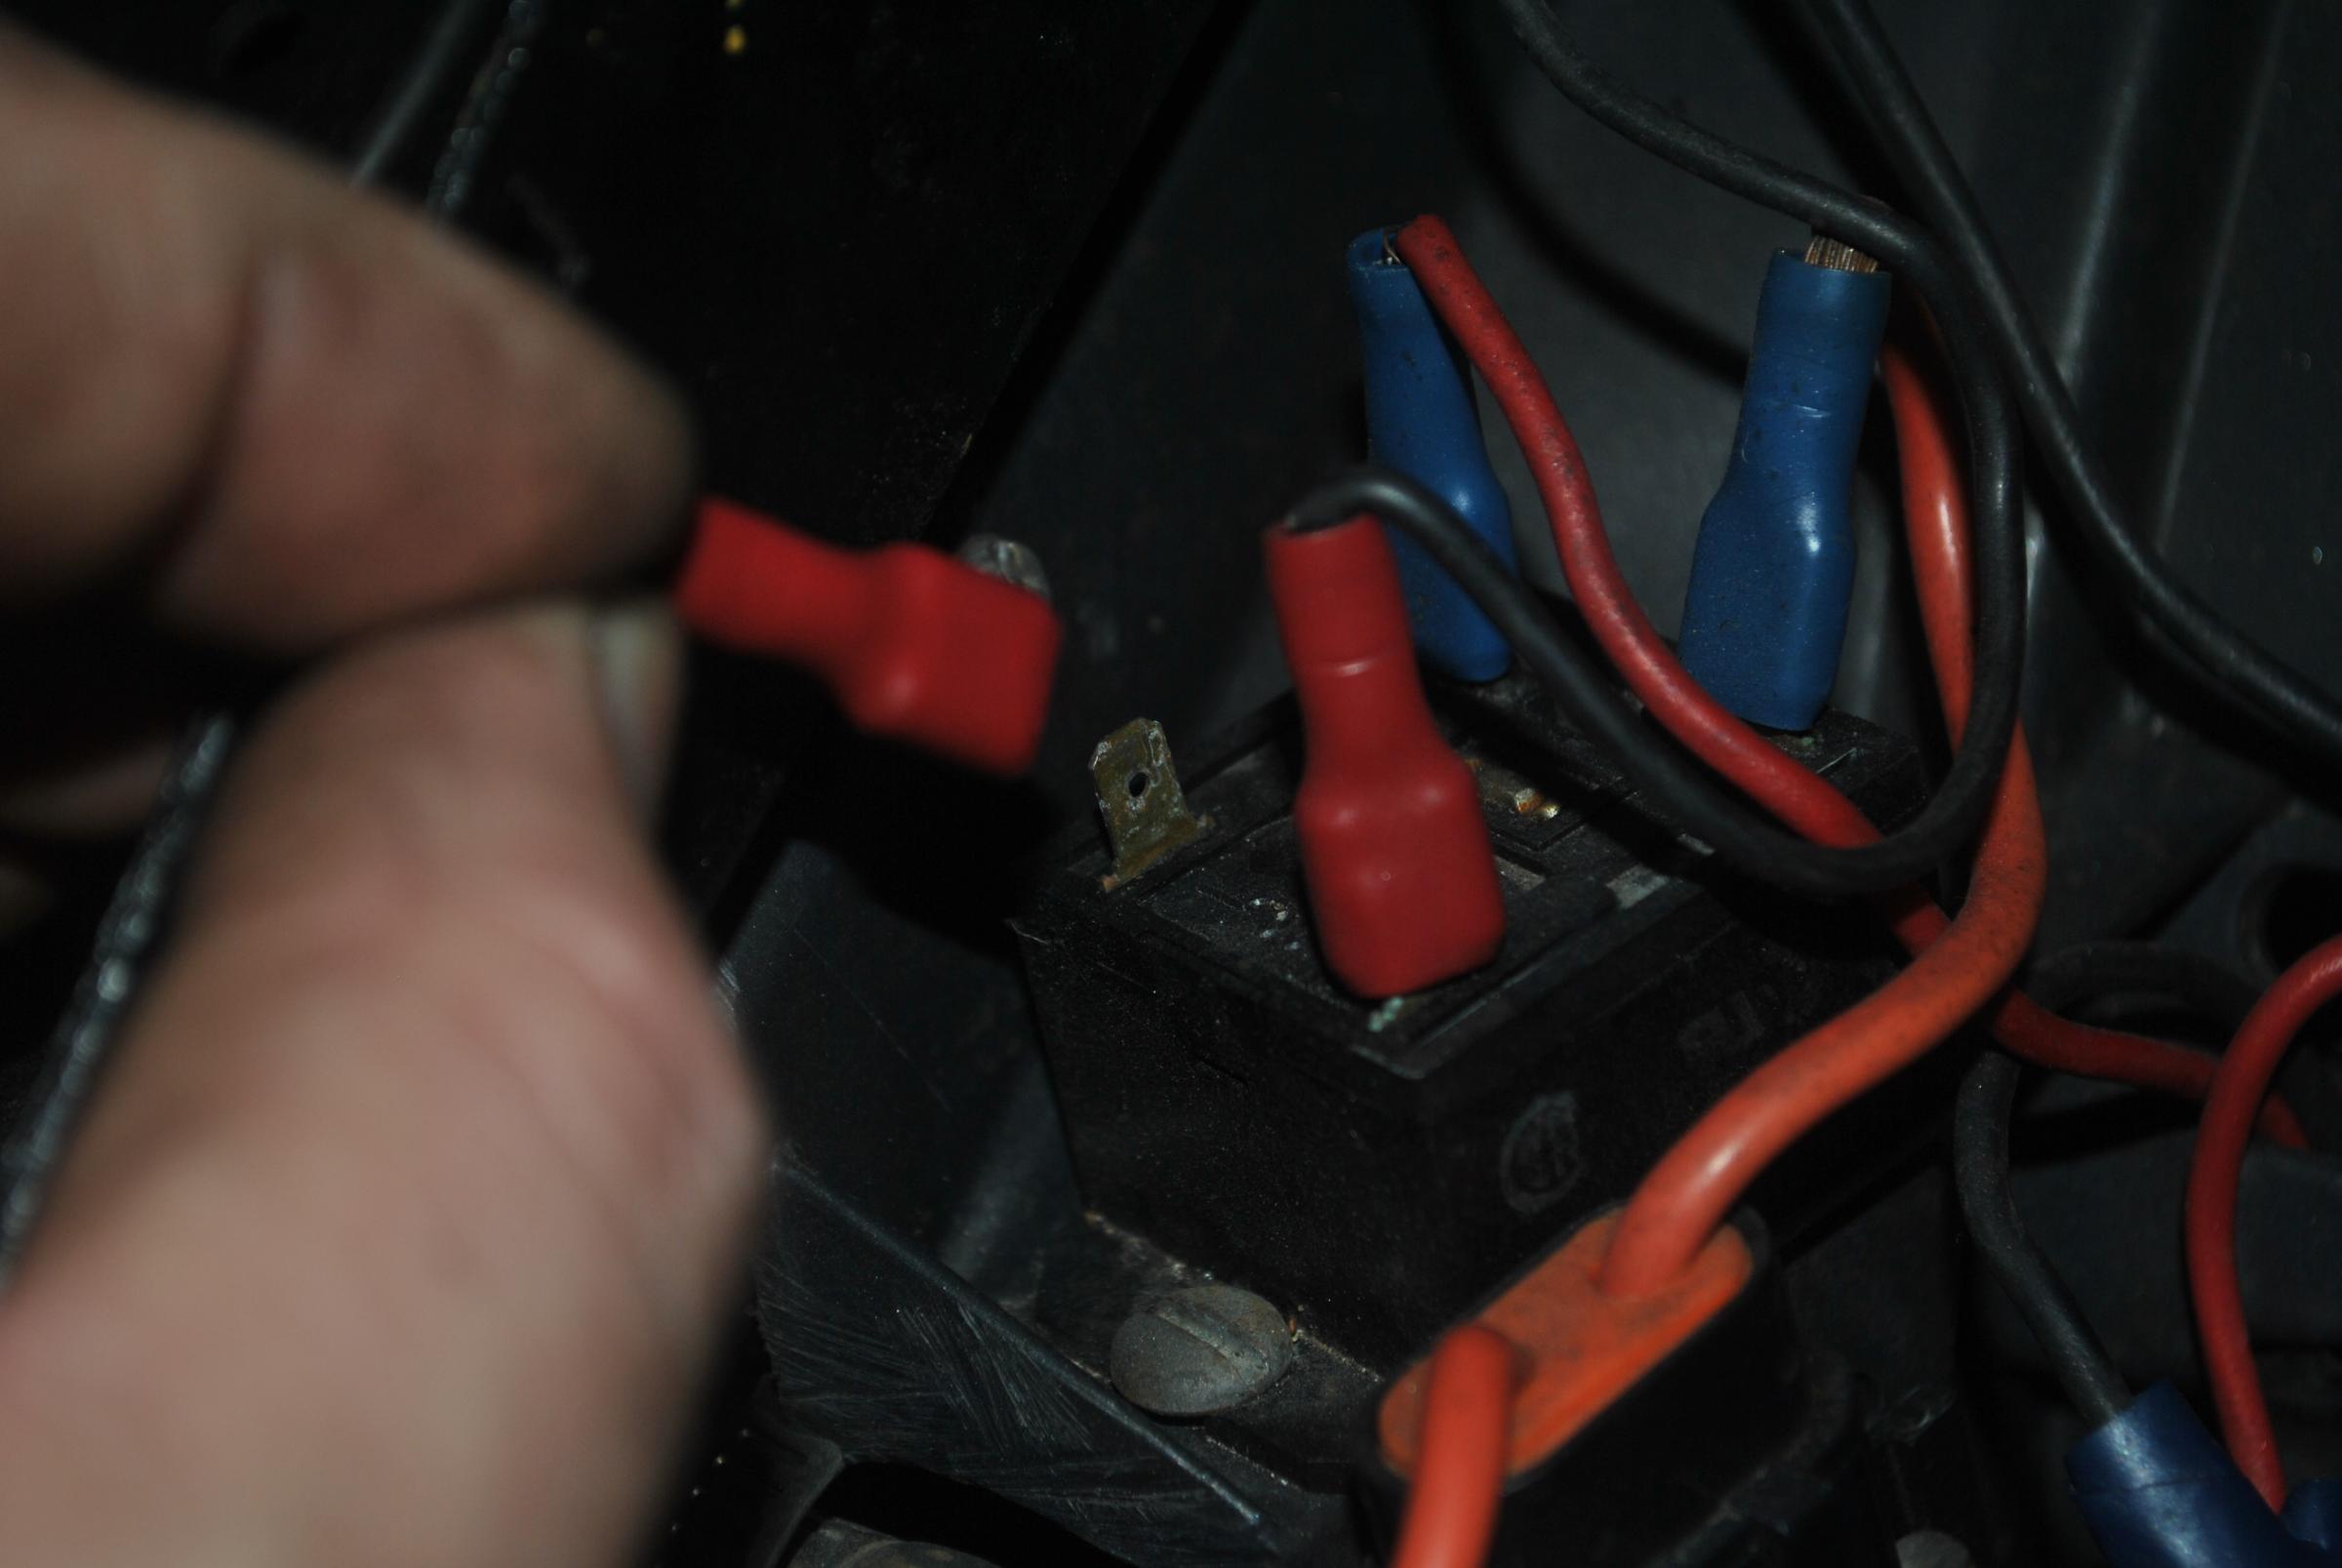
I thought while I was playing around in this area I would tidy up some of a PO's wiring. So cut open this bulb with wires coming out of it because it looked like a whole heap of wasted wire wrapped in tape.
So when I got it apart it had this thingy(for want of a better term), with a dodgy wiring/connector set up.
So it turns out the "thingy" is called a diode and it is directional too. I tested it with a multi meter but it would not register anything so I took it to Jaycar(our Aussie know it all electrical and connector shop). Turns out I was putting the + & - probes on the wrong ends of it. I even learnt that my multi meter has a setting for testing diode's.
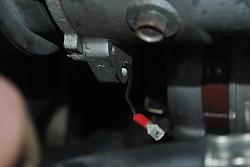
So how doe's this work and what doe's it do? The wire with the red connector comes from the relay on the thermo fan then passes through the diode, then it has 2 wires, one goes to the pressure switch on the receiver/drier, the other goes to the compressor. From what I can see it is the only wire going to the compressor? is that right? My wiring diagram shows just one wire coming from the thermo manual switch which I assume this is, and a ground which I assume is the bracket to the water pump and block.
Sorry, a lot of questions. But as usual I have jumped into a project hoping for the best.
Since I have joined JF my projects have worked out better faster than expected because I use to spend half my days off driving around to talk to people that might give me the right advice. Now it just arrives at my laptop.
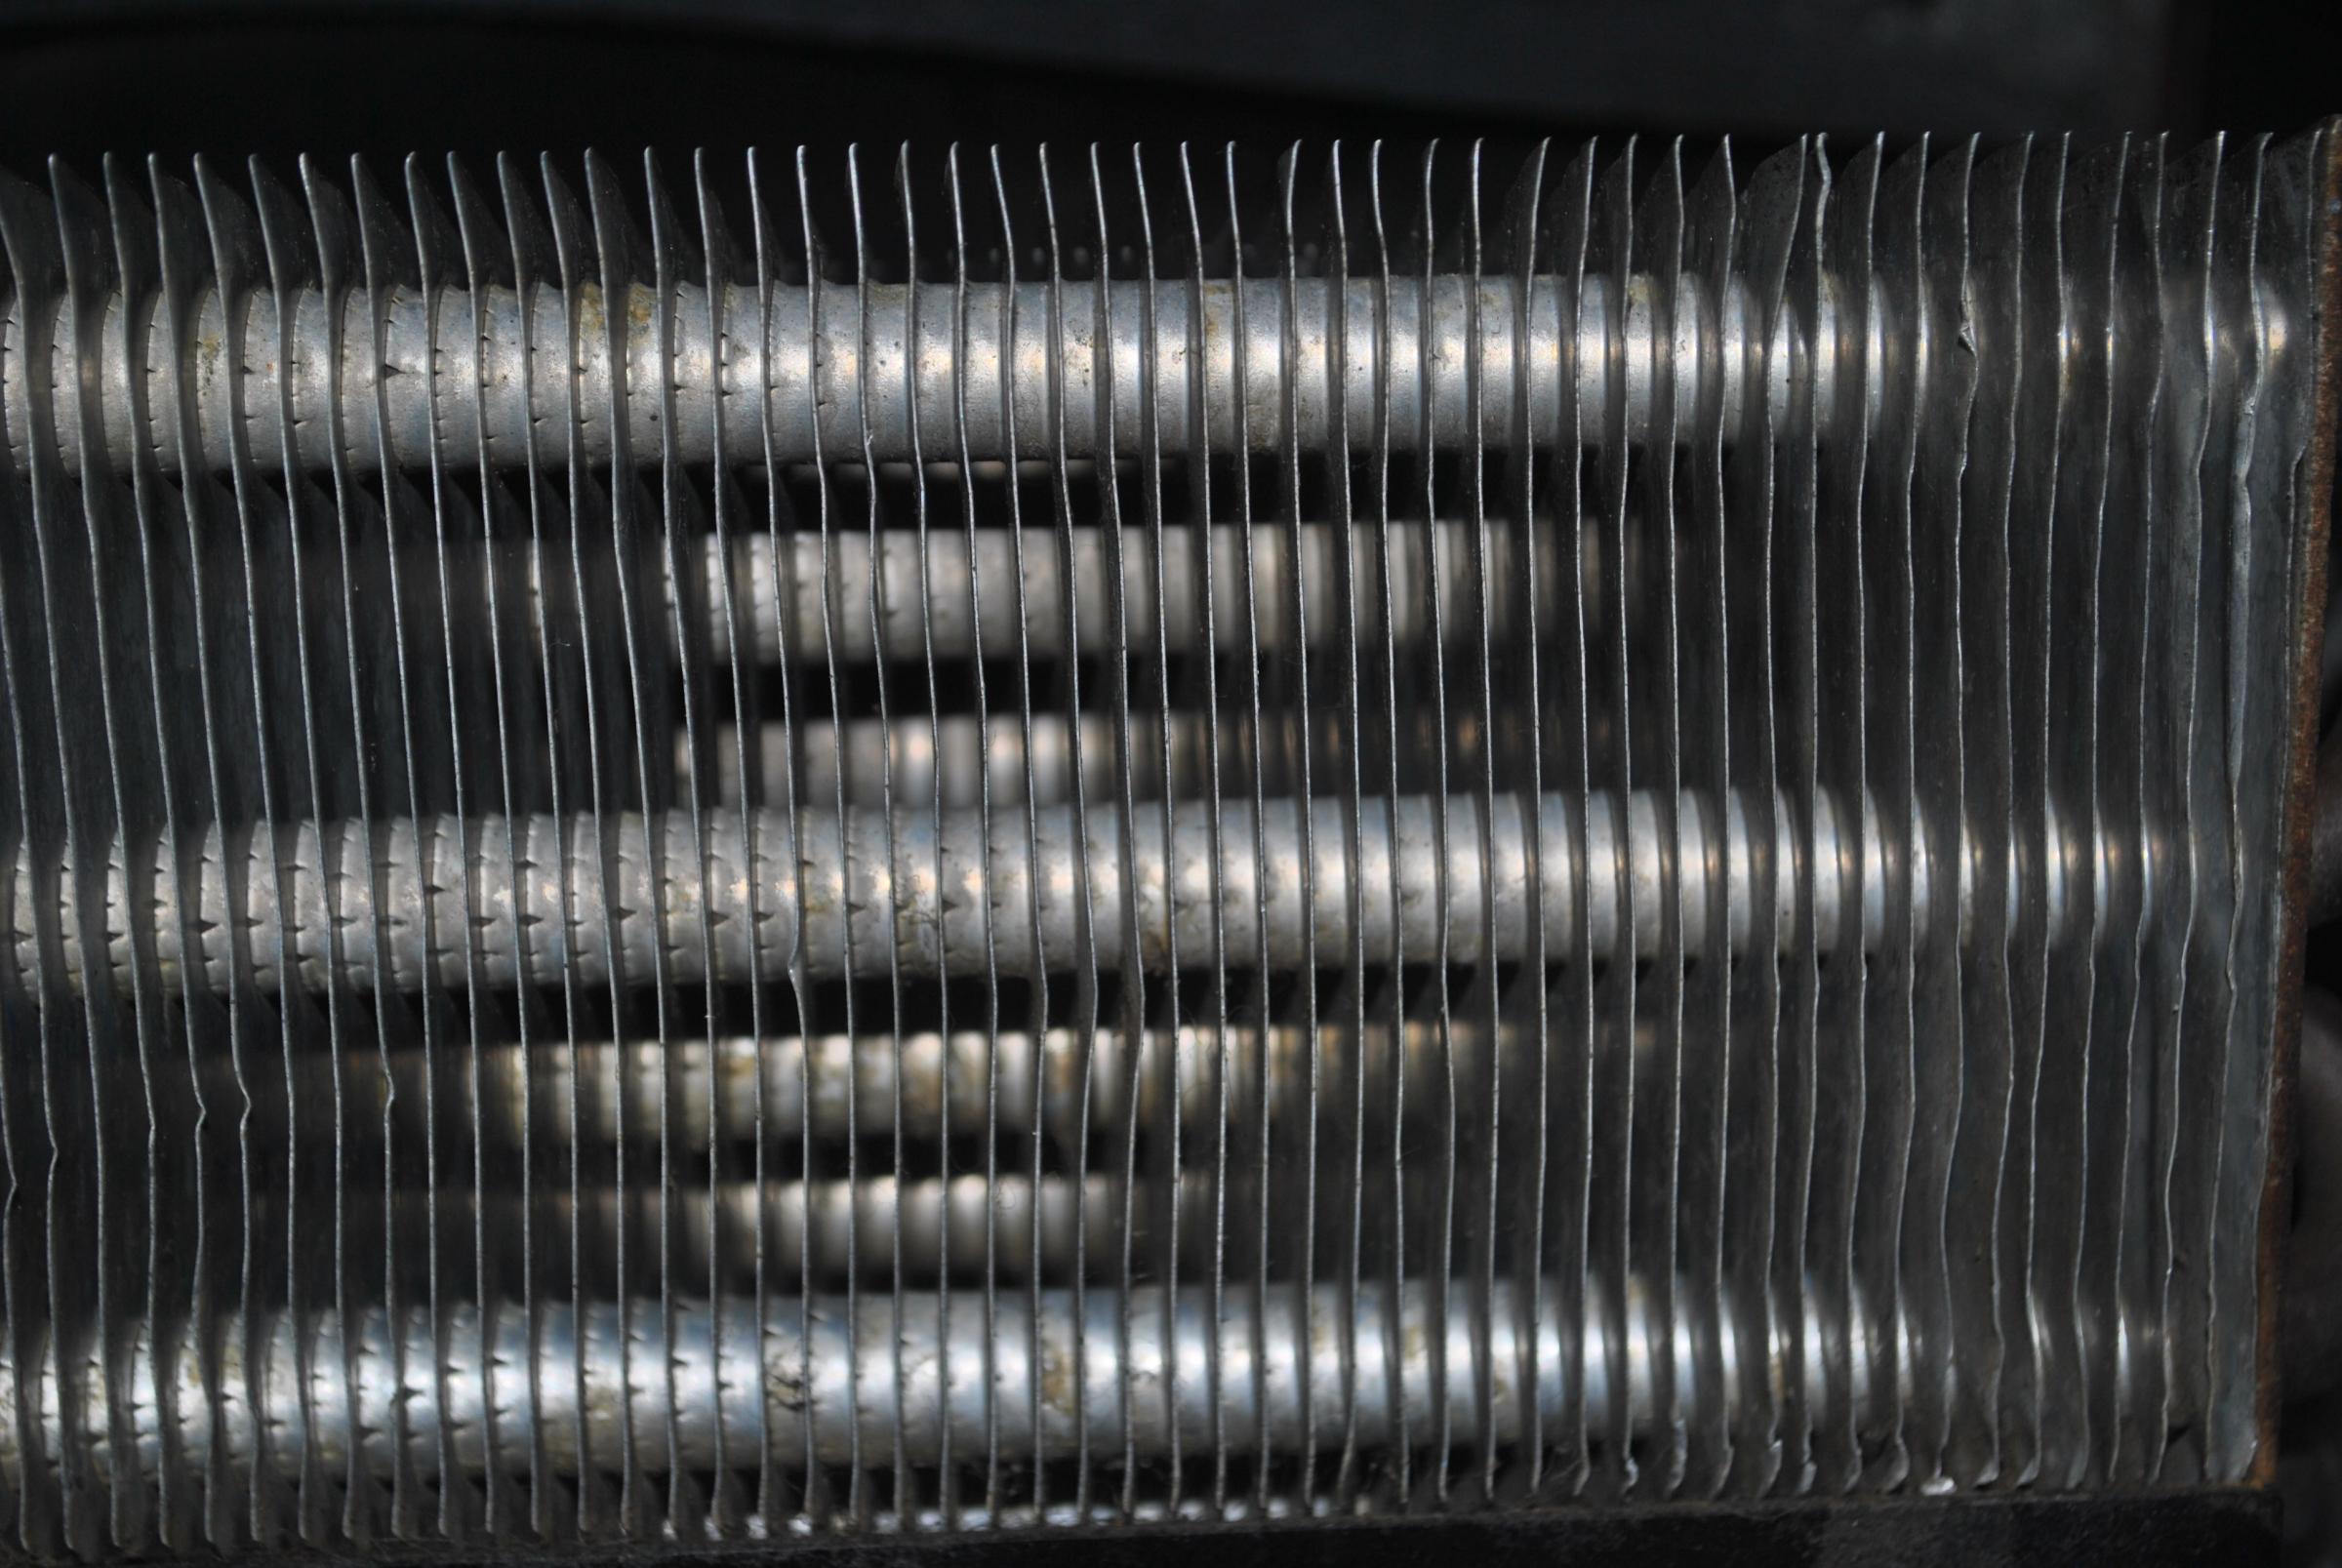
the other day, when i wasn't looking, husband put the strangest comb like tool on my desk. I had an idea what it was but i asked anyway. (it makes him feel good when i ask him things like that, gives him a chance to show his more lengthy experience). It's for straightening radiator/condenser fins.
i know where i can use that!!
When i took the radiator out the condenser was a mess! Not only did it have rice straw in it but also a lot of bees and plastic strands from a tarp, and the fins had definitely seen better days, being somewhat flattened. The back side wasn't so buggy but the fins were actually flattened way worse and the top was almost completely flattened.
Where a large area was flattened, i worked on one fin at a time, slowly so as not to damage any tubes. Even so, there were some shards of brass dislodged, especially from the front where a bird had collided with the car.
So i spent about an hour working on it. The radiator is made completely differently so the tool is of no use there, but the condenser being out front like it is, it caught all the krud.
Below are the before and after pictures of the condenser. I'm gonna say the air flow is now improved markedly. I can actually see through it now!
(';')
.
Originally Posted by o1xjr
I have one exactly the same but never used it yet.
"paulyling" gave it to me last he was here working on his XJS.
I actually got to use mine today! It works perfectly. Have a close look at the four fins the the very right of pics.


 (Paul) are going to see if we can find out why my air con does not work. Paul has experience with industrial size air con units but not automotive.
 ..... 12 months and $6k later all works except the air.