When you click on links to various merchants on this site and make a purchase, this can result in this site earning a commission. Affiliate programs and affiliations include, but are not limited to, the eBay Partner Network.
It was in Utah before Cali. Its cheap enough where even if there was a surprise in history I would still get it.
If it's the one on craigslist in San Jose East, I agree it's cheap enough. Fingers crossed it's a true bargain. I hope it's well sorted and turns out a winner.
btw, did you see the red "Classic Collection" listed in Brentwood/Oakley? It's a fake, someone just stuck the badge on top of the "V-12" of standard XJS.
Thats the one! I have it in my driveway now. It is actually from NY, not Utah as I stated earlier. All apears good. The guy gave me a ton of extra parts, two tail lights, boxes and boxes of nuts and bolts, an x brace to attach to the bottom. He seems legit. Also, four brand new tires. Bridgestone GT. He also gave me four extra tires which are close to new! The fuel hoses are new and he replaced the harness with one in very good shape (no cracks). The coolant hoses are soft... he did give an extra coolant hose which is in much better shape than what is in there. The temp gauge is in the middle. This engine runs very hot, which is norma from what Ive been reading. ... I am looking at mods for it. better fan switch that turns fans on sooner, better radiator, etc. are silicon coolant hoses worth the $180? http://www.ebay.com/itm/NEW-ZPC-Jagu...-/200654130845
The reg is a month past due. It past smog a few months back easily, though that smog check is expired. Keeping my fingers crossed regarding reg and smog at this point. I could get my money back in parts, worst case.
It is in great shape and runs amazing. I just drove it to SF on the freeway for 45m and it had great acceleration. It runs very smooth. The oil gage is not working. It stays at the bottom and never moves. Is this common?
Funny about the badge. I am thinking of doing the opposite.
I did a free vin check and it found no major title issues. The car was left at a jaguar mechanic shop in San Jose many years ago. It got to the point where they just registered it as abandoned? Not sure how. It has .gov plates. Anyone know anything about this process? I guess I will find out when I go to dmv.
I am looking at mods for it. better fan switch that turns fans on sooner, better radiator, etc. are silicon coolant hoses worth the $180?
When I R&R'd all the belts and hoses on mine recently, I researched silicon vs. standard and decided to stick to standard hoses. I can't remember the exact reasons why though.
When I R&R'd all the belts and hoses on mine recently, I researched silicon vs. standard and decided to stick to standard hoses. I can't remember the exact reasons why though.
I just researched it and it seems the silicon hoses are difficult to clamp down.
I checked the VIN and it was purchased in Florida where it has been most of its life. Explains the clear coat issues on the hood and the cracked leather. New covers can be had for less than $500, considering I talked him down $500, I am going to do this. I believe I can blend the clear coat issue in on the hood with my small hvlp gun. coolant hoses will be replaced, thermostats, and then there is really nothing else I can think of doing to it.
I'll be interested in how well you do with this. The clear coat is failing on the hood of my '90 (also a black Classic Collection).
I'll post picts.
I found a rust area underneath the side molding. So now I definitely will try blending the hood since I need to fix this asap.
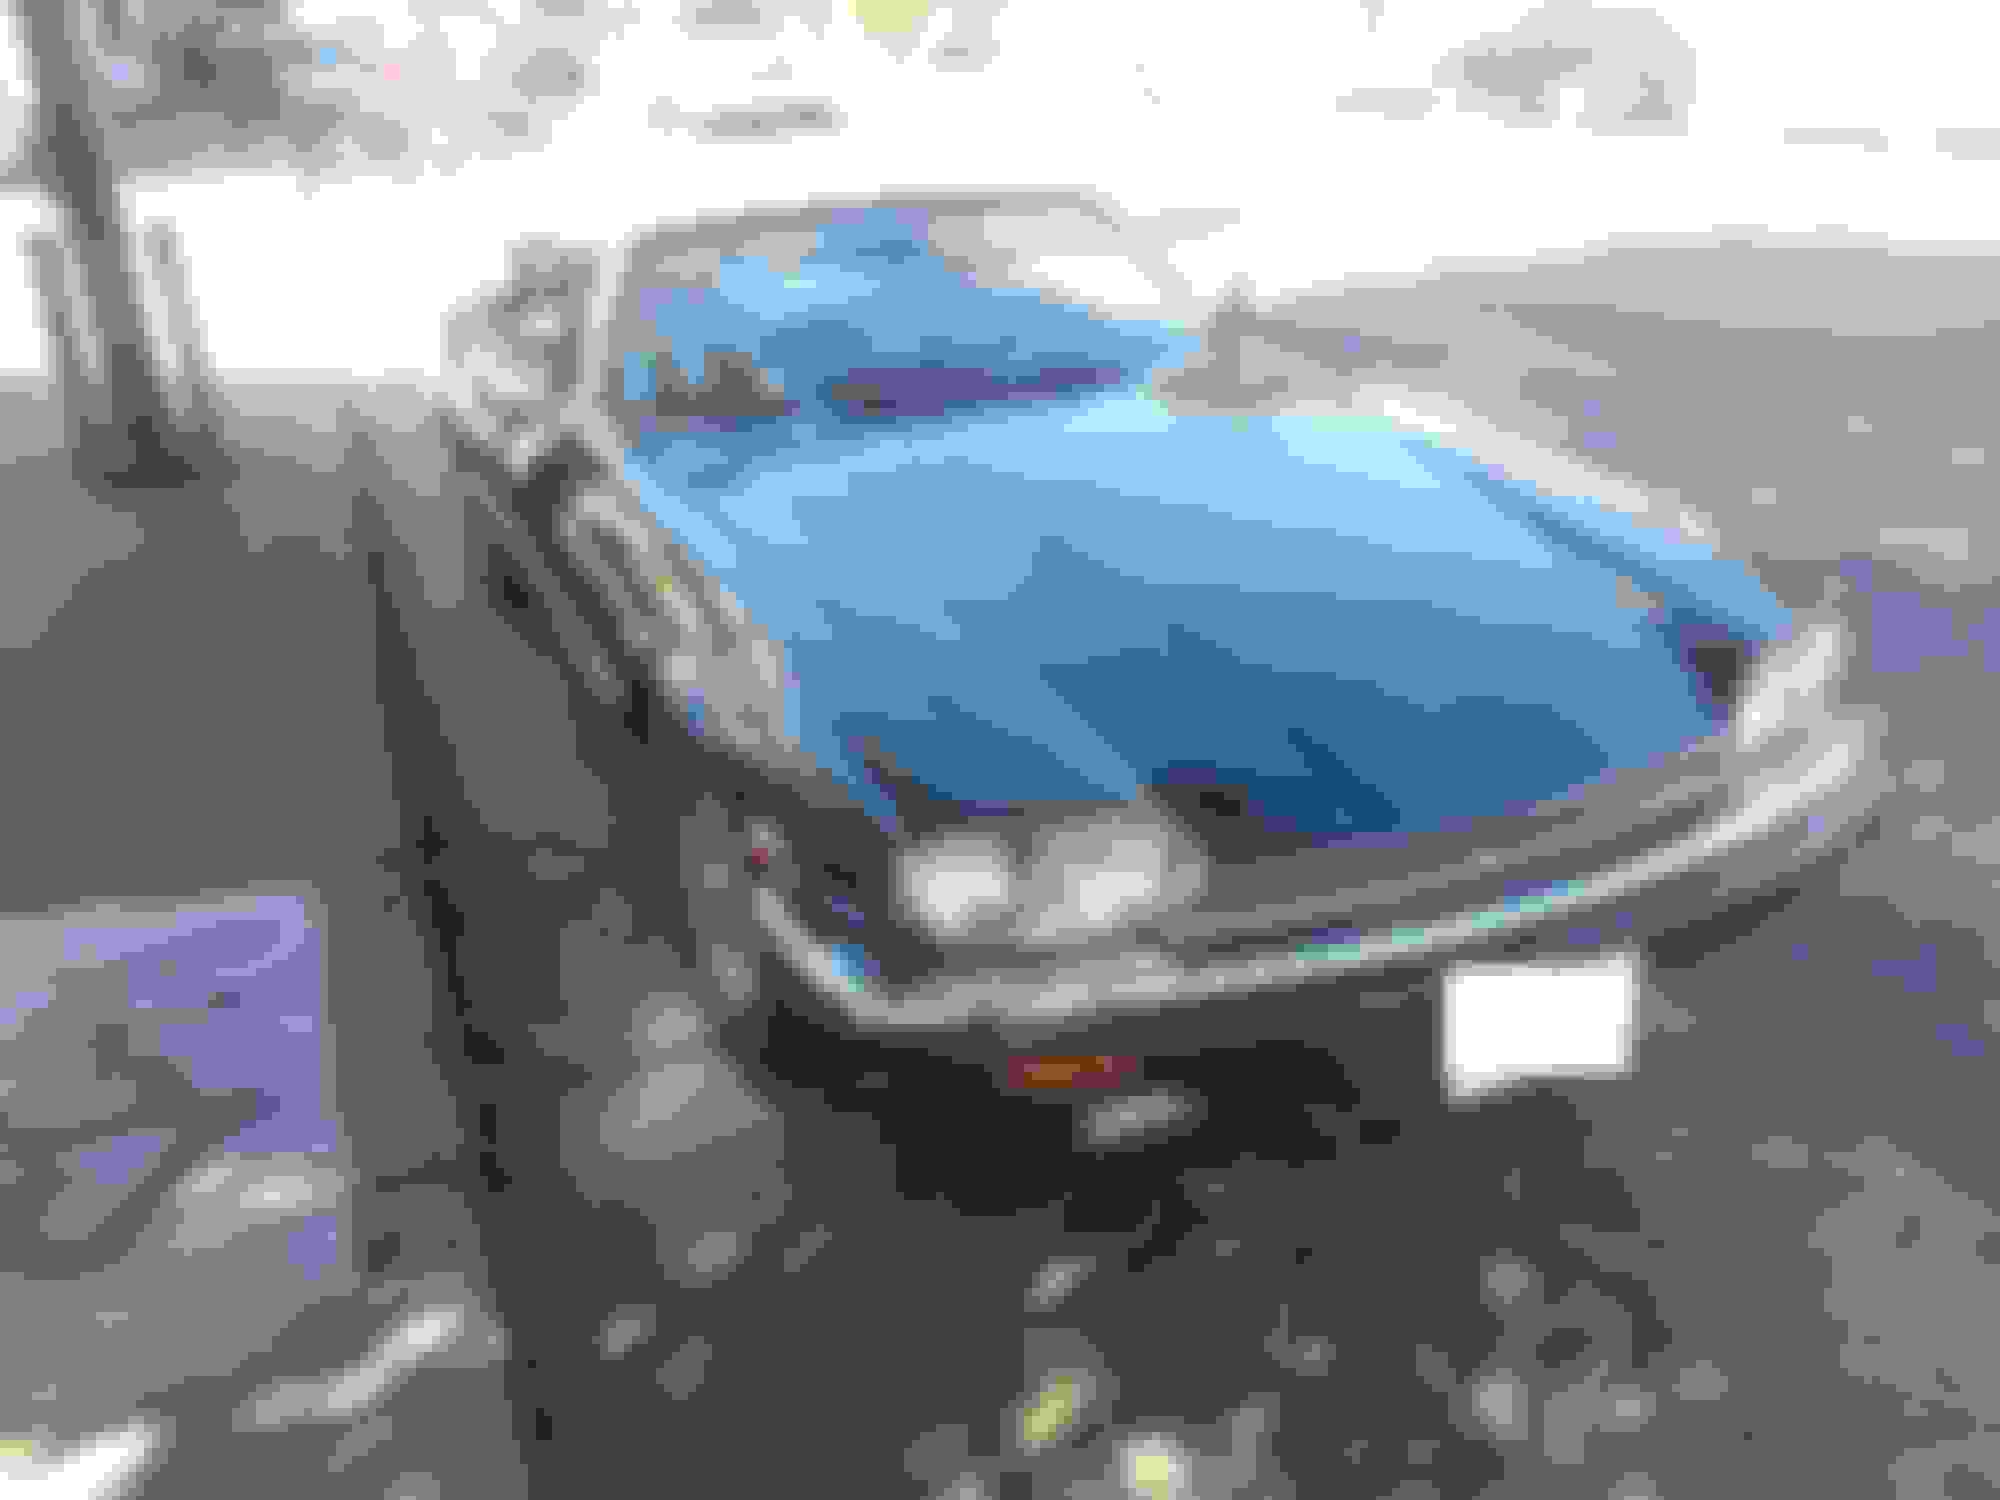
Here are some photos. Its nighttime so you cant see the paint peel. I will get better day time photos.
Not sure what I think about this large modling? Any thoughts on this? Cant decide to keep it or not. If my touch up job is poor. I will definitely keep it for now until I paint the whole car one day.
Is this normal? Also the lower radiator hose is filled with chunks of something. Should I be concerned? I am going to pop it off soon and replace it. Check out what is goiing on in there. Never felt anything like it in a radiator hose. Its feels like a bunch of rocks.
I'm learning about this new beast quickly thanks to this board.
First off are the smog issues. Im waiting for new cats to pass the CA requirements. It was also much higher HC than it was 10 months ago. Not sure why the huge difference with only 800 miles driven since. So it is over by 1 point (no joke), which will easily be brought down with the new cats. they also do not have the CA imprint on them...
I was driving home last week and noticed the temp gauge was above the N. It was not that far over but I pulled over waited for it to cool and then brought it home. It was a very hot day here.
I can feel something in the lower radiator hose. Massive chunks of what feels like rocks. I bought a new hose set to do the entire car. I will soon see what is in there.
Also, I will be redoing the fuel rail with the proper hoses SAE30R9 and efi hose clamps or ferrules.
I tried to pull off a vacuum hose and it crumbled to dust. I am now going to replace the vacuum hoses. Does anyone know the sizes and length I would need for this? This will mean ALL the hoses in the entire car will have been replaced.
as far as the radiator. I am prepared to buy a new one or recore this one. I am now reading the Kirby book about aluminum radiators, which will help make a decision on this.
All in all, when all this is done, I feel like it will be a good purchase with only 70k. After all the parts I will be looking at $3900 without the radiator and $4500 with a new radiator. not a bad deal at all. It does need the hood painted as the clear is peeling (from running hot/ its a Florida car) as well as a large rust area under the side molding fixed. I could epoxy hvlp spray it and have it covered by the molding, but since I will be painting the hood I will already have the paint to blend in. I just painted my 94 xjs, so I can do this easily in my garage. I have all the DA sanding discs, etc. to get it done on a Sun.
One last note. I was worried about a dropped seal when the engine ran above the N... I imagine it has been overheating a bit and going unnoticed. I listened closely and could not hear any sound relating to a dropped seal, or even a valve tap for that matter. It sounds good.
the rust is on the passenger fender right under the molding (its not visible):
the peeling is not too bad. you cant see it at all in this photo. it is more of a slight discoloration. sanding, base coat blending, and then clear belnding into the fender tops will work.
It does need the hood painted as the clear is peeling (from running hot/ its a Florida car)
It's a problem with the clearcoat itself. My garaged California car is suffering the same issue. There was a mandated change in formulations at the time our cars were made, and clearcoat failures are known to happen.
I've had it looked at by a couple of shops, and the consensus is that the entire clearcoat has to be removed otherwise it will continue to degrade under the layers. I don't want you to go through a bunch of work, then have it for naught a year or two down the road.
I received conflicting information from the paint shop and the urethane manufacturer (SPI). Both said to just sand out the peeling clear and epoxy seal/ shoot the rest.
I hope they were right because I just painted my 94 xjs. I sanded most of the clear off. It comes off easily with 180-220 grit. you can diy with an orbital sander. I used an electric and an air sander. Both were great. In ways I preferred the orbital electric to the DA sander.
Anyway, its a ton of work but you can diy. At least the prep, then pay someone to spray it or rent a booth like I did and spray yourself.
If you go this route follow these steps and do not do miss any of them:
1.) sand with 180-220 with machine tool.
2.) spray epoxy primer - best to do whole car but you can spot it to metal break through spots or areas you will be doing body work. do you body work over the epoxy primer.
3.) spray with feathercoat - if you can (need a 2.0 gun tip), if not go to next step - if the car is straight block sand with 220, then 400. if not spray the areas that need it with a qyuality 2k spray primer. then sand ALL the spray primer off that you do not need. you want to block sand to get it straight (220k to get it straight/ 320-400 - good enough for epoxy sealer). if you do not seal you need to sand to 600 grit. going 220, 400, 600. I use a machine tool with the 400 and 600, since it is already straight with the 220 block sand. Opinions may very. I think this is less work, only requiring a good 220 block sand. keep the machine sander flat!
4.) epoxy seal
5.) base coat
6.) clear coat ((up to 3 coats at a time)
if you cant spray with a compressor. at least do step 1. spray can epoxy (2 part - auto paint store sells this). do you body work best you can and use a best quality spray can 2k only where the body work is done (sand as much of the 2k off as you can). block sand with 320. then have the shop do the rest - starting with an epoxy sealer. you can find someone to spray base and clear for $1000. they may or may not want about 225 extra for the epoxy sealer. get your epoxy and urethane clear at SPI Urethane. I recommend Pro Spray base, if you can. You can also use something like Nason, though it does not cover as well so plan on an extra coat or two if you go this route.
You can do this yourself! I am on my second xjs. it gets easier each time. biggest mistake was skipping steps then having to go back again, doubling the amount of work.
I rented the booth at 880 auto in Oakland. He charged me $250 for a half a day. The lighting was awful in there. I had to do some touch up in my driveway as a result. So bring some extra halogen lights or some sort of lighting source if you go there.
There is a guy in Lodi who rents a booth out for $100 for the entire day. It is a brand new state of the art booth with downdraft and excellent lighting. Search on craigslist. If you cant find him PM me and I will send you his number. He does charge a cleaning deposit of $250 which you get back.
I will be going to the Lodi booth next time. I felt a bit rushed at 880 auto. You really want to give a lot of time between coats and I was only allowed about 20m. As a result I had to sand out some solvent trap. Nice guy though, he offered me his gun which I should have taken him up on.
*you really do not want to use any spray can products. however, there is a two part epoxy which I feel ok using in small areas. I would only use a spray filler if you plan on sanding it all off in a small area. leaving only enough to fill the spots that need it. going over that will a sealer should make it ok. only if you do not have a compressor hvlp!
*if you use a sealer 320grit is best as it gives it something to grab to. if not 400 for solids and 600 for metallics.
*get it right the first time and you will not be in that deep in work. body work (time consuming because you need to wait for drying and sanding). do it first! roughly get it in shape. the remaining steps will help straighten it. 1-2hrs with a machine sander 180 grit, will remove the clear and start to shape the body work. 1-2 hrs hand sanding the curves to remove clear. 1hr to epoxy the areas that broke through to metal. 3hrs to tape the car and spray with featherfill/ or 2k primer. 2-3 hrs block sanding with 220grit (15m a panel)/ pay close attention to the body work areas. 1-2 hrs machine sanding with 320 or 400. 1-2hrs machine with 600 grit if needed. So like 10-12hrs not including how long it takes to get the body work right.
It took me 50-80hrs the first time because I kept skipping steps and going back and doing it again and again. my body work was not good enough... I did body work perfect first (then the remaining sanding steps took away too much!). get enough sandpaper! not making mistakes will save a lot of money here. 50 discs of each needed grit (with 10 sheets each for the curves) and 25 sheets of each needed grit for blocking.