When you click on links to various merchants on this site and make a purchase, this can result in this site earning a commission. Affiliate programs and affiliations include, but are not limited to, the eBay Partner Network.
I have followed the following advice from Greg... I have a few questions.
Loosen the wheel nuts Jack up the car under the spring pan and place a jackstand under the suspension EACH side so the subframe is level Remove wheels, otherwise access is restricted
Got to this point NO problem.
The nut is real tight... do I need to remove the bolt, which means removing the inner wheel guard?
Real tight is an understatement - I can not even budge it.... that is with a long bar. There is not much room!
Do I need to support anything?
I have no idea what to expect... so any ideas would help?
Remove and replace one side at a time On my polys (superflex) you have to re-use the outer steel sleeve, cut out the inner and then burn off the rubber residue, You must keep and re-use the removeable sleeve in the centre of the old bush. The new bush must be pushed into the recycled outer sleeve: you get a sachet of lube with the new bushes, lube the sleeve and the bush, place the sleeve and the bush in a press or a vice, a bit of wood over the bush free end, and press it in. I ground down the lip on one end of the bush to make it easier to press in - I think it would have torn the bush if not. When the pressed-in bush is level with the far end of the sleeve, remove it from the vice and whack it in the last few mm with a hide hammer or a lump hammer using a wood block Then push the inner sleeve into the bush and you are good to go. I recommend using a wider washer than the OEM one (18mm hole is perfect but wider metal part) so the poly is gripped by the washer over more of its area. Replace and tighten the huge bolt and the outer bracket that holds the bush to the subframe.
Duke
Are you talking about the bolt and nut in the second photo? If so, it does have to be undone and removed. You need a spanner on both ends, but a long lever on the nut will do it. On my car you can just get the bolt out without having to move the wheelarch baffle, but if on yours you cannot, then it had to be removed.
The more tricky part is undoing the clamp nut and bolt that tightens the circular clamp that holds the bush outer steel tube. This is NOT captive, and you have to get a spanner on top. A long set of extensions and go down from above is probably easiest.
One question: are your six shots shot? If the holes are regular and not distorted, and the rubber is not decayed or mishaped, they are fine.
I had trouble with that nut too. My solution was put the car on the lift up maybe a foot, put the wrenches on in an upside V, and put blocks of wood under the other ends of the wrenches so they’d touch. I then let the car down and used it’s weight to get the nut loose. In other situations I’ve used hydraulic jacks on wrenches for a similar effect but in reverse. It is tough to find a leverage bar that with get over the end of a wrench, but I’ve done it with 3/4” ratchet. I don’t own two of them though so you always have a wrench on one side.
You can remove one at a time and there is no need for extra support beyond what you have. I did mine one at a time with the car on a two post lift and no extra support under the subframe.
Hi All - Found this in the manual.
Makes it a lot clearer.. so wheels back on and try jacking the car up again using the side jack point!
NOTE: A worn or damaged bush infers that undue
strain has been placed upon the apparently satisfactory
bush on the opposite side of the car. Bushes must
therefore be renewed as a pair.
Jack-up the front of the car, using a trolley jack under
the front suspension crossmernber (1 Fig I]. Position
axle stands under the jacking spigots (2 Fig I), and
lower the car onto them.
Adjust the jack to release the load from the bushes,
but to still remain in contact with the crossmember.
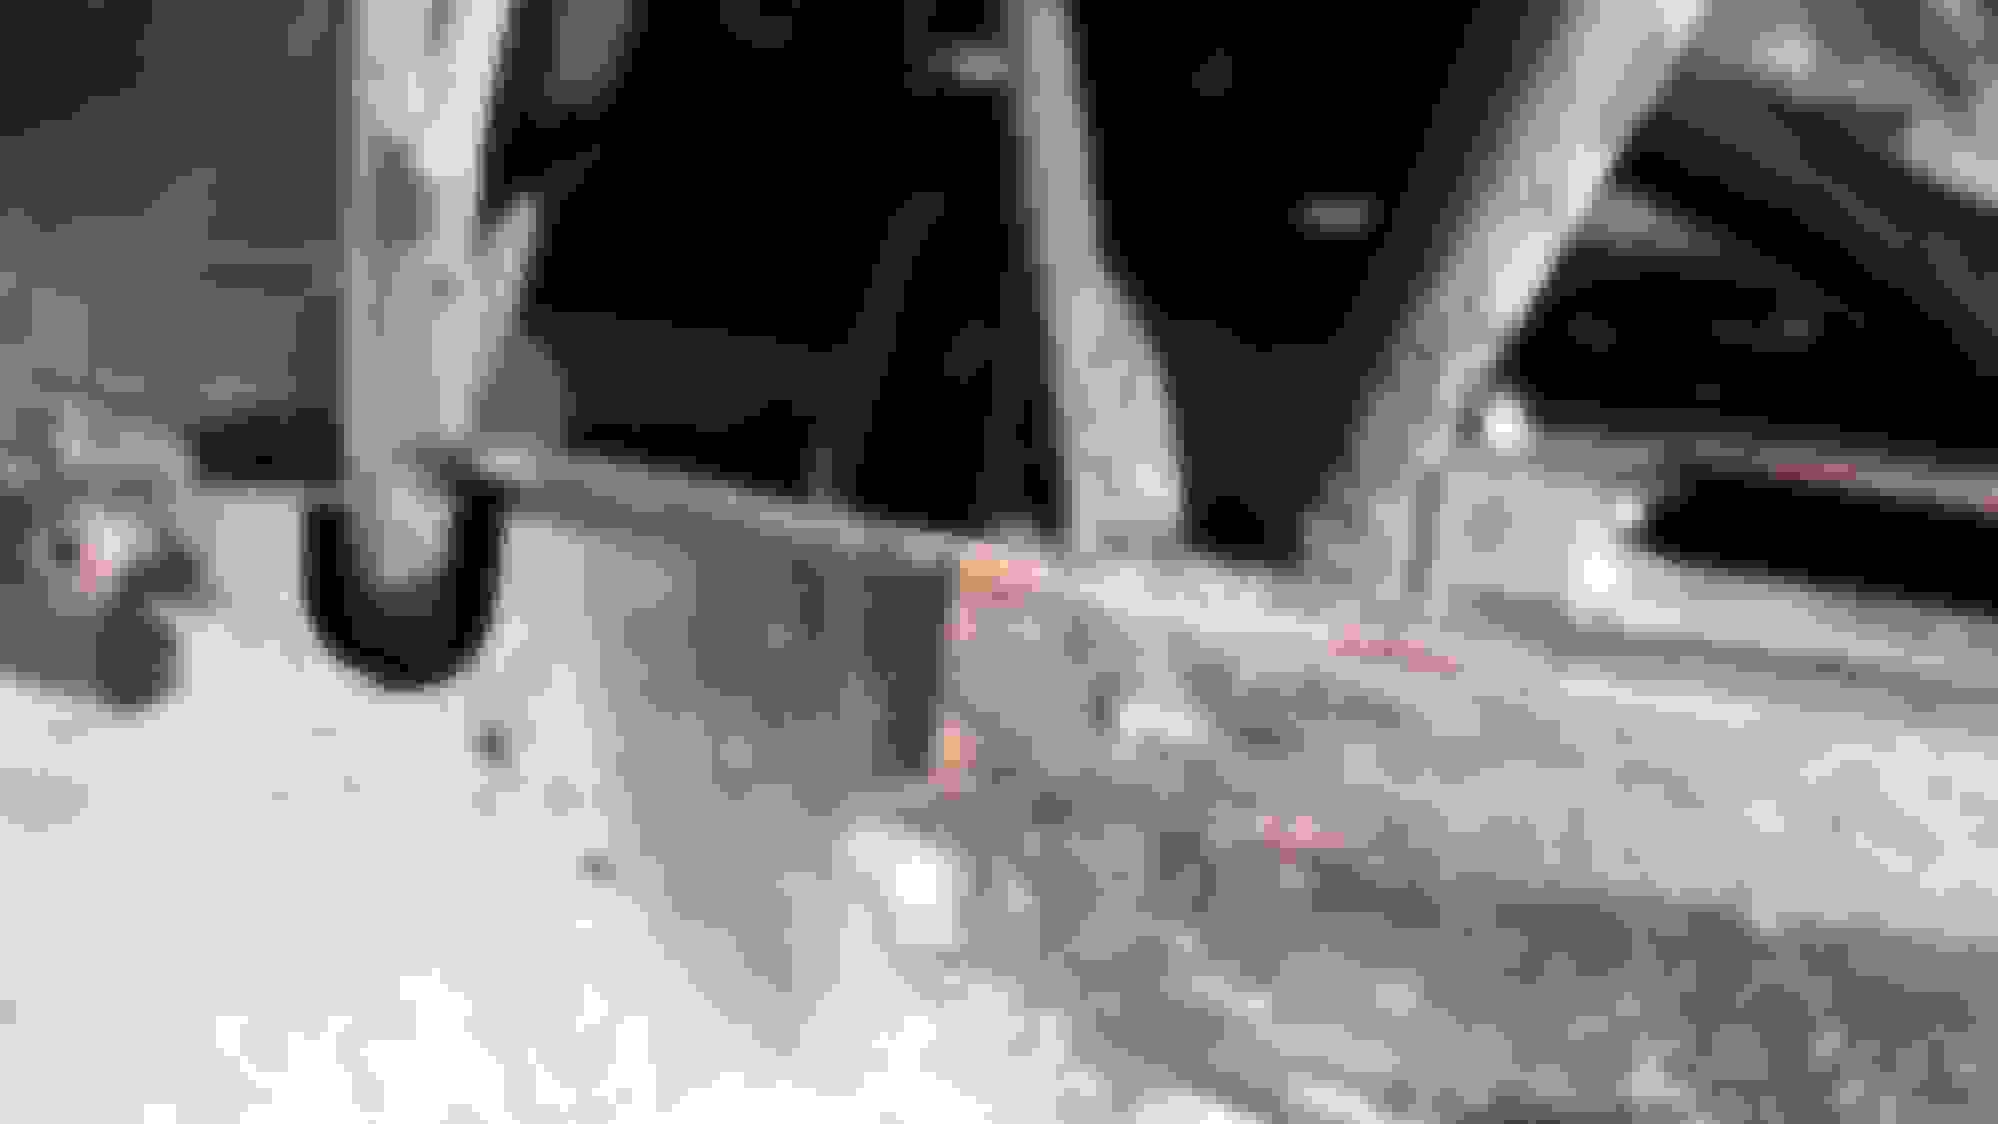
Remove the wheel arch front dust shields.
Remove the lock nut securing one of the mounting
bolts and drift the bolt clear of the bush (3 Fig 1).
NOTE: Record the position of the plain and special
washers and, if fitted, the securing bracket.
Slacken off the clamping nut and bolt, securing the
relevant mounting bush eye.
Lower the jack SLIGHTLY to improve access to the
bush, and tap the bush clear of the eye.
Fit the new bush to the mounting eye. Fit and tighten
the clamping nut/bolt.
Fit and tighten the bush mounting bolt/locknut.
Refit the wheel arch dust shields.
Remove the axle stands and lower the vehicle.
Ok - I have got the bush out and indeed the spacer is offset. I have a set of superflex which is not offset. If I fit them the bush will be to far towards the bolt end and the 4mm washer will not fit.
So use a thinner washer? 1mm would fit. But is it strong enough?
Standard Coupe bush C30314 Convertible bush CBC5736
From Jaglovers: The front subframe forward mount bushings for the coupe are part number C30314
This bushing appears to be in good condition. When these bushings have failed, there are usually tears visible in the rubber. There may even be chunks missing. On Kirby Palm's '83, a mount with torn rubber caused a loud clicking sound when first starting to move in reverse gear. It didn't sound like rubber at all, it sounded like a metallic click.
The bushings for the convertible are part number CBC5736. The difference appears to be in the length of the steel sleeve in the center of the bushing. Cusick reports that the sleeve protrudes 1/4" on one side and 3/8" on the other side on the coupe bushing shown above. So the offset 1/4inch (6.35mm) one side and 3/8inch (9.52mm) on the other side. So the difference = 3.17mm offset towards the nut.
Where the convertable is 3/8inch (9.5mm) and 1/8inch (3.17mm) so the offset = 6.4mm The superflex bushes do not appear to have any offset?
Plan was to make some new washers in the lathe... but that will not work, it is the long side that is against the nut, the short side has a 4mm washer in the gap. I could machine a 1mm washer to fill the gap and the nut screws on an extra 3mm. Would a 1mm washer be strong enough? Or I have to go standard bushes.
BUT CBC5736 is advertised for 92 - 96 convertable - so facelift... does my 1988 use the same?
In reply to a message from sbobev sent Fri 2 May 2014:
I will also add that the front crossmember bushes also appear
to be different for the coupe vs conv:
The 6.0L coupe per JDHT requires part number MHC2370AA.
The 6.0L convertible per JDHT requires part number CBC5736.
But, the 5.3L follows suite
The 5.3L coupe per JDHT requires part number MHC2370AA.
The 5.3L convertible per JDHT requires part number CBC5736.–
The original message included these comments:
The 6.0L coupe per JDHT requires part number MHC7522AA.
The 6.0L convertible per JDHT requires part number CBC5734.
The 5.3L coupes and convertibles are the same (JLM1010, now
MHC7522AA)
Duke
The offset does not matter. Just put the inner and the outer into the superflex and mount it with a washer each side and it will be fine. The overall width of the inner is what is important, not the placement of the bush.
Thanks Greg - One side is done.
I made washers to centre the bush, 2mm one side and 5mm the other side.
Pressed in the superflex bush with lub on it, looked ugly going in but the lip survived no problem at all.
I used a mill to remove the centre and burnt out the outer case rubber, quick sand in the lathe, coat of paint and looking good.
Once the middle spacer was pressed in the bush was to wide, I had to remove about 2.5mm from each side with a linisher so the washers would tighten up to the spacer.
Both sides looks good.
BUT - do you think I can loosen the other side nut? NO 4ft bar attached (bolted) to the power bar and a jack under that for leverage and NO.. it bent the power bar and went ping and shot 6ft under the car. I was glad it did not hit my hand, I had my safety glasses on! So next option is heat? Which will melt the nylock plastic in the nut, left it soaking with penetrating oil again...
Any ideas? The jack was a 2.5T jack, I had another power bar / socket / extension tube on the other side threaded though the spring to stop that side from moving!
Would not move. Heat seems to be my next option! or small grinder... (please no)
No need to remove the lip, just press it in.
2mm and 5mm washers and everything lined up perfectly - Oh and yes I debured the 19.5mm holes after the picture.
Once pressed in I needed to linish about 2.5mm off both side to get the bush the same thickness as the steel middle spacer. I actually tries to use the lathe to skim the bush but this rubber would not move. Only had carbide tips, maybe tool steel might have cut it, but pleased with what the linishers job. That is some mean rubber!
Here are some pictures of the bush in place all tighten up, I used a looong extension bar to tighten it until my poor arms could not tighten any more!
No idea how tight but FT tight, used copper anti seize on the bolt. I am pleased with how it looks.
OB - what you have done with the.. drop of the cage scares me.. but what I like is feel the pain / freak out / think for a week / then just do it!
It really is...get over the mind game, its to hard and get your hand dirty. I spend more time worrying than the job takes.... but with that we end up doing a good job!
OB - the drop of the cage is mind blowing!
Now... I can not undo the bolt on the other side. Heat, nope, 6ft bar..nope. I will get a demmel and cut the nut off.
So I start again tomorrow. I actually had the power bar+ 4ft extension BOLTED and it bent with a jack and nothing.
Tried to get an angle grinder in to the head of the bolt but NO..
Been there and done that with the Breaker Bar thing and had to resort to a 6ft Scaffolding Pole, when I was trying to undo the Front Caliper Bolts on 'Cherry Blossom' and even that wouldn't do it, although the 'Rattle Wrench' did!
As for dropping the rear Cage, on 'The Ice Princess' if its any consolation it took me a Year! to pluck up the courage to do it, as like you say it is a 'Mental Mind Game' and at the time in question, I had almost convinced that it was beyond me and that I couldn't do it
But with that broken Brake Bleed Nipple, since I couldn't get it out by any other means I really didn't have much of a choice and then of course I was kicking myself when I found out how easy it was to drop the Cage, where the worst part had to be removing the rear Exhaust/Mufflers
And I had the 'Rust Bug' to contend with on the Bolts
Though believe it or not I'm so 'into' this Car, that I am enjoying fixing these things almost as much as I enjoy driving these Cars, which will hopefully also be including 'The Ice Princess'
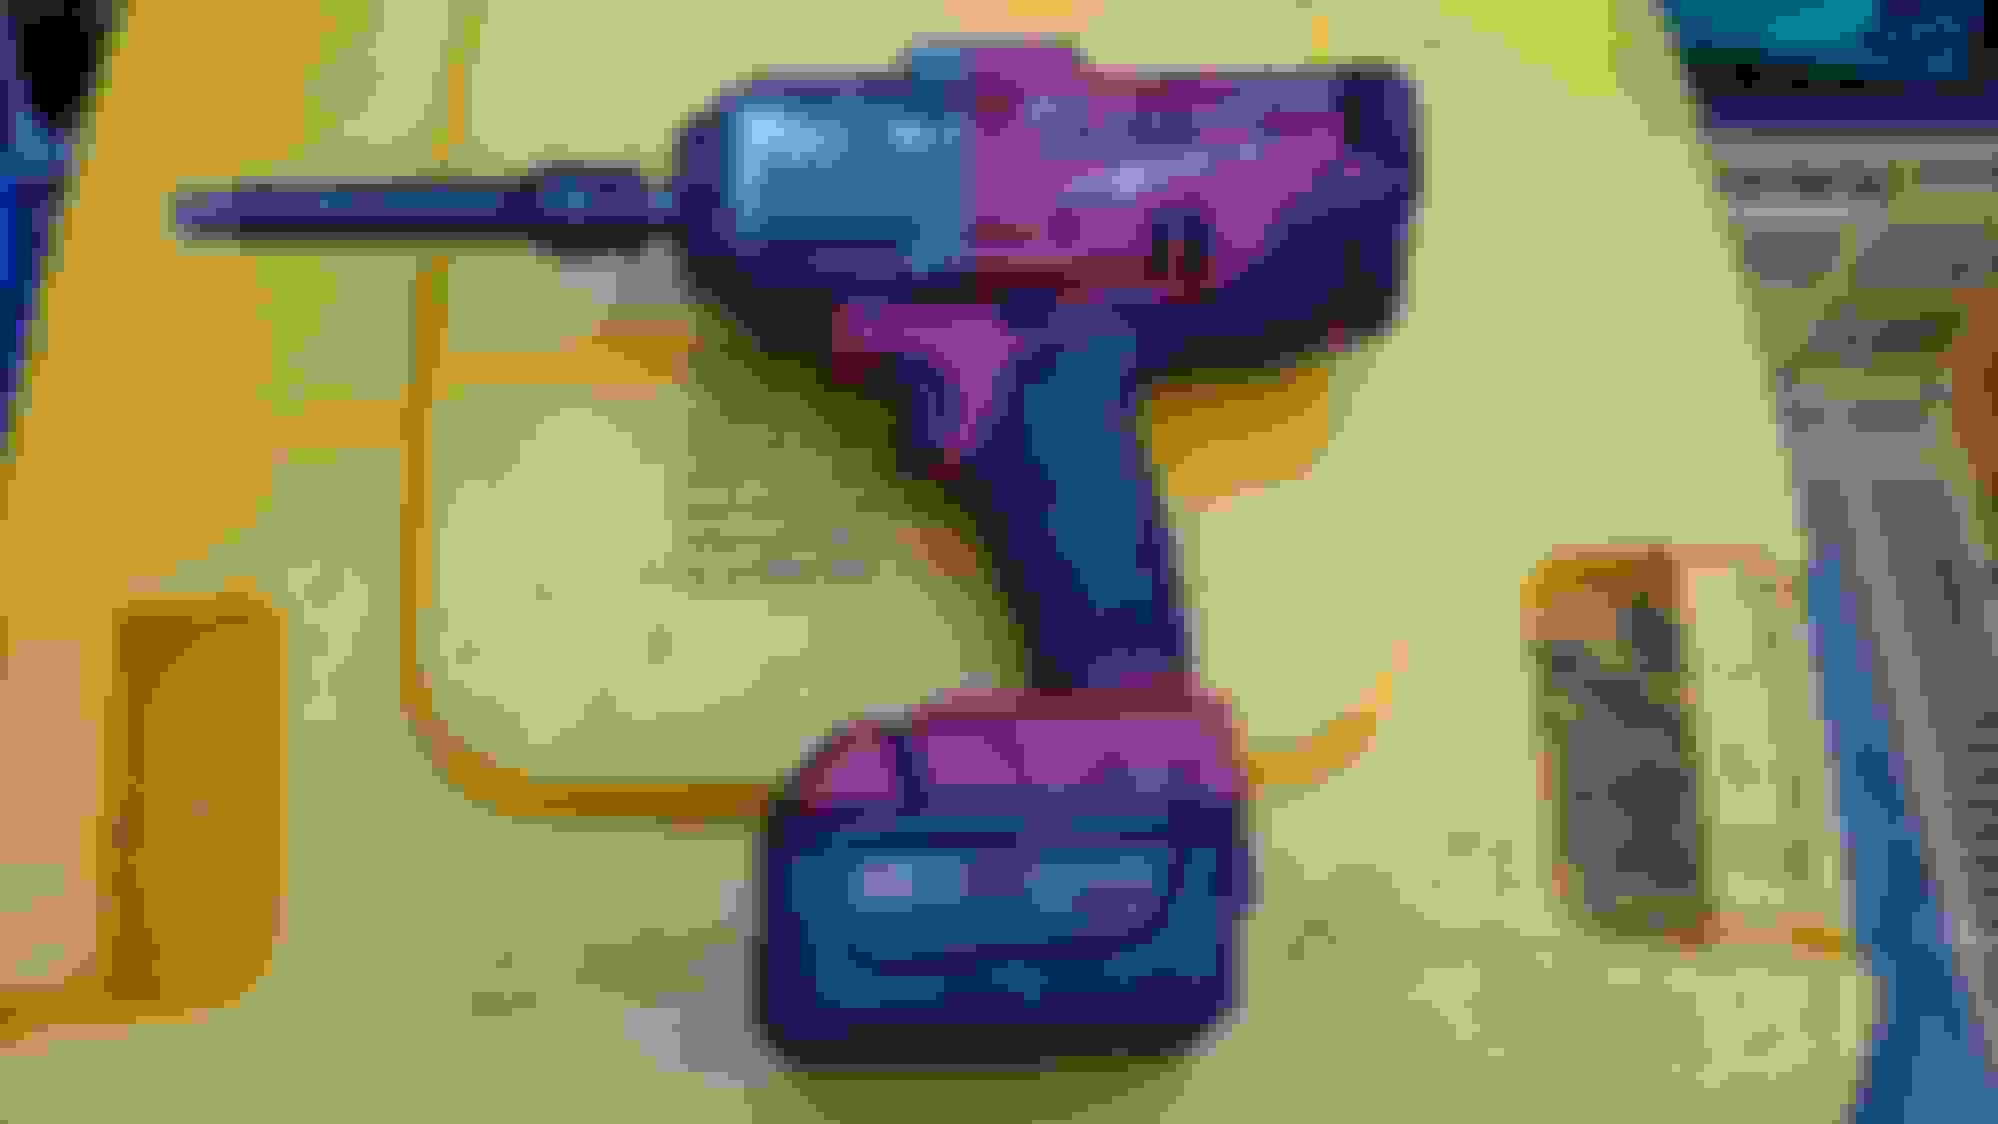
Greg - yes a monster rattle 18V from work. The problem is I had to use a universal joint to get the angle right. It would not budge.
So my next plan is to use a dremal and a small cutting disc to put a slit in the nut. Then use the rattle gun again.
I have not looked to see if I can purchase new nuts yet.
This nut is seriously tight!
Greg is 100% correct, typo from my part.
Went to the bolt shop and they wanted $6.80 for the 3/4 inch UNF Nyloc... add work discount and $2.65.
So lets get back to trying to undo the ahole nut... I got the super grunty impact driver from work on the nut end, and my pneumatic impact driver on the head end and nothing but lots of noise. This is one heavy bitch, dudes at work say there is not much this will not undo! But fail it did. Usually good enough...
So the story goes an impact driver at each end, and NOPE. So out came the dremel with a small cutting blade. After the first cut and using a power bar bolted to a tube and the 2T jack and it moved. Another cut the I added a power bar to the other side with a long tube and stated jacking and slowly it came undone!!! Yes! Did not cut the bolt which was a bonus!
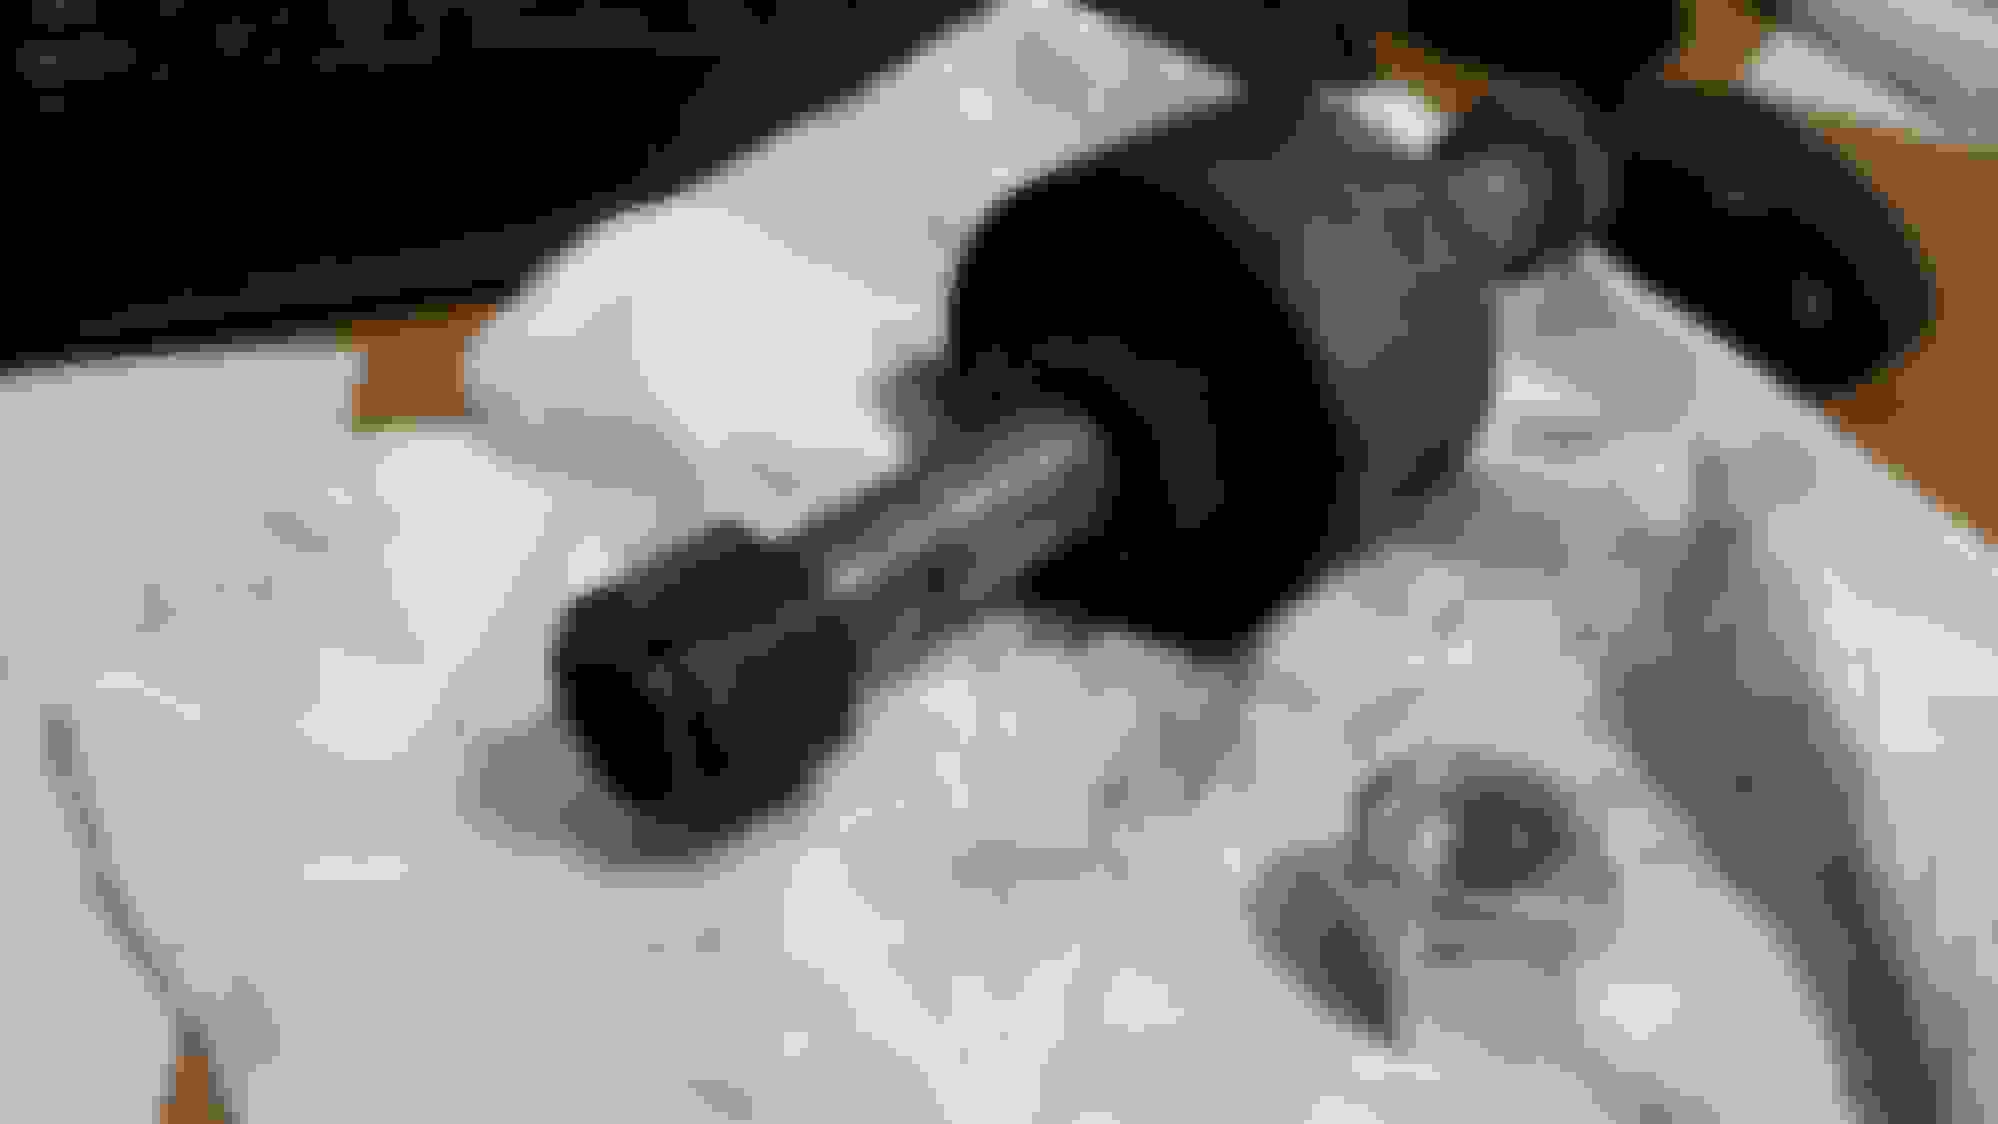
Old bush........ was not this bad before I started.
Now the issue is I have used all the grease that came with the bushes... (or lost what was left)
So what type do i use now?
I will hit google to see what i can find... but I am getting close.
Next will be the other bushes on the front, looks way to scary at this stage to even think about it. So head is back in to the sand once this is done.