When you click on links to various merchants on this site and make a purchase, this can result in this site earning a commission. Affiliate programs and affiliations include, but are not limited to, the eBay Partner Network.
When I fitted my re-cored Radiator, I filled it up with Tap Water just to Test it out for any leaks and was getting a bit of a Weep from the Bottom Hose but as I'd done the Clip up tight, I thought that in time it might Stop.
So as I wasn't using the Car or even Starting Her up, I thought that I would leave it till I got some Antifreeze and do it then.
During which time 'Grant' aka 'The Wizard of Oz' told me where I'd gone wrong, as I was supposed to put the Clip right behind the Ridge of the Bottom Hose Outlet.
So after getting the Antifreeze, I set about draining the Water out of the Radiator by removing the Bottom Hose, which can be a PIA at the best of times, except that I'd used a 'Mikalor' Hose Clip which is done up with a Spanner or a Socket.
Which does make the Job a lot easier.
The elusive hard to reach Hose Clip on the Bottom Hose.
When I drained the Water out, I turned the Clip round so I could do it up from the Top with an Extension Socket.
By Turning the Clip on the Bottom Hose, I can now reach it from the Top with a long Extension Socket which makes it a whole lot easier.
When I finally got the Bottom Hose off, there was hardly any Water in the Radiator, so this time I took 'Grants' advice and positioned the Clip just behind the ridge on the Bottom Hose outlet.
This seemed to work as I still cant see any Weeping from the Bottom Hose.
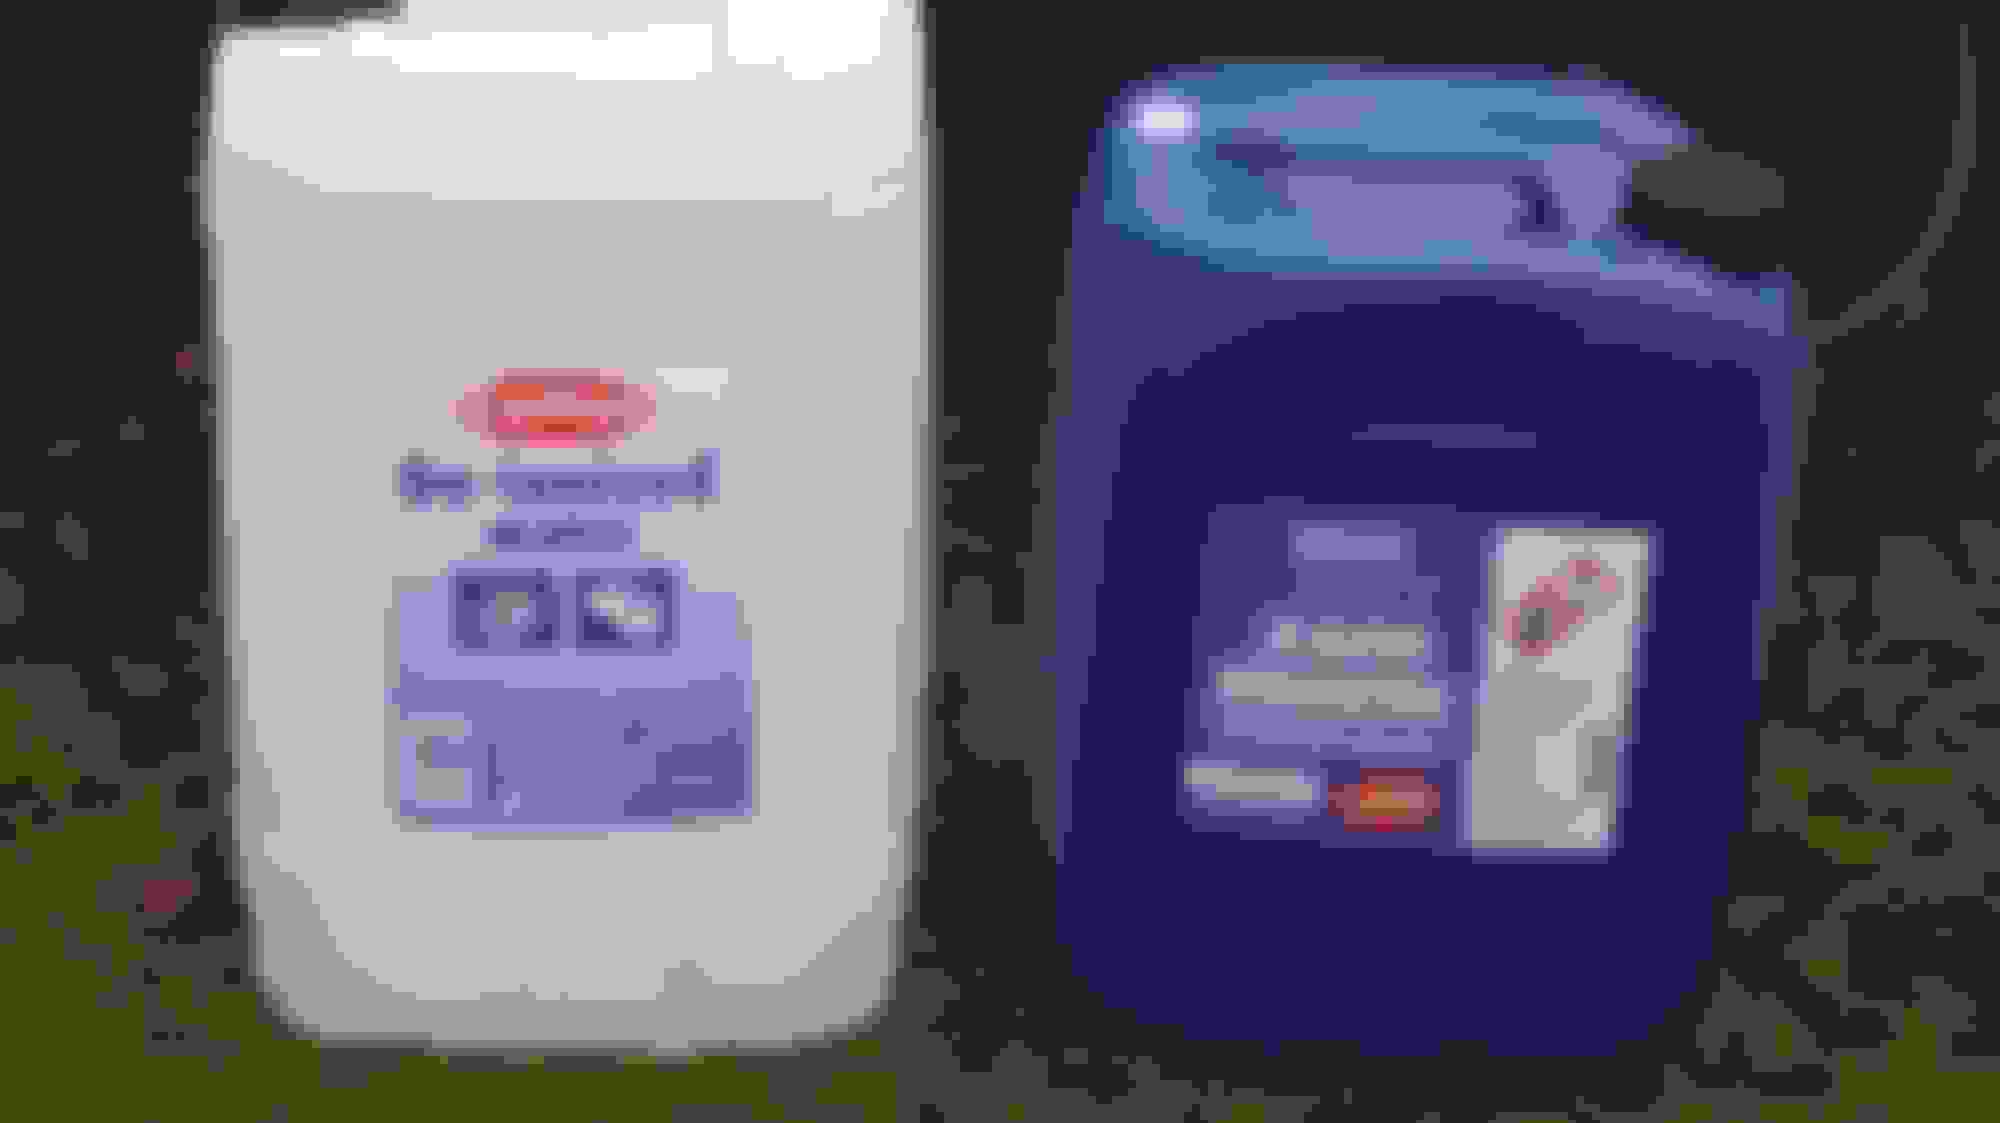
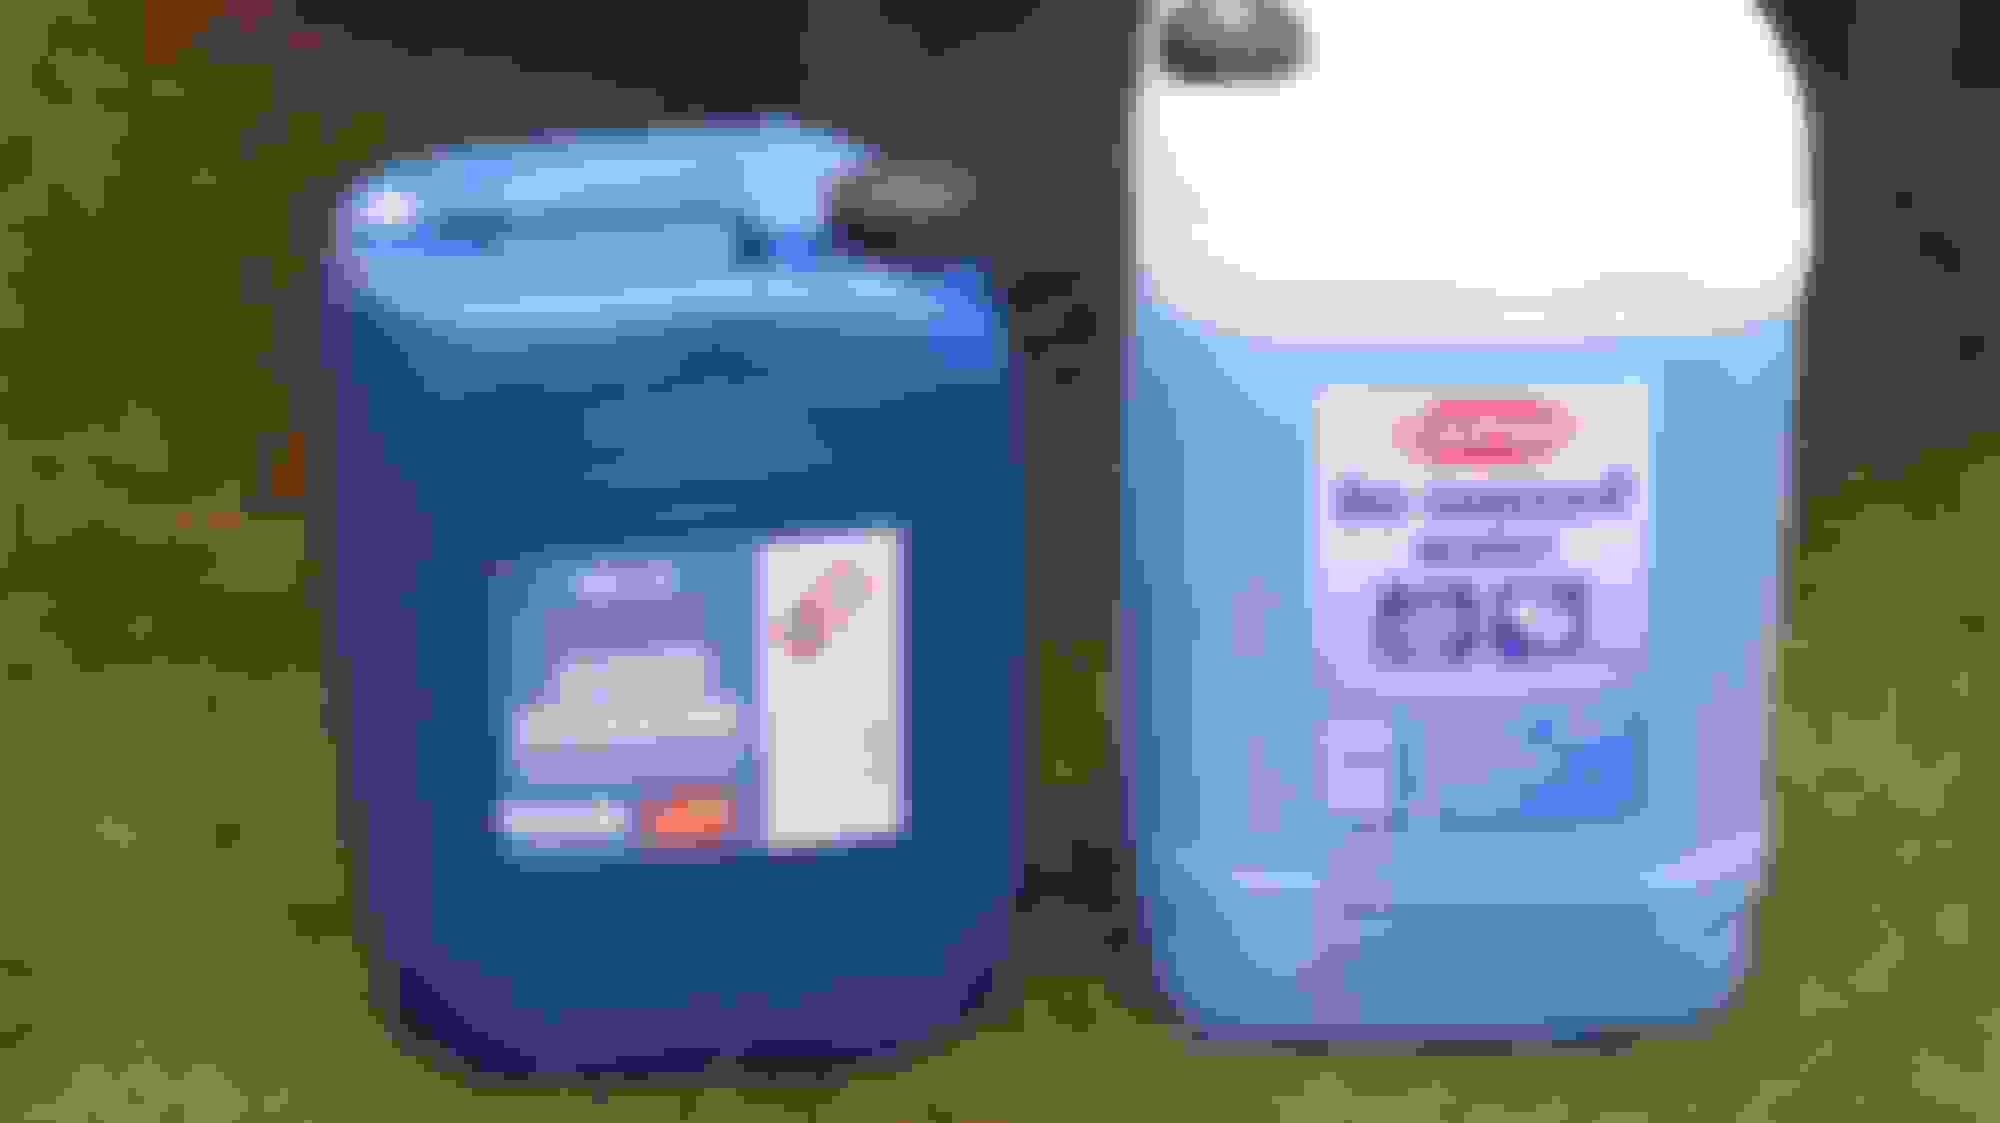
As I've got very hard water in my Area, I was advised by some Forum Members to Mix the Antifreeze 50/50 with Distilled or De-ionised Water, so I got some and did just that.
De-ionised Water and Antifreeze already for mixing together.
All mixed up and ready to go in the Rad.
I can't believe I'm doing this as I would use Tap Water in any other Car, so this takes Decadence to another level.
I just hope the Neighbours aren't watching or they'll think I've won the Lottery (Again!)
Only a Tenner last time, so I guess that pays for the Water.
No Expense spared, I bought a New Jug and Funnel especially for the occasion!
Good work. I admit that I get very precise when replacing jubilee clips, working out which is the best position for future maintenance, and then ensuring that I have optimal access with a socket. Like all of you, i have spent many hours trying to reach a jubilee clip and wondering why on earth the previous owner (or manufacturer!) decided to orientate it in that particular direction. The bottom hose on a Renault 1.2 Clio is a specific case in point......
OB, is that coolant the RIGHT spec? Not being stupid, but loads of different coolants out there and the result was shown when 2 are noncompatible... Costs a lot of time, work and effort to get the problems then sorted...
Nice one OB. I didn't realise there was nuts with the holes drilled out for locking wire. Is that just for the brake calipers? You'd be "nuts" not to install them though
We use that wire all over the rig up at heights in our derrick and top drive as a nut like that falling from heights is very dangerous
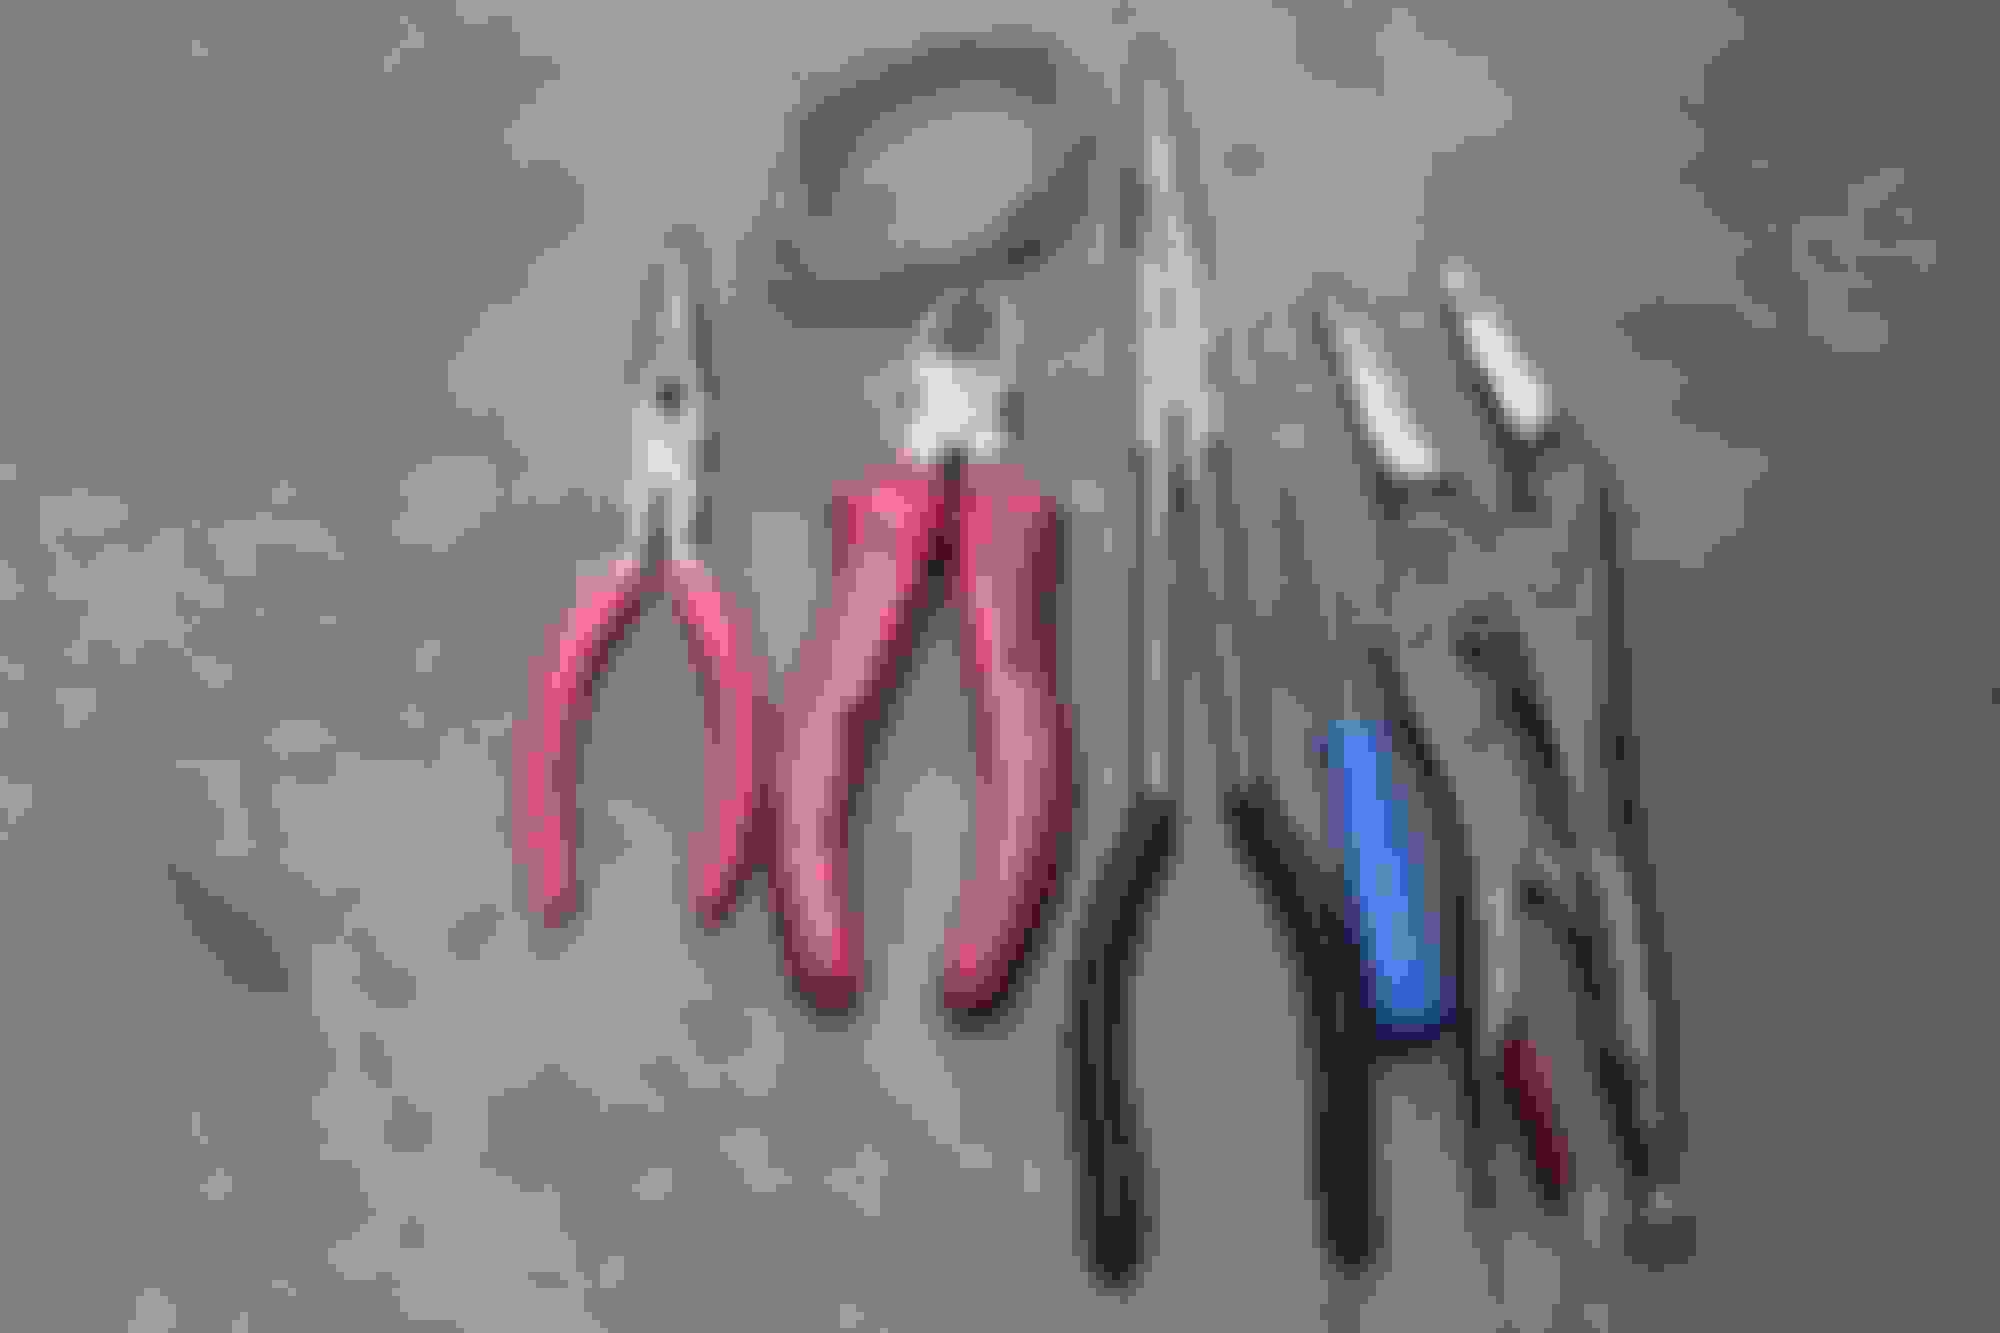
We have a special tool for that wire. Basically like a pair of plyers but has a locking mechanisim and a spindle. You pull back and "wella" it twists all your wire. (probably over kill if you don't have to do too many though).
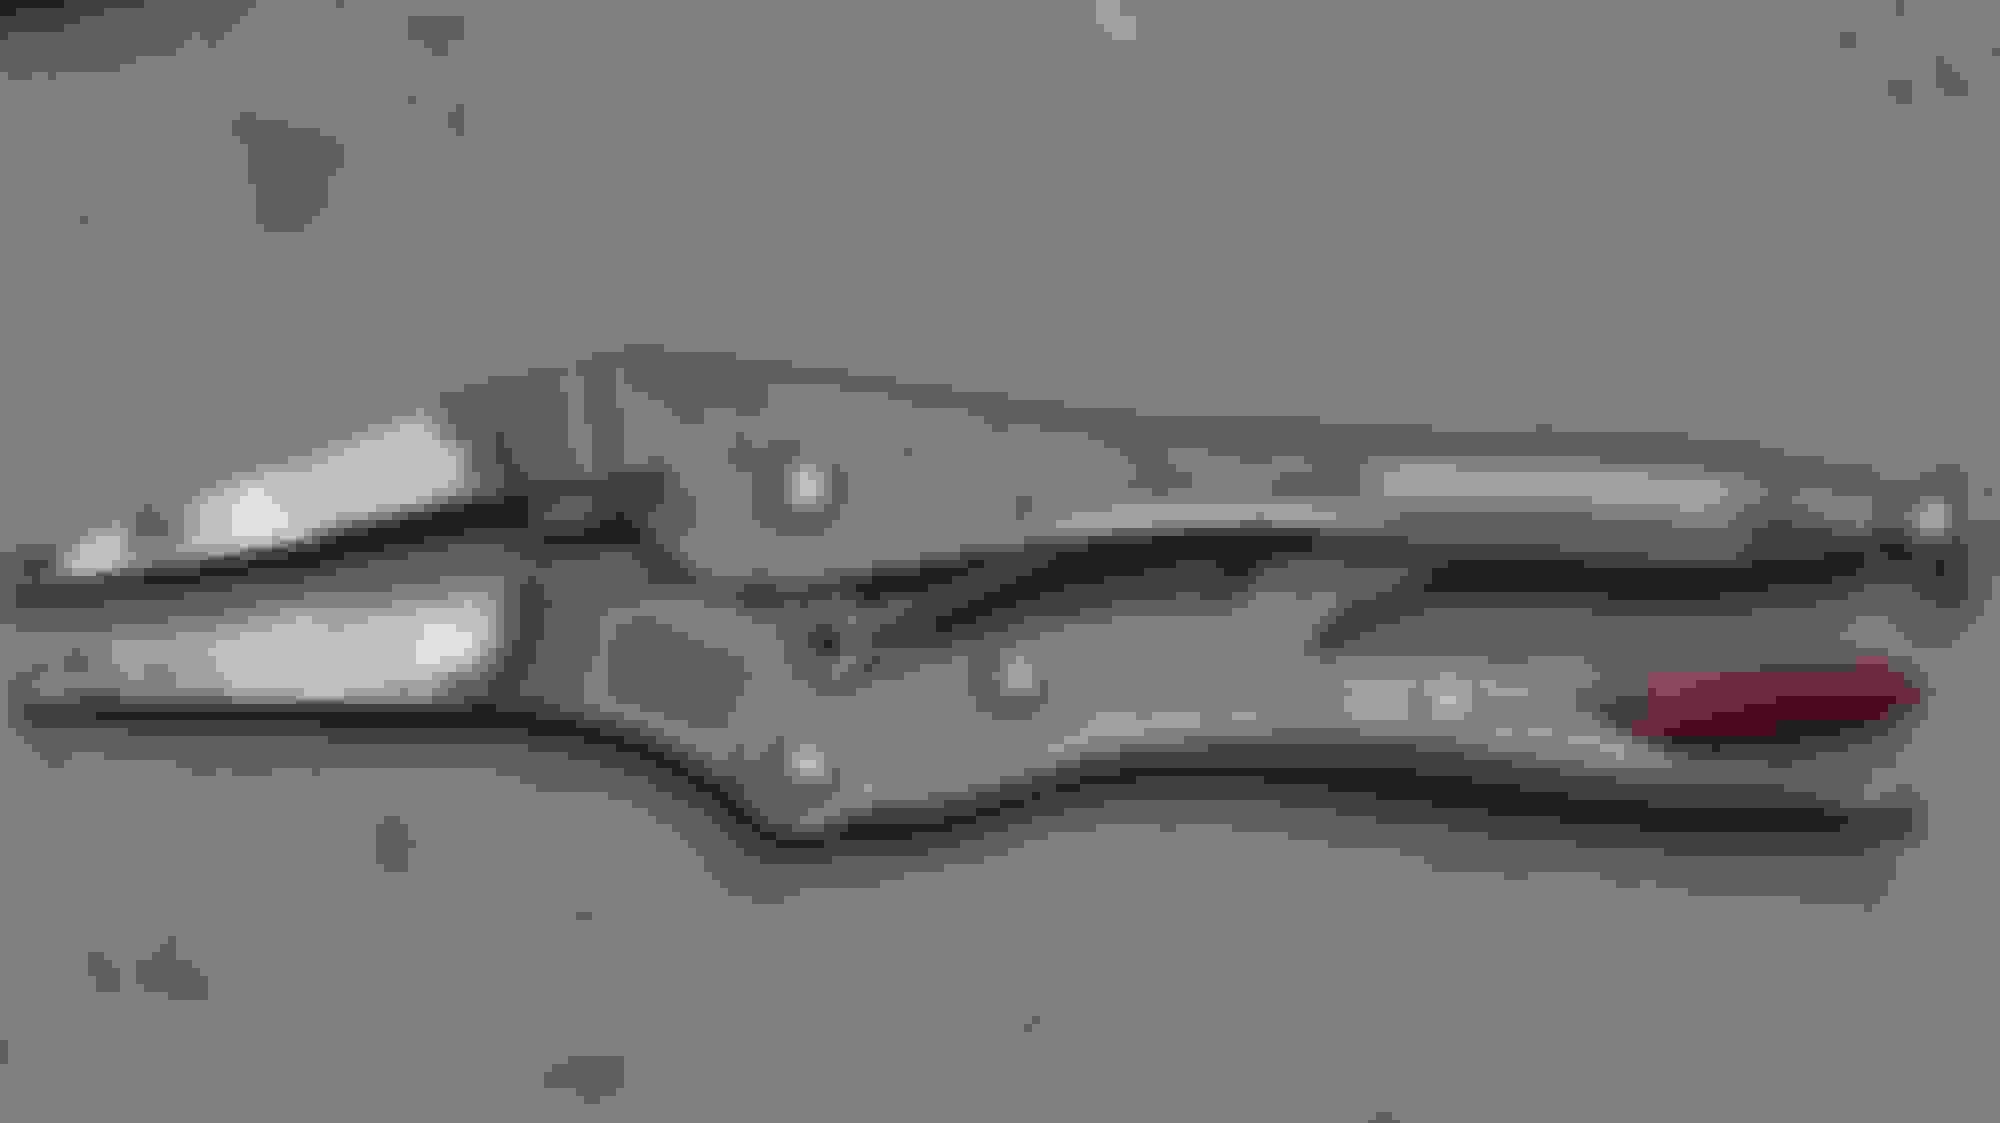
Everyone should have a set of locking wire pliers! It's very therapeutic using them! And with a 7" set available for less than a tenner, it's a no-brainer. Much neater than manually twisting wires.