When you click on links to various merchants on this site and make a purchase, this can result in this site earning a commission. Affiliate programs and affiliations include, but are not limited to, the eBay Partner Network.
fashion is for followers. nothing wrong with a prawn cocktail, also a black forest gateaux.
rum and coke is for after drive relaxation. getting hammered is a great hobby,one i indulge in whenever i am able
Having had a problem bleeding the Front Brake on the drivers side (UK) Car, I thought it may have been an Air Leak in one of the Brake Pipes I made.
So I replaced it with another one.
I thought that one of my home made Brake Pipes may have been sucking in Air and so I made another one to replace it.
But since this didn't solve the Problem, I did a Test on the Valve Block of the ABS and found that one of the Valves didn't seem to be working.
So I then removed the Valve Block and had a look inside.
No Wonder the Brakes weren't working, years of Standing have certainly taken their Toll.
The next thing I did was remove all the Ribbon Connectors (some I did before I took this Pic) and having then removed the Valves.
I took them to a Jewelers for Ultrasonic Cleaning in their Industrial Machine.
Then took the lot to a place I know that Specializes in repairs to electrical stuff, together with a diagram of what to Solder where and left them to it.
Although I have done this myself in the past, its quite a fiddly little job that does require a lot of attention to detail, as you can't afford to get this wrong.
And so for the sake of �25 to have it rewired by professionals, it seemed to be worth it as at least I will know that it works.
Meantime we went to an Auto Jumble on Sunday, where 'The Jaguar Gods' were really on my side.
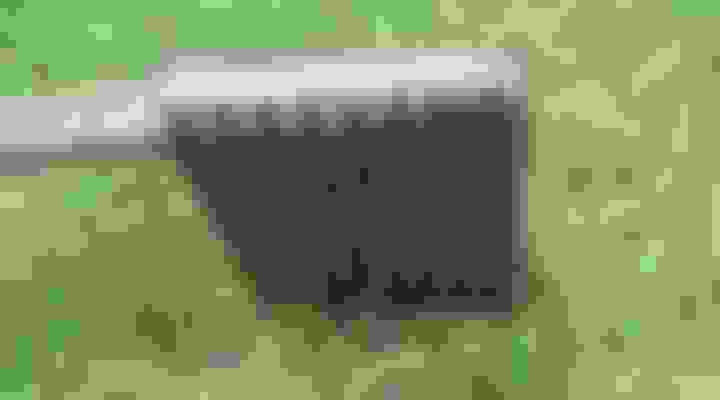
As I picked up a Complete Pedal Box Assembly including the Master Cylinder Actuator for an XJS for �100.
Where you can see from the Brake Pedal Rubber, that it doesn't look as if its really done much work.
The Master Cylinder Actuator for a Pre-Facelift XJS including the Valve Block only for �100.
The Pedal Rubber was hardly worn, so doesn't look as if its really had a lot of use.
Then just when I was thinking that it doesn't get better than this, it suddenly did!
Look what I found Brand New for only �50!
A Brand New XJS Valve Block only 50 Quid OMG Bargain or what!
Now that's what I call a Bargain as it was just what I wanted but since I've also bought a Complete Master Cylinder Actuator, I might just put that in to try it out.
As it should only take me a couple of hours to Swap over and maybe an hour or two to Bleed the Brakes.
I am sure mine as rusted out inside... That is on my "to do" list yet... Not looking forward to it but I do prefer to drive a car with ABS. Not because I am a wuss but because ABS gives you that extra when it comes to braking.
Providing the Valves are working OK then fixing the ABS is very easy, though you must be 'Ace' at Soldering or you could Kill yourself (Just so you know!)
That's why this time I subbed that Job out to the Pro's.
The Restoration of 'Cherry Blossom' is now gathering pace and as most of you know the Oil Cooler broke when I Started her up after 16 years of Standing.
As I didn't want to replace this at least until She has passed her MOT, yesterday I got myself an Oil Cooler by-pass pipe made up.
Which I got done for a 'drink' by a guy who has just Started up in the business, so in any event that's one useful Contact I made.
The Oil Cooler by-pass Pipe that I had made up
As there was not much space to move, it was a bit of a 'nightmare' to get the connections done up but once it was in, it curved round without any 'flat spots'
The Photo taken was of a trial fit, before I cut the pipe to length to have the Connectors crimped on, where for the actual fitting I used the proper joint tape.
Oil Cooler by-pass Pipe now in position for a Trial Fit.
The Drive Belts are nowhere as near as they look in the Photo, with plenty of clearance all round.
Oil Temperature taken after half an hour of driving round the Garden 110 degrees.
As I had to remove my tranny from my XJ8, I was forced to cut a pipe. This pipe is now taking revenge... Not only, can I not get the car to run without this pipe, this pipe is only properly accessable with the engine outside of the engine bay...
I guess you know where this is heading to
You're right! Engine must come out. A "simple" removal. Shouldn't take "that" long - I hope. And to complete it: it will have to come out on the front subframe, which is luckily enough able to be removed with the engine on it...
Wohooo! I "love" my cars... Actually, I hate the XJ8 at the moment... I won't be cleaning the engine or the engine bay at the same time. Sod that! Throw away item!
Do you think that'll damage anything? Hitting the wheels with an FBH does more damage. You don't drop it from 3' on the ground. 1' is more than enough...
Another popular method, if the car is drivable, is to loosen all the nuts a bit and then slowly....like 5 mph.....drive the car in a couple "figure-8" patterns.
A bit over a decade ago, I observed/participated in a technical examination of an old truck. My former career. Brakes an issue in the accident that allegedly seriously injured
the teen driver.
One of the "technical" experts was an experienced tech from the local Ford dealer.
Removing a rear brake drum was an issue. The wheel was off. The tech went to his truck and came back with two hammers. Using both hammers he whacked the drum soundly at spots 180 degrees apart a few times. It came free. That experience thing
prevailed. Force has it's place, properly applied.
if you pour boiling water on the alloy close to the hub it may expand enough so you dont have to hit it too hard. maybe worth a go, only costs a kettle
Not quite enough room to do a figure eight, so I will try and protect the alloys with a piece of wood and then whack it with a Sledge Hammer.
I had the rears of our SLK frozen, impossible to get them off.
However, bolts a couple of turns loose, <1 meter backwards and slamming on the brake solved it.
Don't go the sledge hammer way...


")


