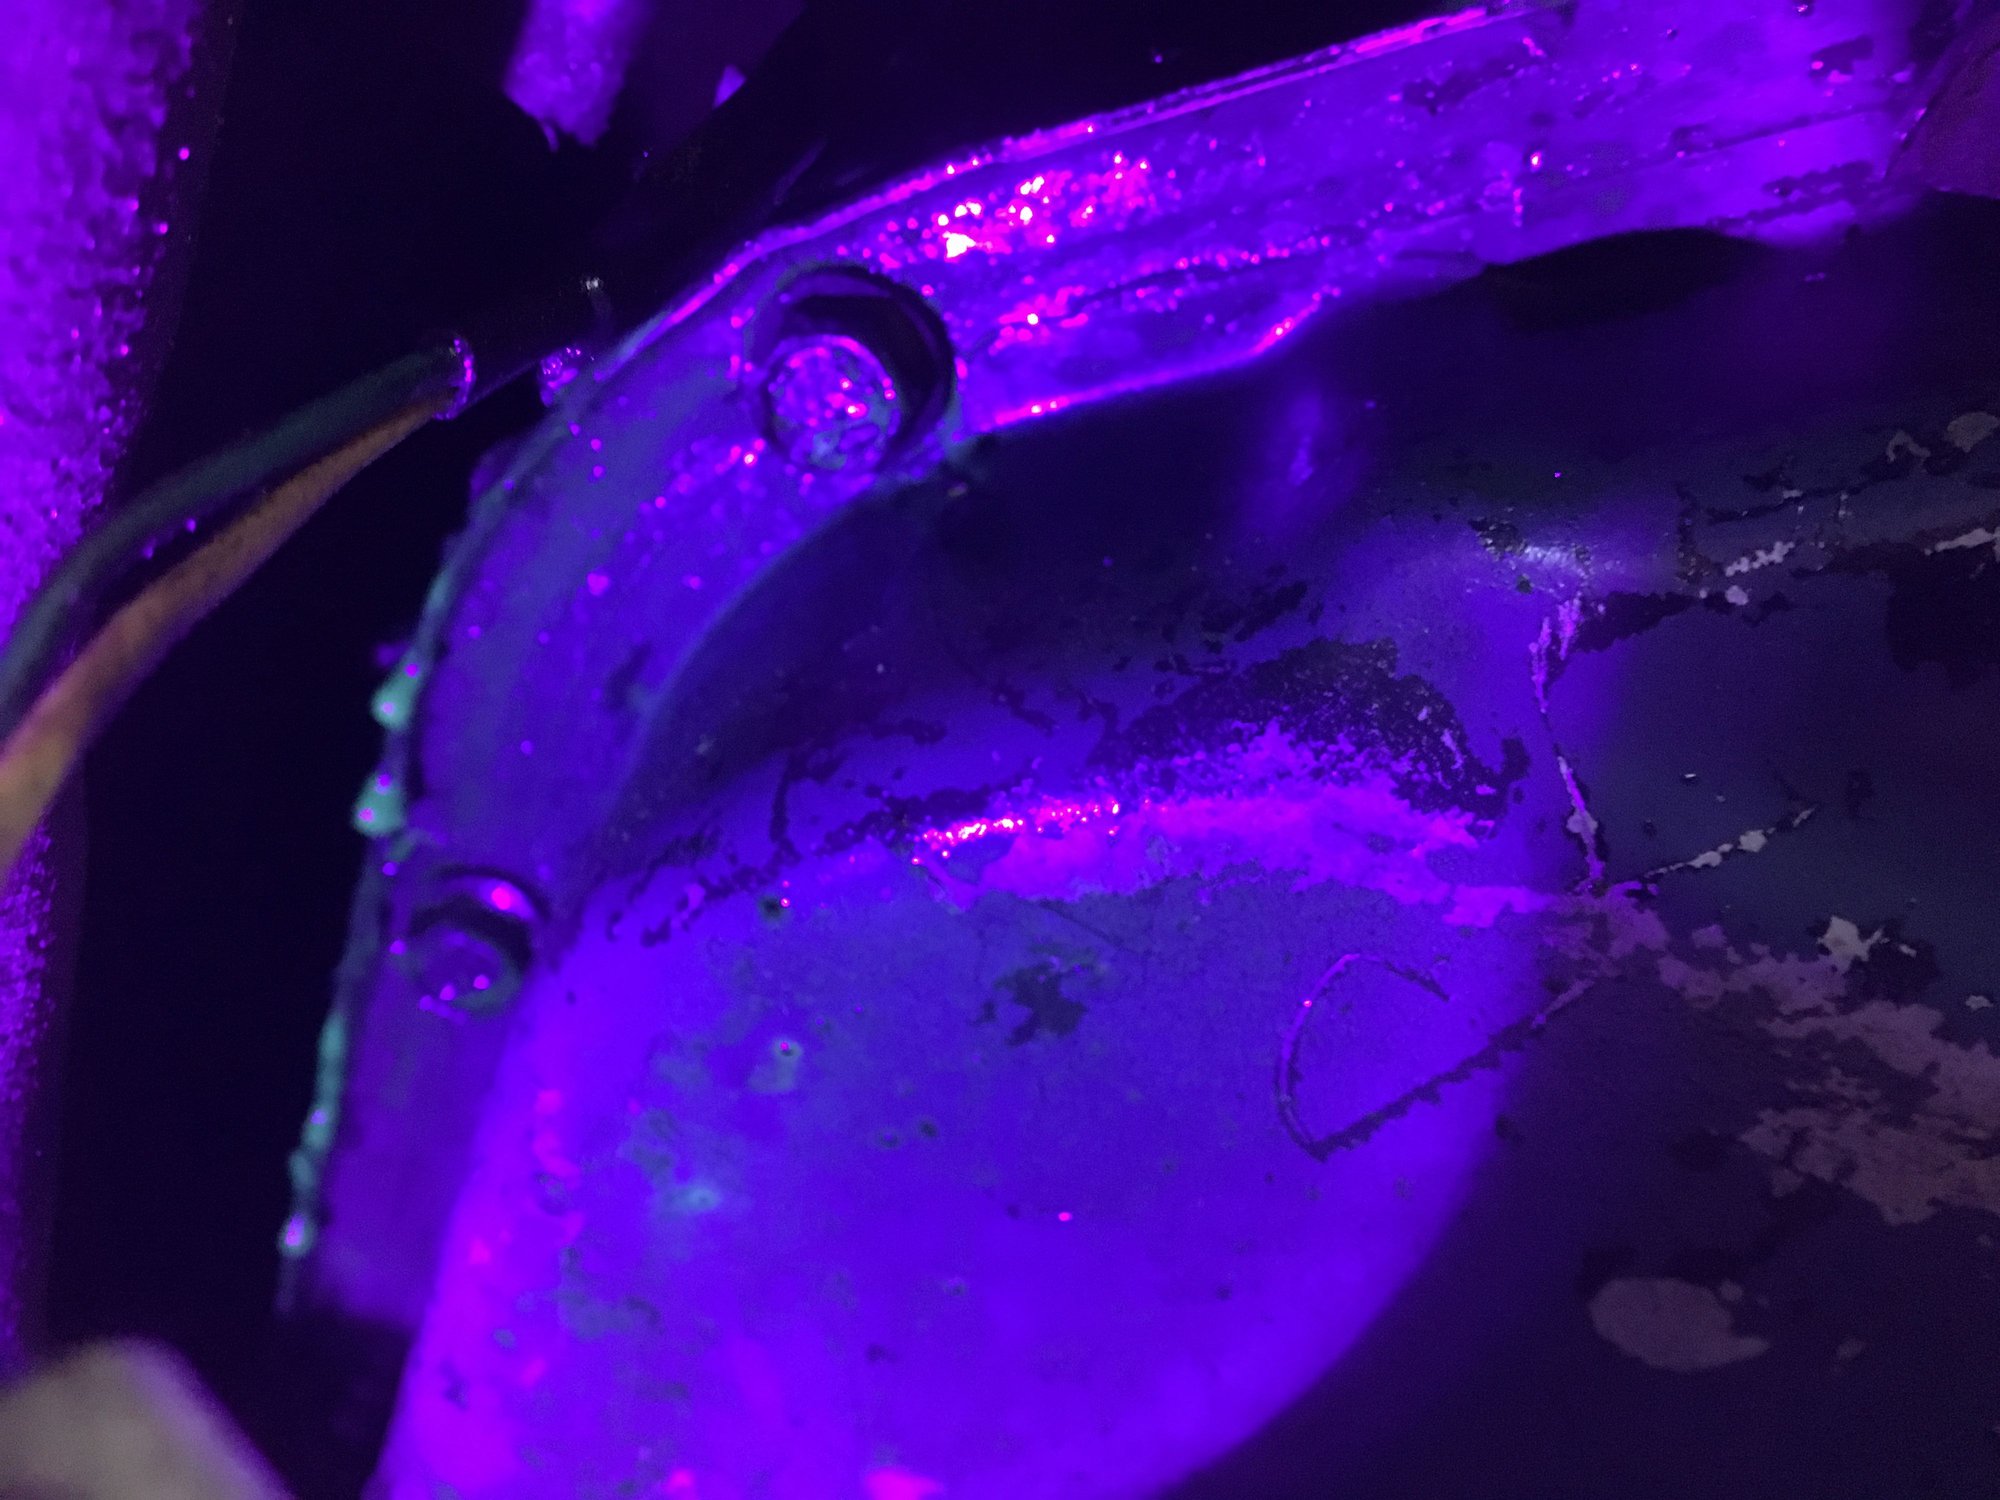
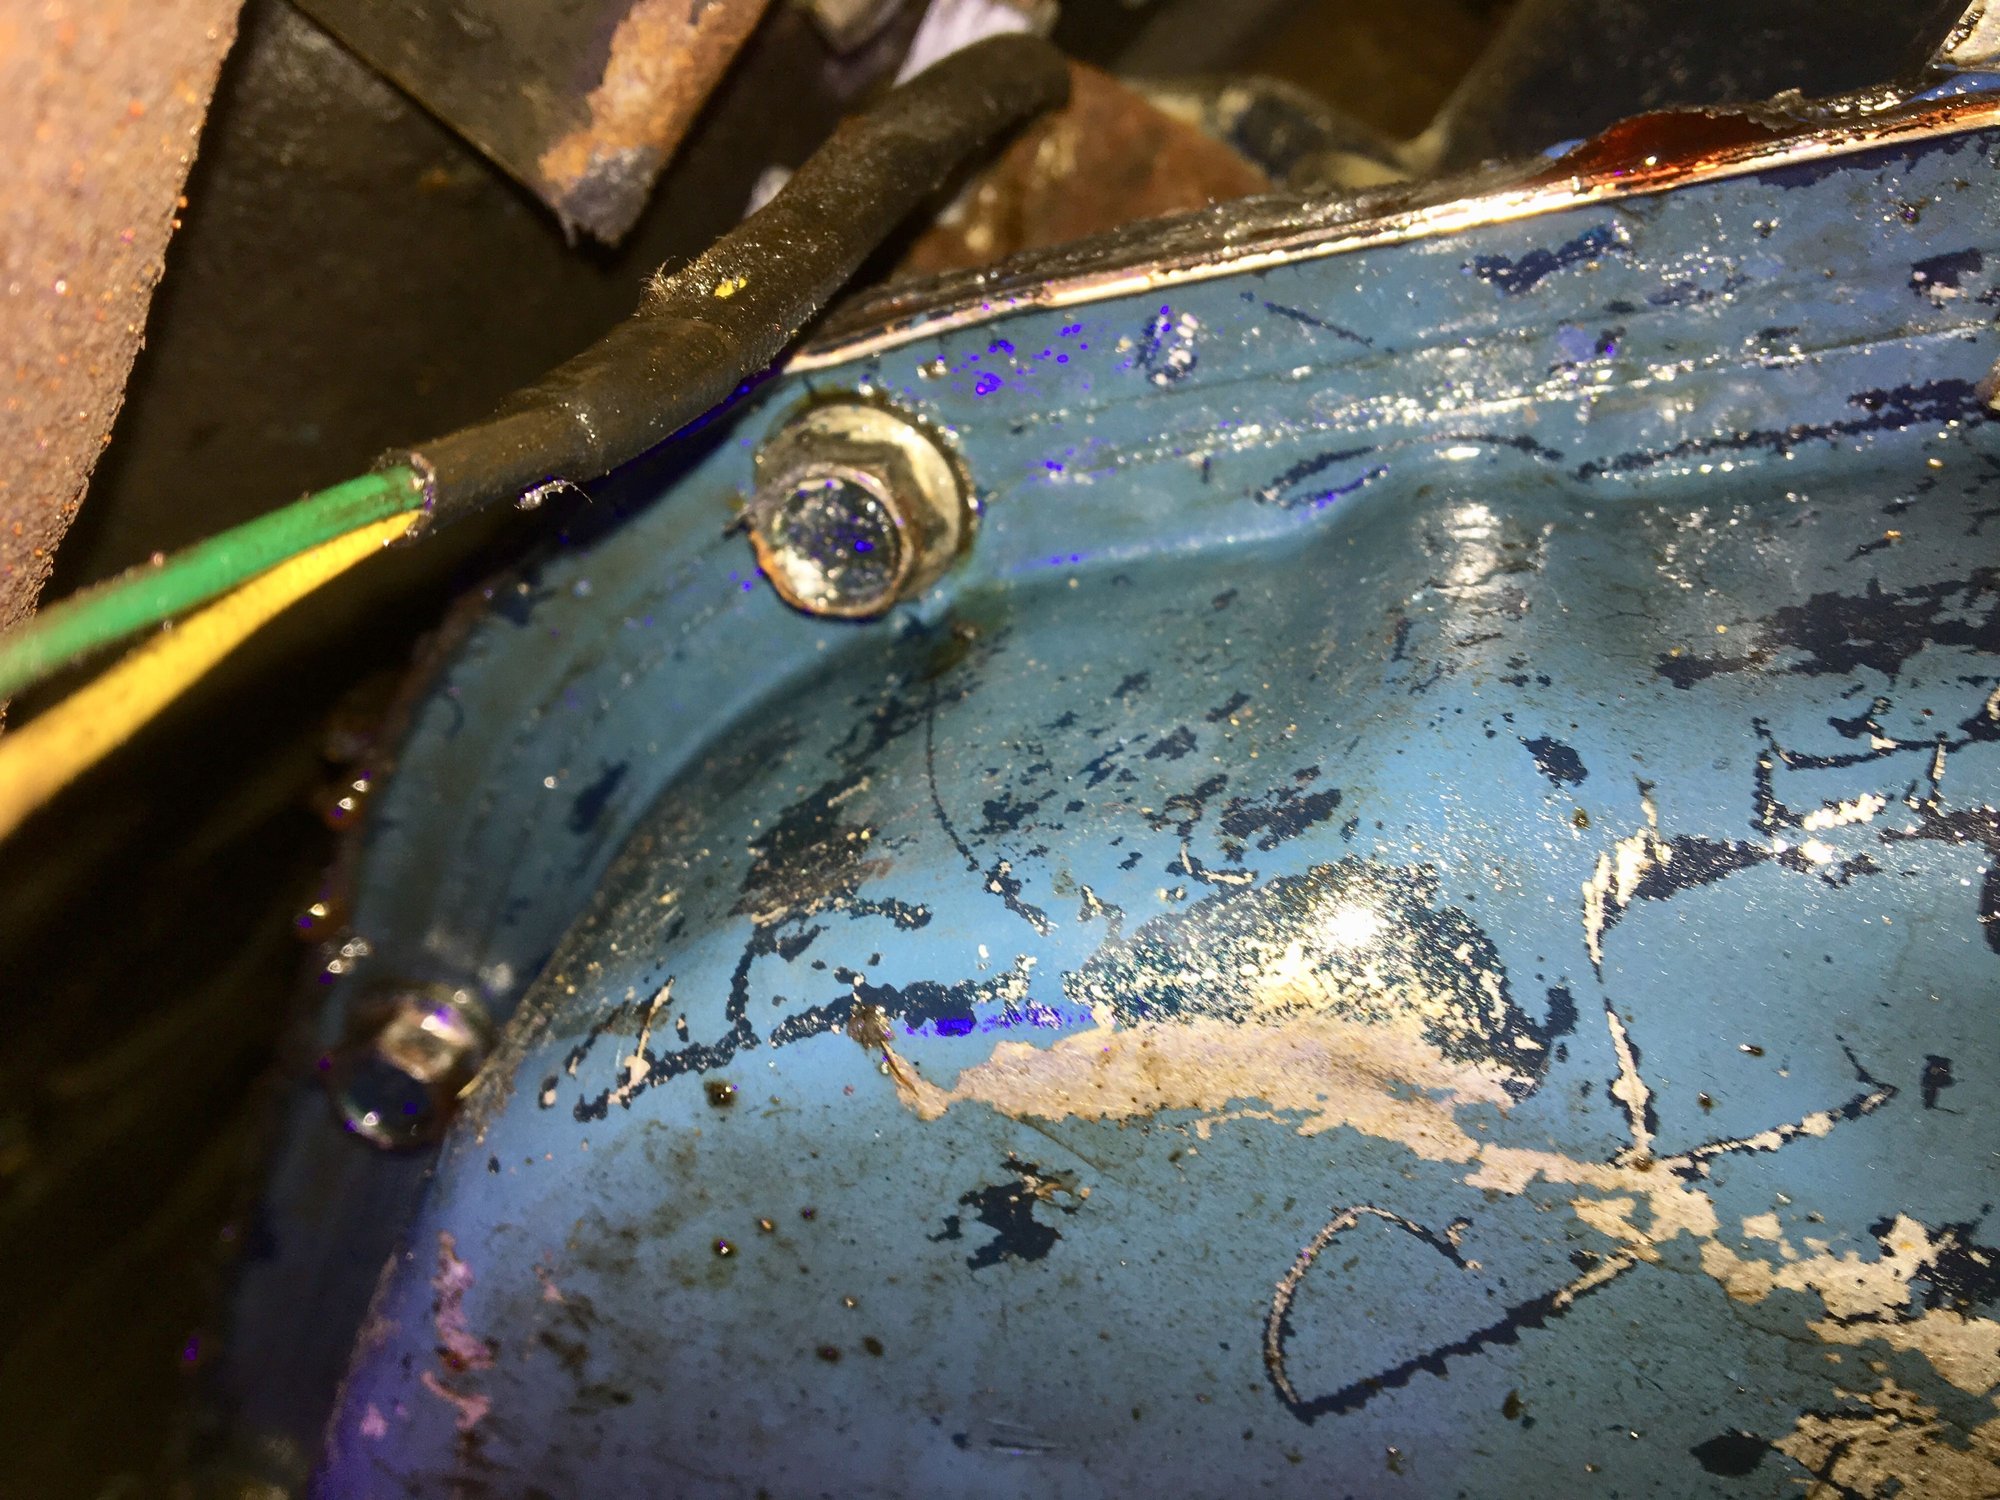
Decided to tackle the trans mount today... this is horrible
#21
i used blue rtv and gasket.
Thinking about shooting some of this at it.
https://www.permatex.com/products/ad...t-leak-repair/
Thinking about shooting some of this at it.
https://www.permatex.com/products/ad...t-leak-repair/
I doubt that anything now will help. Once that ATF seeps/soaks into gasket material it is very difficult to clean suficiently for anything to stick.
The fluid level inside is right AT the gasket point, thats why they all leak eventually, so lowering it a litre or 2, and then Solvent clean (Carby cleaner etc) the suspect area, until NO oily film is noted, then give it a try.
As I said, I got sick of it on all the Jags I had at the time (8), and NO gasket was the only way I stopped them all from leaking. As Carl has said, "buckled is buckled", and some of mine were that, and the RTV bead I used (about 6mm wide), was sufficient to do the trick.
#22
I've always considered doing this, but I never understood how I would tackle the situation if I ever had to go back in there. Once you remove the camcover, after it's been sealed in the past, what is the procedure to put everything back together again? Would I have to scrape off the RTV off both sides and do a thorough cleaning? How do I prevent anything from falling into the open engine?
#23
Colour is not always an indicator.
I doubt that anything now will help. Once that ATF seeps/soaks into gasket material it is very difficult to clean suficiently for anything to stick.
The fluid level inside is right AT the gasket point, thats why they all leak eventually, so lowering it a litre or 2, and then Solvent clean (Carby cleaner etc) the suspect area, until NO oily film is noted, then give it a try.
As I said, I got sick of it on all the Jags I had at the time (8), and NO gasket was the only way I stopped them all from leaking. As Carl has said, "buckled is buckled", and some of mine were that, and the RTV bead I used (about 6mm wide), was sufficient to do the trick.
#24
Join Date: Mar 2008
Location: Pacific Northwest USA
Posts: 24,738
Received 10,746 Likes
on
7,099 Posts
"Four fingers"

I generally use a short (4"-5") 1/4" drive ratchet for pan bolts and 'snug', to me, is "four fingers" pressure/force on the ratchet. The force you'd exert using you're entire hand and or a longer wrench/ratchet would be too much.
A lot depends on the gasket material. Old cork gaskets can't tolerate much squeeze at all. Some of the newer, thicker paper composite (or whatever they are) can take a bit more clamping pressure if needed.
Watch for the gasket material to *just* compress. If the gasket start expanding outward, that's too much pressure
Just IMO. Over time everyone sort of develops their own technique...typically based on "what works for me" much more than any technical reasoning/explanation.
Drop the pan and replace or fix. I'm not dropping that thing again!
Hate to say it but I see another go-round with dropping the pan in your future....if you want to be leak free.
Cheers
DD
#25
Join Date: Mar 2008
Location: Pacific Northwest USA
Posts: 24,738
Received 10,746 Likes
on
7,099 Posts
Cheers
DD
#26
#27
I've always considered doing this, but I never understood how I would tackle the situation if I ever had to go back in there. Once you remove the camcover, after it's been sealed in the past, what is the procedure to put everything back together again? Would I have to scrape off the RTV off both sides and do a thorough cleaning? How do I prevent anything from falling into the open engine?
The camcover gasket is a Neoprene seal, and use "shanked" bolts to give a pre-determined "crush" on said gasket and tube seals.
I used a smear of RTV on both sides of the outer gasket, and the tube seals, and a tad more than a smear at the integral "D" seals.
Only tighten a SMALL amount above finger tight, or those shanked bolts will snap.
Removing RTV when needed with an open engine, CARE and TIME are your best approach, and just watch what you are doing. Never had issues myself.
#28
Just to update... I used the spray sealer yesterday(sticky crap) and this morning it still dropped some atf. Unsure if it was less or not. I've only got one more thing to try and that's the permatex "right stuff". Try and rubber seal around the edge. If that doesn't work, I'll just have to get a new pan and drop the mount at a later date.. perhaps next year. Ha
#29
Just to update... I used the spray sealer yesterday(sticky crap) and this morning it still dropped some atf. Unsure if it was less or not. I've only got one more thing to try and that's the permatex "right stuff". Try and rubber seal around the edge. If that doesn't work, I'll just have to get a new pan and drop the mount at a later date.. perhaps next year. Ha
The Moroso pan is only a optional extra, but really worth it if you feel extravagant! It is the only one with a proper solid joining face, rather than a pressed item. It is welded, not cast aluminium. The cast ones seal well, but can crack if they hit something.
Greg
#30
These bodge fixers never work for long, and often not at all. next time you feel strong enough, fix the anti-shunt thingy so the pan can be removed without difficulty (see pic) and treat yourself to a Moroso special gasket. Put a smear of Permetex copper high temp stuff each side, do it up as per Doug's 4 finger method, and relax! This is the best 30 dollars worth you can find.
https://www.amazon.com/Moroso-93103-.../dp/B003YLH8FM
The Moroso pan is only a optional extra, but really worth it if you feel extravagant! It is the only one with a proper solid joining face, rather than a pressed item. It is welded, not cast aluminium. The cast ones seal well, but can crack if they hit something.
Greg
#31
#33
Well I went to see the jag and bought some of the "right stuff" to put on the pan. When I got under there it almost appears as though the leak had stopped. For sure where I hit the pan/gasket areawith the spray sealant. It created a clear barrier and I could not see anywhere where it had leaked anymore atf on the pan. Usually there were drops hanging off the pan and there wasn't anything. I hit it again with the spray and a little bit of red dripped on the side where it's hard to see and get to because of the exhaust. I'm hoping this stuff is actually working. I didn't even use the new stuff.
The following users liked this post:
Greg in France (04-27-2017)
#34

Obviously the fluid is visible but I ran uv to see if I could see leaks from above the pan... nope


I got a thing for GTs
#36
old thread back... Iím going to have more time to fix my jag as I sold the Porsche and bought a Bmw 633csi... which only needs to be driven. Greg I know you said donít cut the mount on the car... you say this just so one doesnít mess up correct? The mount isnít holding any energy, correct? I ran some uv dye through the trans and really all I can see are leaks all around the pan it seems... and not to mention the pan looks like it bottomed out long ago and Its an odd baby blue color, doubt itís stock. Thanks everyone

Obviously the fluid is visible but I ran uv to see if I could see leaks from above the pan... nope


I got a thing for GTs

ore and more fellas teaming up their XJSs with a six series.
#39
#40


