When you click on links to various merchants on this site and make a purchase, this can result in this site earning a commission. Affiliate programs and affiliations include, but are not limited to, the eBay Partner Network.
4.2 Supercharger & throttle body elbow removal advice
Hi everyone. Started the SC removal job last night for a few reasons:
- confirmed vacuum leak and most vacuum lines around there are undoubtedly shot
- oil leak starting to show up under throttle body and elbow
- possible leak from PCV hose to throttle connection
- good opportunity to clean out injectors and replace wherever else is down there
- want to install smaller SC pulley
I have the throttle body off and I am looking at the procedure for the elbow.
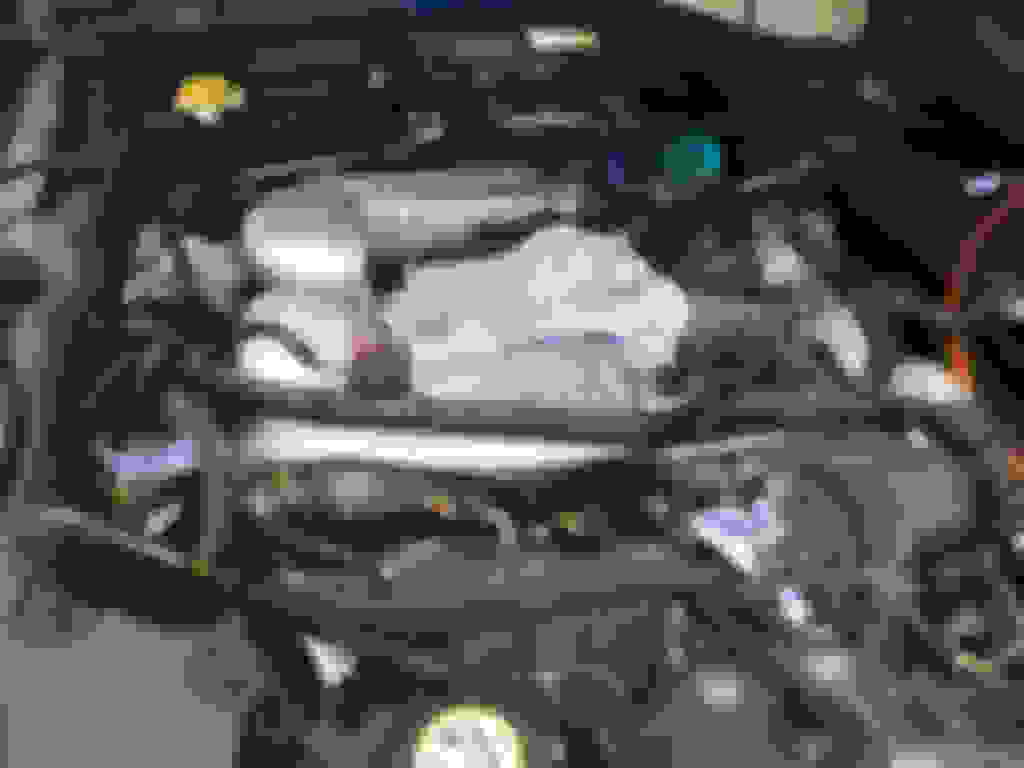
The 1st pic shows the electrical harness (highlighted) and in the 2nd pic they seem to have completely forgot about it.
How is that elbow supposed to come out with the harness in the way?? I literally starred at it for 20 minutes trying to figure out how it's possible. Even just to get to the torx bolts seems like a pain in the ****!
Any advice? Can I remove the SC without removing the elbow?
What are you trying to do? I'm part way through tearing down my spare 4.2 blower engine. I found it's just about impossible to pull the TB intake off and in fact I removed the blower with the intake in place. It actually came off pretty easily once you get the bolts below the intake pulled. Not sure about doing this in car, it's going to suck, but other have done it.
I have some pics on my shop camera that I thought I had uploaded a while ago.
Trying to find the source of an oil leak/excessive wetness. Plus a vacuum leak. I would also like to change the SC fluid and pulley, along with other maintenance items.
As for the progress, you can see where i'm at ...
Another service manual blunder, they tell you to remove these bolts first, but that impossible since they heads won't clear the gasket flange ... SMH.
Once out, you can see the most likely source of the oil. A bent gasket lip.
Probably due to incorrect assembly. Oh yeah and they are not cheap to replace. Will probably clean and RTV them back in.
The extent of the oil wetness... not looking good for the vacuum lines and bypass valve.
As for removing the elbow, it looks like you can move the harness out of the way by a good amount. If I can get to the 2 hidden bottom torx bolts on the elbow we might have a ball game here.
Luckily I haven't broken any electrical connectors ... yet!!
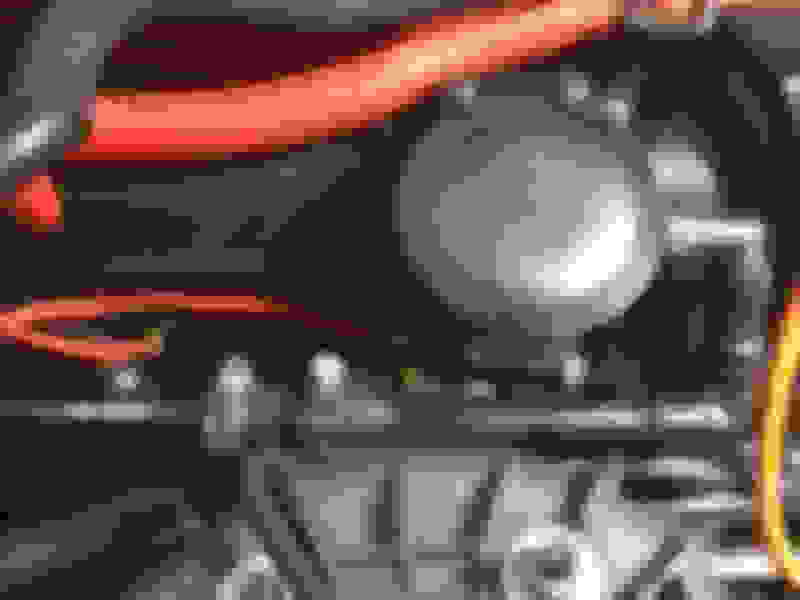
Making some good progress here. Once the silencer bags are out of the way along with the wiring harness, you can get a much better view. Biggest pain was the bypass valve. I ended up stripping one of the torx bolts in the EGR valve so I couldn't maneuver the intake elbow out of the way as much. Once the bypass valve was out, it was smooth sailing. Suprisingly I couldn't see any visible damage to the vacuum hoses, which leads me to believe the vacuum leak I am getting was from the seals, not the pipes.
On to the injectors and intake gaskets ....
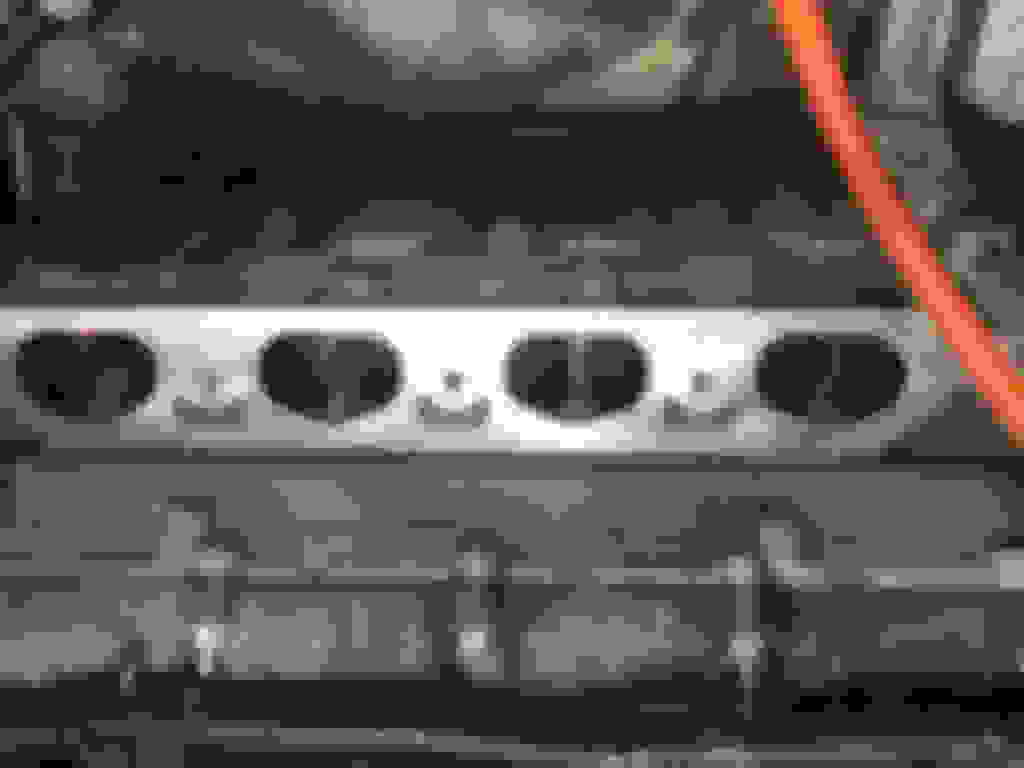
Check out how much oil is pooled up in the outlet duct! Probably the source of my vacuum leak right there at the gasket.
Finally got everything off.
Stripped this bolt. Ended up cutting out a nice strip then using a flat head to unscrew. Worked out well. Had to move the elbow out of the way, remove the bypass valve, then the S/C. Then I could take the elbow along with the EGR out from the front.
Yeah good call on the hoses, they were in bad shape. Trying to figure out if I should swap the knock sensors? Never had a problem but they are very sensitive.
Any advice on cleaning the charge air coolers? Fuel rail? Intake valves?
As for the seal, here is one I got from the dealer, 75$ and full of foreign objects. Overpriced garbage and can't even meet basic quality standards for FOD. Going to give one back and keep the other, since I only really need to replace 1 anyway.
How are my valves looking? Any suggestions on cleaning?
Got the fuel rail off also. Couldn't seem to get the injectors off in-vehicle so I decided to rig a cradle (hockey stick) and take the rail out along with the manifolds. Gently removed the injectors with a bit more leverage once the whole rig was out.
Finished up all the component cleaning. Dam those intercoolers were dirty. I don't have a pic of the elbow but it was nasty from ERG.
I ended up only cleaning out the injectors externally. The holes did not look blocked and I never had a problem with them. Just replaced the O-rings.
Also ended up replacing the knock sensors. Only about $70 and didn't want to take a chance with the old ones since I bagged them around a bit while handling.
For intercooler cleaning, I drenched the inside with brake parts cleaner, then shook it vigorously. Rinsed with water and repeated till the water coming out was somewhat clean. For the coolant path, I just rinsed with water. Didn't seem like any contamination was present.
Need some masking then ready for paint!
Some dirty supercharger oil. I bought a kit on eBay with OEM Eaton S/C oil. 2 Bottles for a total of 250 mL. I emptied about 200 mL but filled it with all 250 mL. Hope there are no overfilling issues!
Started some re-assembly also ....
I didn't like seeing this abrasion on the fuel rail hose below. Will try to get some sheathing over that to prevent any future abrasion.
......................
Some dirty supercharger oil. I bought a kit on eBay with OEM Eaton S/C oil. 2 Bottles for a total of 250 mL. I emptied about 200 mL but filled it with all 250 mL. Hope there are no overfilling issues!...............................
Total oil quantity for the S/C is 7.3 ounces, so 216 mL.
It wouldn't be a BAD thing to take out a couple dozen mLs, I'd not overfill a crank case, not sure about a blower. Still, to be safe and all....................
You think I will run into problems if overfilled? Not a big issue to take some out.
I guess I should start being an engineer and actually working to specs ....
If it's too high more will get caught up in the gear train and slung around creating excess load on the gears, heat and pressure on the bearings. I deal with dumb stuff like this at work. I thought the spec said level with the access port when sitting level and gave a reference amount of fluid to expect to put in.
Advice for anyone cleaning their electrical connectors:
If using a cleaner can, try to warm it up a bit before (not too much or it will explode). It seems the ice cold cleaner makes the plastic connectors very brittle, even though the solution is made for those plastic connectors.
I ended up snapping all 8 of my injector connectors =[. Solution? ZIP TIES! Actually hold on there pretty good...
Got the paint job and harness refurbish done. Just waiting on some parts to come in (water pump, fuel rail temp sensor) then its on to re-assembly.
The red alloys looks pretty cool. Not digging the wire wrap (1988 is calling) but hoping it fits well once assembled. I do like the nylon covers for the valley hoses.
The red alloys looks pretty cool. Not digging the wire wrap (1988 is calling) but hoping it fits well once assembled. I do like the nylon covers for the valley hoses.
Hopefully it goes back together well.
I hope so too! As for the wire wrap, I wasn't around in 1988 so I can't comment hahaa.
Got the S/C painted, smaller pulley installed and put back in, along with the elbow and EGR. Only mistake I made was using one of the EGR bolts as the 3rd S/C bolt (it is much shorter). Oh well, still plenty of thread to do the job.
Advice for reinstalling elbow: fully seat and secure the bypass valve to the elbow, then place it in from the front of the car. Move it as far back as you can, then install the S/C. You should have enough clearance to install the rear S/C bolt from the top.
I tried installing the S/C first, but it was too much of a pain that way. The gasket kept falling off, and the elbow wouldn't line up. Once those are in, you can install the EGR.
Also ended up securing the PCV hose as shown below. Details on that can be found in the "PCV breather hose - discontinued part?" thread.
Finally got everything back together last night. Didn't want to start the engine until I have the battery fully charged.
I did turn the car on and thankfully didn't get any codes or faults! Only concern was the "0 kPA" reading for fuel pressure. I'm guessing that's just atmospheric pressure its reading due to all the air in the rail and fuel line. I'm sure it will purge out and after a few seconds of cranking, should start right up.
No final picture just yet, still waiting to paint some of the engine covers which are badly faded due to sun. Also need to design and 3D print some new coil covers for both banks.
Picked up an aftermarket silicone reducer (3.75" to 3.25") then cut it to size for the throttle body + t-piece. The clamps make good guides for cutting ...
Be sure to turn the bypass valve hose lower clamps as far inward as possible, otherwise they will stick out and you won't be able to lay the harness in there.
Don't forget about the bracket mounted at the front 2 throttle body bolts. The harness is supposed to be clamped onto it, but at this point, the harness is so snug I didn't bother zip-tying it to the bracket.
Heres a look at the PCV breather hose I redesigned. Once I get everything back and running, I will be able to disconnect from here to add the catch can line.
Started the car up and after a bunch of cranking, it fired up, very rough.
Got the 'restricted performance' message but no codes.
Shut it down to inspect and of course the 1 part I didn't replace was leaking fuel ... the pressure sensor/regulator. Not even from the seal but from the unit itself.
Can anyone shed some light on how the vacuum is related to this sensor? Has anyone seen it leak fuel directly from the sensor? Anything else I should look at?
Gotta wait a few more days now for a new sensor and fuel filter.
After further investigation, I realized the 'restricted performance' was probably from low coolant level ... tank was full before cranking, empty afterward. Seeing as how there were no codes or check engine light, I'm assuming that was the issue.
Would a low coolant level trigger the 'restricted performance' and no codes? The manual says there is a level sensor in the tank but I don't see one.
EDIT: there is no "low coolant" level message that shows up. Just ran through all the possible messages in the manual (pgs 2655 - 2664), and that isn't one of them. I guess the only way it will tell you you're low on coolant is by putting the car into restricted mode - how clever. Almost as clever as not being able to see the engine temp on the display!
Still waiting on a fuel filter so probably won't get to running the car again till Thursday.
Last edited by gkubrak; Apr 15, 2019 at 12:31 PM.
Reason: answer
After further investigation, I realized the 'restricted performance' was probably from low coolant level ... tank was full before cranking, empty afterward. Seeing as how there were no codes or check engine light, I'm assuming that was the issue.
Would a low coolant level trigger the 'restricted performance' and no codes? The manual says there is a level sensor in the tank but I don't see one.
EDIT: there is no "low coolant" level message that shows up. Just ran through all the possible messages in the manual (pgs 2655 - 2664), and that isn't one of them. I guess the only way it will tell you you're low on coolant is by putting the car into restricted mode - how clever. Almost as clever as not being able to see the engine temp on the display!
Still waiting on a fuel filter so probably won't get to running the car again till Thursday.
The low coolant level is a sensor that is used by the 5.0L engines. It is located in the bottom of the coolant tank. Low coolant will not trigger a restricted performance mode. I believe there is an over temp sensor that will trigger but if it does you have to stop immediately or you will cook the engine. I would look around at your work again as I think something else has caused the restricted performance issue.
The low coolant level is a sensor that is used by the 5.0L engines. It is located in the bottom of the coolant tank. Low coolant will not trigger a restricted performance mode. I believe there is an over temp sensor that will trigger but if it does you have to stop immediately or you will cook the engine. I would look around at your work again as I think something else has caused the restricted performance issue.
So only the 5.0s have a coolant level sensor? I have the 4.2 and I don't think it has one. I'm not sure what else could be the issue, especially on start-up, and with no codes.
Could contaminated fuel or blocked injectors cause restricted performance? I'm guessing that would trigger misfires and give me some codes so I doubt that's the issue.