When you click on links to various merchants on this site and make a purchase, this can result in this site earning a commission. Affiliate programs and affiliations include, but are not limited to, the eBay Partner Network.
@Simon Tan thanks for the video! Yeah the biggest problem is that I was trying to fit it in an 07 - not compatible. One of the problems for my model year is the touchscreen. Mr. 12 Volt requires the 40 pin FFC cable and 07 -09 model years here in the US are 30 pin. I resolved that but still couldn't get the home button to work. I know the unit interacts with the can bus but don't have the details, although the home button shouldn't be impacted. Very strange but I've moved on. They have indicated they're working on one for the earlier X150's but no date pending.
Cheers and thanks again.
@Sean W Hello, after reading multiple topics on this forum and other info on the Internet, I bought the Mr12Volt kit for my 07 XK (knowing that it could be a problem, but I wanted to try). Indeed, in Europe too we have a 30 pin FCC cable connecting the screen to the motherboard. You said that you resolved that issue, how did you manage to do that? Did you buy a more recent screen, or did you manage to use the current screen with something like a new video board?
Thanks for your help.
Last edited by antonintlh; Oct 29, 2024 at 02:55 AM.
Reason: Signature
@Sean W Hello, after reading multiple topics on this forum and other info on the Internet, I bought the Mr12Volt kit for my 07 XK (knowing that it could be a problem, but I wanted to try). Indeed, in Europe too we have a 30 pin FCC cable connecting the screen to the motherboard. You said that you resolved that issue, how did you manage to do that? Did you buy a more recent screen, or did you manage to use the current screen with something like a new video board?
Thanks for your help.
Hi @antonintlh . Yes I have a few 2010 onward touchscreens that are 40 pin and they have to be flashed to 07-09 MY. The reason is that the newer models use a different climate control module. If you don't flash it, your climate controls will not work. The entire climate screen is blacked out. Re-flashing is done using SDD and takes 2 1/2 to 3 hours. The thing is you need to be sitting there when it finishes flashing in order to disconnect it from SDD or the flash will fail. Sort of a nightmare.
I've read folks in the UK spend up to �1200 for a newer screen. You can get them cheaper here but you still need to add it to your costs. The flashing is done by a tech, so there's another charge.
But that's only one problem. The p2000 (MR12Volt) uses can bus to determine a few things. First, the HOME button doesn't take you back to the OEM in our model years. The can bus isn't programmed to read our cars. You can select the source button to get back to the OEM screen, but when you do, CarPlay stops playing. Most of the time you can select USB again, and the p2000 reappears and starts playing where it left off. Other times it needs to reconnect to your phone. No real rhyme or reason. I suspect it's the same for Android Auto but I don't use that, so can't speak to it.
Also, the back up camera function doesn't work. One option relies on can bus. "Gear Position" reads what gear you're in and sends the can bus signal to the camera when in reverse.
The other is "reverse state" which reads power when power is fed to the camera from a backup light. Thing is, even though it isn't reading can bus and is being fed 12 volts from the back up light, it still didn't work on my car and at least two other gents that I know of.
If you installed a back up camera already and it works from the OEM screens, it won't work when in the p2000 state. That was a PIA for me because when I left the car while in the p2000 and got back in, it starts in Mr!2 Volt mode and I need to go through source button to get back to OEM for the back up camera. If you already have a working camera, this may or may not be an acceptable work around.
I did txt to a tech via whatsapp recently and even though I was told they were working on a solution for our cars, he said he wasn't aware of it. So who knows. Their bread and butter is with BMW. They are higher production and get all the attention it seems.
I hope this helps. I returned mine and got a refund. I might buy another if a can find one for no more than a couple hundred bucks just to see if I can modify the can bus.
I added an sd extension to my Mr12Volt that hangs just over the carpet on the passenger side under the dash�when I inserted the sd card with the firmware update the system automatically rebooted and the update was done�I ran an extension for the usb to the console so it�s next to the oem usb port�is my ocd showing? USB to connect the phone for charging
I added an sd extension to my Mr12Volt that hangs just over the carpet on the passenger side under the dash�when I inserted the sd card with the firmware update the system automatically rebooted and the update was done�I ran an extension for the usb to the console so it�s next to the oem usb port�is my ocd showing? USB to connect the phone for charging
The Mr12volt system is mentioned in the current issue of Jaguar Enthusiast magazine. A UK owner who'd had it fitted professionally (care of Thruxton Jaguar). The XK section editor commented that the magazine is working on a future article that will go into it and its installation in depth.
On Mr12Volt if you go to settings�system�factory mode there�s an option for advanced settings that requires a numeric code to get in�does anyone have that code?
Today, I installed the Mr12Volt CarPlay kit in my 2010 MY 5.0 XK Convertible. I won't write out the entire install, but just my observations to some of the steps.
To start: it is best to download the Youtube installer video and to play it with a native video player. I used Apple Quicktime, which allows even frame-to-frame navigation using the left/right cursor keys.
The video skips over some steps, so you need to complete these in between.
0. Preparations
Make sure you have some protective cloth or wrap plastic to protect the center console and the center console control stack.
To be fully safe, I disconnected my battery - pole.
1. Loop out the native Jaguar Bluetooth module from the MOST optical network
I assumed that the top module on the stack right of the battery was the native Jaguar Bluetooth module. I did not need to adapt the MOST plug: it went straight into the provided loop cable.
Also, I did not disconnect the power to the Bluetooth module, as this was not mentioned at all in the installation video.
2. Taking out the display head unit
In my 2010 MY XK, the display head unit could simply be dismounted by removing 4 Torx screws (2 on each side of the unit) connecting to the head unit frame and 2 smaller Torx screws which keep the display head unit to the plastic bezel.
So in my car, there is no surrounding frame around the head unit to take off. This may be a XF-linked video, inserted in the XK installation instructions.
After disconnecting all cables to the display head unit, I could take the unit out without disconnecting any other cables from the center console stack modules.
3. Converting the display head unit to include the Mr12Volt hardware
The installation video is quite explicit on all the necessary steps. It only does not show the mounting of fixation screws when putting everything back together. So watch carefully, so you timely include the fixation screws in the procedure.
Make sure that all the flat cables are nicely routed and tugged away inside the module, so they don't get tampered with when closing up the display head unit.
Fixation of the extra cable with the provided clip is simply done by one of the 2 fixing screws, fixing the closure of the back opening near the MOST cable.
Just take your time and stay calm to ensure that everything is properly seated and mounted. If needed or in case of doubt, go back some steps and verify.
4. Mounting the Mr12Volt cabling
Looping of the MOST cable: It was not clearly mentioned in the video where the provided MOST should plug in. However, when checking carefully, it appears that the MOST connector of the Audio Control Module should be used (a small add-on unit on the back of the stack).
This may be important since the MOST network is sensitive to the connection of the MOST devices in the right sequence/order.
5. Final results so far
The unit immediately worked as instructed. Connecting to it is straightforward.
Switching to and from the device to the native Jaguar screens is simple and intuitive, e.g. using the home button.
All in all, it took me some 2 hours to complete the task, given that I had already taken apart the center console stack earlier.
6. Issues after my installation
I do not seem to get any sound via the Mr12Volt module. My phone indicates a playing song, but no sound.
Also, the Google maps application does not emit any sound as expected.
Maybe, I chose the wrong module instead of the Bluetooth module to be looped-out.
I will check now..... I just checked. The module I unplugged from the MOST network is 9W83 - 10D893, which shows indeed up in Google as a Bluetooth module.
==> So my problem remains: no sound from the Mr12Volt device.
Update: I do have a Bluetooth dongle connected to the native Jaguar iPod connector (INVERY). When I select "INVERY" as the Jaguar sound module, I do get sound from my iPhone (iTunes, Spotify, radio apps etc.). However, when the Google Maps instructions are not sent to this port, so I do not hear them.
Another symptom: when I choose Mr12Volt _xxxx as Bluetooth connection, it connects shortly and then switches rapidly to "Not connected", possibly since Apple CarPlay takes over from here.
In another post, arenaej mentioned:
Originally Posted by arenaej
Two things:
1. You’re posting on the wrong thread…there’s a thread for Mr 12 Volt https://www.jaguarforums.com/forum/x...ntrols-281819/
2. To get sound you need to install the most loop on the USB/iPod module…it’s on the right side in the trunk next to the tail light.
Maybe the moderator can move this…
Question 1: Is this tail light location also valid for the Convertibles? If so, then my solution is straightforward to solve. ;-)
Question 2: Did anyone of you with Mr12Volt installations have such audio issues?
Today, I installed the Mr12Volt CarPlay kit in my 2010 MY 5.0 XK Convertible. I won't write out the entire install, but just my observations to some of the steps.
To start: it is best to download the Youtube installer video and to play it with a native video player. I used Apple Quicktime, which allows even frame-to-frame navigation using the left/right cursor keys.
The video skips over some steps, so you need to complete these in between.
0. Preparations
Make sure you have some protective cloth or wrap plastic to protect the center console and the center console control stack.
To be fully safe, I disconnected my battery - pole.
1. Loop out the native Jaguar Bluetooth module from the MOST optical network
I assumed that the top module on the stack right of the battery was the native Jaguar Bluetooth module. I did not need to adapt the MOST plug: it went straight into the provided loop cable.
Also, I did not disconnect the power to the Bluetooth module, as this was not mentioned at all in the installation video.
2. Taking out the display head unit
In my 2010 MY XK, the display head unit could simply be dismounted by removing 4 Torx screws (2 on each side of the unit) connecting to the head unit frame and 2 smaller Torx screws which keep the display head unit to the plastic bezel.
So in my car, there is no surrounding frame around the head unit to take off. This may be a XF-linked video, inserted in the XK installation instructions.
After disconnecting all cables to the display head unit, I could take the unit out without disconnecting any other cables from the center console stack modules.
3. Converting the display head unit to include the Mr12Volt hardware
The installation video is quite explicit on all the necessary steps. It only does not show the mounting of fixation screws when putting everything back together. So watch carefully, so you timely include the fixation screws in the procedure.
Make sure that all the flat cables are nicely routed and tugged away inside the module, so they don't get tampered with when closing up the display head unit.
Fixation of the extra cable with the provided clip is simply done by one of the 2 fixing screws, fixing the closure of the back opening near the MOST cable.
Just take your time and stay calm to ensure that everything is properly seated and mounted. If needed or in case of doubt, go back some steps and verify.
4. Mounting the Mr12Volt cabling
Looping of the MOST cable: It was not clearly mentioned in the video where the provided MOST should plug in. However, when checking carefully, it appears that the MOST connector of the Audio Control Module should be used (a small add-on unit on the back of the stack).
This may be important since the MOST network is sensitive to the connection of the MOST devices in the right sequence/order.
5. Final results so far
The unit immediately worked as instructed. Connecting to it is straightforward.
Switching to and from the device to the native Jaguar screens is simple and intuitive, e.g. using the home button.
All in all, it took me some 2 hours to complete the task, given that I had already taken apart the center console stack earlier.
6. Issues after my installation
I do not seem to get any sound via the Mr12Volt module. My phone indicates a playing song, but no sound.
Also, the Google maps application does not emit any sound as expected.
Maybe, I chose the wrong module instead of the Bluetooth module to be looped-out.
I will check now..... I just checked. The module I unplugged from the MOST network is 9W83 - 10D893, which shows indeed up in Google as a Bluetooth module.
==> So my problem remains: no sound from the Mr12Volt device.
Update: I do have a Bluetooth dongle connected to the native Jaguar iPod connector (INVERY). When I select "INVERY" as the Jaguar sound module, I do get sound from my iPhone (iTunes, Spotify, radio apps etc.). However, when the Google Maps instructions are not sent to this port, so I do not hear them.
Another symptom: when I choose Mr12Volt _xxxx as Bluetooth connection, it connects shortly and then switches rapidly to "Not connected", possibly since Apple CarPlay takes over from here.
In another post, arenaej mentioned:
Question 1: Is this tail light location also valid for the Convertibles? If so, then my solution is straightforward to solve. ;-)
Question 2: Did anyone of you with Mr12Volt installations have such audio issues?
My XK is a convertible. When you remove the trim from the right side of your trunk you will see the insulation that protects the pump for the top, carefully remove it as it needs to be reinstalled later�behind the pump is the usb/iPod module. There�s a plug on the side towards the taillight. After you unplug it, release the most cables from the plug and install the loop provided in the kit�you�ll have sound�you can put the plug back into the module or not�I left mine unplugged with no issues�
sbolinha, since you have audio via the Invery BT proves you haven't bypassed the usb module as arenaej wrote. The loop is included in the box. The USB module has a plug with an adaptor that has to be transferred to the loop since it uses more cables than the 2 fiber optic. Need to fiddle a bit, careful not to break it.
When you do this and turn on the car, it will default to FM radio (because you had the USB selected for the INVERY). Go to the OEM screen and select USB again - now it will connect to mr12V and ... voila... sound from mr12v!!
I found the MOST connector to the Ipod/Bluetooth module as you correctly indicated.
I could work loose the connector without removing any trim or cover of the convertible pump.
The connector is accessible by just removing the panel mounted to the boot trim.
It is quite finicky, but by pressing the tab located on the outside fender side of the connector, I could work it loose.
It contains both the MOST connector and a small signal wire connector. The MOST sub-connector can be popped out by pressing a tap on the backside of the connector.
I originally removed also the smaller sub-connector but replaced it after pulling the MOST sub-connector.
Then indeed the MOST harness connector provided in the kit must be mounted and subsequently the MOST ring lead, also from the kit.
This is all a bit tricky, but it worked!
Result: full audio is played via the Mr12Volt unit now, and the USB/iPod connector in the center console stopped working (as expected!).
So in the end it was my stubborn mistake to confuse the USB module with the USB/iPod module.
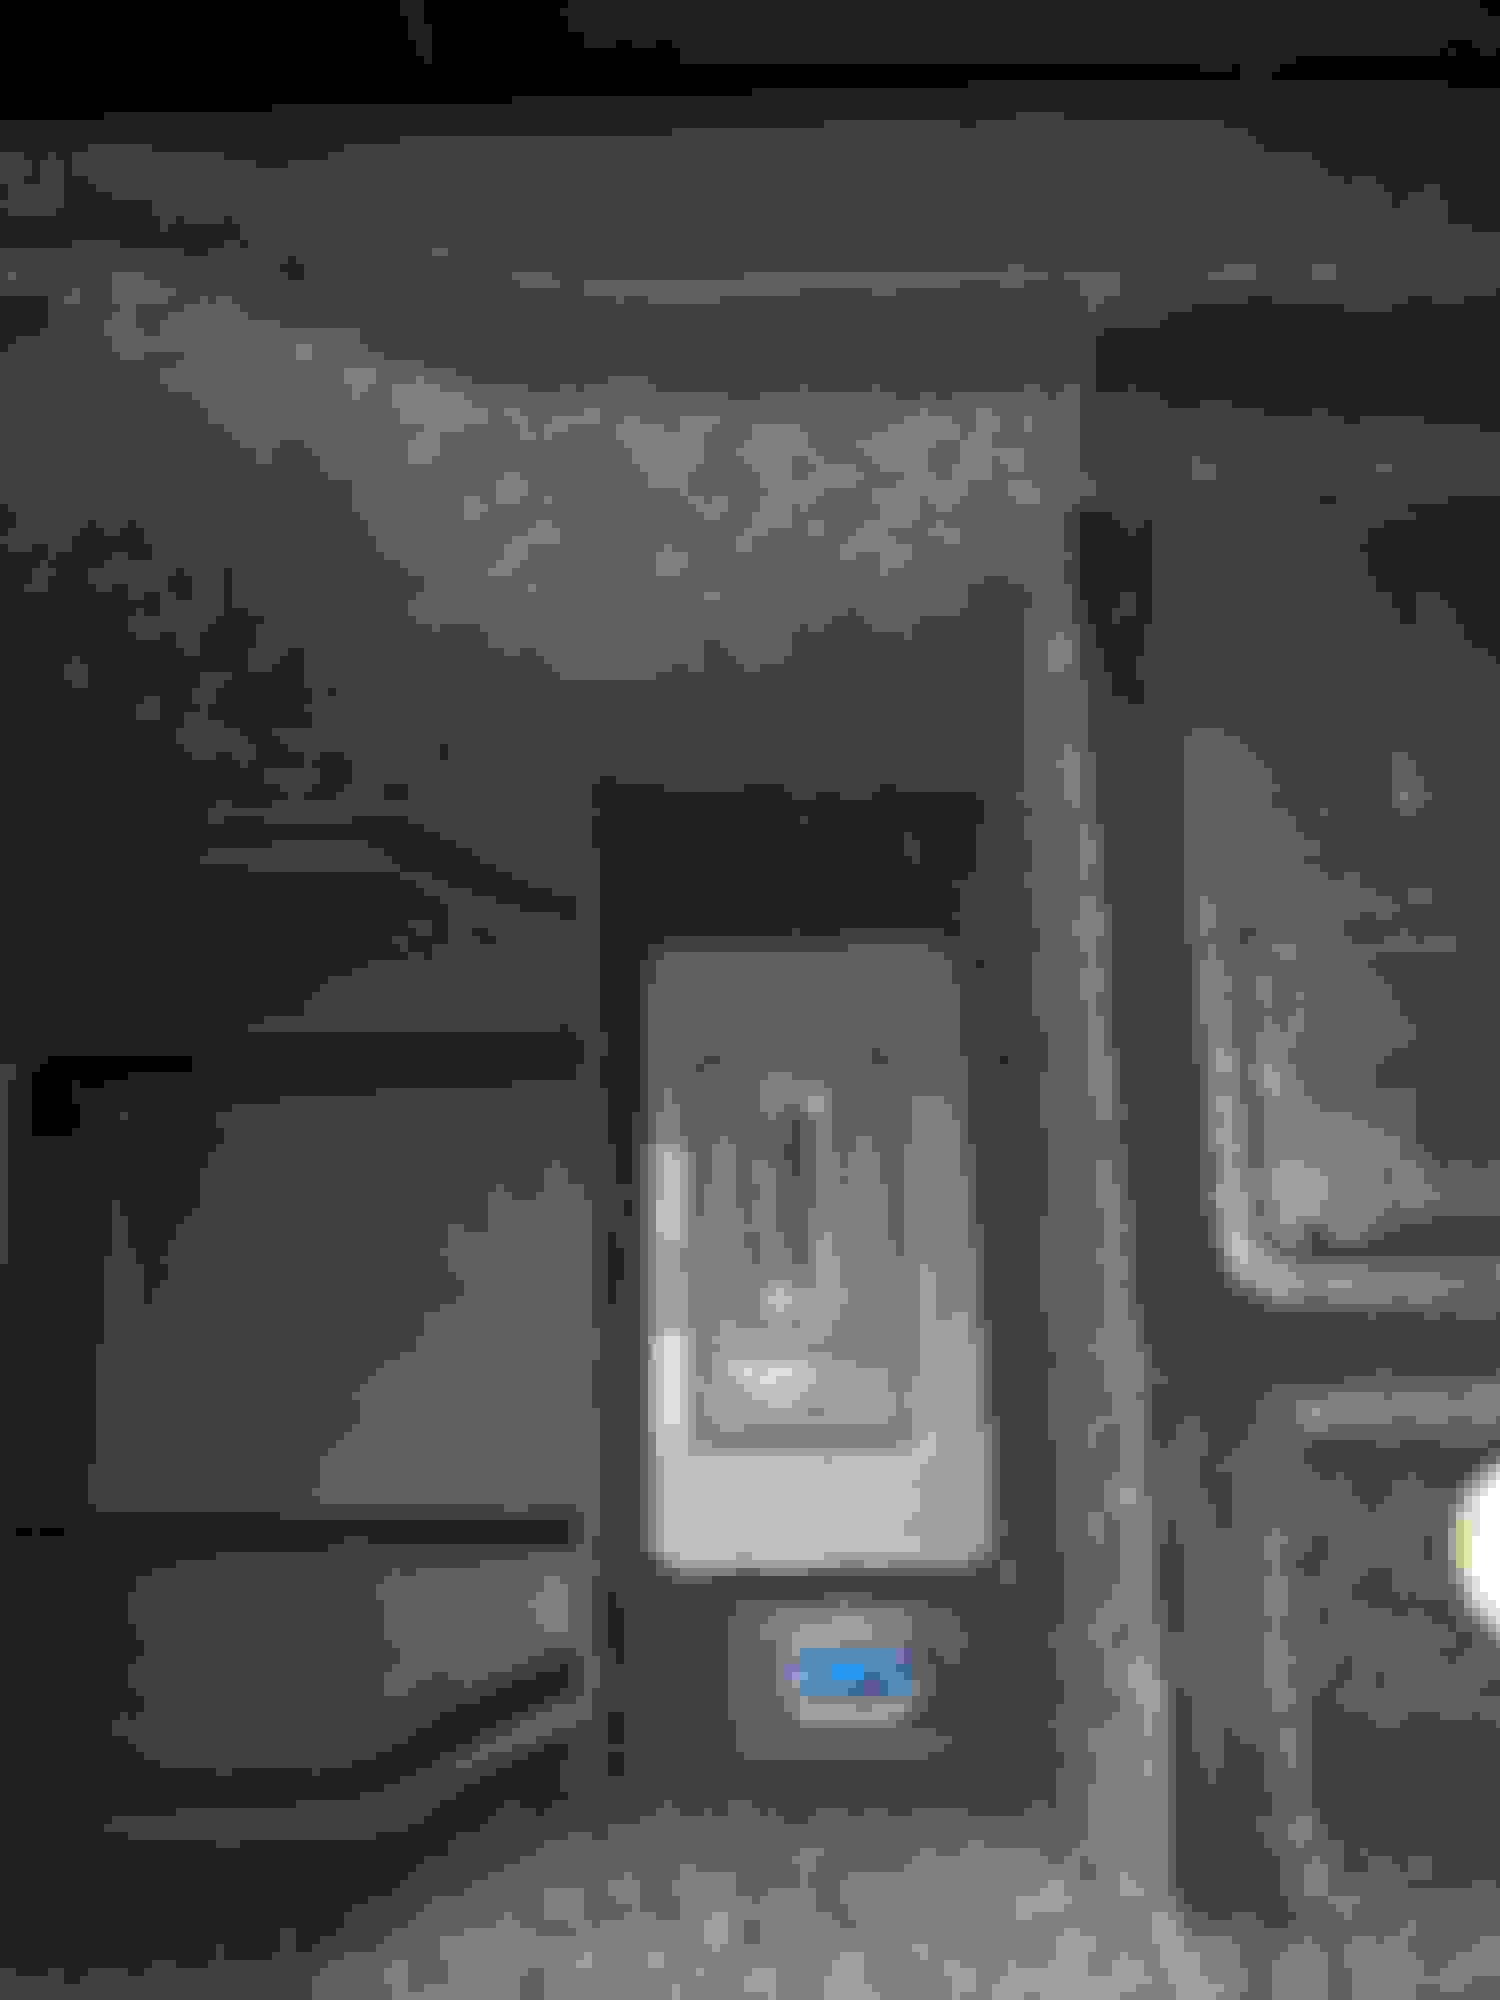
I installed Mr12Volt P2000 Carplay/AA in mid-September to my delight! Everything installed and worked fine till last week, when as I was driving, the screen turned white! Audio fine, just the screen all white. Next day, started OK, then a few moments later... white. And that was the last time I saw the contents of the screen! I checked the MOST ring, no problem there, so today I decided to take the Display apart since a user below mentioned white screen because of misaligned ribbon cables. Well, the top ribbons were good and then, to my surprise, the motherboard is coated with a blue liquid (dried) and some goop! I cleaned as much with Isopropyl Alcohol, brush & air, but I can see bubbles even on the Alpine chip!
I ordered an inexpensive screen from XF, same type - earlier built, to see if I can salvage this otherwise, I will get a replacement of the same year (2014) later after the winter storage.
Has anyone seen something similar? Is there a chance MR12Volt to caused it (overheating, spike)? I haven't talked to them yet, but I don't want to spend the $$ for a good replacement only to see it burned in 2 months!
that appears to be oxidation. Wonder if the sourced head unit was from a flood car. From AI - Blue oxidation on a circuit board is typically caused by the corrosion of copper traces on the PCB, most commonly due to exposure to moisture and oxygen in the air, creating copper oxide compounds that appear blue or green in color; this process is often accelerated by the presence of contaminants like salt or other electrolytes.
I installed Mr12Volt P2000 Carplay/AA in mid-September to my delight! Everything installed and worked fine till last week, when as I was driving, the screen turned white! Audio fine, just the screen all white. Next day, started OK, then a few moments later... white. And that was the last time I saw the contents of the screen! I checked the MOST ring, no problem there, so today I decided to take the Display apart since a user below mentioned white screen because of misaligned ribbon cables. Well, the top ribbons were good and then, to my surprise, the motherboard is coated with a blue liquid (dried) and some goop! I cleaned as much with Isopropyl Alcohol, brush & air, but I can see bubbles even on the Alpine chip!
I ordered an inexpensive screen from XF, same type - earlier built, to see if I can salvage this otherwise, I will get a replacement of the same year (2014) later after the winter storage.
Has anyone seen something similar? Is there a chance MR12Volt to caused it (overheating, spike)? I haven't talked to them yet, but I don't want to spend the $$ for a good replacement only to see it burned in 2 months!
I'll be installing the Mr12Volt unit this winter. Obviously, your head unit never had this appearance before you installed Mr12volt or you would have noticed it. How many members have Mr12volt installed? Any similar problems? Wonder if any other car brands with Mr12volt installed experienced this problem. Have you contacted Mr12volt?
I took it apart in September and no apparent sight of oxidation, humidity or water presence. I can't believe any pcb oxidation can progress than fast. This does not look as copper oxidation (blue/green), more like liquid spill! But I see no chip exploded either. Really weird. I sent an email to mr12volt and wait...