Rear fender molding installation
#1
I ordered the rear quarter moldings c2p5094, c2p5095 and clips c2p5091(12).
Im looking for the directions for the installation, where they clip in and tape on. Anyone have the factory directions ? Or some good photos of thiers installed ?
Thanks
Tom
Im looking for the directions for the installation, where they clip in and tape on. Anyone have the factory directions ? Or some good photos of thiers installed ?
Thanks
Tom
Last edited by Tp10XKR; 02-10-2019 at 06:12 PM.
The following users liked this post:
kj07xk (02-15-2019)
#2
#3
Unfortunately mine didn't come with good instructions but I found it not hard to figure out exactly how/where to place them.
There are small dimples that fit in the seam where the plastic bumper meets the metal rear quarter. I first cleaned the entire mating surface where they mount, first with soap & water, dired it, and, finally used rubbing alchohol. Then I mounted each to the rear 1st with the clips followed by pulling the 3M tape cover and pressing it into position on the forward section.
As to how the clips go on: they are spring steel so they can not contact the aluminum body parts so it has tabs that fold over to sandwich the sheet metal edge. Once folded over the clip can then be pushed over the sandwich. You'll find that rather hard to do since they won't slide on easily. I used a pair of channel lock pliers to seat each clip using a soft but thick shop rag on the outside to protect the paint. Make sure not to use too much force as the composite material of the moldings can be crushed.
Also, though the 3M tape is there to hold it in place there is a clip at the forward most point too. As I remember, the clips have the front lip bent up to help guide it and that side needs to be "up" toward the inside of the body. If it is reversed you'll likely catch your hand on it when washing the car in that area....learned from experience.
The following 3 users liked this post by pwpacp:
#4
Unfortunately mine didn't come with good instructions but I found it not hard to figure out exactly how/where to place them.
There are small dimples that fit in the seam where the plastic bumper meets the metal rear quarter. I first cleaned the entire mating surface where they mount, first with soap & water, dired it, and, finally used rubbing alchohol. Then I mounted each to the rear 1st with the clips followed by pulling the 3M tape cover and pressing it into position on the forward section.
As to how the clips go on: they are spring steel so they can not contact the aluminum body parts so it has tabs that fold over to sandwich the sheet metal edge. Once folded over the clip can then be pushed over the sandwich. You'll find that rather hard to do since they won't slide on easily. I used a pair of channel lock pliers to seat each clip using a soft but thick shop rag on the outside to protect the paint. Make sure not to use too much force as the composite material of the moldings can be crushed.
Also, though the 3M tape is there to hold it in place there is a clip at the forward most point too. As I remember, the clips have the front lip bent up to help guide it and that side needs to be "up" toward the inside of the body. If it is reversed you'll likely catch your hand on it when washing the car in that area....learned from experience.
There are small dimples that fit in the seam where the plastic bumper meets the metal rear quarter. I first cleaned the entire mating surface where they mount, first with soap & water, dired it, and, finally used rubbing alchohol. Then I mounted each to the rear 1st with the clips followed by pulling the 3M tape cover and pressing it into position on the forward section.
As to how the clips go on: they are spring steel so they can not contact the aluminum body parts so it has tabs that fold over to sandwich the sheet metal edge. Once folded over the clip can then be pushed over the sandwich. You'll find that rather hard to do since they won't slide on easily. I used a pair of channel lock pliers to seat each clip using a soft but thick shop rag on the outside to protect the paint. Make sure not to use too much force as the composite material of the moldings can be crushed.
Also, though the 3M tape is there to hold it in place there is a clip at the forward most point too. As I remember, the clips have the front lip bent up to help guide it and that side needs to be "up" toward the inside of the body. If it is reversed you'll likely catch your hand on it when washing the car in that area....learned from experience.
If you have a minute can you attach a pic or two of yours installed to go along with your great detailed description.
#5
#7
The following users liked this post:
kj07xk (02-15-2019)
Trending Topics
#8
#9


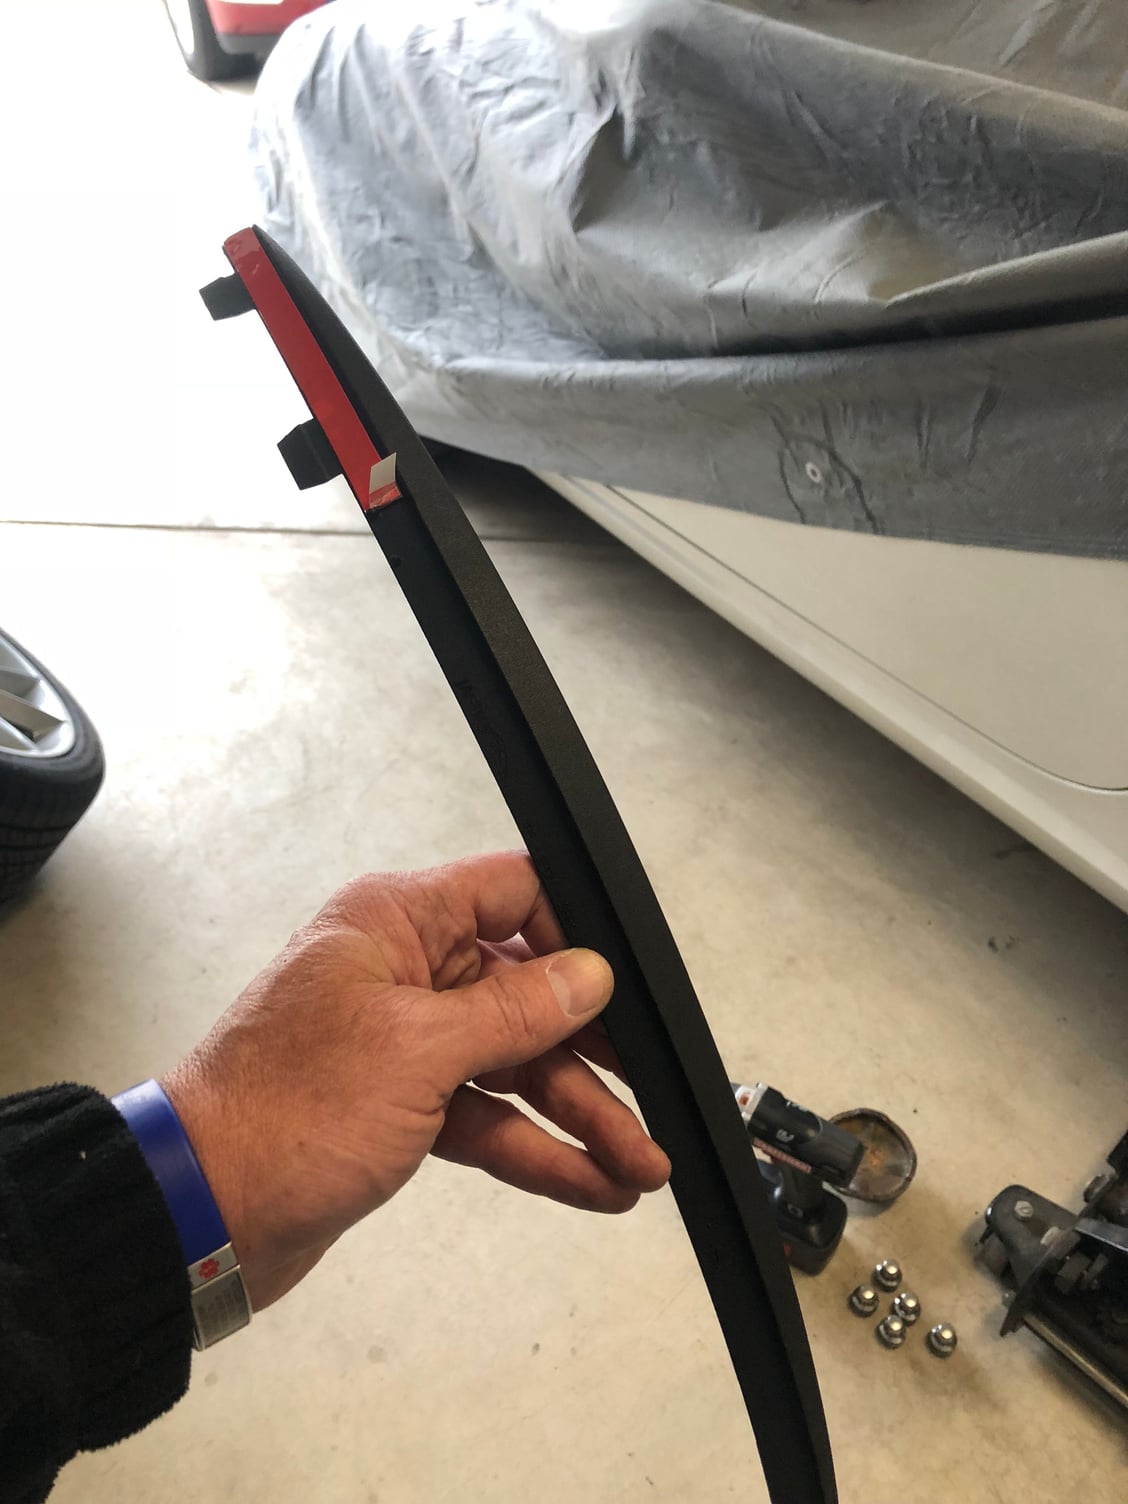
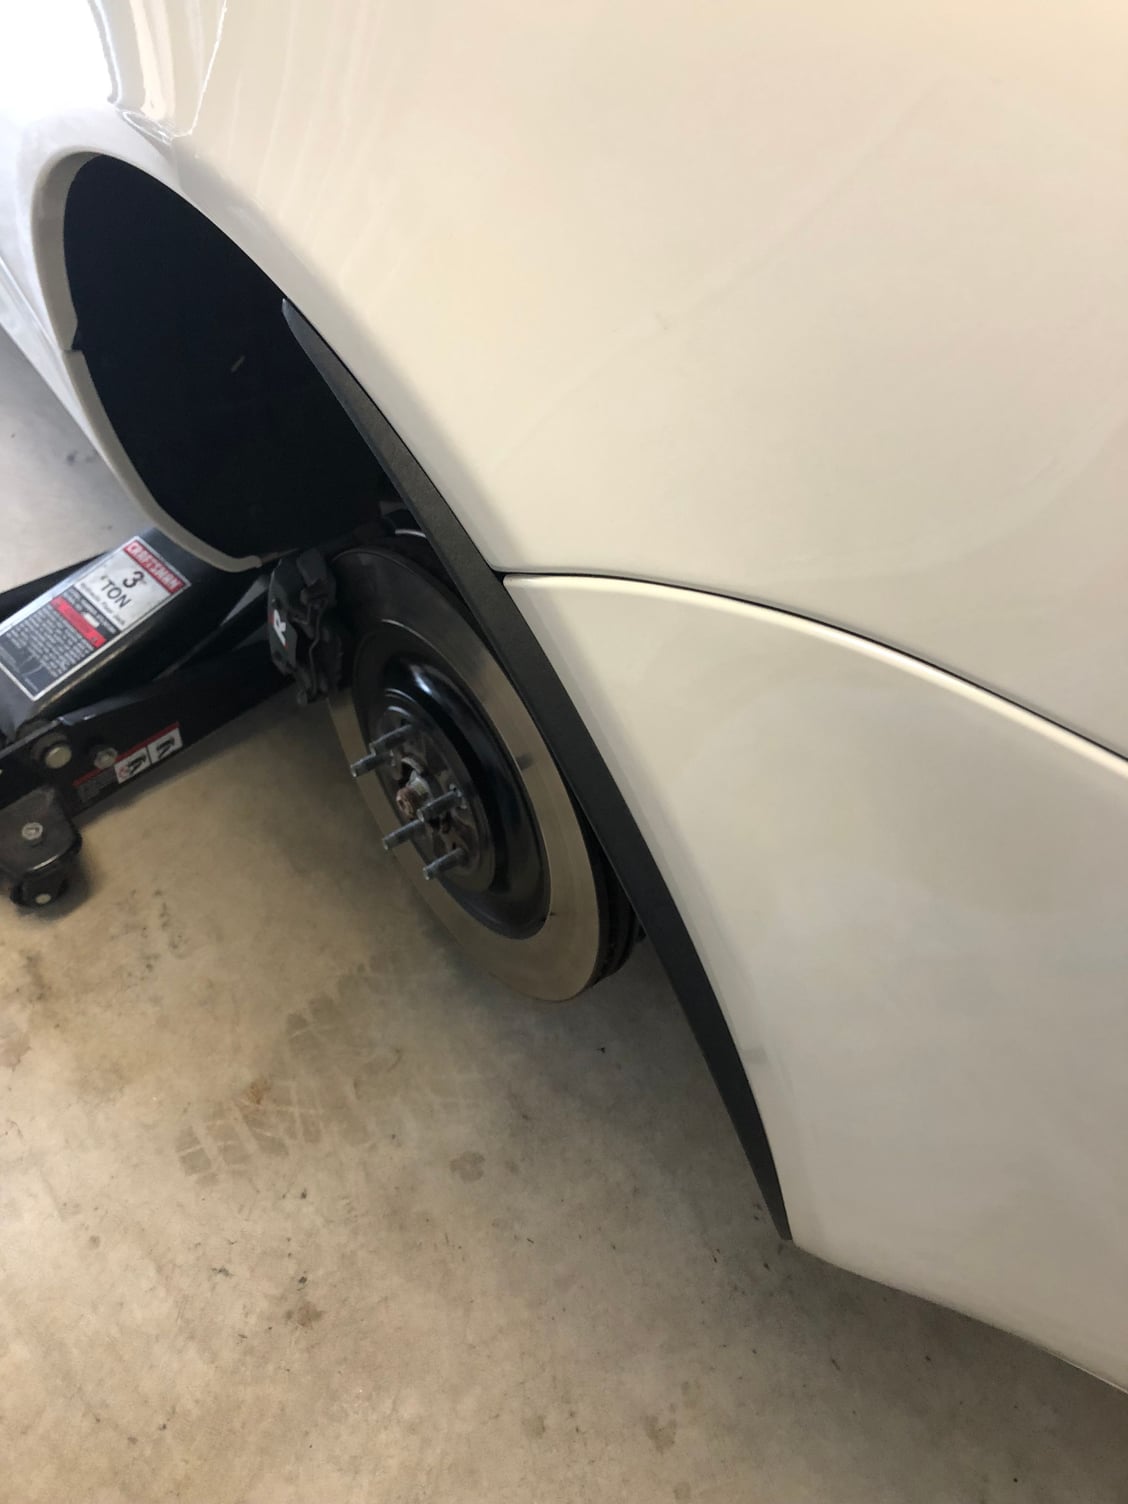
Today, I finally installed the rear wheel well spats, so easy a caveman can do it!
Their is two tabs on the forward part of the spat that once on the lip fold over into recessed pockets on the inner quarter panel. I lined them up and folded them into the pocket, then pulled the tape covering off and stuck it to the lip. Once that is done I started at the top and installed the six clips down to the bottom. The clips have no problem going over the folded over tabs. I was able to put them all on by hand, but I did go back with a small mallet and tapped them flush. No need to remove inner fender liner. In fact, if it wasn’t for cleaning and putting another coat of F11 on the wheel barrels I didn’t need to pull the wheels.
Last edited by Tp10XKR; 02-15-2019 at 12:08 PM. Reason: Add photos
The following 4 users liked this post by Tp10XKR:
#10
#11
Join Date: Jan 2015
Location: Naperville, Illinois USA
Posts: 4,572
Received 1,895 Likes
on
1,286 Posts
Their parts total comes to like $90, and then they want $90 - $128 just for shipping!!!
Went to SNG Barratt, $88 for parts, and only $12 for shipping. They got my order.
#12
Like the way they look, so I searched online for them. What some of those online Jag dealers want for shipping is just nuts!
Their parts total comes to like $90, and then they want $90 - $128 just for shipping!!!
Went to SNG Barratt, $88 for parts, and only $12 for shipping. They got my order.
Their parts total comes to like $90, and then they want $90 - $128 just for shipping!!!
Went to SNG Barratt, $88 for parts, and only $12 for shipping. They got my order.
Best of luck to you Sir,
#13
Thread
Thread Starter
Forum
Replies
Last Post
tom11011
PRIVATE For Sale / Trade or Buy Classifieds
0
10-30-2012 04:01 PM
Jsedita74
XJ XJ6 / XJ8 / XJR ( X350 & X358 )
2
05-09-2011 02:44 AM
Currently Active Users Viewing This Thread: 1 (0 members and 1 guests)


