When you click on links to various merchants on this site and make a purchase, this can result in this site earning a commission. Affiliate programs and affiliations include, but are not limited to, the eBay Partner Network.
1999 XK8 Convertible Hood Hydraulic Pipes to Ram replacement
A short while back my 1999 XK8 decided to have a little green pee at the rear right tyre. On investigation, a pipe broke at the hydraulic pump to the convertible hood and my rear quarter windows were stuck down. I made a temporary fix at this connection and waited for the new replacement hoses. British Parts UK came through with an express delivery to Bahrain (thanks Richard) complete with hydraulic fluid, so this week end I got stuck into replacing the old hoses to both hydraulic cylinder rams operating the hood mechanism. Luckily a previous owner had replaced the hoses on the overhead latch.
Going slowly and carefully, I removed the rear seats, quarter panel top cappings and then lifted the rear parcel tray where the hood sits when down. Really simple but not all good news - it appears that there's been previous leaks as the rear seat bottom cushion was oil stained so work must had been done in this area before. I even found an old cigarette butt and ash in the quarter panel area.
Still I removed the interior rear quarter panels for access and surveyed the carnage.
The RHS speaker had been changed to a Sony unit soldered in, so no connectors, but the entire speaker panel (2T30 and bottom 10mm bolts) moved easily out of the way without cutting wires. This was needed for access to the RHS ram, but I could work around the speaker on the LHS. The existing lines, I colour coded to make sure I put the right pipe to the right connection at the pump. I saw a problem on one of the rams.
The rams are small and thin and behind a lot of stuff but every thing could be moved easily for access.
The bottom connection to the ram was okay on the LHS.
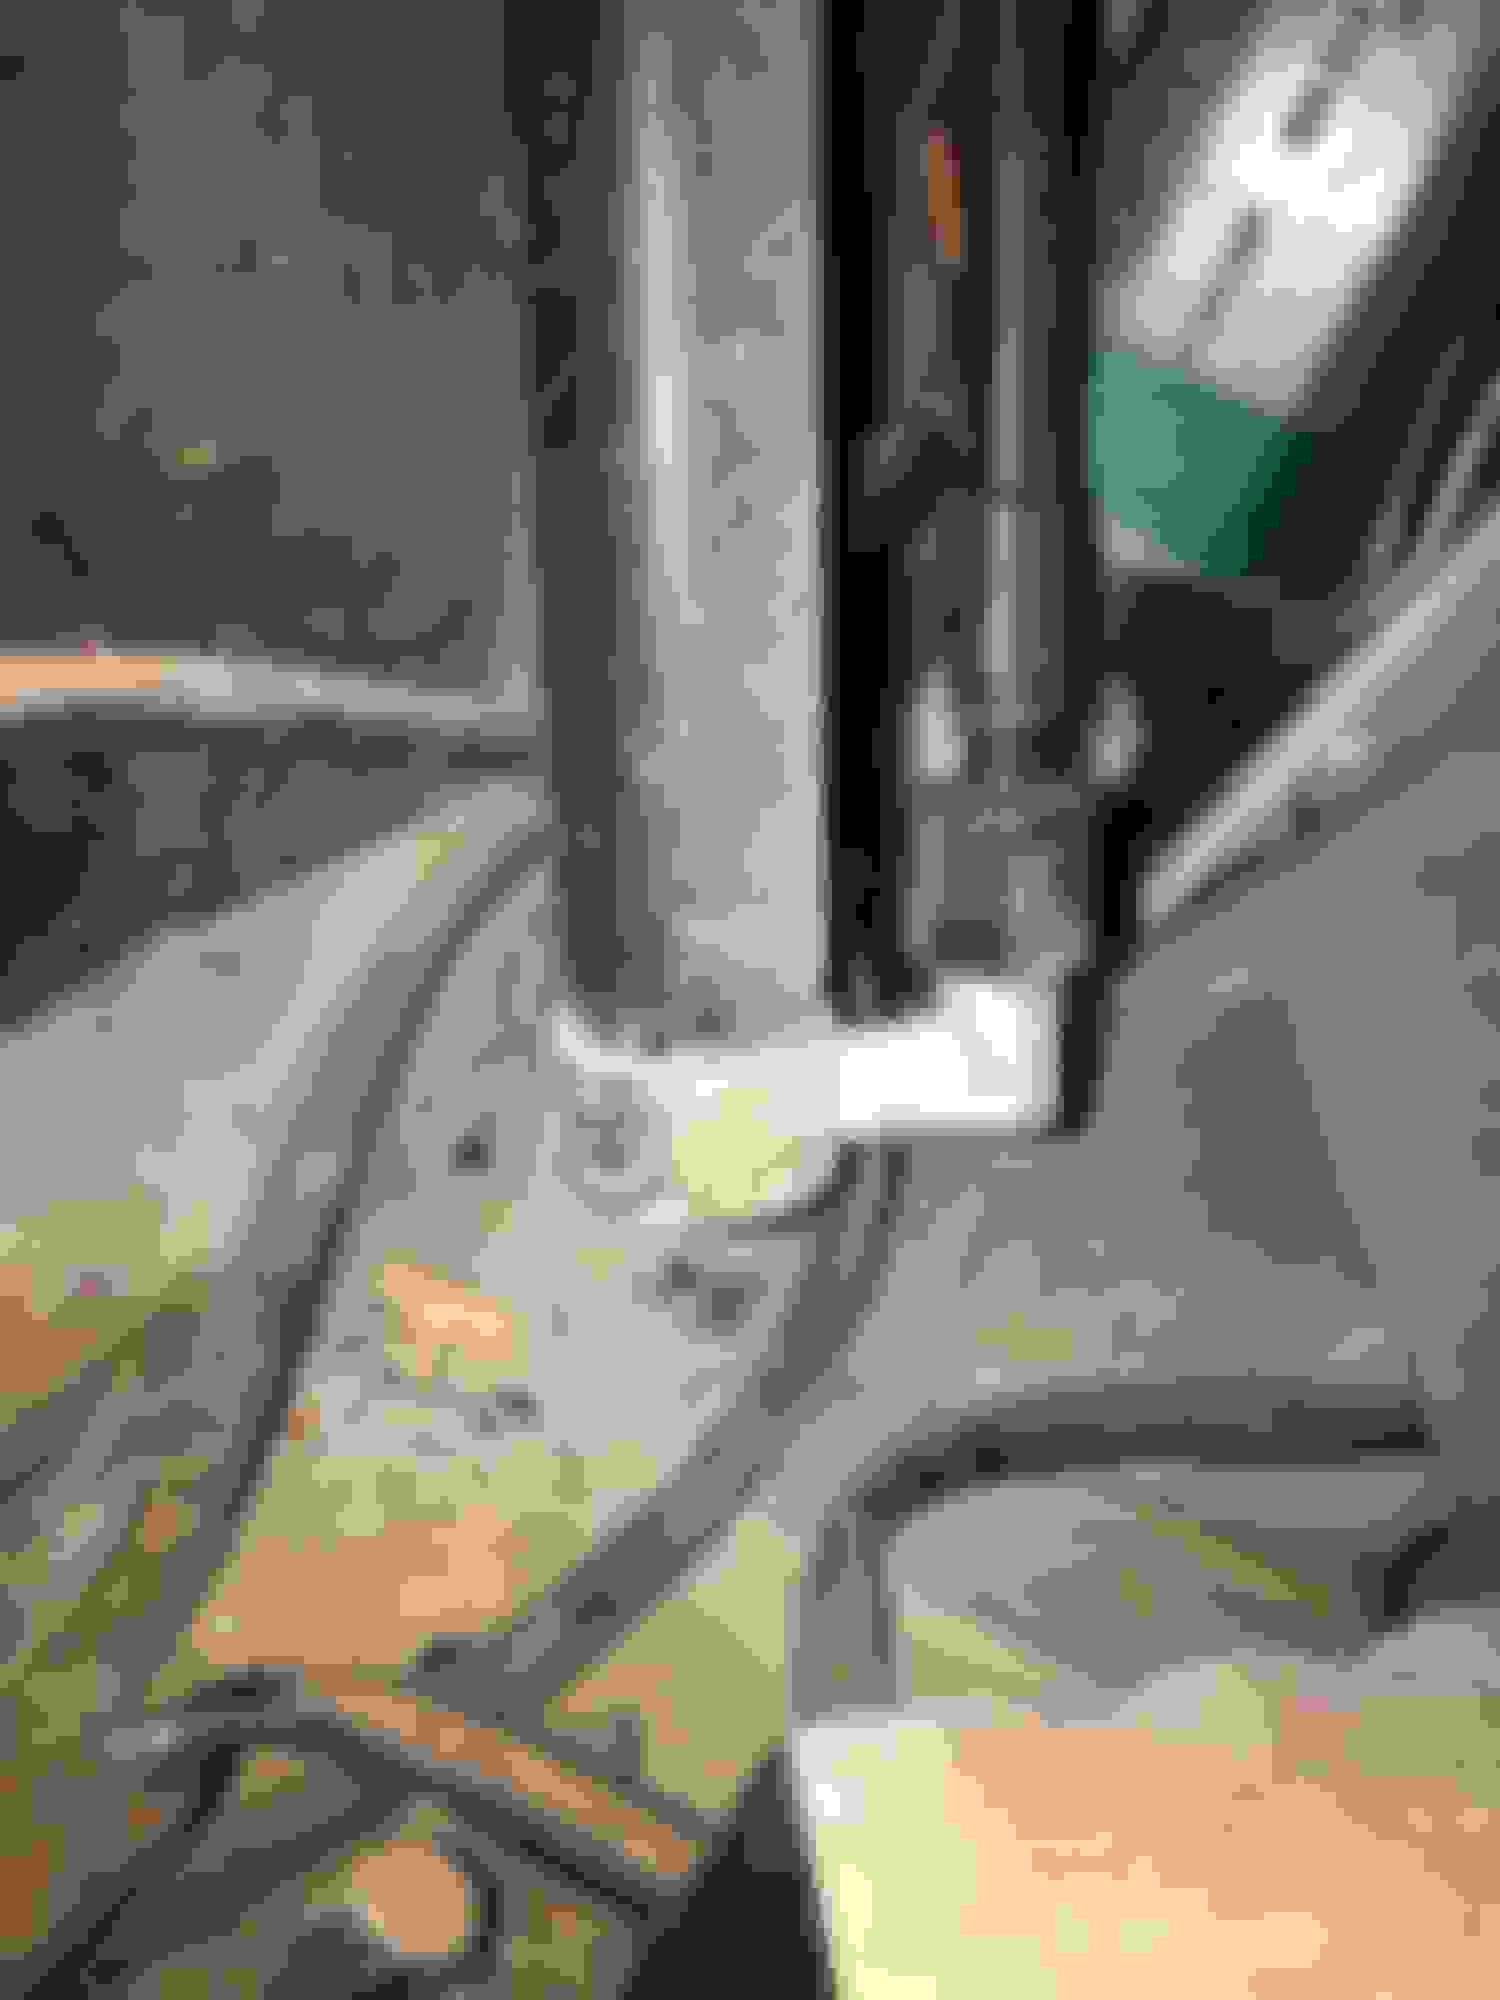
But on the RHS, the connection to the ram had been modified. With signs of a previous old oil leak, this had been worked on previously and, unfortunately, they had used the previous old hydraulic line. They cut the connection and put on a different connector direct to the ram. I had hoped I could simply change this by screwing in the right L connection for my fittings, but I couldn't see a thread at the bottom of the ram. Can anyone identify what they did?
Knowing which pipe is for which connection is not straight forward as they are all different lengths. Back in the boot/trunk, I torqued in the new pipe fittings using a duct tape colour coding but I had to settle with changing out only 3 of the 4 lines and I did this one at a time. The mechanism for the latch are on the LHS of the pump (towards the centre of the car) whereas my lines to the cylinder rams are on the outside. Tying the old removed line to the new line, I pulled out the old line from inside the cabin, pulling with it the new line. The grommet hole in the fuel tank bulk head wall is quite small but getting one pipe through at one time is fine. The line to the RHS cylinder ram was relatively easy, and the LHS pipes ran under the parcel tray carpet, all secured with zip ties.
Before re-fitting the pump, I checked the fluid levels, against the 2 marks, and filled an inch above the line to make up for the air in the new hoses. Plugged it in, turned fully clockwise the petcock, and turned engine on. Previously I had a go on a temporary fix to my busted pipe, without the car engine running, and the battery died. It is a 40A fuse on this circuit. Operating the console switch, as expected, there was a lot of air in the system with bubbles visible in the pump reservoir, and initially the hood was slow going up and then down. As the pump's fluid level dropped, a smooth action returned and maybe it was just me, but it did seem a lot better behaved, not jerky as before. I did use WD40 on all the latch hinges/pins which would explain things.
Putting everything back together, as usual, there were a few discoveries, like a wire hanger type object that secures the bottom of the headliner to the parcel shelf side. Also the headliner droppy bits with a screw goes into the quarter panel hole through a plastic screw push fitting. Also the following. What is this?
Found this on the floor of the quarter panel. Any idea what this is/does?
Still 75% (3 of 4 pipes) done and I'm hoping it holds until summer here when it gets too hot to have the top down. Plan is to see if we can figure out the RHS cylinder ram lower connection, next time when I'm in this car area. I was planning to switch out the music speakers as they're a bit tinny now, but no rush on this job.
that is the standard connection on the lower ram - the flat vertical is just a clip - pull down and then you can pull the hose out of the ram. When I replaced mine, I had to send the bad hoses in so they could take that connector off and reuse on the new hoses
So RHS hydraulic cylinder is meant to be different
Thanks for that. Original is correct as shown in my car.
The new replacement pipes all had a screw connector so I will have to remove the bad pipe and reuse the existing bottom fitting. I would expect this push fit connection is under a lot of hydraulic pressure so what is the seal? Must be a strong tiny O ring and will need some force. I�m a bit worried considering the small diameter steel I see. The O ring will need replacement.
Then I need a garage/shop who can swap the hydraulic fittings.
Found this on the floor of the quarter panel. Any idea what this is/does?
It should be a support bracket for the interior quarter panels. the furrowed plate is glued to the inner panel structure. if you look at the inside of the panel you will find the spot where it has broken off.
Then I need a garage/shop who can swap the hydraulic fittings.Correct?
when I bought my hoses, they asked me what type of connection of connection so yes I would imagine a shop that specializes in hydraulics should be able to swap connector
All of the recent chat about the hydraulic hoses �persuaded� me to finally get round to putting in a replacement for the last 1 of my 4 hoses to the hydraulic rams - the RHS bottom with the bayonet & clip fitting.
Dcrautoparts.com came up with spare hoses (with Hydraulic ram)
Access was straightforward but I sweated buckets, glasses steaming up as it�s 40degC (120degF) but I�ve a covered garage and an adjacent AC-ed work bench/storage room. But I skinned my knuckles trying to get that blasted clip off at the bottom of the ram. After 30mins trying, I gave up and I left for lunch, for some much needed thinking time. Voila - Using the spare set up on the bench, it came to me.
The clip has a small hole which you push a nail through to open the jaws and then lever it. Easy!
Whole job took 3 hours-ish. Also changed the hydraulic fluid in the tank. With the relentless heat here, you need to be careful not to have cooked gummy fluid, esp. at the front latch.
yours is the newest post I could find. I have replaced all my hoses but I have yet to find information on the proper way to refill a dry system. Any help on where I could find this information would be appreciated.
Go to the drug store and get a couple of hypodermic needles, leave the needles out and slowly but surely refill the bowl.
Or use a small pill bottle or such, it's not something that's going to happen quickly. Well, without a big mess.
We just work the top about 3 times, and it bleed itself. As soon as it started to struggle we stopped and lowered it, third time was the charm. Couple more times for good measure.
We just work the top about 3 times, and it bleed itself. As soon as it started to struggle we stopped and lowered it, third time was the charm. Couple more times for good measure.