badge replacement
#1

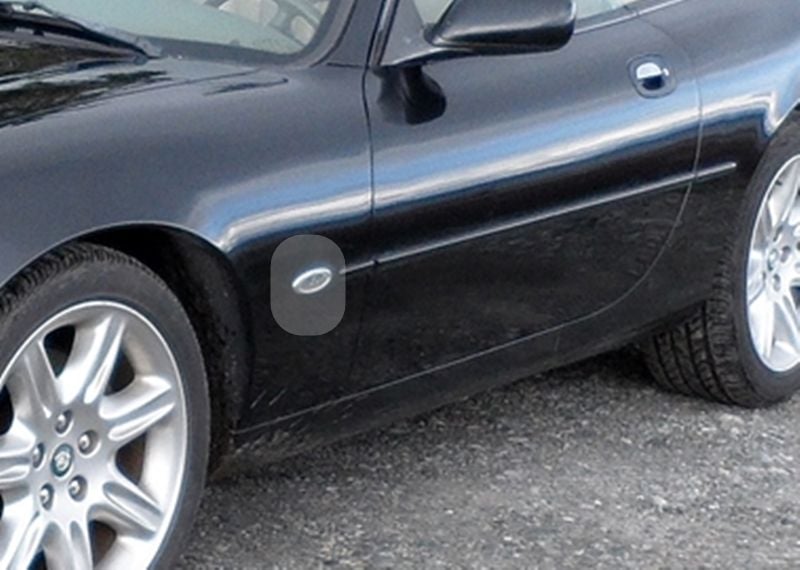
As you can see in the highlighted area, the Jaguar badge has been pried off the silver backing oval which is still attached to the front quarter panel.
I have ordered and received a replacement but it involves also replacing the silver oval which is still attached to the front q panel. Before I crawl under there and try to get behind the liner, does anyone have previous experience messing with these? If so, anything I should pay attention too? Any suggestions? I would like the car to be as beautiful as possible because in short order she will lead our Mayday parade and carry our Queen. No big deal you say? :O We have the oldest and longest running MAyday celebrations in North America - right here on our little island...
#2
The following users liked this post:
Rigelprime (04-23-2017)
The following users liked this post:
Rigelprime (04-23-2017)
#5
On my 1997 the badge is pressed with 2 clips holding it in place. You tke one of those thin cards from the grocery store club or an old hotel plastic key. Insert it between the chrome on the front side and push to the rear while prying out with a piece of plastic or wood. The tang should release and the badge pop out.
#7
Slight digression but might be of interest ...............
on UK cars, the amber direction indicator is in that position, and the two indicator lamps in the front and rear bumpers (fenders) are just "dumb" amber reflectors. But ........ the wiring is the same for all cars so behind that badge, there's a connector, just as there are two behind my front and rear reflectors.
So - as in the link above - should be possible from outside the car without any major surgery - I can change the bulb in mine without removing wheel and wheelarch-liner.
Trending Topics
#8
#9
Your assessment was correct. It was held in place with foam backed adhesive and on the back was a wire pair and connector which had a wire U clip attaching it to the badge oval. Removing it took some small amount of paint in a couple of spots - even though I was very careful and in other areas it left a wicked adhesive that I threw fingernail polish remover at - didn't work but that's ok I didn't like the color of my last pedicure KIDDING!!!) and finally acetone and elbow grease cleaned it up. Now I am just waiting for touch up paint to cure. Will check it in a few hours but it will be an easy install from here.
#11

