When you click on links to various merchants on this site and make a purchase, this can result in this site earning a commission. Affiliate programs and affiliations include, but are not limited to, the eBay Partner Network.
wired neg and pos together let it set all nite off posts
wired neg with pos on post
wired net with pos on post and tried all key positions incl start for over 1 min each position
no change-still have ck engine lite, have radio presets and even have time correct on nav system even garage door open is still there
2000 xk8 conv 91k miles
has intmt restricted.
what is keeping the system alive? only seems to effect trip info, windows, and idle is up sometimes turn off and on and it goes back to normal or can drive and it will go back to normal
has to be getting power from somewhere? correct? almost like it gets it from the cosmos
thanks
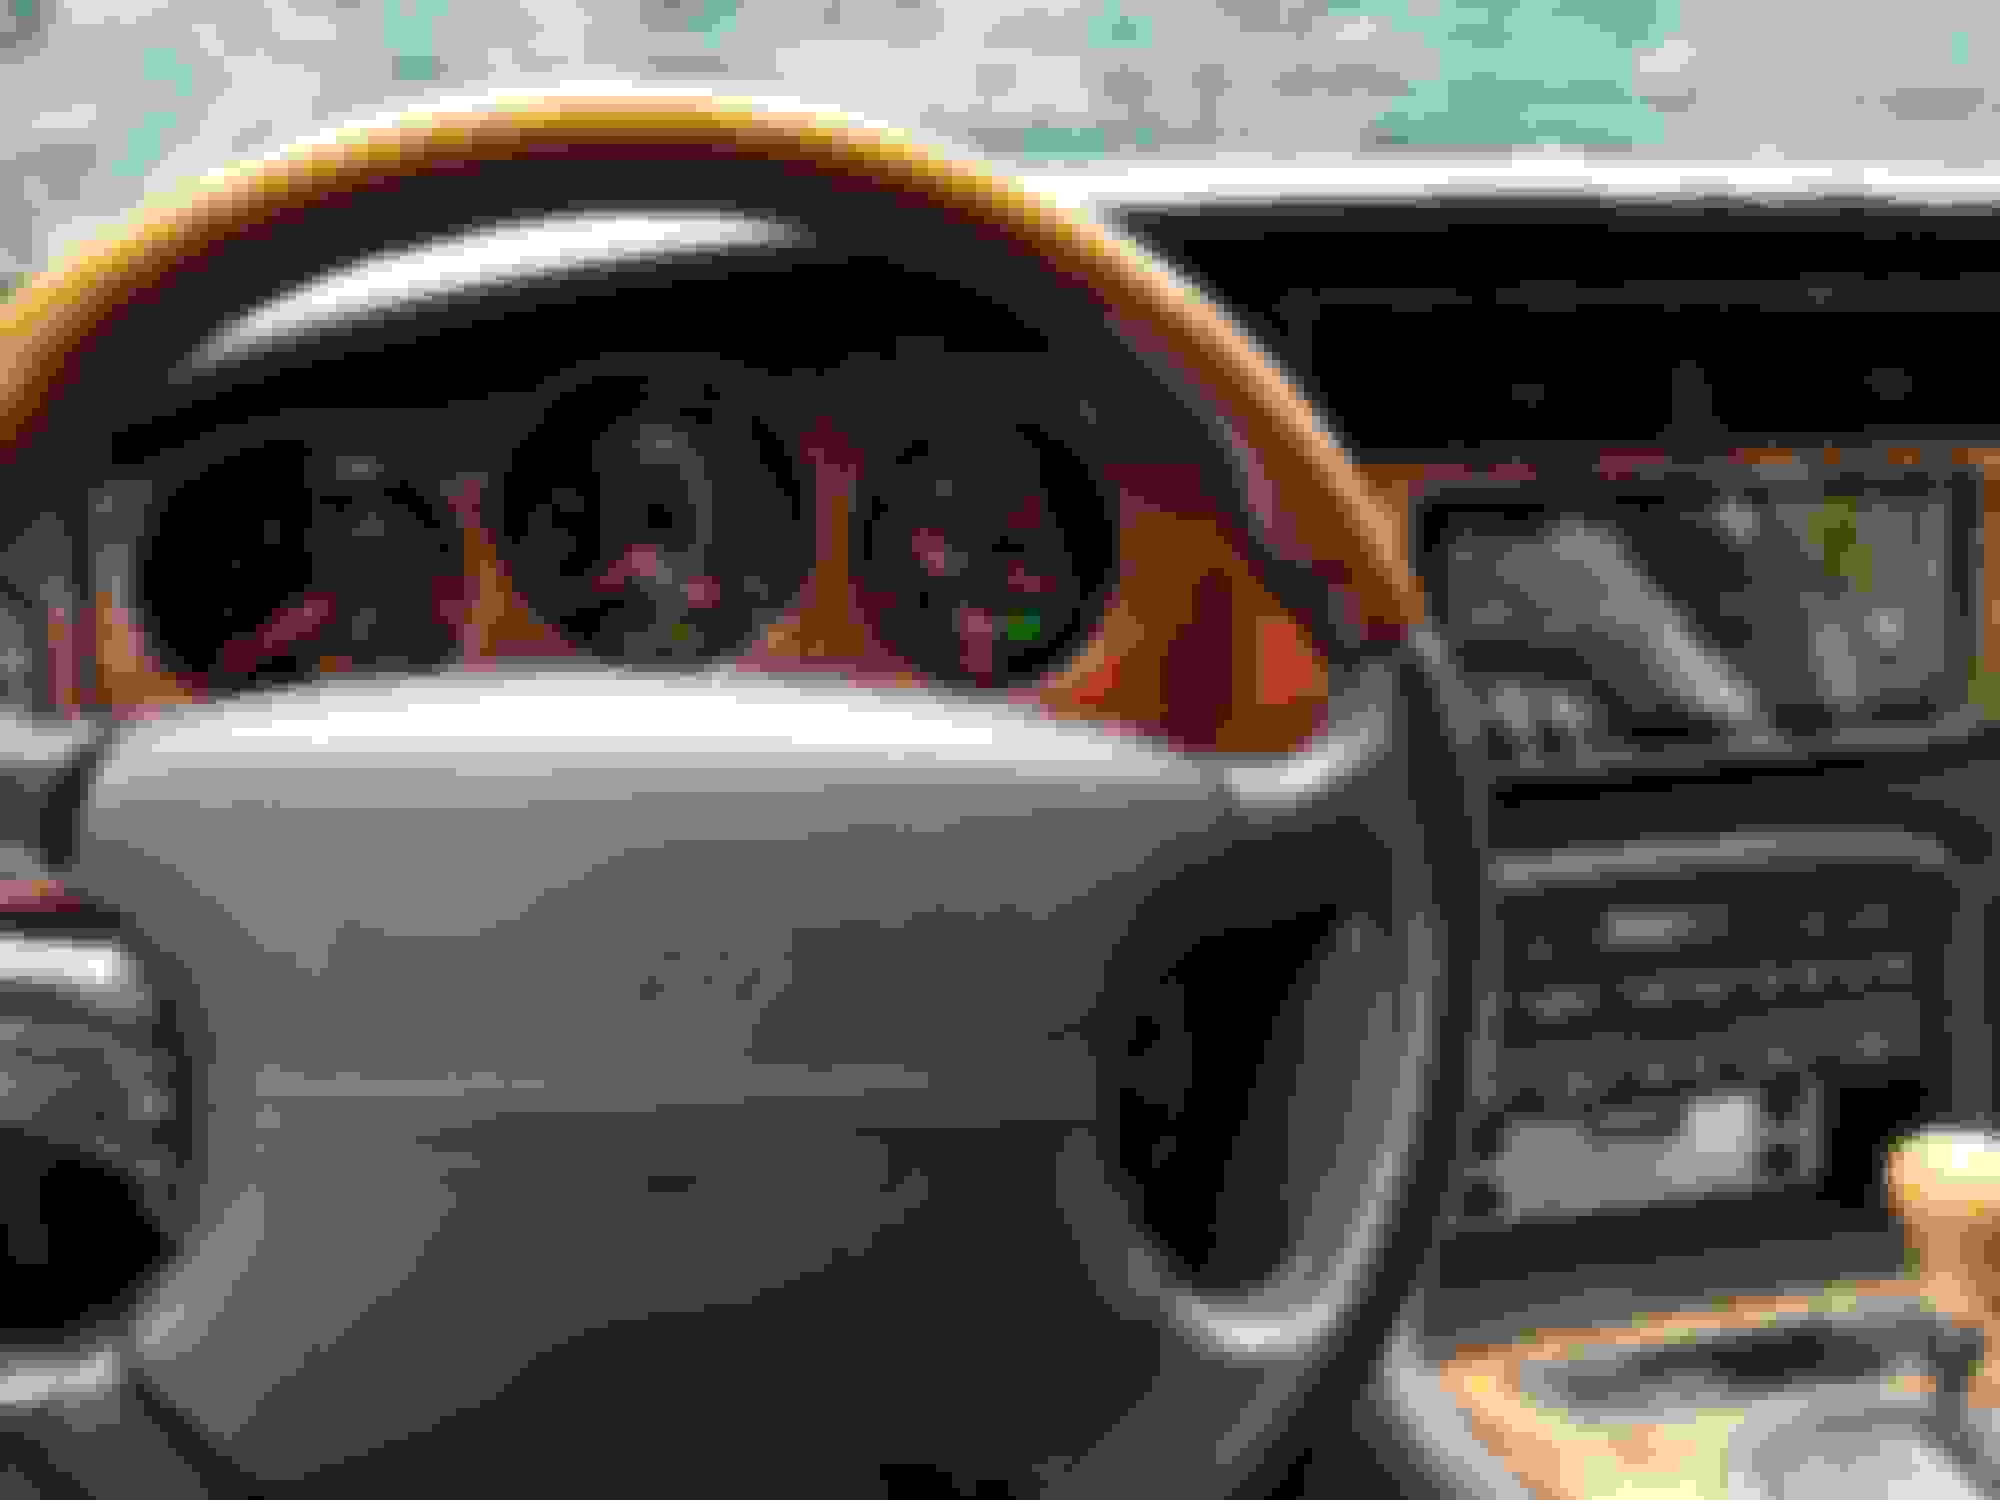
Had to modify the veneers to make it fit and the one in the photos still is only a draft version.. The final piece hopefully will have a little less damage to the edges.
also got the Gauge cluster lights all working again. Only four attempts to align the polarity on the LEDs.
Riser behind the screen brings it flush in what i think looks fun and visually interesting.
Fascia to cover the old head unit slot is waiting on parts but will flush to the old curve. I am modifying the old radio face in a similar fashion to a project XKracer did before.
I think it fits the vibe of our cars while still looking like what the new ones are doing. Let me know if you have questions.
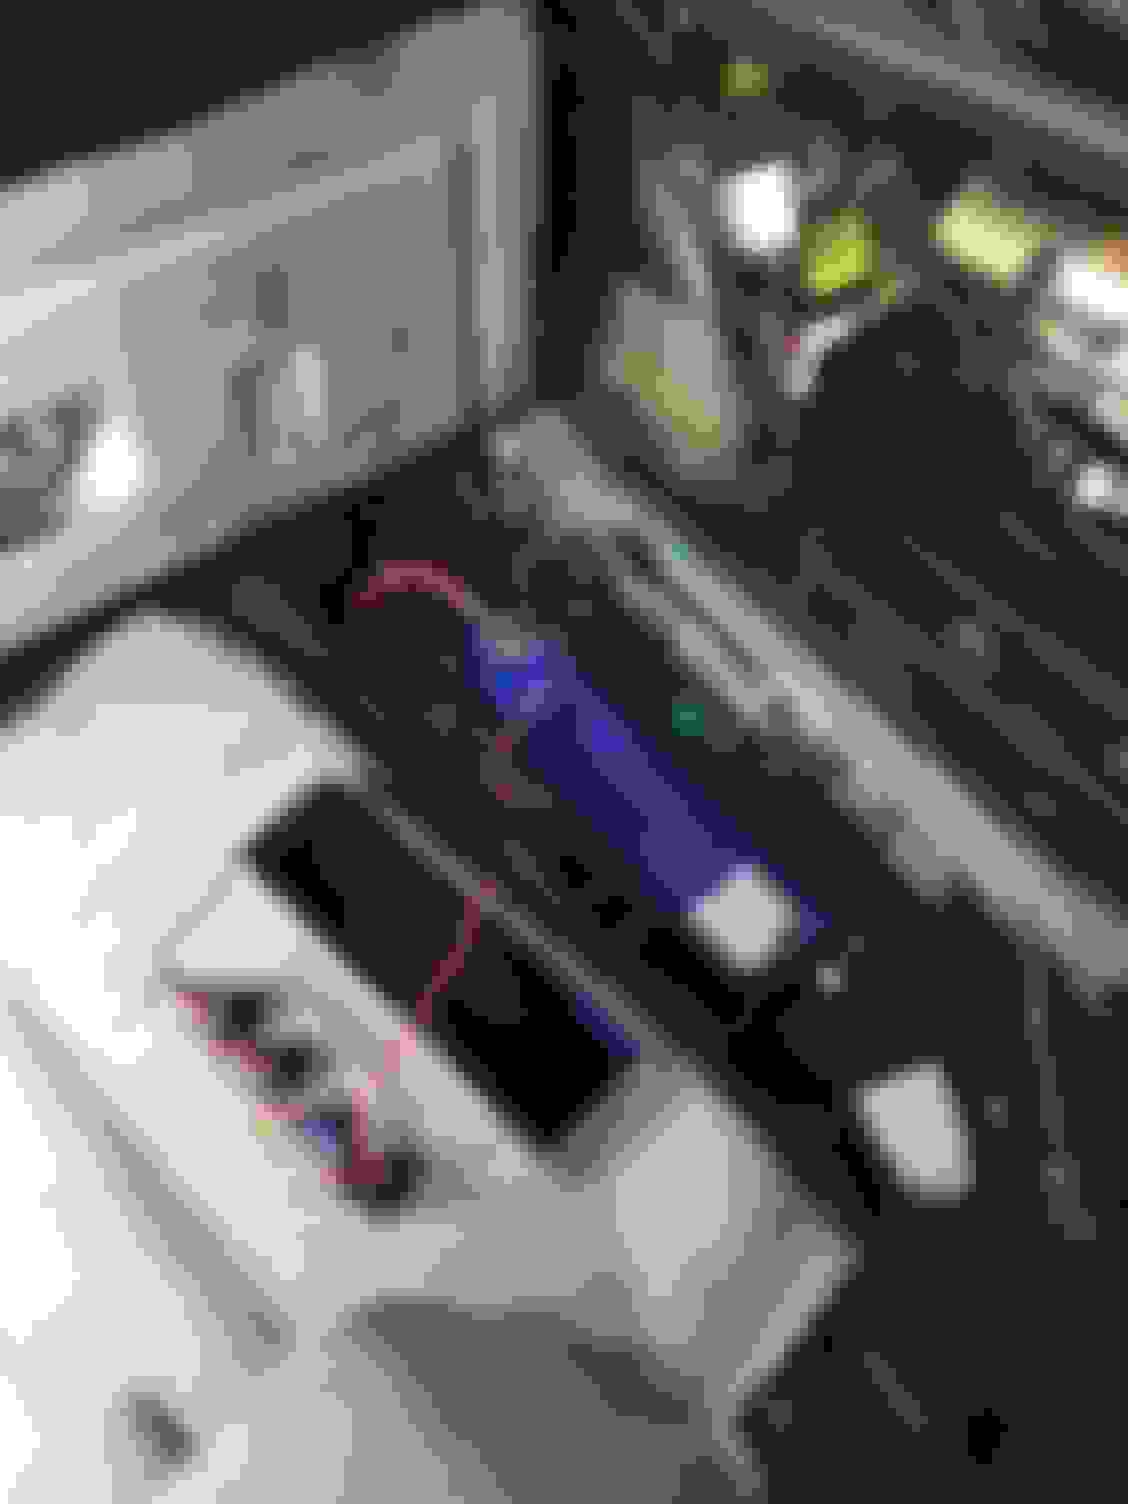
Had a lot of electrical glitches recently, and saw something at the marine jetty shop, similar to what fellow forum member installed. So I followed what rothwell did.
Should be very Easy to check battery voltage now. My plan is to use a battery micro charger through the panel�s cigarette lighter socket.
It was relatively simple to wire up with a 10A inline fuse, using stuff on my garage shelves. Using the spare space in the trunk�s RHS rack as no Sat-Nav or music amp in my car
David,
As usual great Job. I missed previous thread, What is this officially called? "Electrical system Monitor"??? (I hate to go to a store and ask for "The thingy that does that whatchamacallit job").
My EEEkit Switch panel came from a boat shop, in an opened box, and the wiring provided wasn�t suitable. No instructions either but not hard to figure out. I had all electrical connectors etc in my garage and I just followed Rothwell�s lead and put in an inline 10A fuse.
Converting battery charger clamps to accessory plug
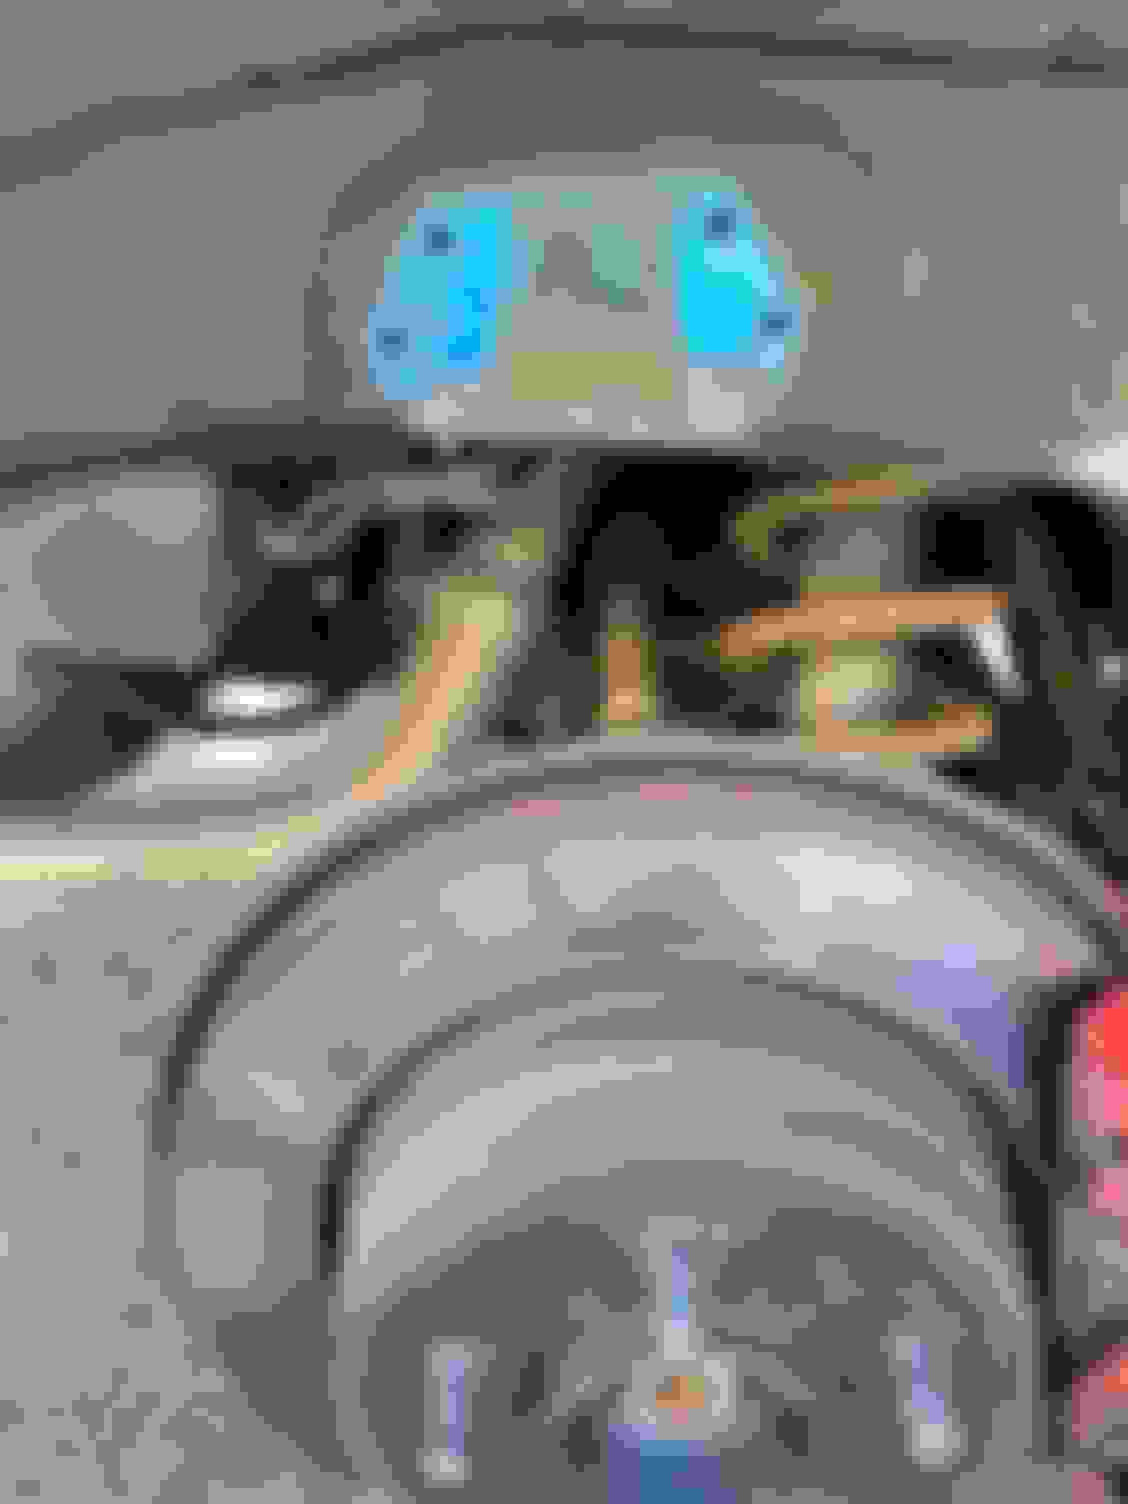
In line with my plans for the new trunk panel, I took my old micro charger (300mA) and cut the clamps off and wired in a 12V cigarette lighter accessory plug with an in line fuse.
Now I can easily check battery voltage, and plug in the charger if I�m away for a few days.
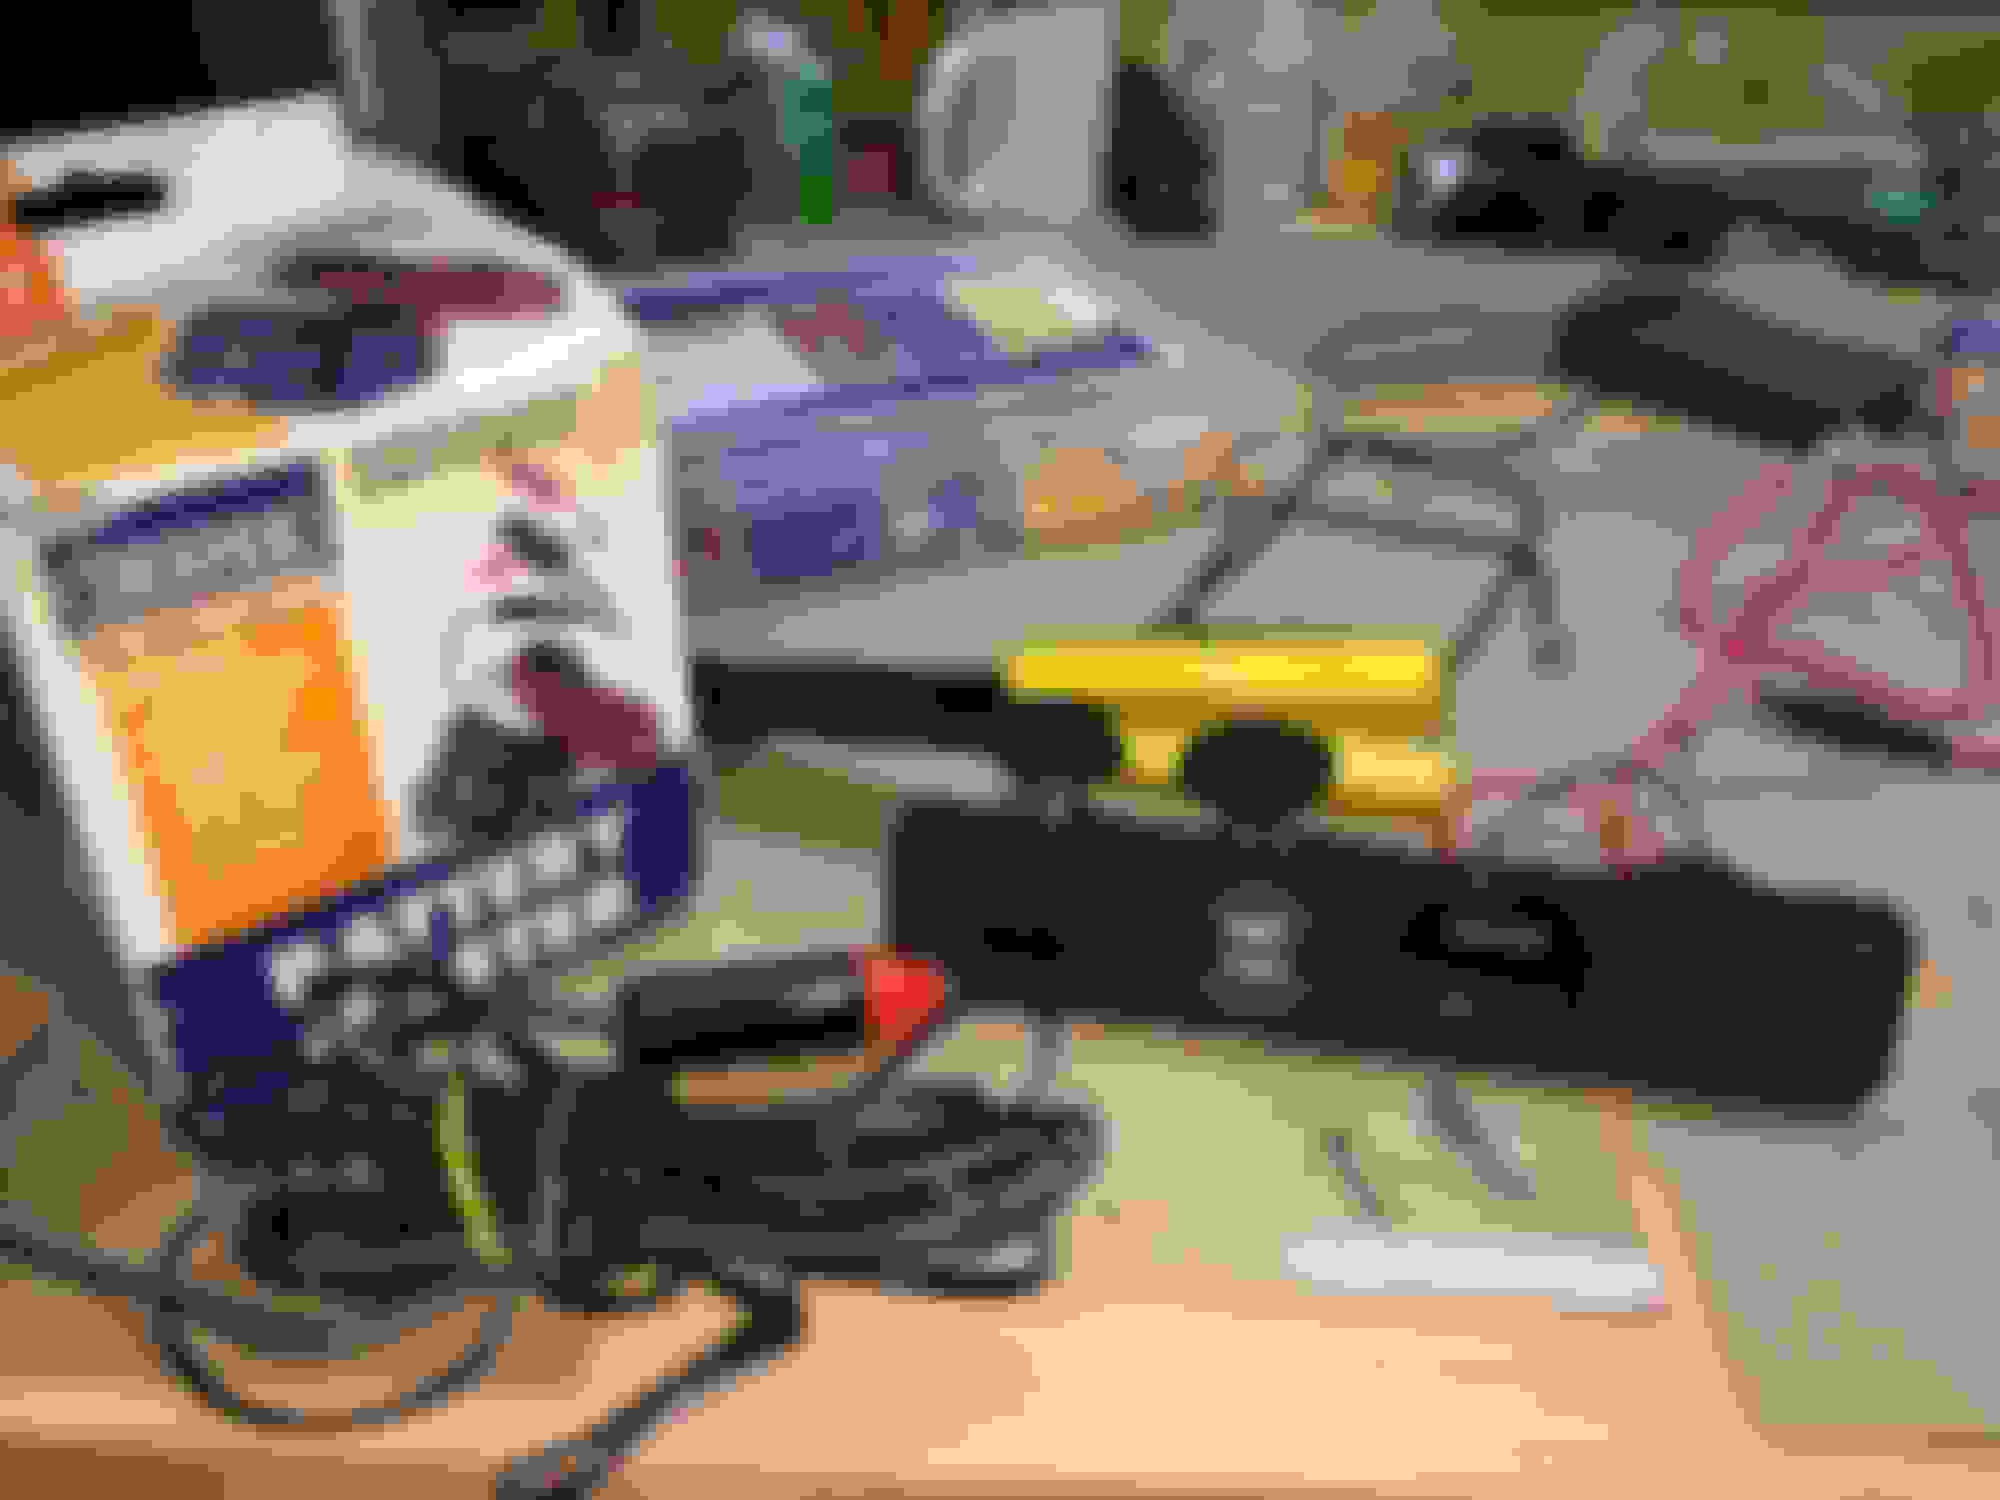
My garage set up. Need to find a way to safely secure the wiring on the floor though.
I got a new AC pressure cycling switch and it is now on the shelf with spare XKR parts. The old pressure switch was good, the seal from the pigtail was stuck in the switch causing inconsistent connection. Looks like when the chains and tensioners were done, that got overlooked when it got reassembled.
Just finished rebuilding the entire front end suspension on my 2001 XK8. Upper and lower ball joints. Inner and outer tie rods, shocks, all bushings, stabilizer parts. Taking a break then will tackle the rear shocks. All I can say is: NEVER AGAIN!
Just finished rebuilding the entire front end suspension on my 2001 XK8. Upper and lower ball joints. Inner and outer tie rods, shocks, all bushings, stabilizer parts. Taking a break then will tackle the rear shocks. All I can say is: NEVER AGAIN!
All round tyre change leads to remounting Bump Stopss
I've been lucky to have had a legal set of P-Zeros on my XKR 100 since I bought the car but the age splits on the side walls that I noticed the other day were enough to get me tyre hunting. For the first time I tried an Online outfit called BlackCircles in the UK who have a fitting depot in my village, for those who've not come across them, they provide online prices and once delivered to your depot of choice they are fitted all inclusive in the price they show for the tyres.
Looking through the official spec for all the tyres they had for my wheels (BBS Paris 255 FRONT 285 REAR) I thought the Kumho ECSTA PS91 suited my wallet, driving style and requirements. They are officially rated A for braking in the wet & E for economy, road noise around the middle of those I looked at.
Anyway I'd been told the wrong day as one of the tyres failed to arrive so they gave me a discount of �30 this time and 10% off any future purchase which was undated.
When the tyre arrived after the weekend I was fitted in at the end of the days schedule as requested so that while all the wheels were off I could have a good look all around the wheel arches for any problem areas, the fitter/manager was very obliging. I noticed the rear Bump Stop was looking a little detached so I reached in and gave it a tug only for it to come off in my hand, the other side on the rear was exactly the same and that came away too. It appears the aluminium the Bump Stops are glued to had corroded, lifting the rubber and detaching it from the contact adhesive.
So today I removed each rear tyre in turn and using a T40 unscrewed the four bolts (two long & two short) to remove and clean the aluminium seat that the rubber of the bump stops is attached to.
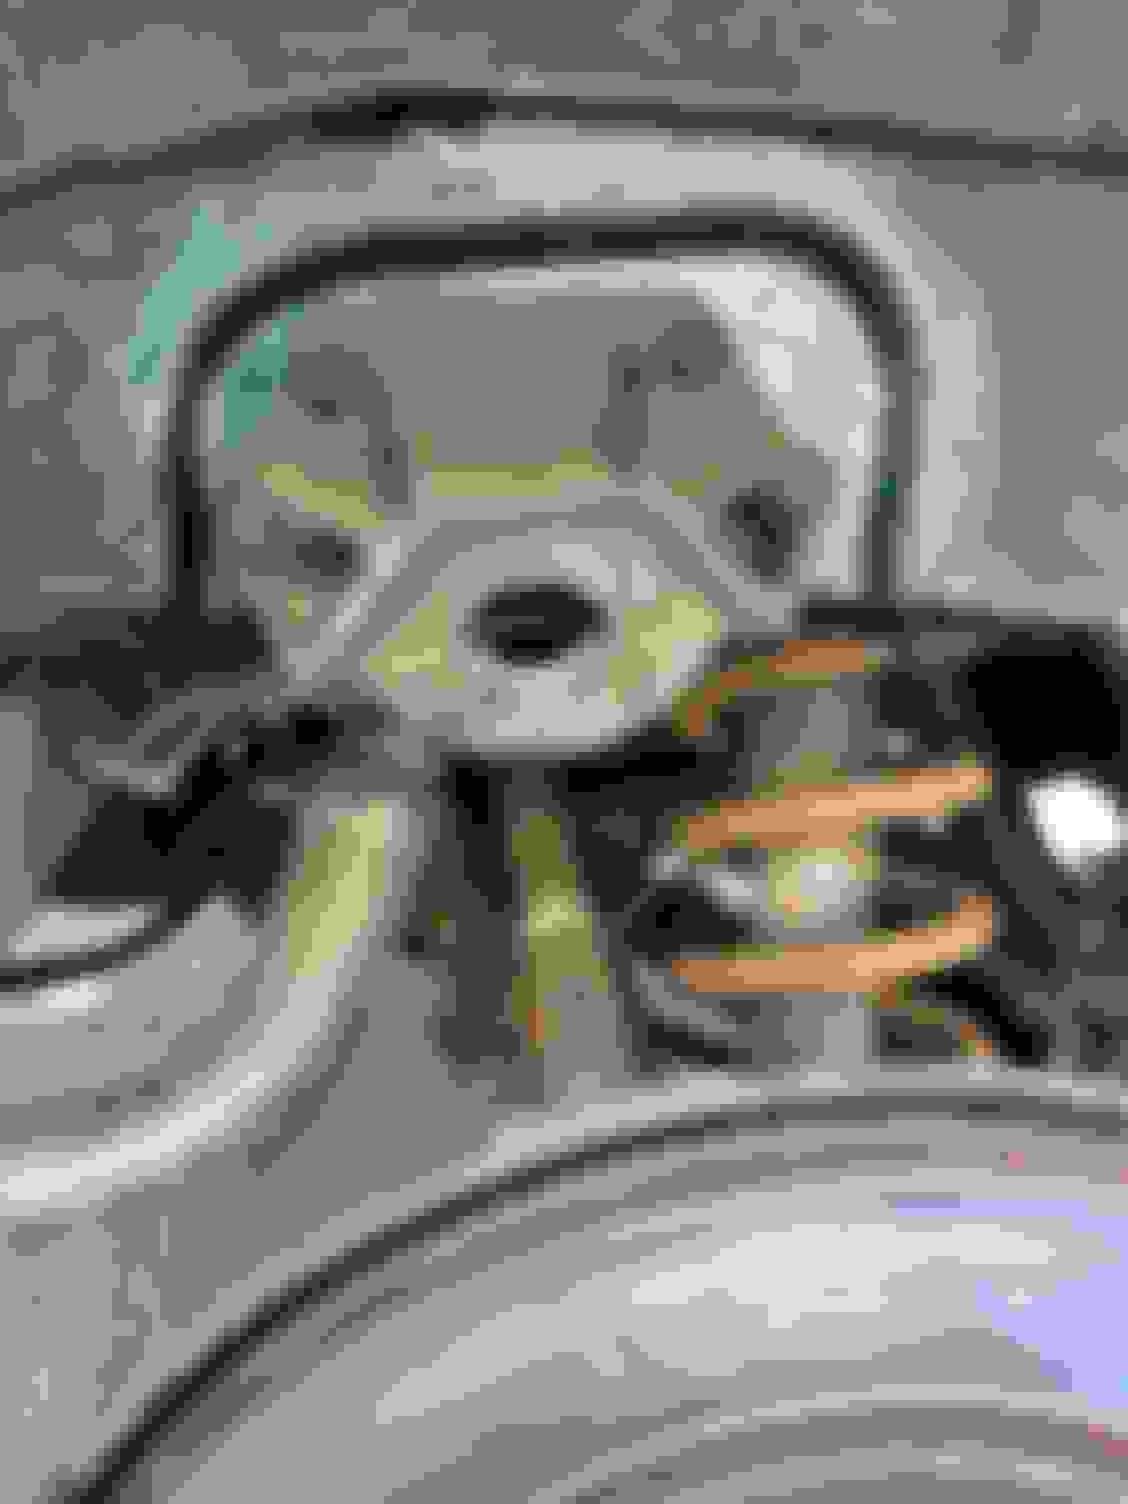
The Bump Stop removed showing the four captive nuts which the bolts screw into (longest bolts at the bottom)
The Bump Stop removed and showing the heavy corrosion on the aluminium that had virtually dislodged the rubber bar one or two small spots.
After the two parts were well stuck (about 20 mins) I replaced the Bump Stop after I had painted the unsealed blue paintwork with black Waxoil.
This is the rubber part of the Bump Stop removed and showing the heavy corrosion deposit from the aluminium that had virtually dislodged the rubber bar one or two small spots. I removed the coating then cleaned and degreased with Isopropyl Alcohol 99% ready for coating both surfaces of the rubber and aluminium with instant Contact Adhesive.
Here I'm using a small wood carving chisel to remove the corrosion, followed by some wet & dry and then cleaned and degreased with white spirit then Isopropyl Alcohol 99%
I pulled my 3rd brake light housing and the wedge of wood that one of the previous owners had put under it. It was very cracked to begin with, but I thought I'd try glueing it. Found out that regular super glue pretty much stays like water smh! Then I tried trim adhesive and smoothed it over. It isn't perfect, but I had already decided that I was going to paint it black to hide the repair anyway. I shot it black and decided to reuse the wedge of wood, but shortened it about an inch and painted it black too. It looks much better, obviously not perfect, and if someone made new ones for a decent price I'd probably just replace it, but oh well. Unfortunately I also found out that the cloth on my package shelf has pretty much completely separated. One more thing to do. Oh well
Got the retrimmed headlining and rear shelf back in place this afternoon.
I don't know how some manage to do the headlining without removing the interior. I have all the seats out and it was still a challenge to manoeuvre the headlining back in without creasing the fibreglass shell.
I'm very happy with the result as the oatmeal fabric much better matches the sun visors than the previous replacement covering.
Originally Posted by Timeisrelative
...I also found out that the cloth on my package shelf has pretty much completely separated.
The daylight gets to it more so it's really nasty by now. I put the cloth (which pretty much fell off the backing) into a plastic bag to deliver to the upholsterer as a cutting template. I hope he had a biohazard suit.
My high-stop is OK at the moment other than being sunburnt on the top so I've left well alone for the moment.
Now back to working out what to do with some protection for the rear sill/wing rot areas...

 08-28-2020, 08:22 PM