When you click on links to various merchants on this site and make a purchase, this can result in this site earning a commission. Affiliate programs and affiliations include, but are not limited to, the eBay Partner Network.
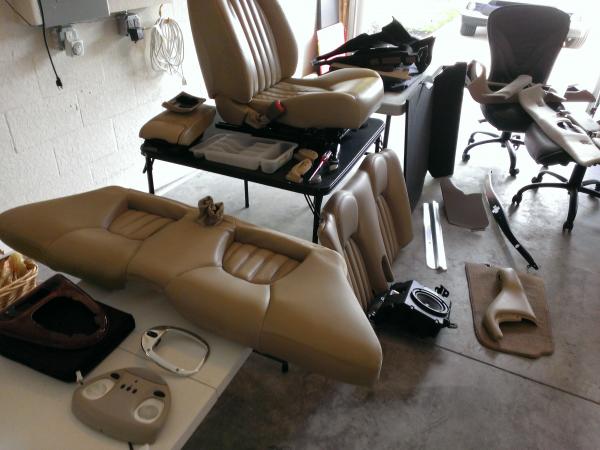
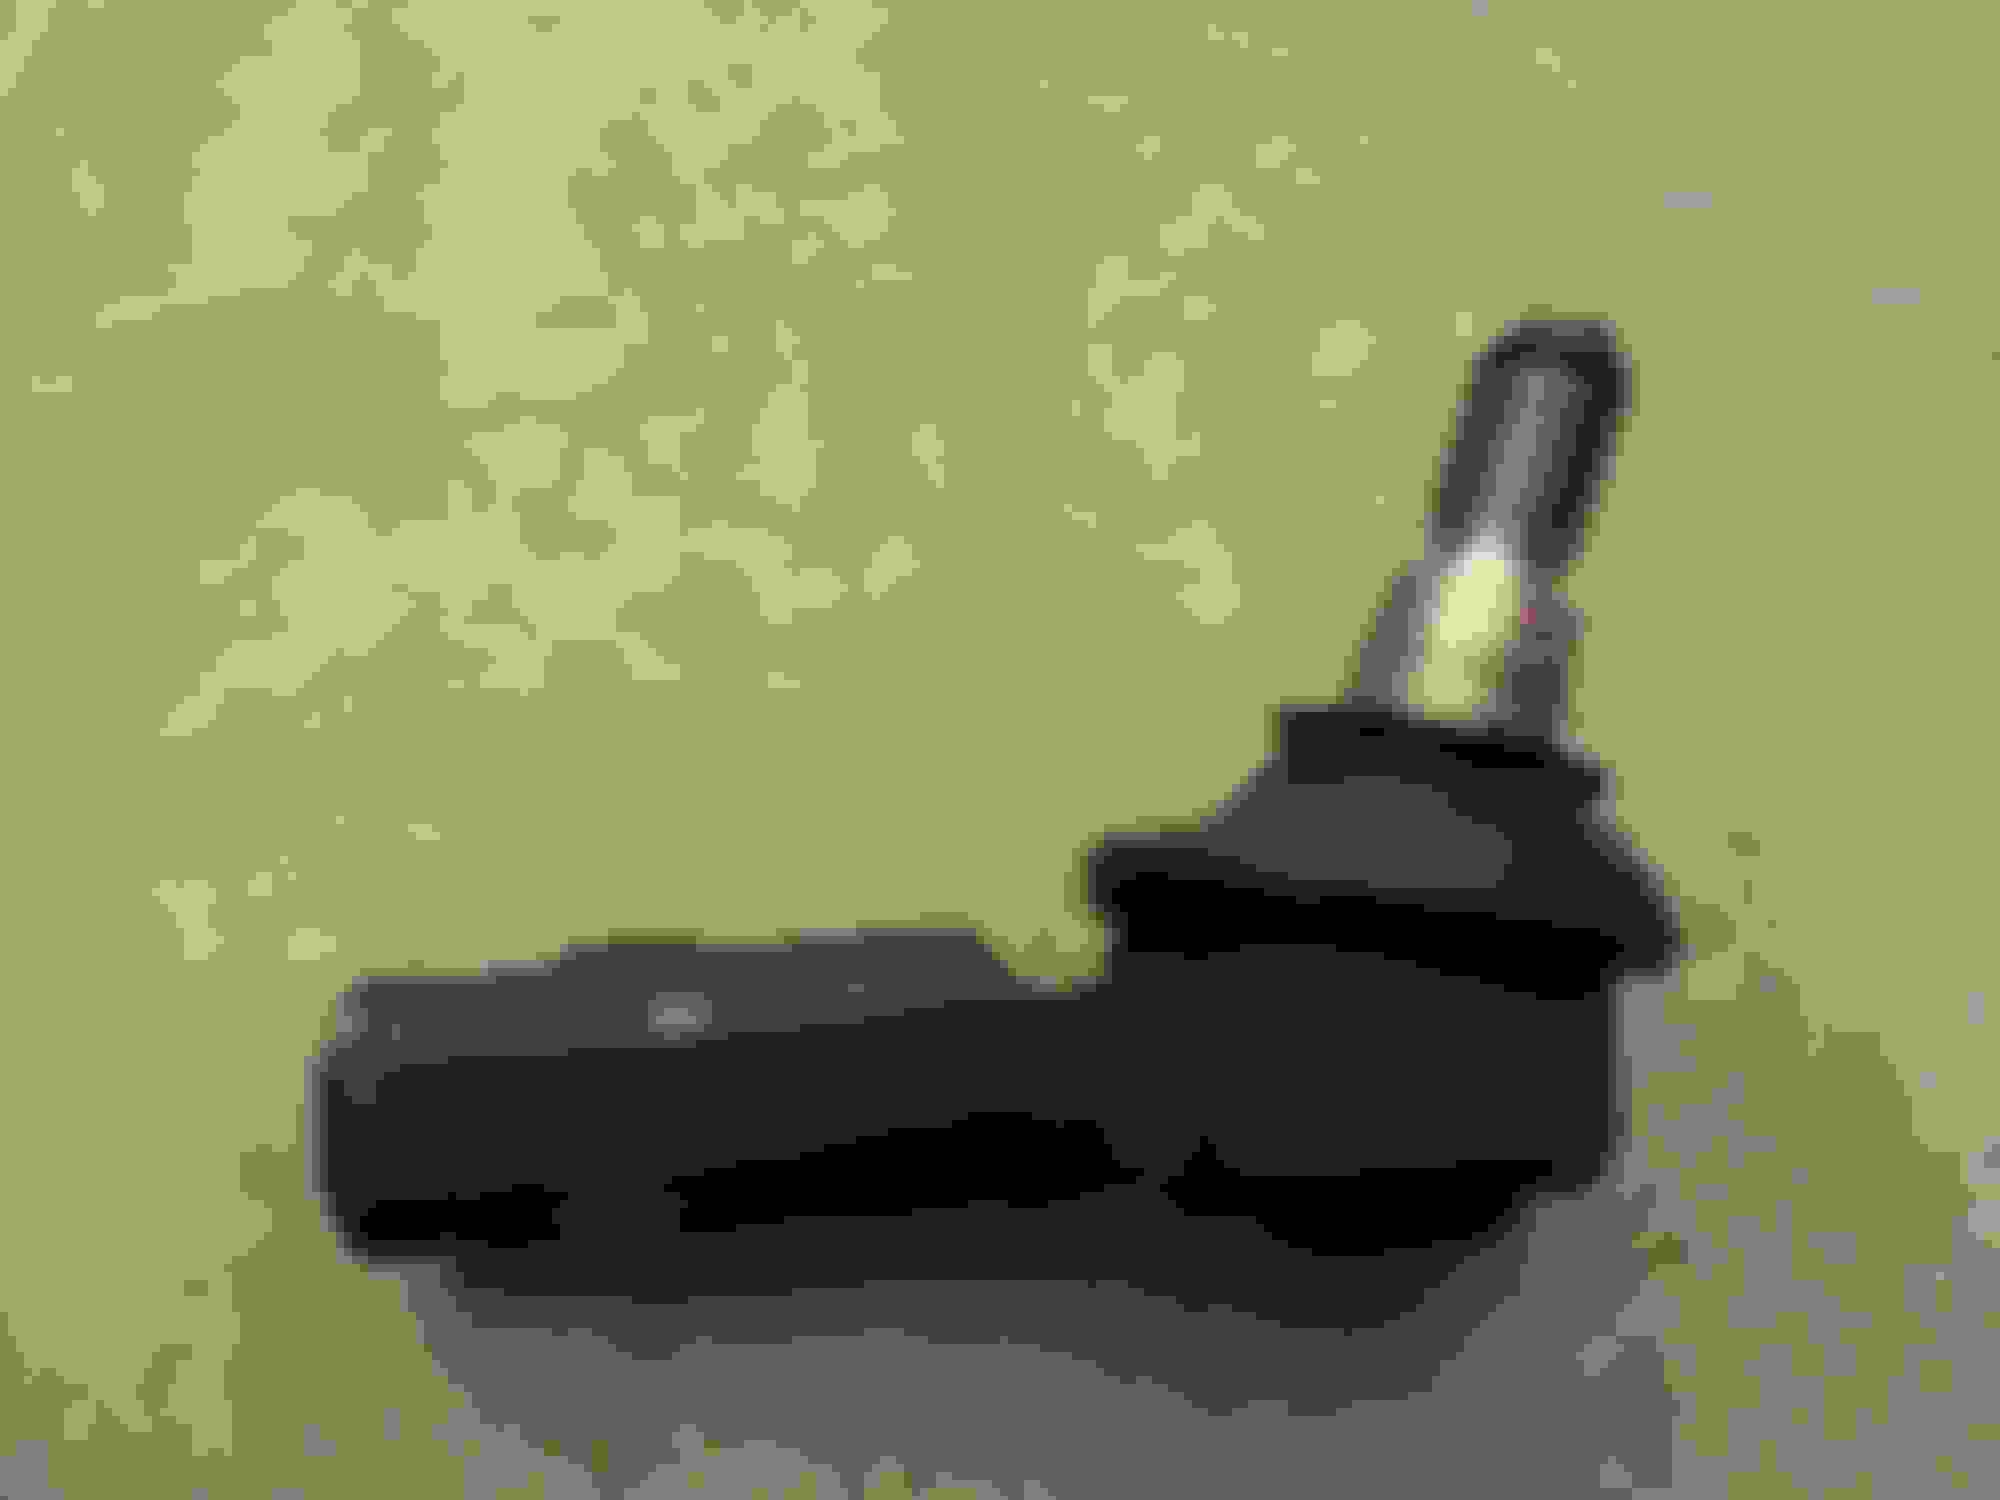
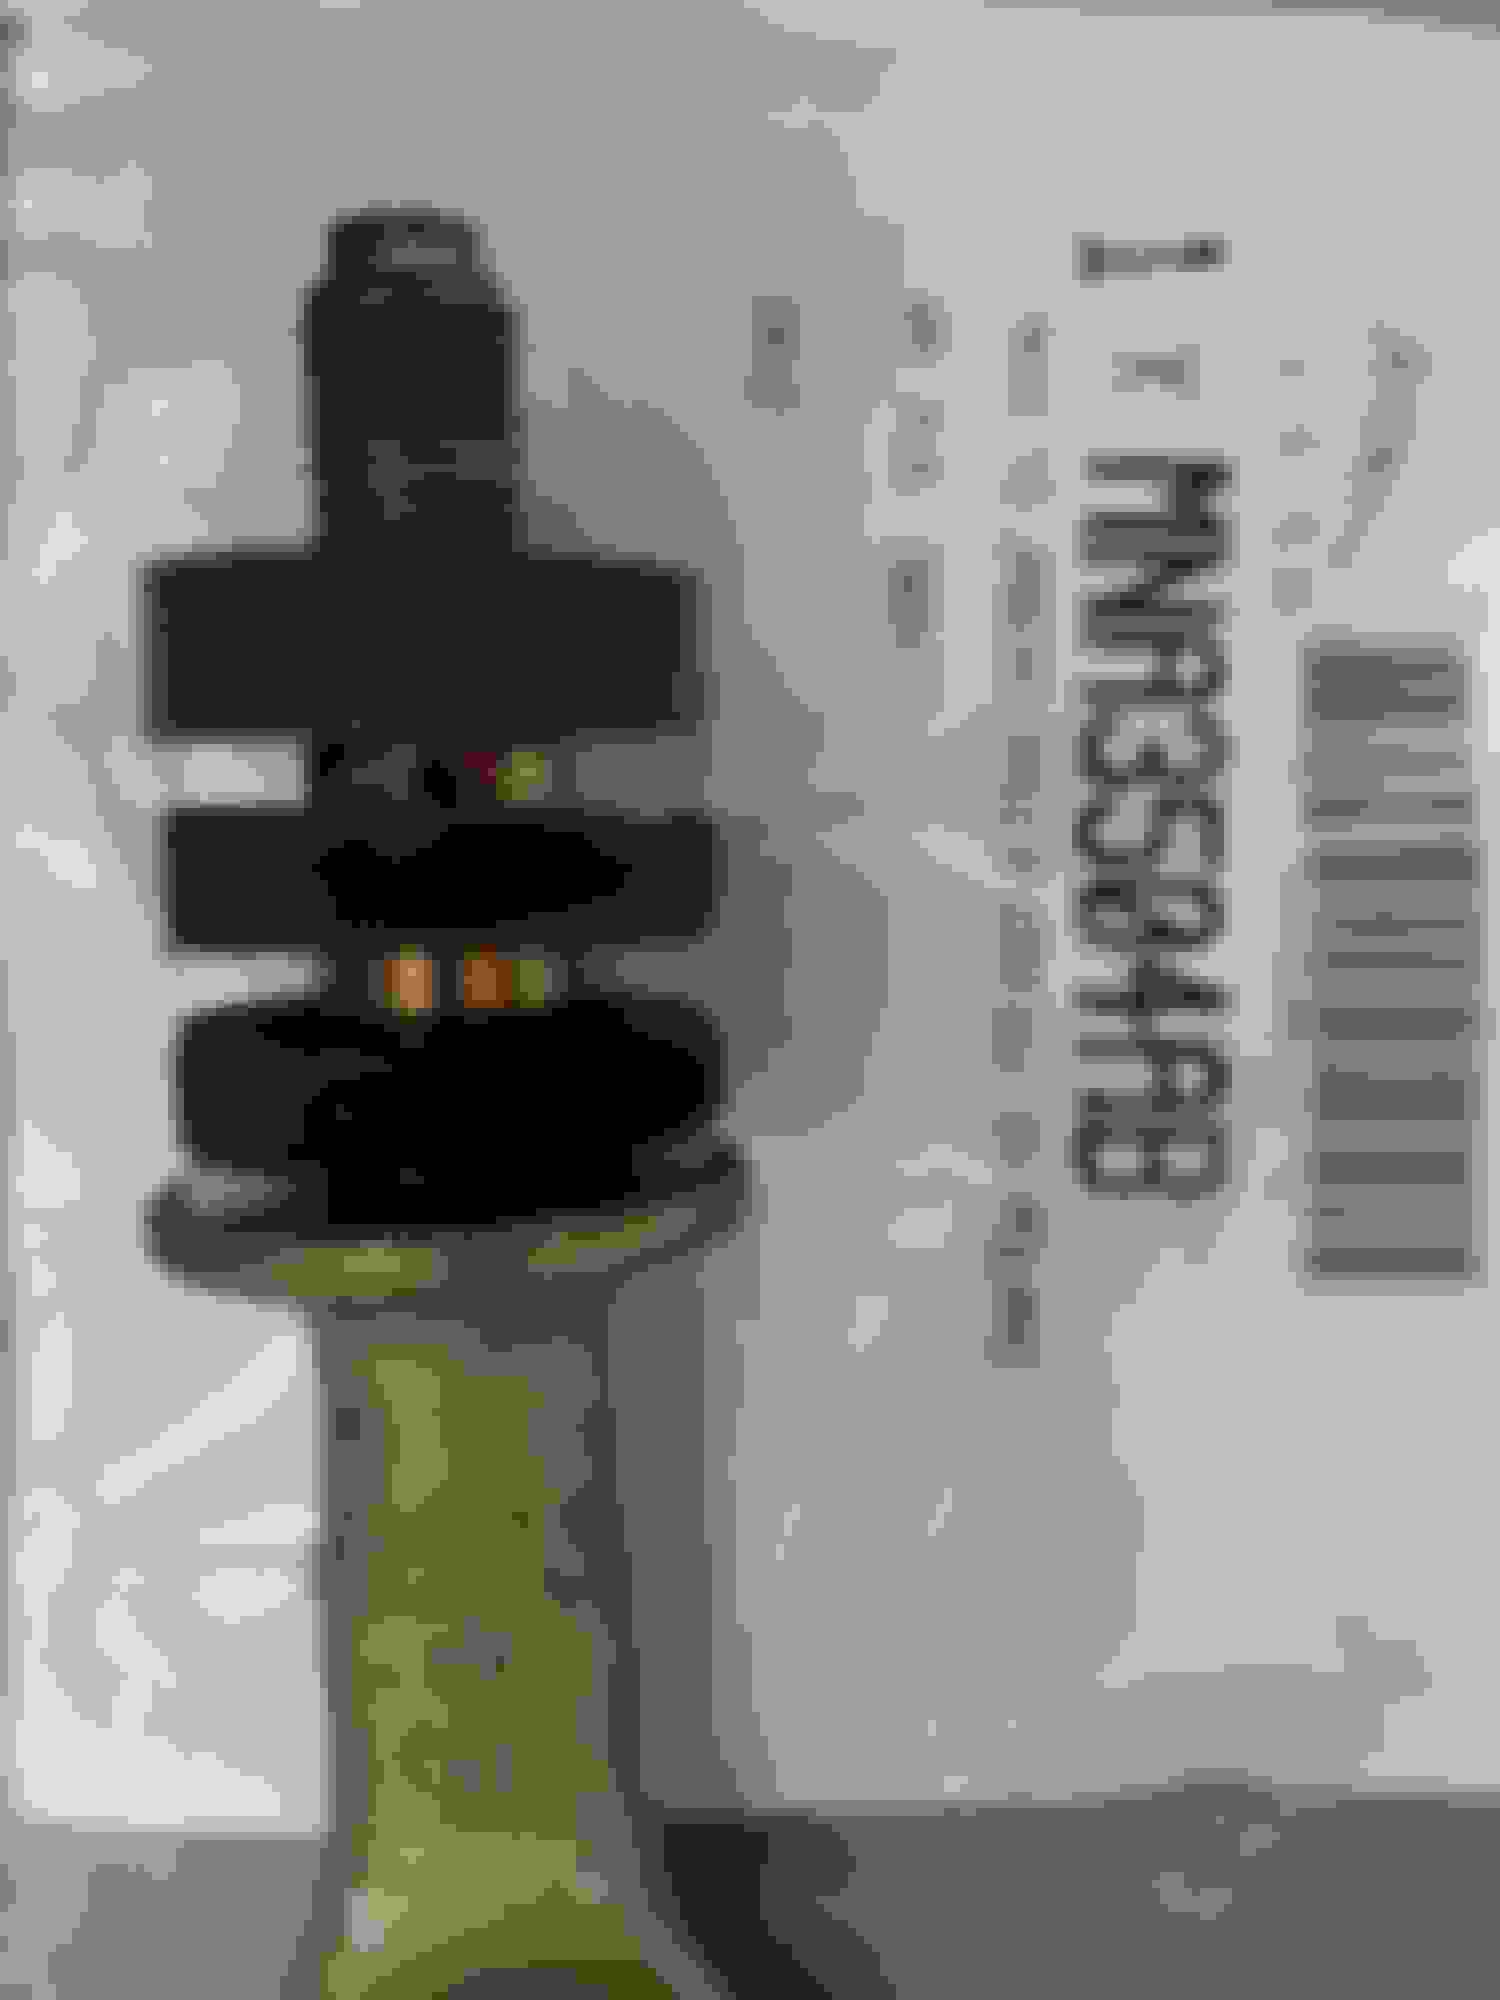
When I got my XKR the shift knob was in horrible shape, varnish cracked, wood stain faded, wood grain WAY lighter and didn't even come close to the dash or shift surround. I picked up a hand-made one that I rather like. Color and grain much closer. The guy does very good work.
rothwell.... What you've done looks VERY NICE INDEED
I like that shifter. If I hadn't order a piano black from British Autowood, I would have had him do that one for me in black.
When I got my XKR the shift knob was in horrible shape, varnish cracked, wood stain faded, wood grain WAY lighter and didn't even come close to the dash or shift surround. I picked up a hand-made one that I rather like. Color and grain much closer. The guy does very good work.
rothwell.... What you've done looks VERY NICE INDEED
I found the guy on eBay. Seller name is
zahnieblack .. His stuff is way better looking in person than in photos, he makes everything by hand, and the quality of his work is excellent. Pricing varies on what you want
Here's a link to what he's got out there for sale currently zahnieblack | eBay
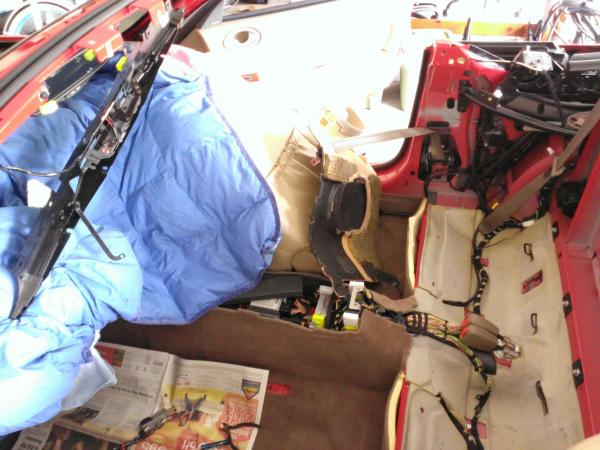
I finally had a free weekend to replace the lines to the latch. Last fall when I reconditioned all the header material I could see that eventually they would let loose. So I packed some extra headliner material in the area to soak up any seeping fluid. I had already done the pressure reduction mod so I figured I had some time.
I got all the parts I thought I would need for about $360. Scored a NOS latch for $40. Got the NOS treadplate for $20. Lines came from Top Hydraulics for $280. Fluid was about $20.
I took a lot of pics during teardown. I will post them if there is interest but I think pics already exist in other posts. I will post a few that I thought were interesting.
First, there a LOT of parts that must be removed to get to the lines.
The extra spongy material I packed around the valve was soaked with fluid. The lines were leaking in the usual crimp spot. The valve itself was not leaking.
I chose to cut the old lines out in sections. Also left the carpet in and just worked underneath it.
The new lines went in without issue. They were clearly marked and slightly smaller in diameter. So I was able to reuse a lot of the zip ties by carefully snipping them off the old lines. Even though the old valve was fine I decided to still use the new valve since I had it.
Releasing the pump pressure and manually raising the top makes it easy to snake the lines thru to the trunk area. I did not bother to prime the lines before connecting to the pump. I just let the pump do it the first time I operated the top. Then topped the pump off with some new fluid.
Here is the total of fasteners that I had to remove to get the job done. Not really that many.
I took my time and probably spent 8 hours overall. That included cleaning every part that I removed.
So I managed to dodge the green shower. Hopefully I am good to go for a long time now. The next day I hit this milestone.
The XK8 reached 60K miles so I thought it was time to be proactive and replace all the bushings in the front suspension. I had been buying up parts for a few months, waiting for some free time to do the work. I also found an excellent how-to article in an old Jaguar magazine that covered all the front suspension bushing replacement.
I decided to start with the easy stuff. Upper control arm bushings, shock bushings, sway bar stuff - things I could do with simple tools.
Since I had already replaced the upper shock mounts about 2 years ago I expected those to be fine. I was in for a surprise. The ones I got from PARTSGEEK are apparently CRAP QUALITY. The foam rubber is already collapsing so I will need to REPLACE THOSE AGAIN way to soon. I'll be posting a new thread about this.
On to the control arm bushings. At first inspection they "look" okay.
But they are hard as a rock and cracked apart with a little pressure. Made getting the old ones out easy enough.
The bushings are also completely void of lubricant so moisture was rusting the inside.
The new ones press in easy with a simple c-clamp. I made sure to coat the new sleeves with copper grease (the guy at NAPA did not even know what that was).
New bushings went in easy. Nice and soft now. Ride should be noticeably better.
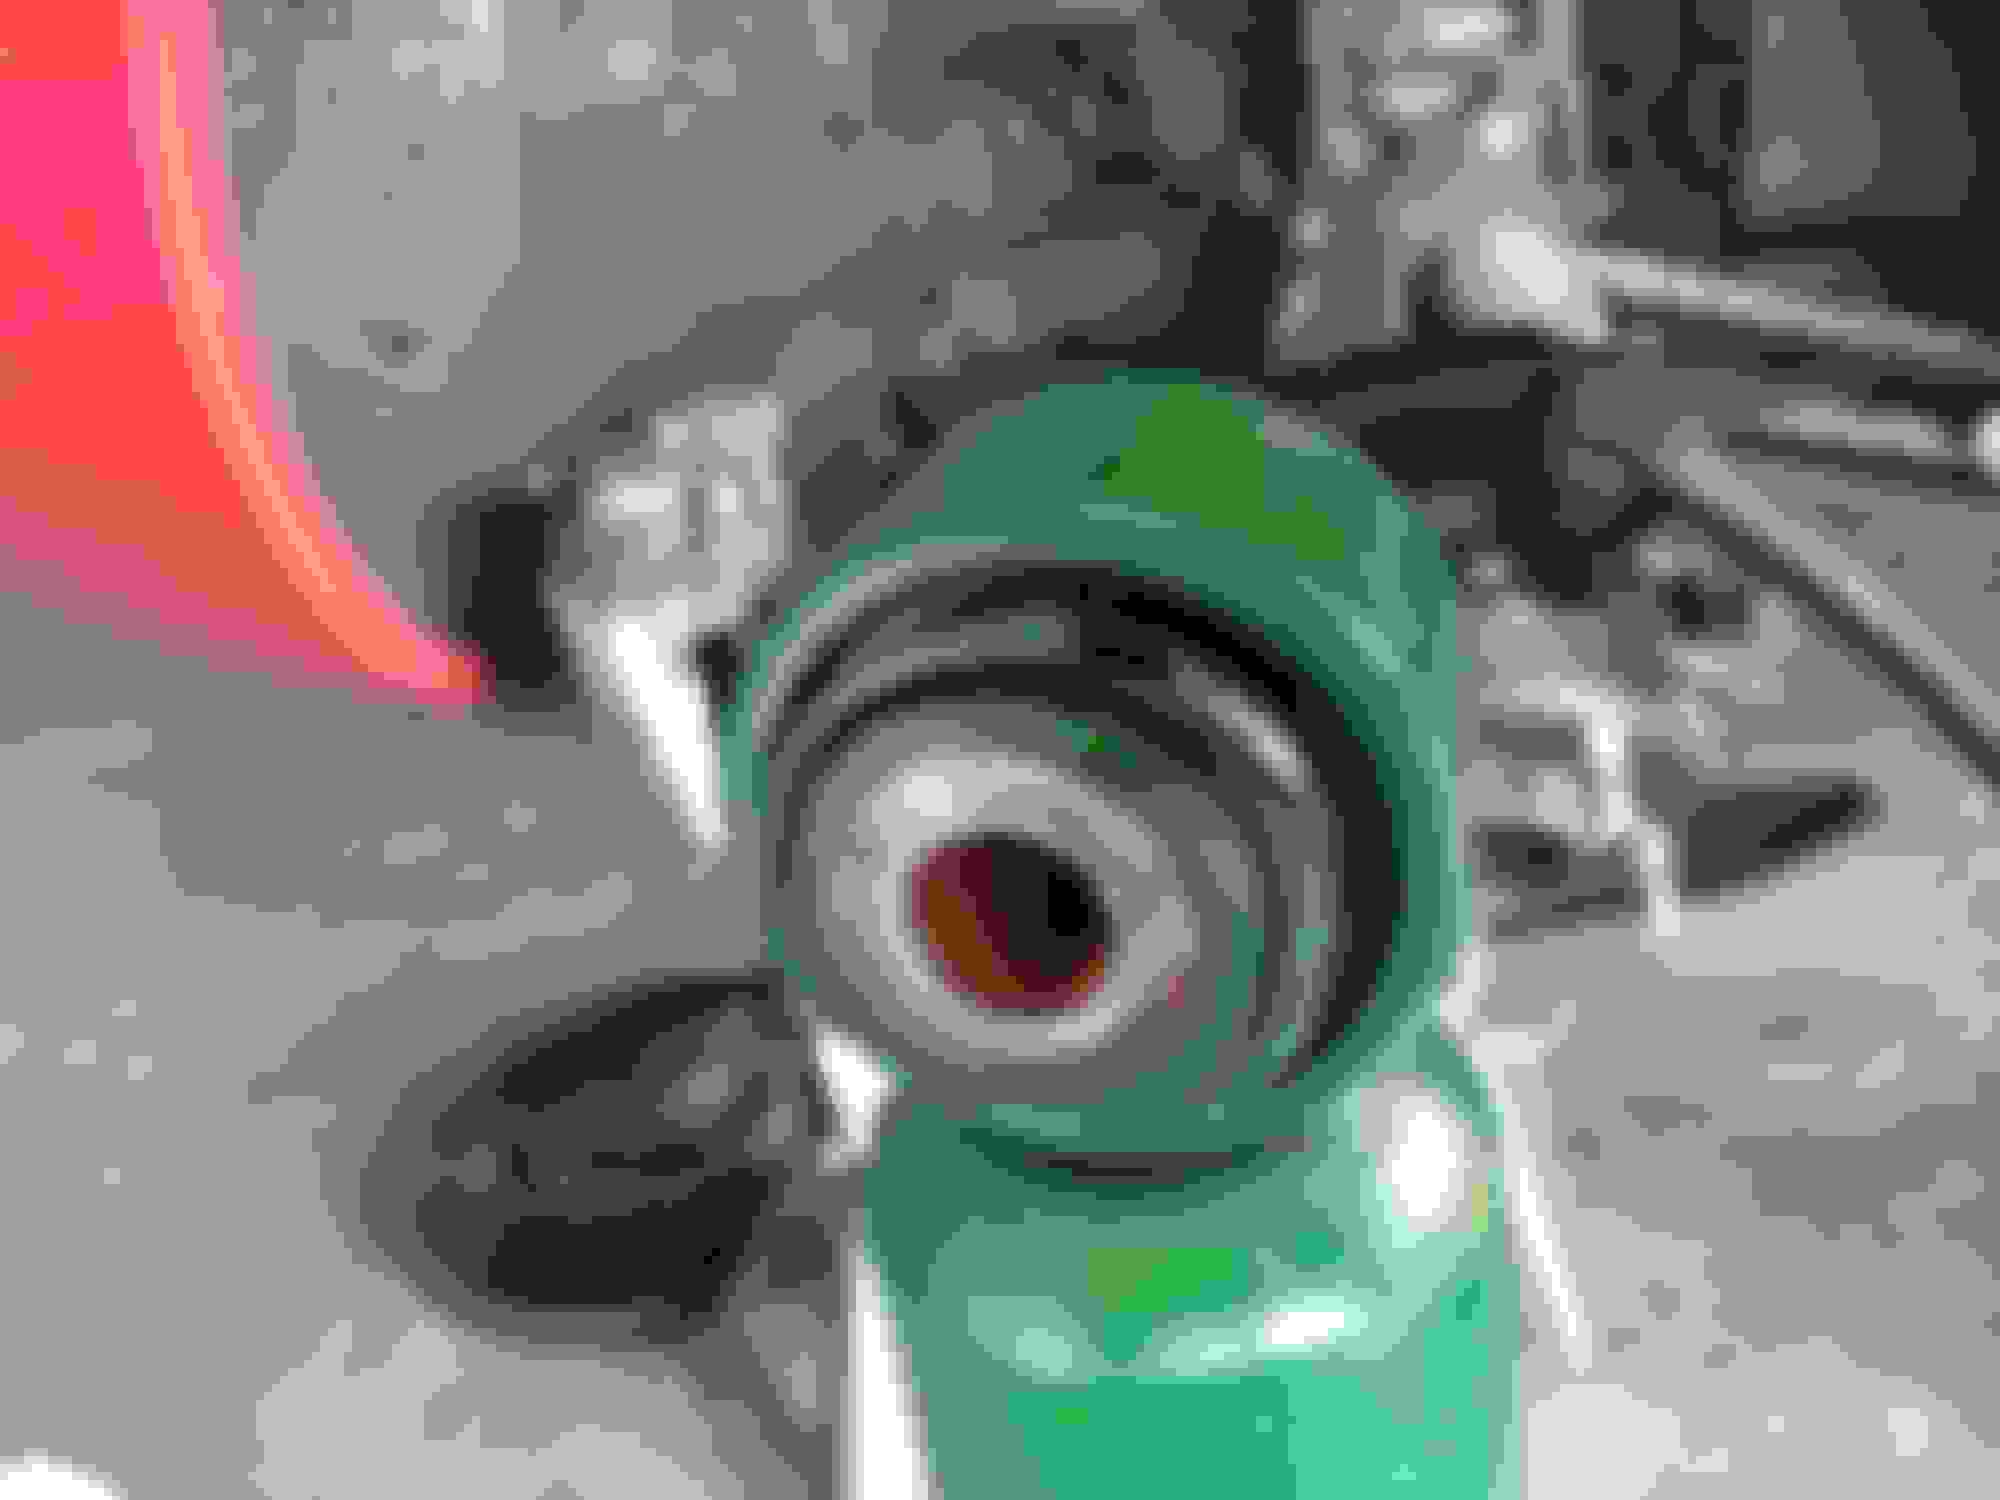
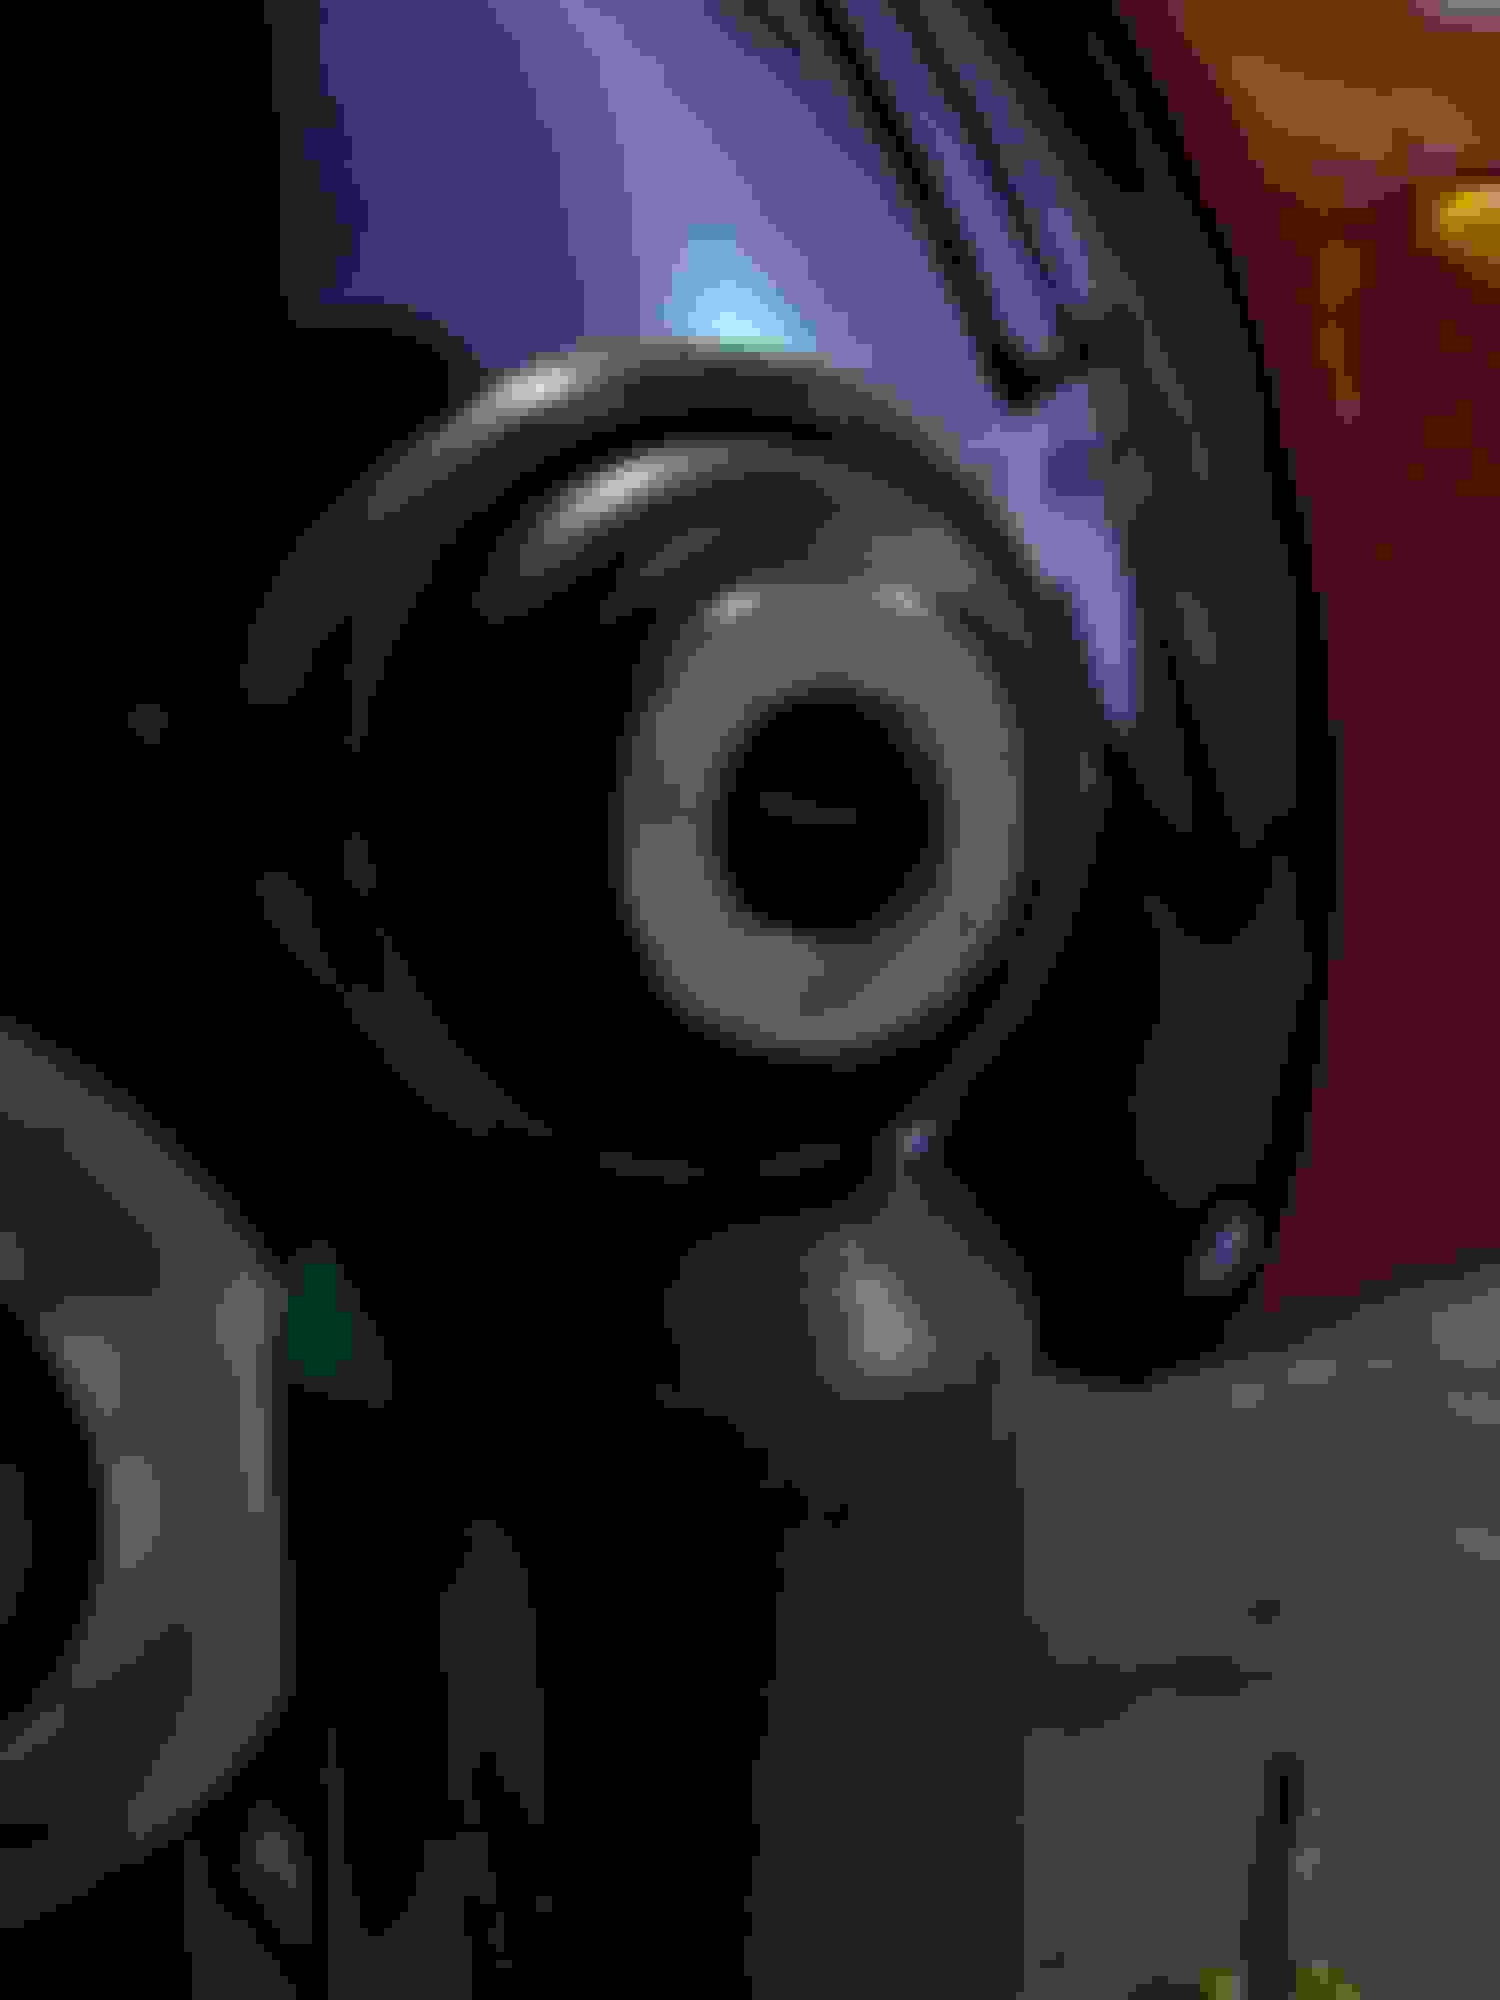
On to the shock bushings. They don't look too bad either. One rubber boot was cracked but otherwise seemed solid. Probably still have some life left but since I am on a quest for ride quality I want to replace them.
Pressing these out was beyond using a simple c-clamp. I went down to the local auto store and borrowed one of their bushing tool kits. Used a piece of pipe and pushed out the old bushing. It was in there pretty good. (I think doing this with the shock in place would have been a PITA.)
I put the new shock bushings in the freezer for a while before I pushed them into place. Made it a lot less stressful.
Finished the shock bushing and reinstalled the shock tower. In goes the long bolt for the upper control arm and ...DAMN! I forgot something. What's wrong with this pic?
So the control arm bolt comes back out for a minute while I fix my mistake.
First thing was to get the fastener loose that attached the link to the bar end.
And relieve the pressure on the sway bar links so everything falls apart easily.
Next was getting the brackets off the rubber bushings. The left side was visible.
And a 24" extension is invaluable to get to the bolts.
I found that swapping out the rubber bushing on the left was easier working under the car. There is a spot on the bar that helps to locate the left bushing correctly.
The right side was the easier of the two. After removing the air filter lid and the intake tube I had a clear view of the bracket. Plenty of access on this side to get the bracket and old bushing out.
The right side lacks a spot on the bar to align the bushing but it is easy enough to see and get it in the right place.
The old bushings were still intact were clearly beaten down by the bar. Old bushing on the right.
The bushings were loose enough to wear the paint off the inside of the brackets.
Once the bushings were sorted a few more minutes and the new links are secured.
I probably could have skipped replacing the links. Others have just done the bushings. It all definitely stopped the clunky feeling in the front end.
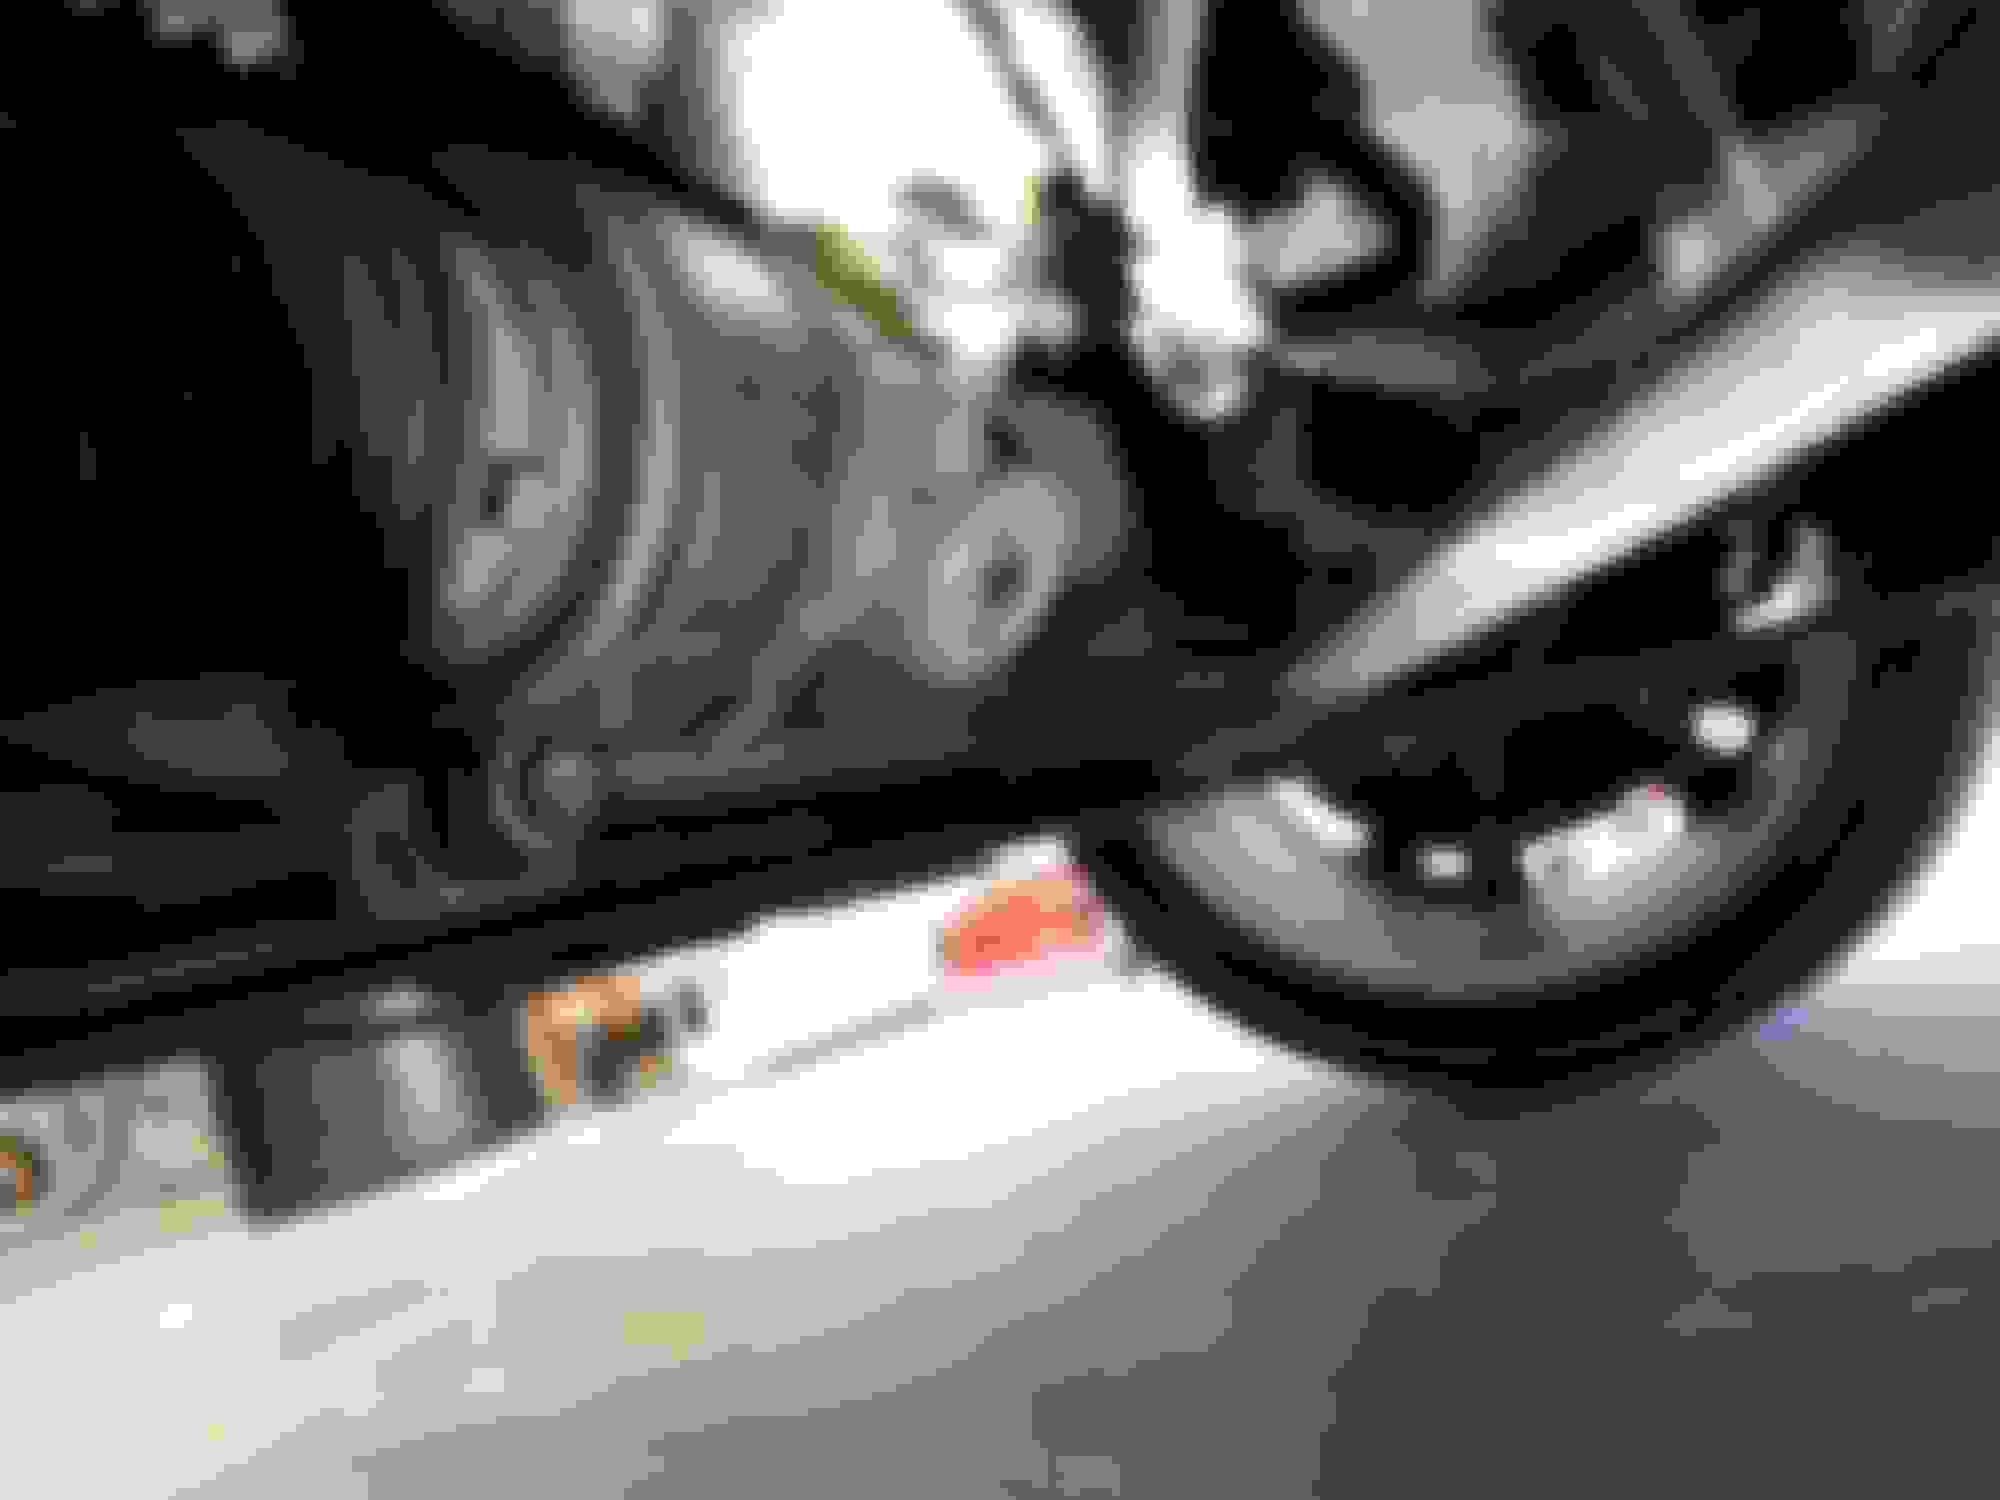
I found that with the wheel liner removed you are able to get a ratcheting wrench onto the bolts fairly easily, it will fit just under the fender where the sway bar comes out as a alternative to the extensions.
You could probably do this without removing the wheel or brake caliper. I did it just because I wanted to inspect things in general while I replaced the tie rod ends.
I marked the rod so I knew how much to thread the new one back on. Its not perfect but will be close enough to drive to the alignment shop (I bought a lifetime alignment for $149 a while back).
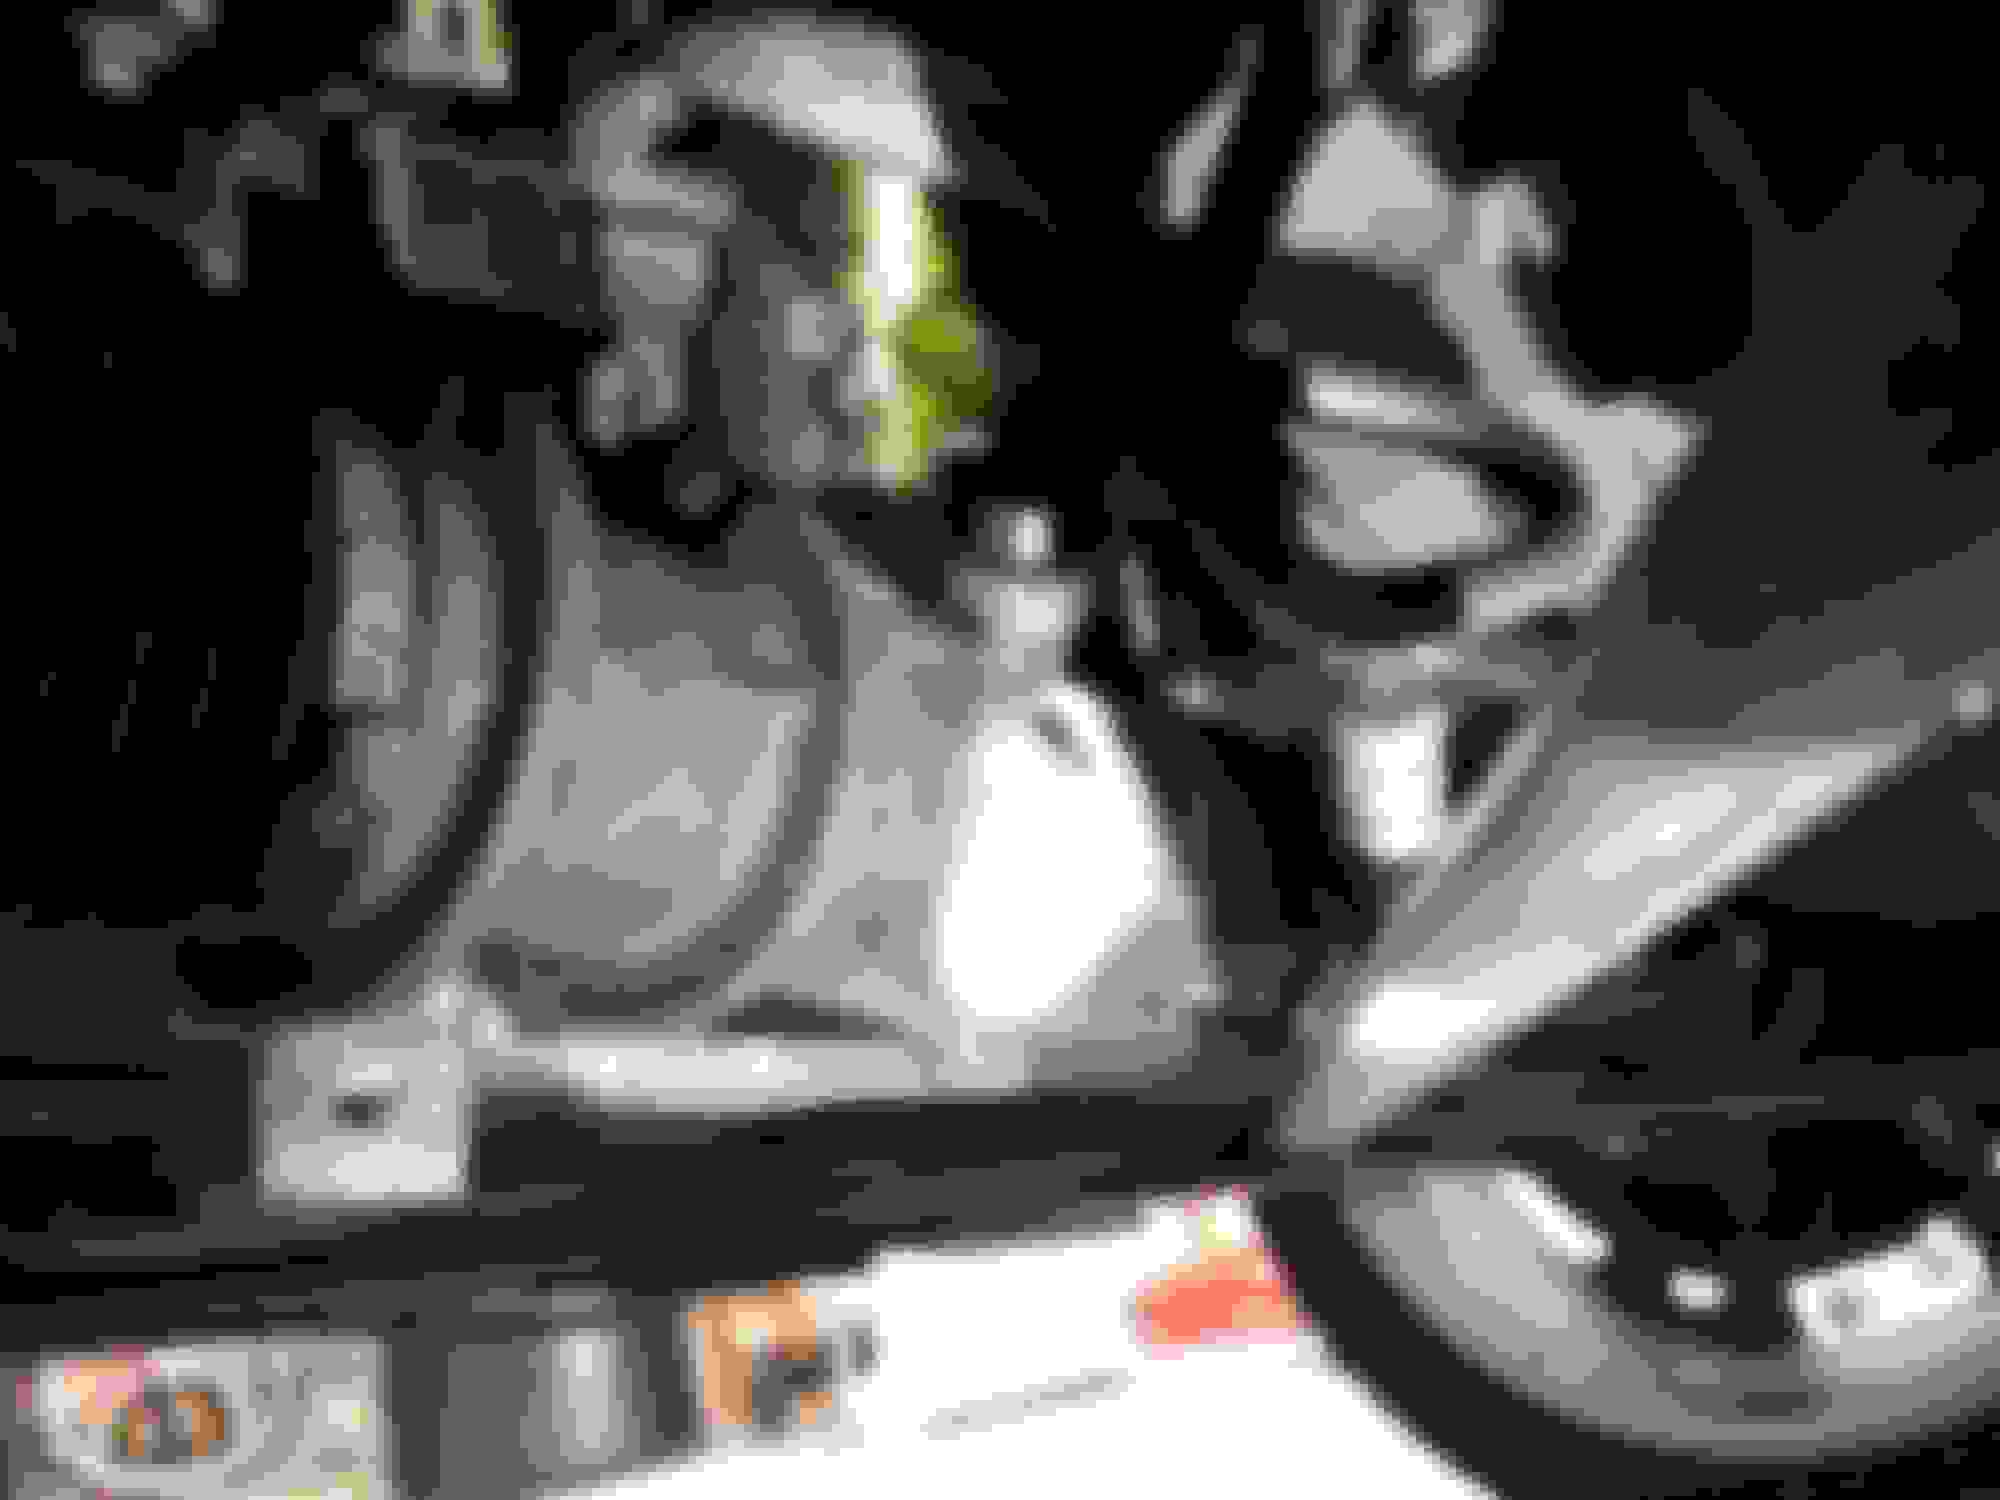
Once the end is removed you can swing the hub out and give those splines and sensor a good cleaning.
The old ends were still tight but did flop easily so some wear but not failed.
The new ones popped in after I spun them on to my mark.
I decided to go ahead an replace the bushings that hold the steering rack. They were not expensive so my hope is that some new rubber would reduce vibrations up through the steering wheel.
I went for the driver side first. Both sides are easy to get to.
Noticed a bit of leaking that has been going on for a while. It was thick and nearly dry so I decided to clean it off and wait to see how long it takes to leak significantly.
The bushings are fairly large and wrap around the rack. Removing two bolts will release the U clamp. Then you just need to put a little force to the rack and wiggle out the bushing.
The new bushing is definitely softer so I got it back around the rack quickly.
Since replacing the fronts ones made such an improvement I decided to do the rear ones too. The rear sway bar bushings are really easy to replace and not expensive.
Space is limited on the top bolts of the U clamp but the bolts are not that tight so a wrench worked fine.
The sway bar bushings did not appear to be worn but the rubber has harder than the replacements. The bushings on the links showed a lot of wear. Here is a new bushing slid onto the link for comparison.
The link bushings were also very sloppy on the link after the retaining nut was removed. You can see the difference in the holes here.
I was very surprised to find that this change to the rear gave me the most noticeable improvement in driveability. I used to hate the clunkiness in the drivetrain when downshifting at low speeds and in going from P to D. That has all but disappeared now.
Hello David and hearty greetings from fellow 04 XK8 owner down under,
Congrats on your pictorials. I am not surprised that you have found a vast improvement to tracking and stability by inspecting (and replacing where necessary) all the sway bar bushes and link rubbers - both front and rear. Along with other suspension components like tired top mounts, which thus sag the designed ride height, these are critical to bringing that precision and "snap" back to the new car's superb road-holding.
Keep it up . . . this a blog definitely worth bookmarking!