
Hood Louvre (vent) refurb


Thread Starter
|
Member
Joined: Nov 2017
Posts: 73
Likes: 24
From: UK

I picked up a pair of the optional gloss black hood vents off eBay to replace my flat grill types. Unfortunately they have a few scuffs and scratches so I�m looking at refurbishing them and wondering if anyone has tried with success.
First I�m going to try and just polish them but I don�t think this will be enough so will probably go wet sanding and polishing as nothing to loose.
If that fails then next is a respray with a rattle can - gloss black as original, though I�m also considering a wrap in either gloss black or maybe satin to tone them down a bit.
Any recommendations or advice from the collective wisdom on here?
Also has anyone drilled extra holes in the fake honeycomb to allow for extra heat evacuation?
Last edited by Kdes; Sep 26, 2018 at 11:09 AM.
Veteran Member


Joined: Feb 2014
Posts: 9,024
Likes: 3,661
From: Adelaide, South Australia
Yep, I cut extra holes in mine for better air flow and cooling.
The thick (top) end was "dummy" with hatching but no holes.
I removed the vents from the car, got the Dremel out and attacked the top ends of the vents.
It was hard to get a smooth cut and the edges are still a bit rough but no-one but I will ever know.
How much difference if any it made to heat evacuation is anyone's guess!
Veteran Member
Joined: May 2015
Posts: 3,946
Likes: 1,305
From: Northern California
Yep, I cut extra holes in mine for better air flow and cooling.
The thick (top) end was "dummy" with hatching but no holes.
I removed the vents from the car, got the Dremel out and attacked the top ends of the vents.
It was hard to get a smooth cut and the edges are still a bit rough but no-one but I will ever know.
How much difference if any it made to heat evacuation is anyone's guess!
The thick (top) end was "dummy" with hatching but no holes.
I removed the vents from the car, got the Dremel out and attacked the top ends of the vents.
It was hard to get a smooth cut and the edges are still a bit rough but no-one but I will ever know.
How much difference if any it made to heat evacuation is anyone's guess!

Veteran Member

Joined: Aug 2008
Posts: 1,816
Likes: 305
From: SF Bay Area
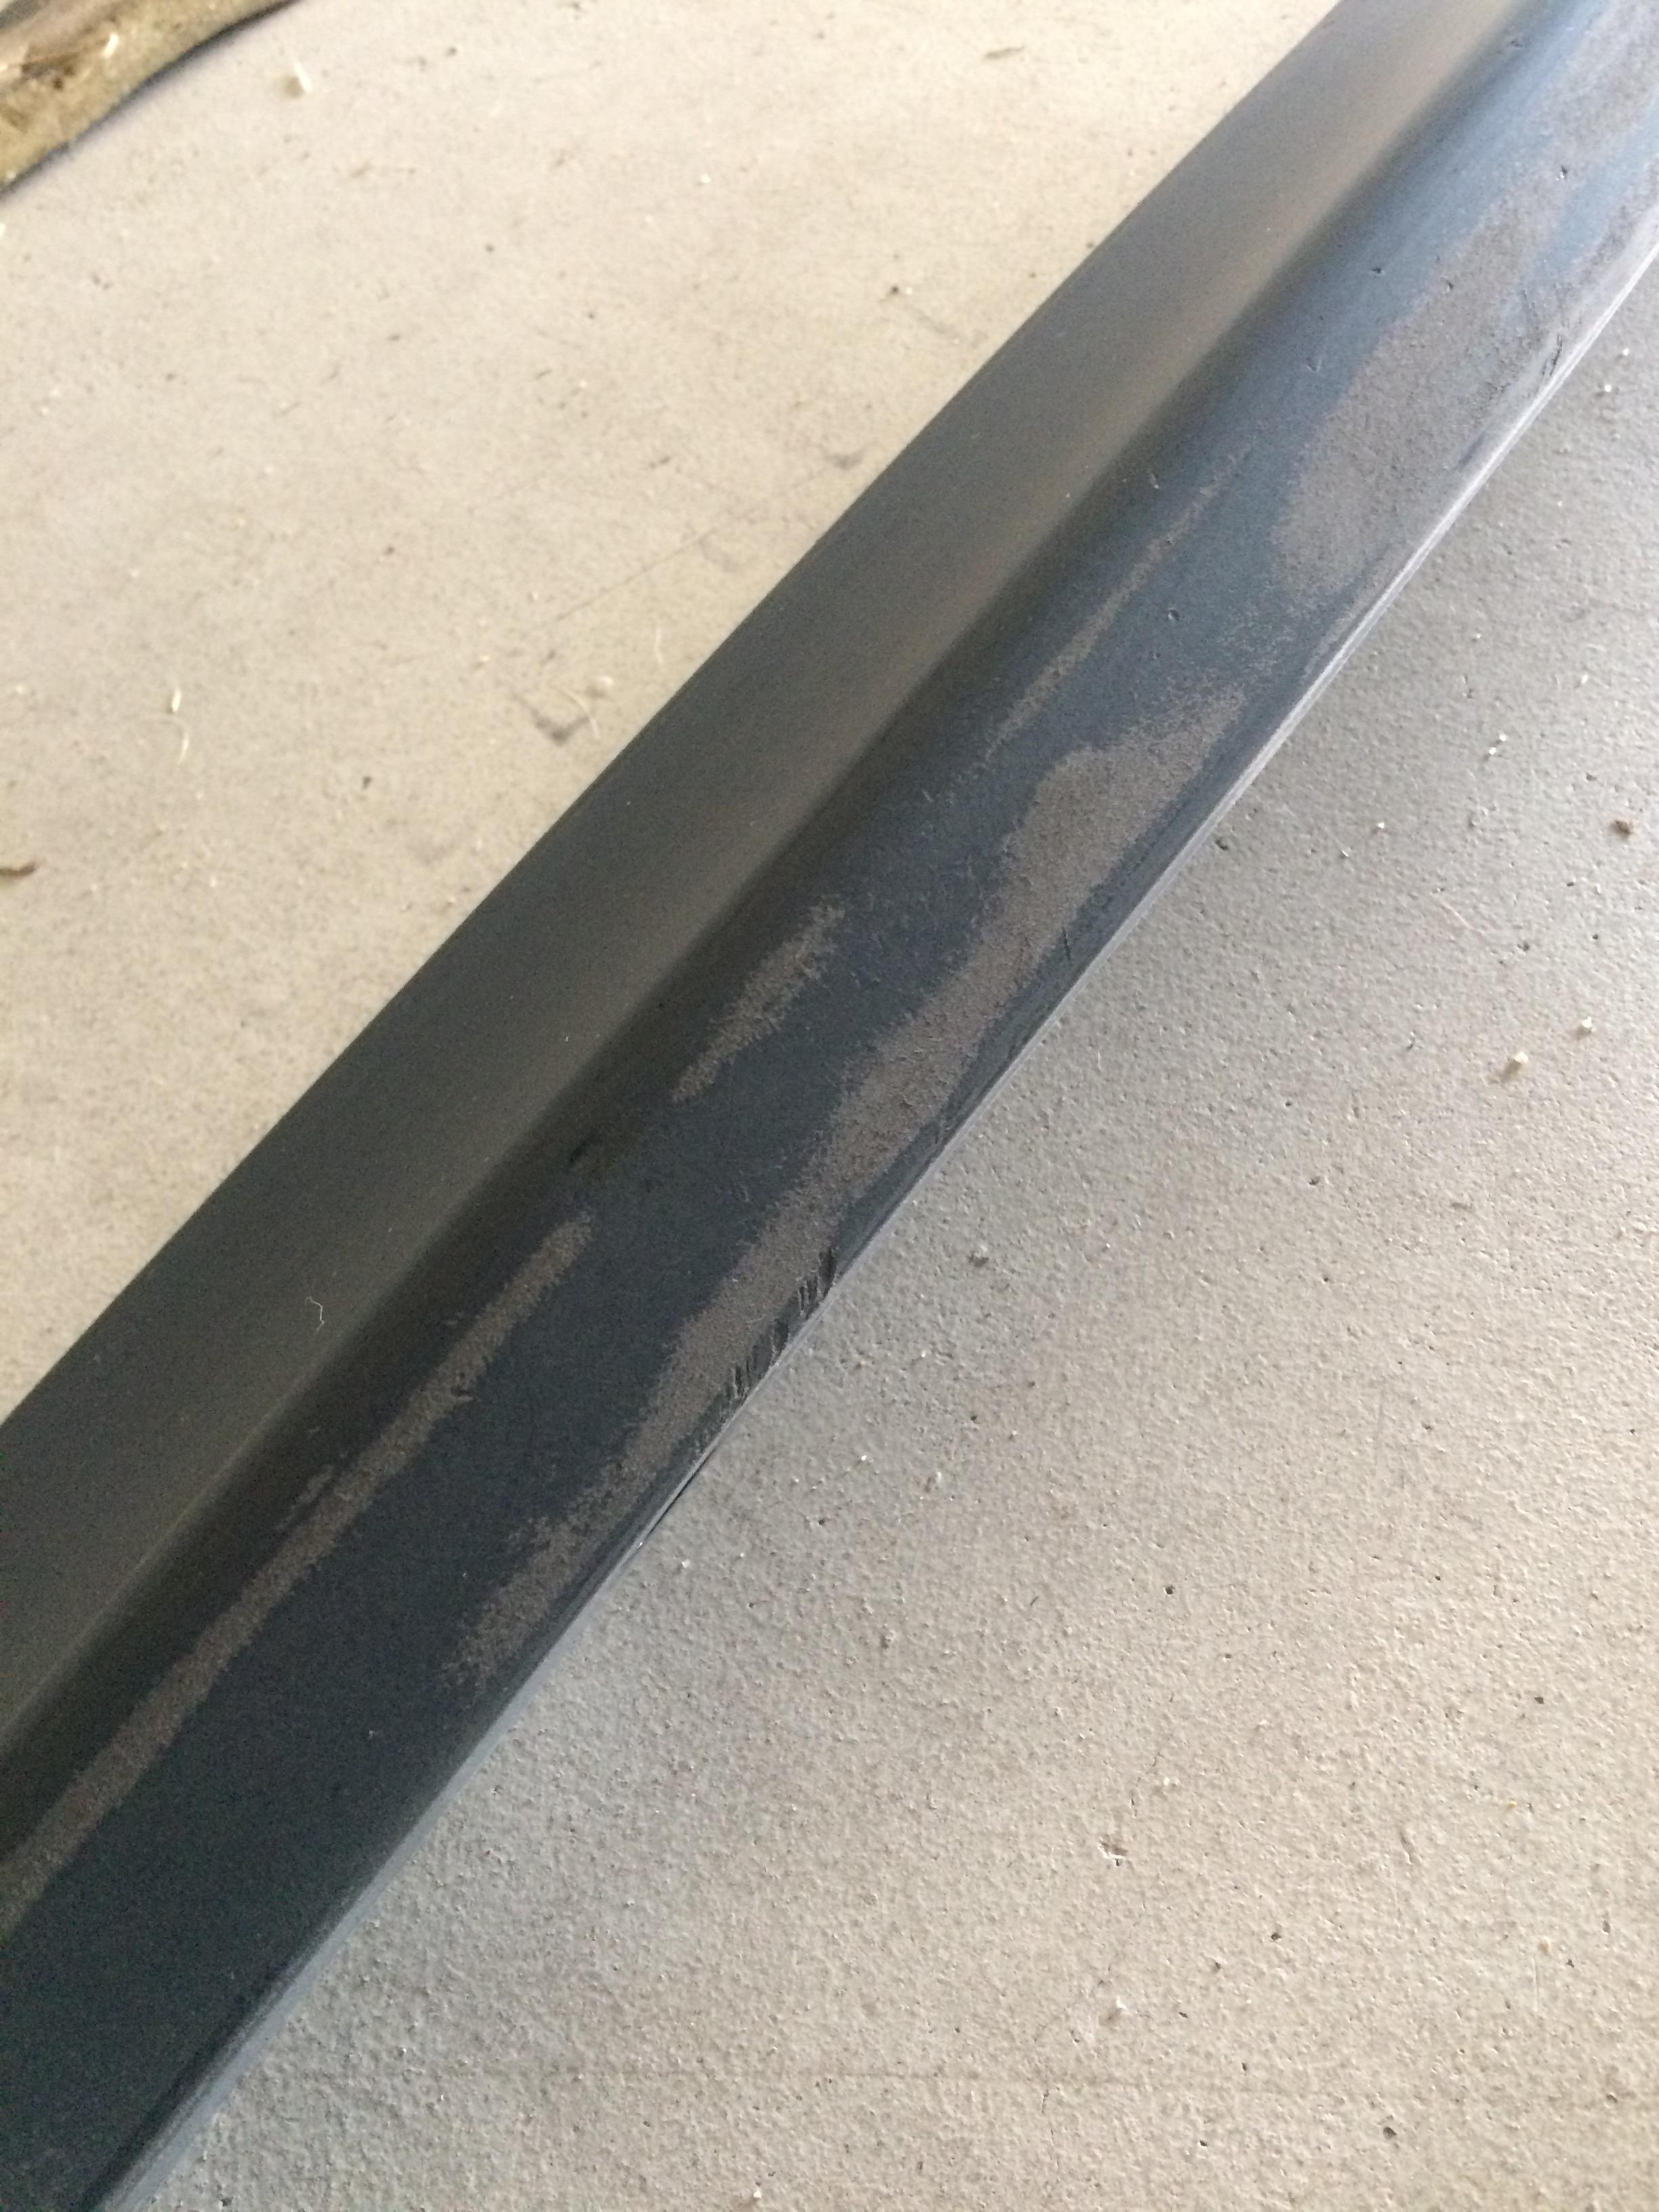
I just actually polished a few pieces on my car and learnt some lessons... These "polished" plastics on our cars can indeed be polished, but they don't actually have a clear coat. It's just a hard plastic surface. More so, there are two types on plastic on these parts. The first is a harder dark, shiny, polish-able plastic, and the second below that is a somewhat foamy plastic. You obviously don't want to go too aggressive with the sand paper or you will burn through the first layer and there's really no point of return. I don't believe you can even paint over it as the second layer of plastic somewhat crumbles.
You can see what I mean below. This is the lower piece on the front bumper that's either gloss or satin black depending on your spec. Mine was full of chips and scratches, so I thought I could sand them down and finish it off with some polishing.
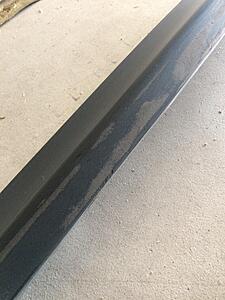
I would advise you to wet sand with 3000 grit, then polish. No more aggressive than that!
You can see what I mean below. This is the lower piece on the front bumper that's either gloss or satin black depending on your spec. Mine was full of chips and scratches, so I thought I could sand them down and finish it off with some polishing.
I would advise you to wet sand with 3000 grit, then polish. No more aggressive than that!
Veteran Member
Joined: Aug 2008
Posts: 1,816
Likes: 305
From: SF Bay Area
Which piece? The lower portion that I mentioned? If so, I totally would if it was a new gloss piece, but I'm wrapping it in gloss black 3M for now.
Trending Topics
Veteran Member
Joined: Aug 2008
Posts: 1,816
Likes: 305
From: SF Bay Area
Come to think of it, it doesn't make sense to wrap any of these pieces professionally. I wrapped these myself so the cost was just the vinyl, but I got a few quotes of $150+... a brand new piece straight for Jaguar runs $200. I'd rather replace the thing whenever it get's too chipped as opposed to wrapping. Plus, very few wrap jobs actually come out flawlessly. Flawless isn't an issue when it comes to factory parts.

Thread
Thread Starter
Forum
Replies
Last Post
JimC64
XJ XJ6 / XJ8 / XJR ( X350 & X358 )
0
May 30, 2015 01:46 PM
Currently Active Users Viewing This Thread: 1 (0 members and 1 guests)