When you click on links to various merchants on this site and make a purchase, this can result in this site earning a commission. Affiliate programs and affiliations include, but are not limited to, the eBay Partner Network.
These comments may not be relevant regarding intake kits for the F-Type, but I always like to see calibrated before/after BHP figures before I spend. My previous ride - a Mercedes A45 AMG producing 400+ BHP - had many aftermarket intake kits available. Then someone went on a dyno and removed all pipes, filters, so it was just a large hole before the turbo. There was absolutely no increase in power. Just sayin'.
Not looking for more power. Just looking at getting the plastic leaf blower attachment out of the engine compartment. (And a bit more SC whine, maybe)
I�ll check with my local performance shop to see if they can schedule the car onto the dyno for the �before� numbers. I don�t expect this tubing to add anything.
Yep, I think it has been established across many forums and sub-forums that the stock induction/intake systems including the OEM air filters already flow all the air the AJ126 and AJ133 can handle without serious and expensive engine and/or SC mods.
But I'm with Lance, the stock systems both look and sound crappy.
Not looking for more power. Just looking at getting the plastic leaf blower attachment out of the engine compartment. (And a bit more SC whine, maybe)
I�ll check with my local performance shop to see if they can schedule the car onto the dyno for the �before� numbers. I don�t expect this tubing to add anything.
3:42 AM!!!!!!!!!????????????
"He do not sleep, nar do he eat, he just nibbles that NoDoz and drinks that Air Wick." Hat tip Brother Dave
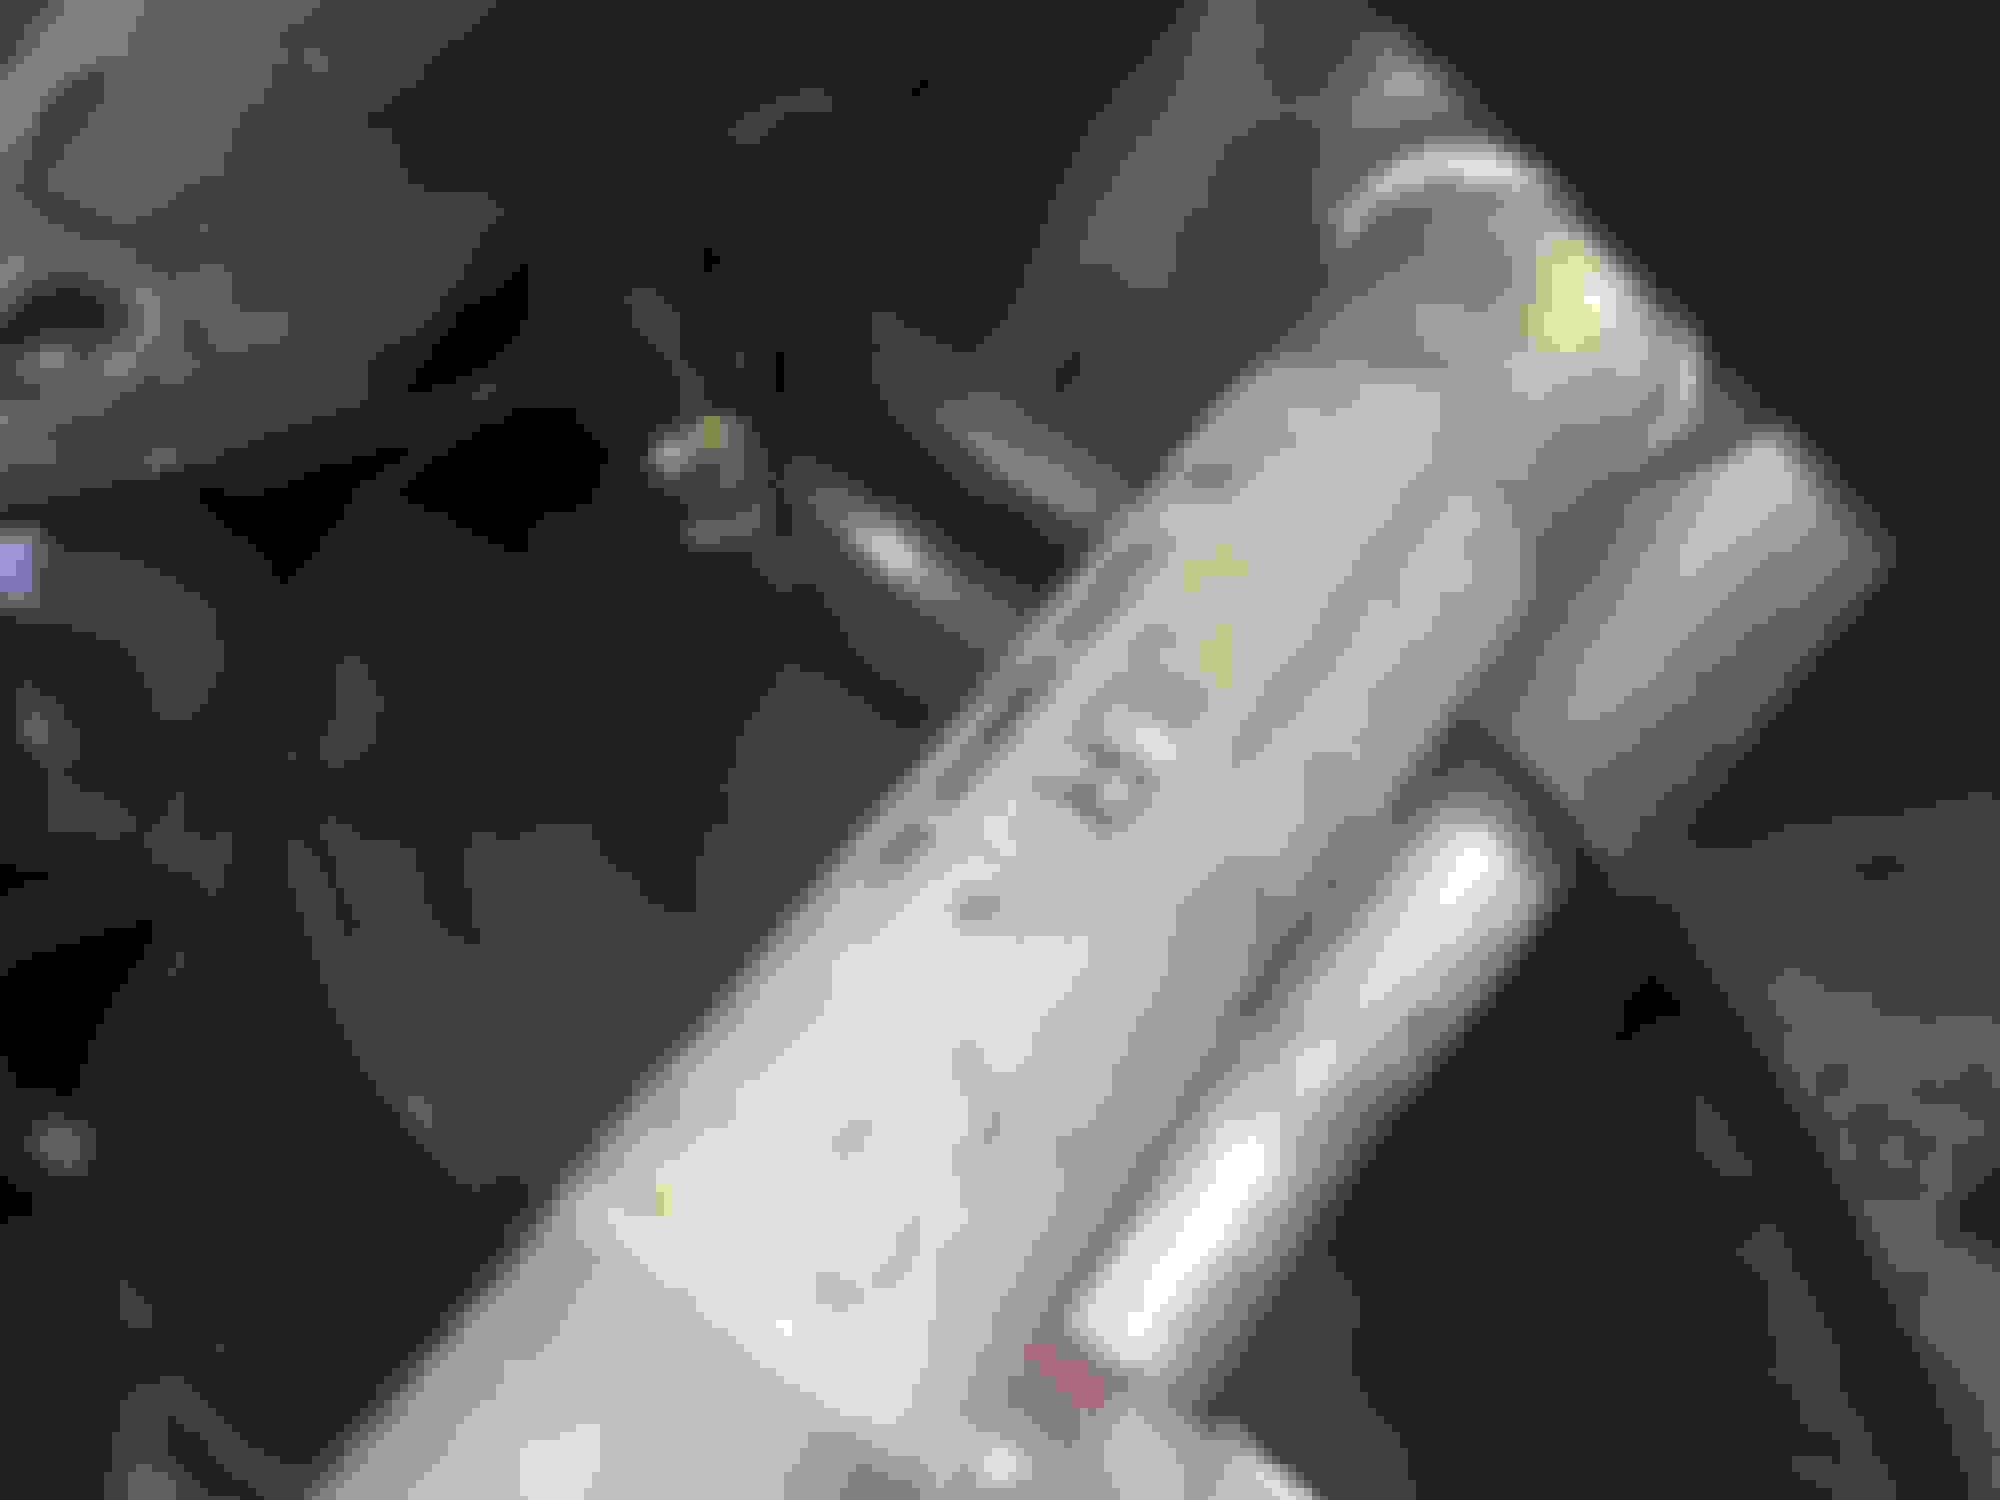
Tough part is getting to the clamps just above the air canister. You might need a universal joint to get at it.
Disconnect MAF sensor tube. Squeeze at serration.
On right side, the battery terminal box will need to be loosened and moved out of the way to get at hose clamp.
OEM and Mina. No weight savings. Both about 3 lbs.
Important points. The transition pieces have to be mounted on the car first since they are a very tight fit and need to be stretched into place from the inside. In fact, the only way to get the primary piece on the SC intake was to soak it in hot water first. Everything then slides back into place the reverse order of how the OEM pieces came out. One note: The rubber transition pieces are exactly that, not couplings. The aluminum pieces do not abut each other (not nearly long enough. There is only about 3/4" of rubber on metal overlap... plenty of room for a tight seal using the clamps. Leave all clamps loose until every thing is slightly rotated/moved for a perfect fit.
DONE! Will take you 1.5 -2 hours the first time you do it. Now to go looking for that universal joint and socket in the undertray.
I lucked out. Moved the car and found that the tool pieces had made it all the way to the gravel.
Any increase in whine, if any, is drowned out by the massive exhaust note when pushing hard.
An additional 8-15 hp, if really there, is certainly difficult to perceive when the car is already at 450+hp. I�ll get it on a dyno to see what really happened.
So Lance, you are saying it can be done from the top and no need to go in through the wheel wells to access those bottom clamps?
Despite the advice offered by others?
Coz there is no way in a million years I would ever be able to access those clamps from the top, even if I had the right tool(s)! Maybe a shop/mechanic could do it but not me.
Do you think it would be easier for a clumsy clutz like me to access those clamps from the wheel wells?
I really think those clamps are far too high up to access from the wheel wells. Not difficult at all from the top with a 1/4� drive universal joint.
Only sections 8, 9 & 10 are being replaced. The OEM lower sections (#6 & 7) remain in place.
I really think those clamps are far too high up to access from the wheel wells. Not difficult at all from the top with a 1/4� drive universal joint.
Only sections 8, 9 & 10 are being replaced. The OEM lower sections (#6 & 7) remain in place.
Yep, that's kinda what I thought - those clamps look a bit too high up to access from the wheel wells. I already suspected that parts 8, 9 & 10 are all that are replaced.
I have a 3/8" drive socket set with a universal joint, do you reckon that will work or will it be a bit too big?
As I said before I have had a squiz and a poke around from the top and those clamp bolts look devilish difficult to get to with SFA room to move, I just don't trust myself to be able to access them without dropping sockets, joints and various other tools down into the valley of death.
I reckon I might just take it to my fave exhaust shop bloke who has done a heap of work for me in the past and let him have at it!
With a 3/8��drive it might be a bit unwieldy with the required adapter (3/8� to 1/4� drive) to accommodate a 7mm socket for the OEM clamps and a 5/16� socket for the new clamps.
I lucked out. Moved the car and found that the tool pieces had made it all the way to the gravel.
Any increase in whine, if any, is drowned out by the massive exhaust note when pushing hard.
An additional 8-15 hp, if really there, is certainly difficult to perceive when the car is already at 450+hp. I�ll get it on a dyno to see what really happened.
The real advantage is the aesthetics,
Hows the sound at idle? Or from the front of the car at idle and when revving or just cruising around?
It's somewhat hard to tell how much of the sound is being contributed by the intake versus the exhaust. There's definitely a good amount of supercharger noise now. Exhaust sounds great, by the way.