When you click on links to various merchants on this site and make a purchase, this can result in this site earning a commission. Affiliate programs and affiliations include, but are not limited to, the eBay Partner Network.
The CD changer the back of my 04 STR had an error code on the dash display and would not eject the cd case. The player would try but something was jammed. Below is the process to un-jam the cd changer...may not fix the problem by it worked afterwards...till it happens again.
1) Remove CD changer per JTIS
2) Remove the connector module (two screws and unlock the connector that contains the kapton ribbon cable on the PCB)
3) remove two screws holding the plastic corner in place and snap out
4) Remove the front frame (just snaps in)
5) Remove the 4 side screws for the top/side cover
6) Looking at the right top, there is a gear that is about 2.5" dia. Rotate this gear and it will retract the CD back into the case
7) In the bottom, back edge there is a 1" dia gear in the middle, if you rotate this, the CD drive will move up and down. Move it all the way down and then continue to turn it. This will cause the CD to eject.
This should clear the jam - just reassemble and it should work again. When it happens again, I'll take some pictures and figure out the root cause. 1st time with the process too about 40 min.
The CD Changer in my 15 year old XJ8 (X308) suddenly developed a problem. It would not eject the cd magazine. I�ve just fixed it by doing the following �
1 remove the left hand side rear light cover
2 Completely remove the carpet from around the CD player
3 Remove the 4 small Philips screws that hold the CD player
4 Disconnect the power lead at the rear using a pull/twist action
5 Remove the CD Player from the vehicle
6 Remove the 6 mini cross head screws that hold on the top cover and also the 3 larger brass screws at the rear. All 6 mini screws were tight (a locking compound must have been used). The two rear screws were so tight that 2 tips of my mini screwdriver snapped. I drilled off the fixed screw heads.
7 The large black plastic drive cog can be manually turned to release the CD Magazine. I have read that this fix works for some people but when I re powered the player the magazine would still not eject.
8 I sprayed the moving parts that I could see with silicone spray but still no joy.
9 I then disassembled the player further by removing the 4 shock absorbers and hanging springs � this gives better access to the moving parts. Be careful not to damage the ribbon electrical connector.
10 I then manually worked the black cog back and forth and applied a liberal amount of the silicone spray to all the parts that I could see moving (there are quite a few). After re-assembly the unit worked perfectly. I used the same �Ever Build� All Purpose Silicone Spray that I bought to lubricate the drawers in my refrigerator � it worked well there as well.
Taking courage from CCC�s article above, I thought I�d have a go at fixing my �CDC Error�, and it was really quite painless. I took some pictures as I went, so here�s an expanded explanation and the accompanying pictures (at the bottom, as I couldn't seem to get a decent layout when embedding them!).
Firstly, you�ll need to take the CD Changer out of the vehicle, which will be different depending on which model Jaaag you have. I have an '03 X350 XJ 3.5 V8.
The only words of warning I�d give are:
A. Watch out for the sharp edges on the mounting frame that the changer is mounted in, which I�m sure Jaguar got manufactured by an expert knife-maker, and have the scars to show that I didn�t take appropriate care.
B. When trying to remove the optical network cable, make sure that you release the retaining clip first, rather than trying to use brute force and ignorance like I did, until I realised that there was a securing clip!
Once you removed the drive, take it to the workbench (or dining table in my case). You�ll need a small Philips screwdriver, a small flat-blade screwdriver (about 3-4mm I think) and a really small flat-blade one with a fine blade, then proceed as follows:
Getting into the innards of the CD Changer
All of what is covered here is a little difficult to describe, but easy enough when the unit is in front of you. In essence, the top cover you are trying to remove is wrapped partially around the bottom of the base plate at the sides, clipped into it at the rear, and the front cover clips onto the sides, bottom and top
Remove the two small Philips screws that hold the optical interface module onto the back of the unit (Picture 1: Item 1 and 2). These are smaller than the other screws you�ll remove, so keep them separate.
Gently hinge the interface module outwards until the hinge tab on the side opposite to the two screws comes out of its slot, allowing you to drop the module down so that you can get access to the ribbon cable which carries the power and data signals between the module and the changer.
Peel back any tape that has been placed to help to keep the ribbon cable in place, then gently use the smallest flat-blade screwdriver to release the ribbon cable clamp at both sides of the cable, pushing in the direction indicated by the arrows (Picture 2), then slide the ribbon cable out in the same direction; this will release the interface module altogether. NB. The clamp only moves 2-3 mm from being closed to open , so don�t force it. Picture 2 shows the interface module with the cable removed and the clamp in its open state.
Remove the six remaining visible screws, three per side (Picture 3: Items 1 to 3).
Note the orientation of the two rear plastic corner pieces that run vertically at the rear on each side of the unit (one of which is indicated in Picture 3, item 4). Gently prise the two sides of the unit�s top cover sideways away from the base of the unit by 2-3mm, which will allow you to remove each of them.
Place the unit so that the front panel is on the work surface and the rear plate and ribbon cable are uppermost. Push the wider flat-blade screwdriver into each of the two slots at the rear of the unit which will release the top cover from the base plate (Picture 4: Items 1 and 2). You may have to be quite firm when doing this.
With the unit oriented with it base on the bench and the rear of the unit away from you, prise the two side outwards from above and hinge the top cover towards you until it comes away once the clips on the front cover can be released (Picture 5: Items 1 and 2).
In order to make working on the unit easier, you can remove the front panel by turning the unit over so that you are looking at the base, then pushing the wider flat-blade screwdriver into each of the three slots at the front of the unit which will release the bottom of front cover (Picture 6: Items 1 to 3), gently pulling the cover outward as you do so, until the bottom of the front cover is freed from the base of the unit. You may have to be quite firm when doing this, but be careful as the tabs are only plastic and you might break them if you use too much force. Once the bottom clips are free, release the two side clips (Pictures 7 and 8: Item 1 in each case) by prising them out sideways from the sides of the unit by a couple of millimetres and the front panel should then come away.
Removing the stuck magazine
Lay the unit on the bench on its base, with the front towards you so that you can see the front of the magazine and the top of the changer mechanism.
Using your fingers, gently rotate the large gear (Picture 9: Item 1) counter-clockwise, which should cause the tray control arm (Picture 9: Item 2) to move to the left, sliding the mounted CD in its tray back into the magazine. Keep turning the gear until the black plastic slider on the tray control arm has gone as far as it can go, as shown in Picture 9. If the gear is stiff, try to avoid using a screwdriver or other tool on the gear�s teeth, as you may damage them. If you use a cloth (not advisable) on your fingers, make sure you don�t leave any fluff or fibres, as they�re the last thing your drives needs :-S
Turn the unit around, but keeping the base on the bench, so that you are now looking at the rear and have the view shown in Picture 10, and look into the aperture indicated.
Rotate the gear, which can be seen through the aperture, counter-clockwise (Picture 11), and the drive mechanism will be moved to its release position, at which point the magazine will be ejected. The same warning applies about using any tool on the gear!
Lubrication?
I�m no expert, so you may want to look elsewhere for guidance here, but I applied a VERY light layer of silicon grease to the tray control arm slide path, using a small paintbrush, before reassembling the unit, suspecting that that was what had caused my drive to lock up, but please take this with a pinch of salt. I�ve had no trouble since I did mine, so hopefully I�ve not done wrong/
Reassembly
Basically the opposite to the disassembly, but it�s easy to get things slightly out of order and end up having to release screws to allow clips to engage, or end up with clips outside casings that they should be inside, but check as you go and all should be well.
When reassembling the rear optical interface, I found it easiest to do by having the main CD unit on the bench slightly raised on something (a couple of place mats in my case); this allowed me to have the interface unit at a lower level while I carefully slipped the ribbon cable into the socket on the interface (having made sure that the clamp was in its open position, as shown in Picture 2), then using the fine-blade screwdriver to push the clamp home on both sides, before reattaching the tape.
I hope that this pictorial guide gives someone the confidence to fix their CD changer next time it goes loopy and eases the process. This job is easy, and could save you a few quid / bucks in garage fees, or having to cough up for a replacement drive.
Enjoy!
Crimson Dynamo
Pictures
Picture 1, showing Optical Interface screws
Picture 2, showing Optical Interface ribbon cable clamp and release direction
Picture 3, showing top cover side screws and rear plastic corner cover
Picture 4, showing top cover to base plate rear release clip points
Picture 5, showing top cover to front panel release clip points
Picture 6, showing base plate to front cover release clip points
Picture 7, showing right side front panel clip with top cover already removed
Picture 8, showing left side front panel clip with top cover already removed
Picture 9, showing tray control arm gear, direction of rotation required to release a loaded CD, tray control arm and its limit of travel.
Picture 10, showing rear of unit and magazine release gear aperture
Picture 11 showing magazine release gear and required direction of rotation to release the magazine.
thanks for the instructions and pics - I have access to the magazine release gear, but I cannot turn it more than 1/8 turn in either direction, not enough to release the cassette.
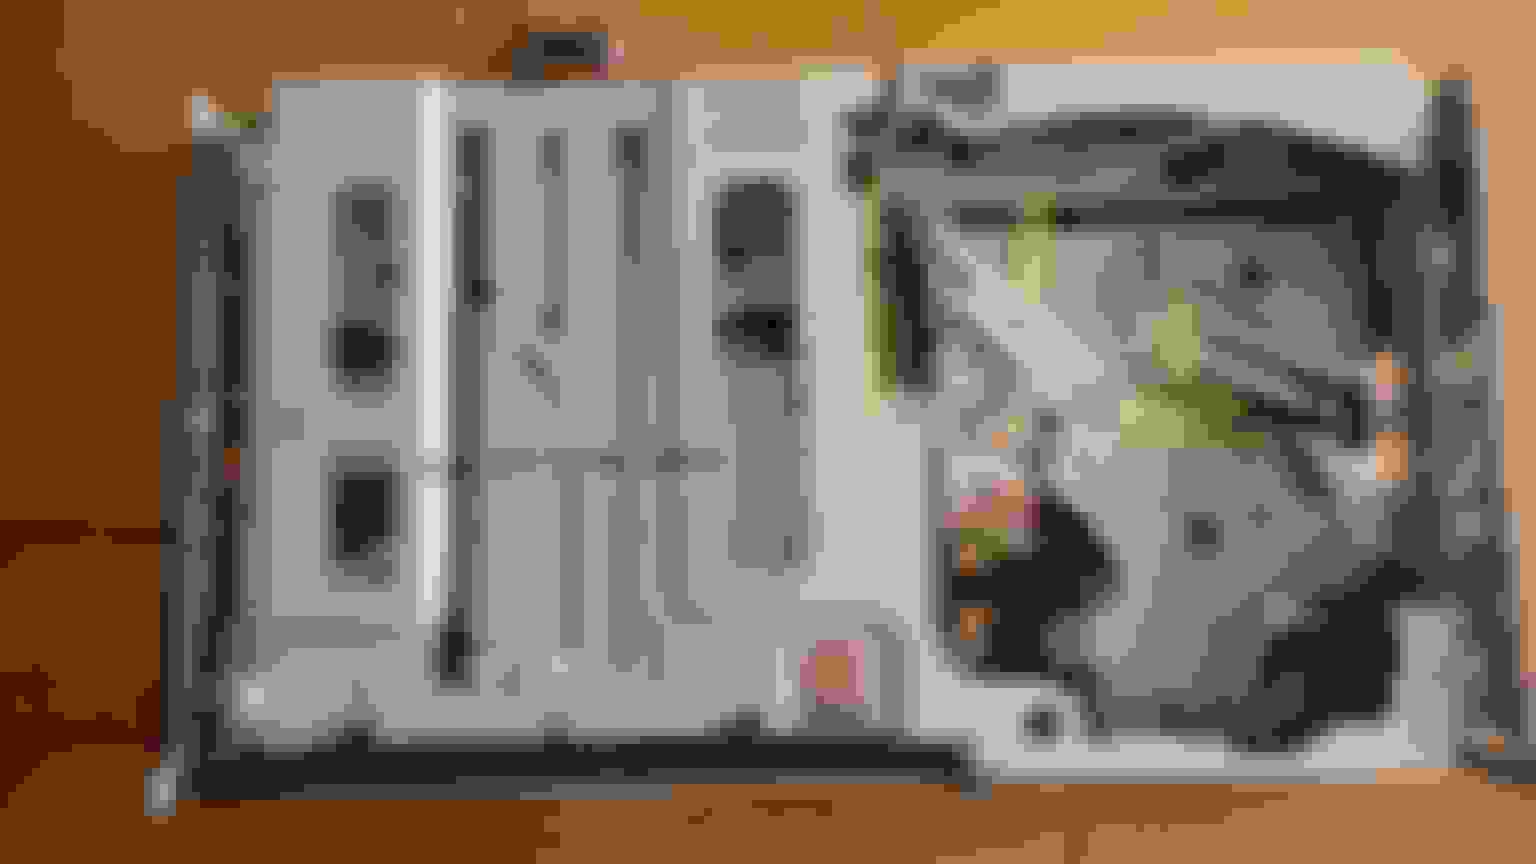
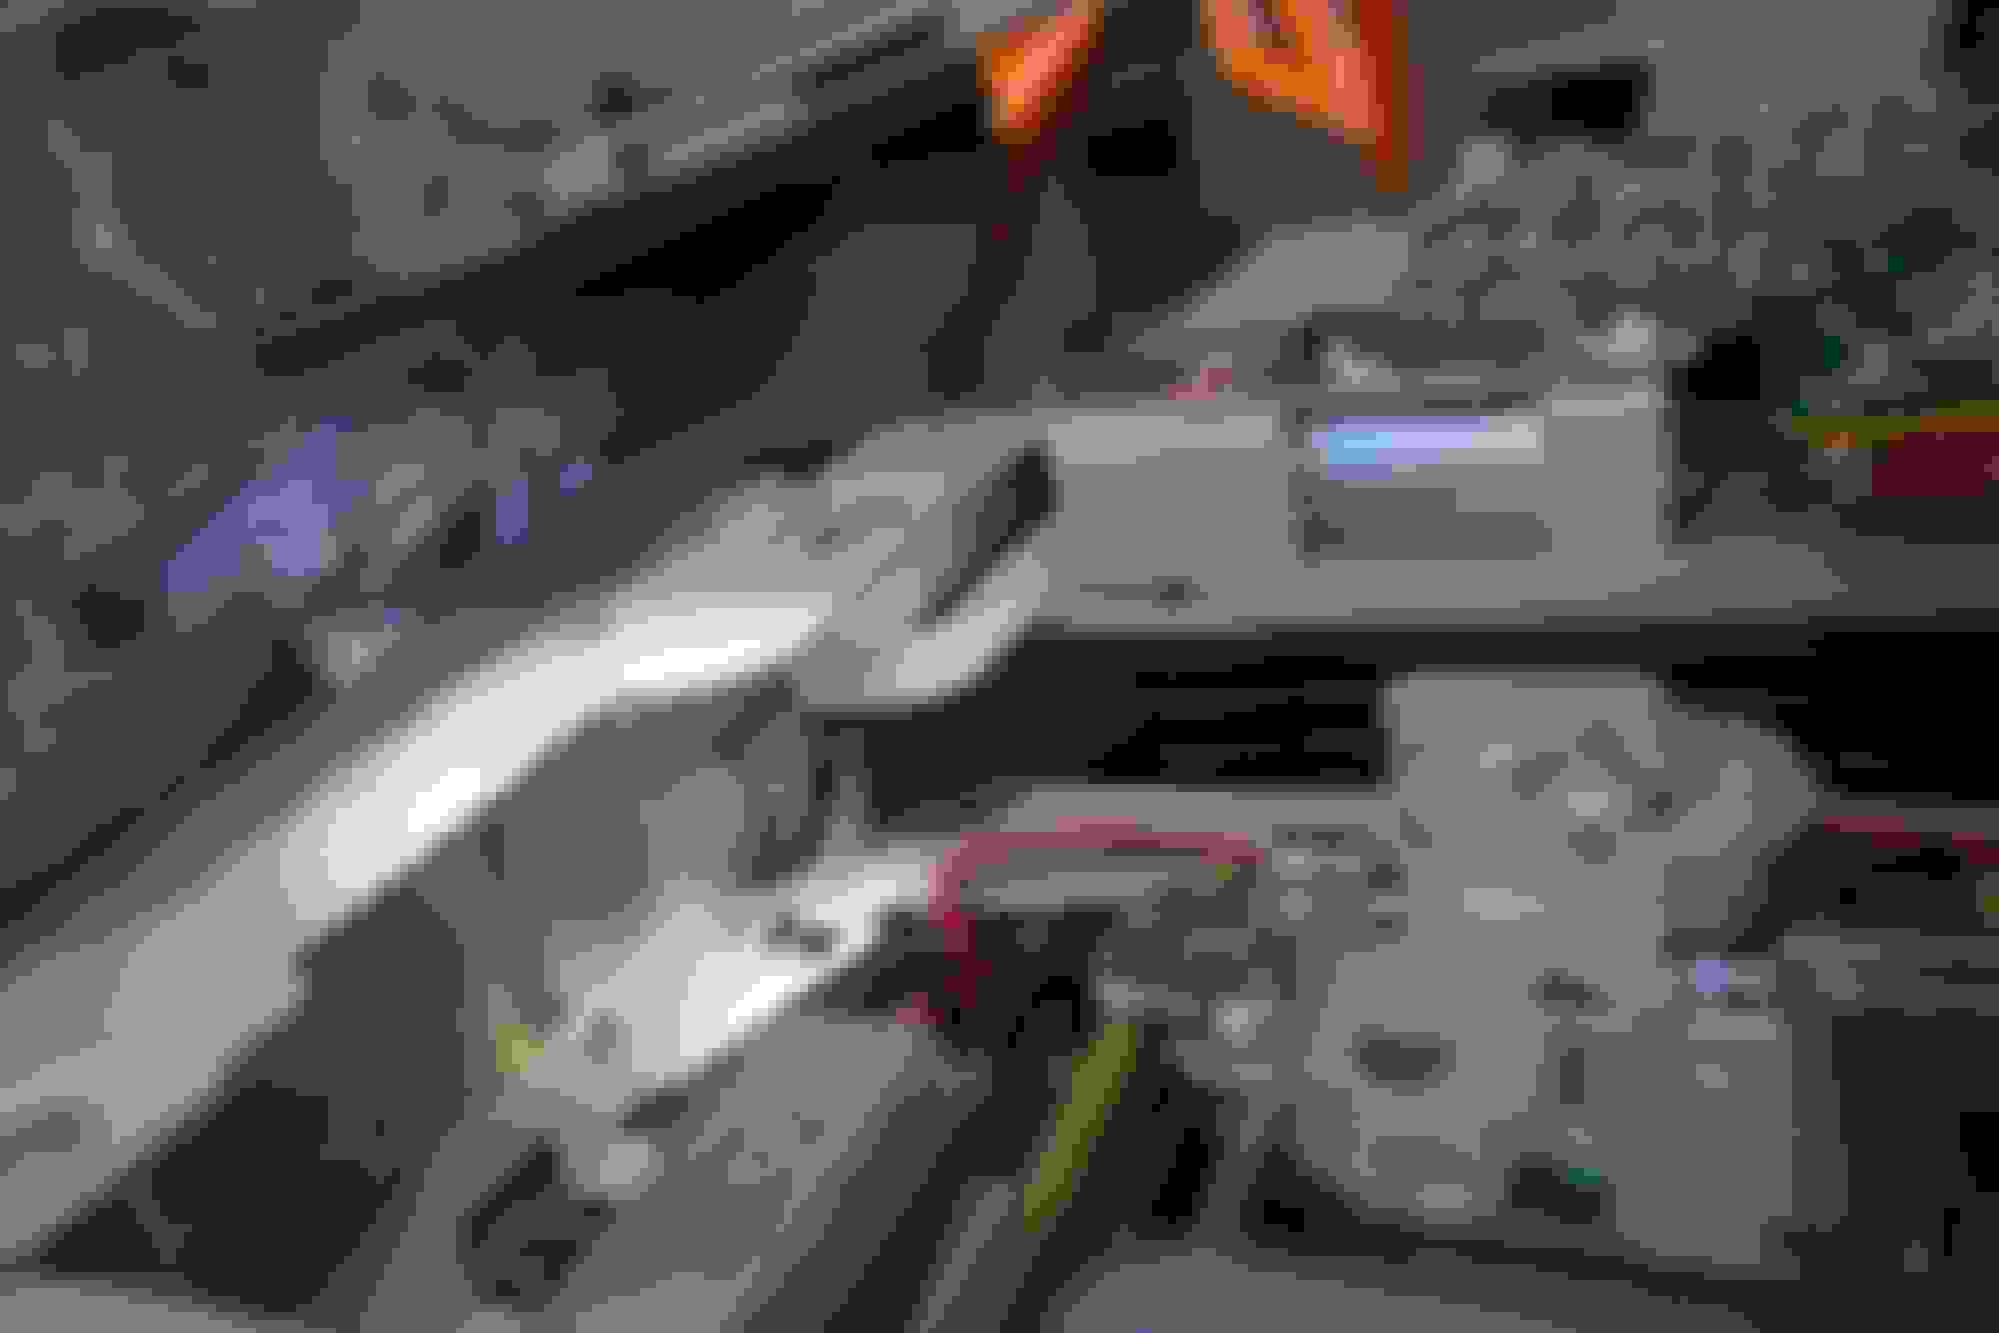
Does anyone see anything obvious in these pics? Specifically, there's what looks like a plastic dial in the center of the first pic that looks out of place. https://plus.google.com/photos/10687...CL3Nn5emyceUMA
First post so apologies in advance for any breach of etiquette. I have read everything I could find on the stuck cassette problem, but it is easy to miss stuff.
Nevermind. That thing that looked like a plastic dial was a plastic dial, specifically one of those grommets for fastening carpet. I couldn't get it out until I found the black plastic cassette release catch that can be accessed from the rear using a thin tool. Once the cassette was finally popped out, the offending plastic item was easy to remove and the gears then moved smoothly. Now to reassemble and test.
black plastic cd cassette release catch under circuit board
Reassembled - radio worked until cassette was inserted then no sound from any source and nothing happens when I press CDC on head unit. Back to the forums for more help!
Just brilliant. Im fitting the Bluetooth module and the CD was jammed anyway. I took the unit out but could not figure how to release the jammed cassette then I recalled the Forum and just like that here is the answer required. Just brilliant Thanks so much
My one has jammed once or twice.
I just slid the cover door open and started to push the segment of the cassette back in to the player that was starting to come out into the cassette.
After only a couple of mm the mech took over and took it back in with no more issues after that.
(I have one of the early clear plastic cassetts that came out my XJ40.)
The CD changers do not like any bumps when changing disks.
It is best not to keep them on full random as they then change disks between every track, increasing the chances of going over a bump when the disks are changing.