When you click on links to various merchants on this site and make a purchase, this can result in this site earning a commission. Affiliate programs and affiliations include, but are not limited to, the eBay Partner Network.
I was working through the tensioner job on my XJR, nearly finished, and realized I made a big mistake of completely removing the dipstick tube instead of just loosening it. Gave up on it yesterday after fighting for an hour and running out of daylight, and could not find any useful diagrams in the FSM or online. A parts diagram shows some holes but no particular details.
Is there any tricks or guides to reinserting the dipstick tube? Or will I need to pull one or both of the compressors to get it back in?
The trick is to leave the dipstick in the tube and that will guide it back into place when reinstalling. I have never tried to install one with dipstick OUT and the engine in-situ so I can't help. There were posts to other threads about how this was done. Maybe a search of the X308 or X100 forums????
The 4.0 X308 and X100 are the same engines!!!!!!!
Maybe install the dipstick and try to poke it into the hole and follow down with the tube??
bob
Last edited by motorcarman; Jun 6, 2016 at 02:50 PM.
I have been hoping someone had a good trick for this. When I did tensioners I left the dipstick in and it is still in now. But, I bought a new o - ring to go on the bottom of the dipstick tube and I am afraid to try to install it!!!
I think that is a very good fear to entertain. Is the o-ring supposed to be in the block or on the tube? My guess is in the block and no easy way to do it.
You might replace the dipstick with a length of copper tube, then pull the sleeve out, apply RTV to the end of the sleeve and reseat.
The O ring goes on the end of the tube, there's a place for it. I put my new one on that came with the valve cover gasket set and then proceeded to gunk it up with engine bay dirt.
I'll post a pic of the tube and how the end looks sometime this week when I have a moment.
In the meantime, here's a somewhat useful diagram of parts locations that I found. Still doesn't show the dipstick "hole" directly.
Maybe install the dipstick and try to poke it into the hole and follow down with the tube??
bob
This is how I remember guiding a dipstick tube back in when it dislodged entirely replacing the secondaries on bank 2 one time. Slid the dipstick into the tube, slid dipstick into block and then used the dipstick as a guide to track back down into the block from what I recall
I was working through the tensioner job on my XJR, nearly finished, and realized I made a big mistake of completely removing the dipstick tube instead of just loosening it. Gave up on it yesterday after fighting for an hour and running out of daylight, and could not find any useful diagrams in the FSM or online. A parts diagram shows some holes but no particular details.
Is there any tricks or guides to reinserting the dipstick tube? Or will I need to pull one or both of the compressors to get it back in?
Just had the same issue. Took a while to maneuver it around the ps bracket into the hole, but even then, i had to tap it to get the seal seated so the bracket could then align to the cam cover extended bolt.
Finally got it in right. Once I got it most of the way finding the hole and seating the tube was easy, I mostly struggled with the initial routing of the tube to get it close to where it needed to be. Unfortunately for anyone reading this in the future for advice, I mostly got it by blind luck, so I don't have much to add there.
There was a couple things I noted though: If you get the initial routing right, the tube seats in most of the way without resistance, where if you catch on some wrong bracket or something then the tube will drag and route to somewhere far from the hole it needs to go to. Disconnecting the bigger fuse box and moving it out of the way gives you a bit more room to work with to get the tube in the right angle to start out. Aside from staying close to the block, there's not much more to it than getting lucky I think.
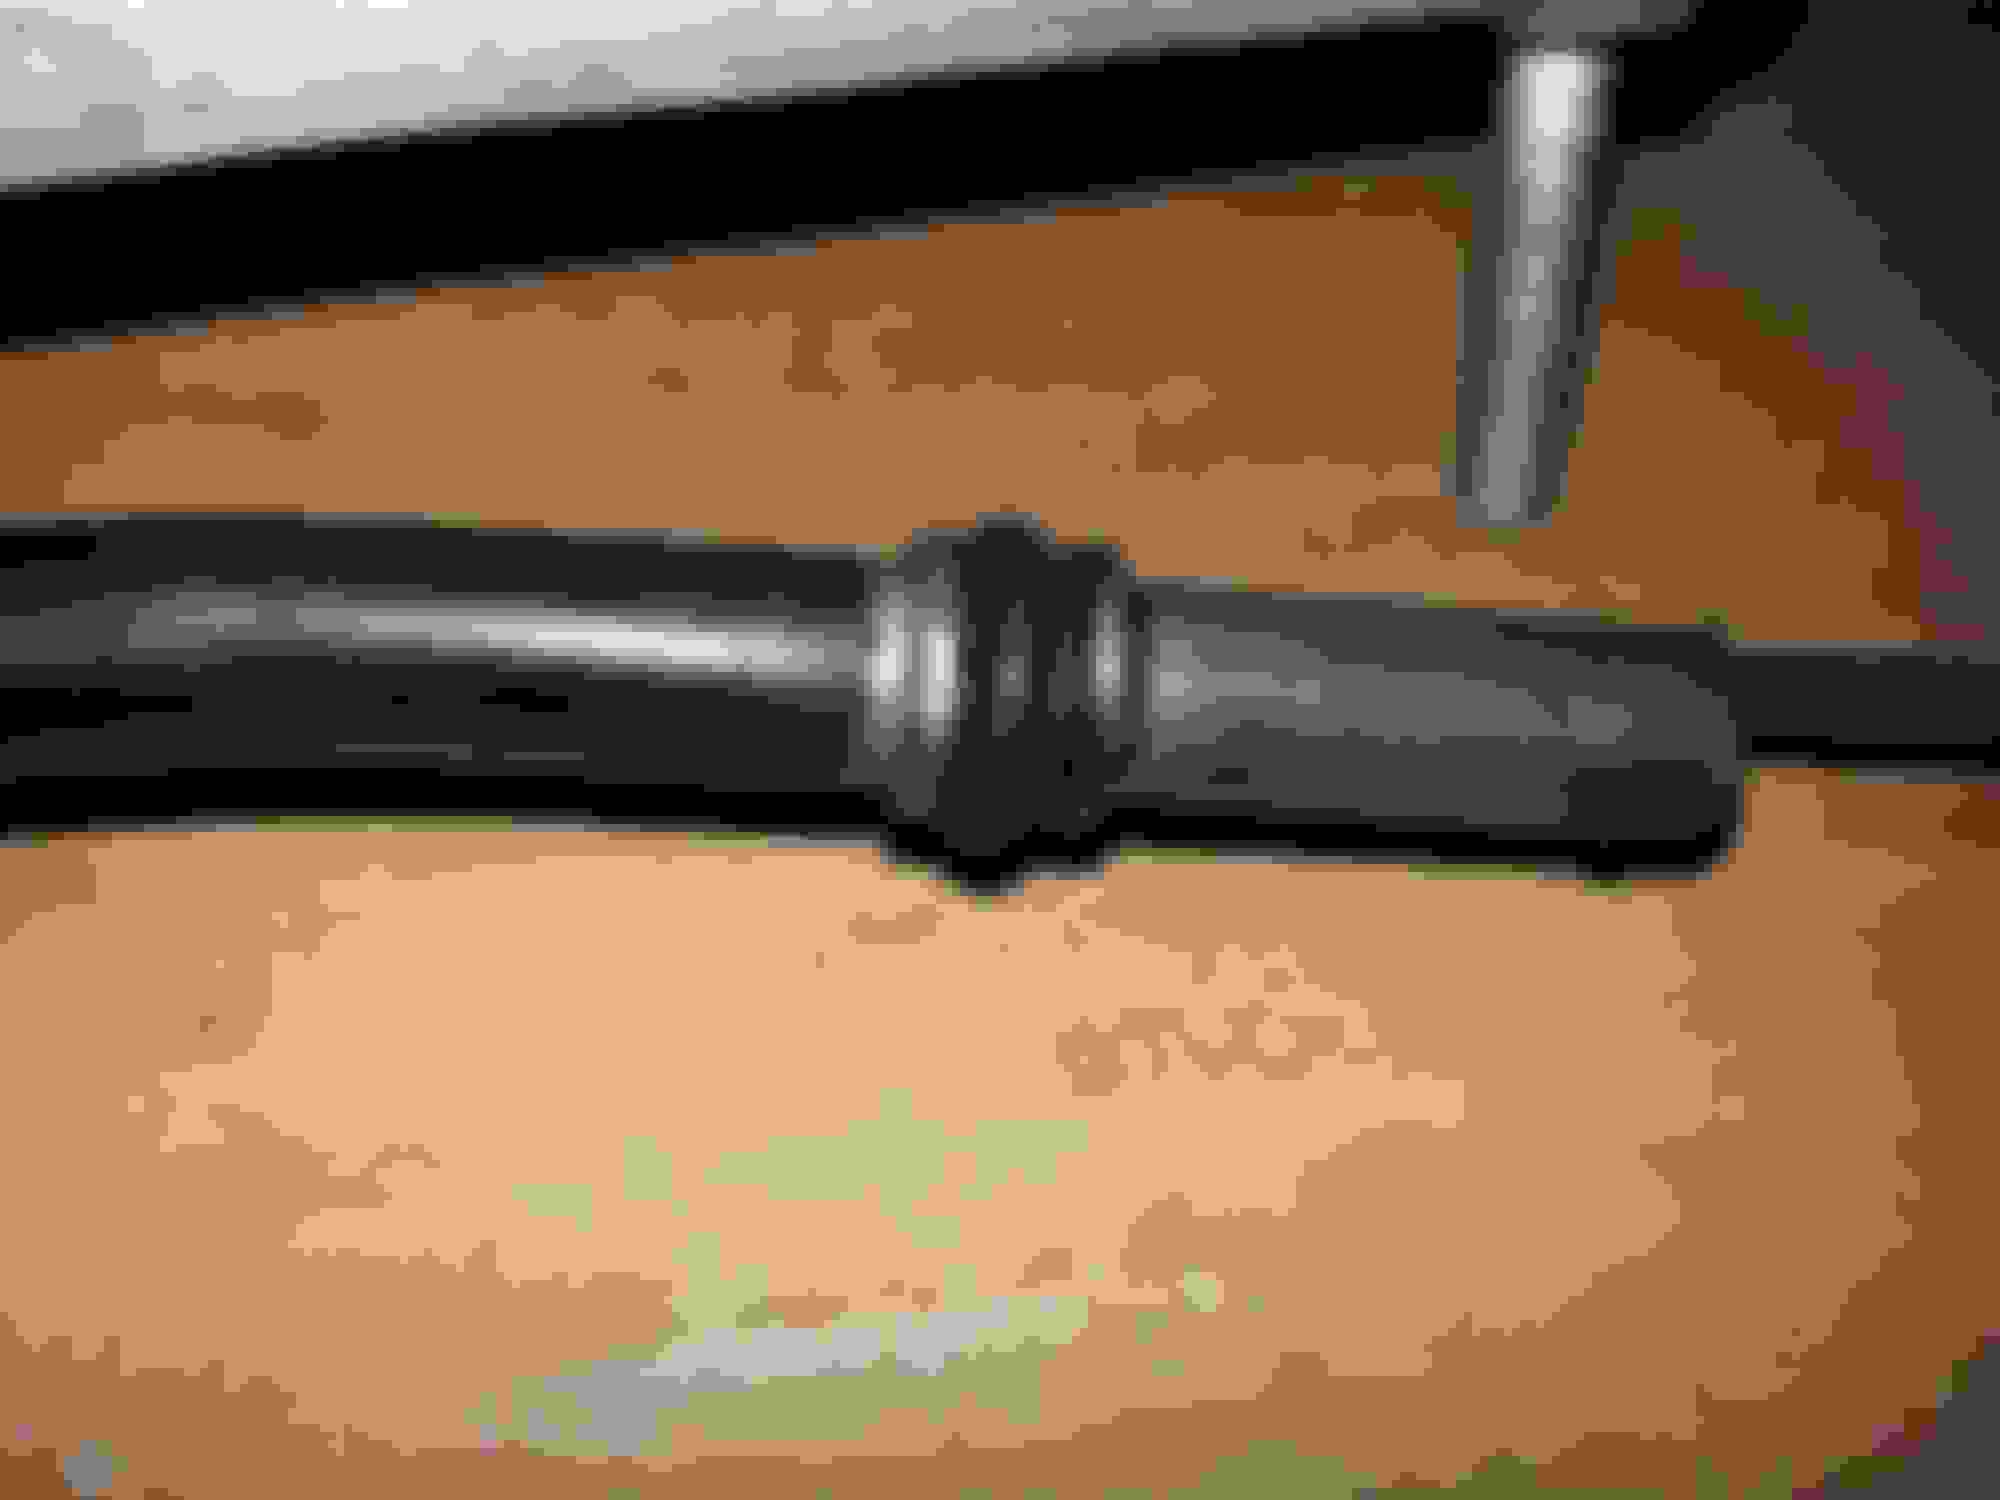
Here's what the end of the dipstick tube looks like, covered in engine bay grime which I cleaned off before putting it in.
Now to deal with a leaky new water pump gasket, wobbly crank pulley, and all the other little obscure bits that have broken..
Hello. I also addressed the dipstick tube O-Ring in another thread and a few days ago I finally changed it. I just thought I'd share how... The following is copy/pasted from the other thread:
I have been so stressed about this, fearing an all day debacle repair, that I have not tried it even though I've had the O-Ring for about a month. I managed, however, to change the O-Ring in about 15-20 minutes!
The long plastic tube that comes with those $7 siphon pumps you buy at Walmart is designed to snake down the dipstick tube for removing oil. I took that tube and inserted it all the way into the sump, and then removed the dipstick tube. The picture, which is much lower quality than I'd hoped, shows the tube in the foreground after I removed the old O-Ring and cleaned it. The upper part of the picture, very poorly lit, is my hand holding the plastic tube that is snaked down into the hole where the dipstick tube needs to go back.
I tried to memorize exactly what twists and turns were required to remove the tube and duplicate them in reverse after I installed the new O-Ring. The maneuvering took 15 of the 20 minutes, but I was slow and gentle so as not to damage or force anything.
The old O-Ring was not in terrible shape, but it was a little harder and slightly smaller than the new one. I could tell a difference when I pushed the tube back in because it required a little more force and made a "thump" sound when it went into place.
I have no idea if that place was leaking, but for $1.09 the little O-Ring in the Jaguar sealed bag seems like a good preventative maintenance idea. Who knows, maybe on my next drive my fuel trims will be fixed!
Haha, I can't even say that with a straight face. At the very least I have provided directions now for an easy way to replace that O-Ring.
If you cut a notch in the retainer ring for the tube where it meets the bolt at the cam cover, you can just slide it out of the way without taking it out of the sump.
Details are in one of the timing tensioner threads.
Vector
While repairing my 2000 xk8 engine I figured might as well change o ring on dipstick. What I use to not have to search for the hole when trying to reinstall the dipstick was tie wire that is used to hang t-bar. I happened to have some in my shop but you should be able to get it at Home Depot. First removed dipstick and then ran the wire down the dipstick tube. Made sure I had it into the pan and then pulled out the dipstick. Cleaned up the tube, put on new o ring, then slid tube down the wire and pushed it into place. I know I don't have the head or exhaust manifold to deal with but this will work even with them on.
First photo is wire in pan after dipstick was removed.
Second photo is dipstick half way down the wire on it's way to be reinstalled
I just replaced the o-ring but damned if I can find the hole for the dipstick! Yeah, I now know what I should have done, newbie mistake.😕
I loosened the p/s pump off it's bracket hoping to to see it but no luck. Does anyone have a picture of the location in the block?
Thanks,
Colin
I have been hoping someone had a good trick for this. When I did tensioners I left the dipstick in and it is still in now. But, I bought a new o - ring to go on the bottom of the dipstick tube and I am afraid to try to install it!!!
I have an idea that I�m going to try today, I�m going to get a wire coat hanger bend it straight and replace it with the dip stick, pull the tube out and leaving the wire in place hoping it stays in the hole. Replace o ring and put the tube using the wire to guide back into place. Fingers crossed