When you click on links to various merchants on this site and make a purchase, this can result in this site earning a commission. Affiliate programs and affiliations include, but are not limited to, the eBay Partner Network.
has anyone added the popular XF mod where el wire is wedged along the center console, worked really well on the XF where the strip could be run seamlessly from under the armrest to plug into the lighter port inside, clean install without tapping into any wires: https://www.jaginfo.org/threads/addi...ination.49465/
wondering if this can be done on the X351 along the lower (and maybe upper as well) console plate, but seems would need to run under the plate to the lighter port and now sure how to best make it look seamless
I've actually thought about something like this myself but never got round to trying it. I think it could match nicely with the door handle/cubby lights.
no ones actually tried this? cooler ambient lighting is the one interior leg up Mercedes/BMW has had on Jaguar, such an inexpensive addition factory or not to enhance the feel of the interior
Well my wife's Lincoln MKS has this and she can choose from 8 or 9 colors not just blue. I consider it a parlor trick and could care less. Much like the automatic parallel parking. If you can't park a car then learn how.
.
.
.
+1
Boudoir interior lighting goes right along with underbody lighting, IMO. I like my interior so dark at night, I turn off the center stack. Everything illuminated is a distraction and detrimental to night vision ... but yeah, I'm an old fart.
I am old like Bernie I guess. That said I do like the lighting I have seen so far in the Lucid interiors.
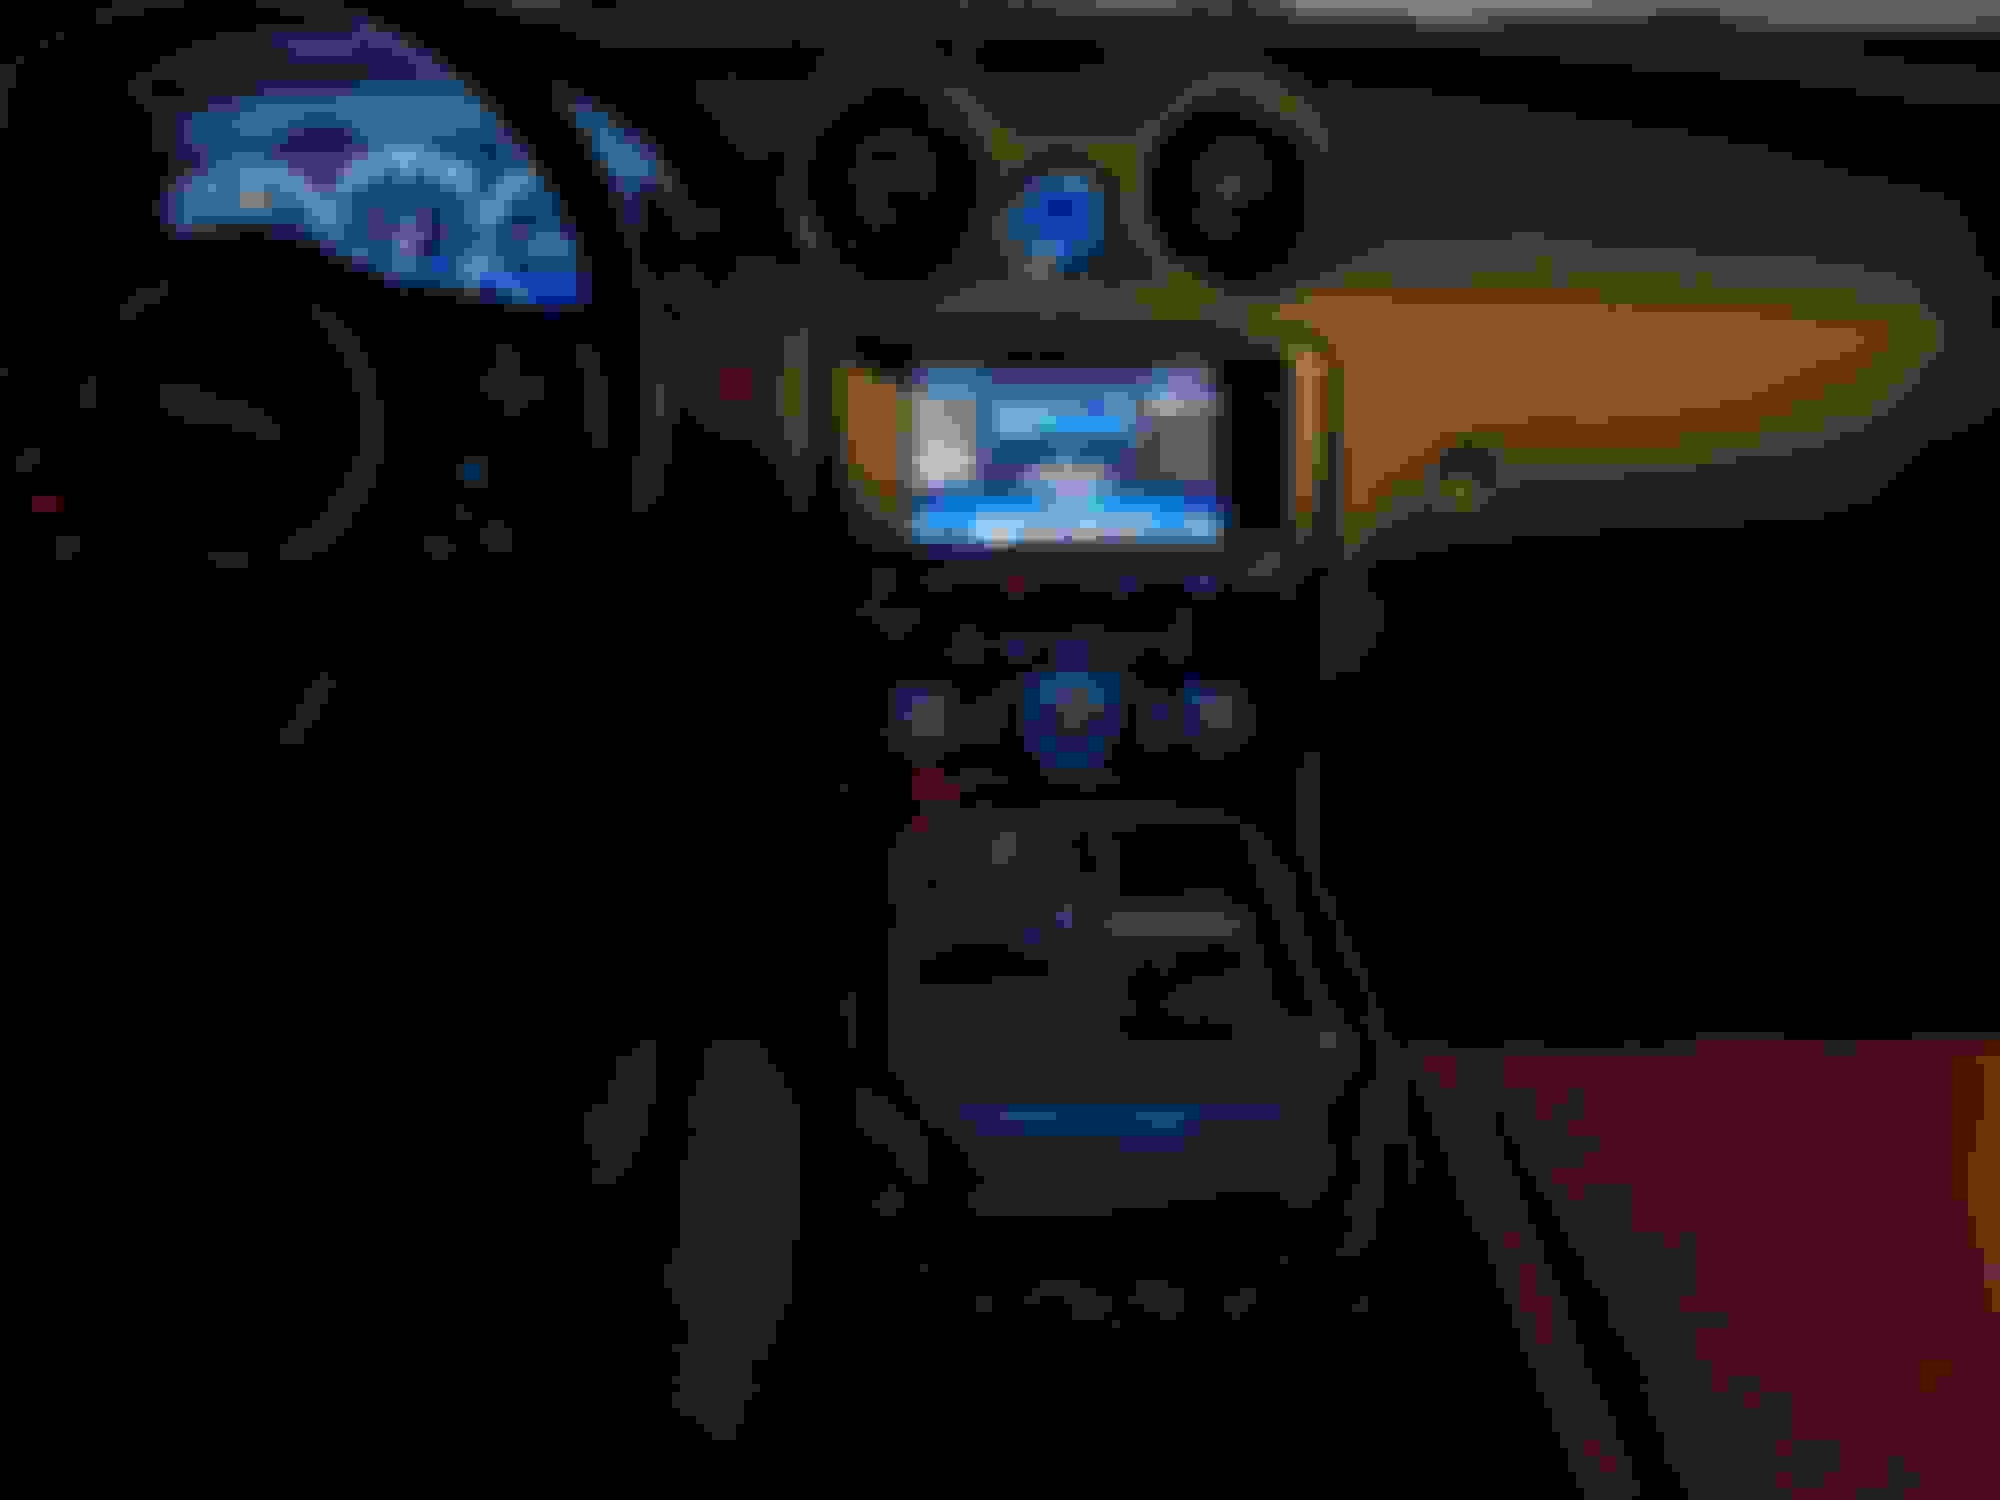
When I redid my console I removed most of the decorative lighting you could see from the driver seat.
I did leave a little bit though for rear passenger wow factor.
I gotta say your picture looks great!
Bernie you bring up something that I wish they had in the XJ and that's the ability to turn off the blue halo's around the vents. On long drives the blue reflection in the side mirrors does become tiring. Love the look but the reflections are a killer!
Similar to reflections off the chrome on the center console. I kinda fixed that by resting my right arm over that area when the reflections get in my eyes.
.
.
.
Well my wife's Lincoln MKS has this and she can choose from 8 or 9 colors not just blue. I consider it a parlor trick and could care less. Much like the automatic parallel parking. If you can't park a car then learn how.
.
.
.
I've purchased three "self-parking" Lincolns since 2012 (an MKT, a Continental, and my current Corsair) and people are always asking me if the feature works well; I tell them I have no idea because I've never needed to use it. As for the ambient lighting, it was a novelty in the MKT and, being essentially colorblind, it was of little interest to me. I did however, discover there was a red option that appealed to me so I set it on that. The rest of the family hated it so every time I wasn't in the car, they'd switch it back to some blue or green hue that I couldn't appreciate. Eventually the novelty wore off and by the time the Continental and Corsair came along, I've just left them on whatever setting they were on when I took delivery. Couldn't care less.
Dwayne that's a funny story!
We also played with the colors for a while then just lost interest.
Then I noticed that it had gone back to white? I changed it and some time later again back to white.
Did more research and there was a tsb on the color system reverting to white or blue after cycling the ignition key.
I never even bothered to get the software update as it just seems so unimportant to me a driver?
.
.
.
I only kept that MKT about a year. I took in my mother (dementia) and terminally ill sister, plus my wife is severely handicapped following a 2007 stroke. I needed a vehicle that would accommodate everyone, along with wheelchairs, and was low enough to the ground they could get in it. Lo and behold: The Lincoln MKT Elite!!! With its black paint, it seriously looked like a hearse! I decided to get rid of it and my '97 Rolls-Royce Silver Spur and replace them with a Jaguar XJL. Worst mistake I ever made in my life! Nothing but trouble! When it self-destructed on an out-of-town trip, I traded it in "as is" toward a new Cadillac XTS. A year or so later, I traded that on a Lincoln Continental, and then traded that for the new Lincoln Corsair. I tend to be a "spur of the moment" sort of guy who's been known to leave home to get breakfast somewhere and come home in a new vehicle. lol Life is short, so we may as well have the things we desire!
I did this a few months ago on my center console. I'll try to remember to post a pic. I spliced it into the wire feeding the ashtray/cubby light.
curious if you found a good way to hide the joining spot of the wire ends on the console if have pic of that
and guessing it could have also been fed into the lighter port without splicing as well
If I recall correctly, I ran the wire underneath the console, meaning I had to pry it up a bit.
can you describe how/where you pried the console up? I tried using a plastic trim lifting/wedge tool a few places along the bottom without much luck, trying to to break anything holding it down
can you describe how/where you pried the console up? I tried using a plastic trim lifting/wedge tool a few places along the bottom without much luck, trying to to break anything holding it down
I attached the removal procedure from the manual.
The console trim is lifted under the chrome piece. The black (or perhaps blue now) plastic piece is attached to the chrome with fasteners. You can see a few pics here of it that shows the mounting tabs. Basically open the console cover and start prying at the end beyond the ash tray. Gradually work your way forward. It comes up with the ash tray included. If you want to remove it completely you will first need to pull the upper console bezel and then the controls inside it. I think it took T10 torx to remove the control unit fasteners. Then the whole thing will come up and leave just the shifter and the cup holder behind. You will have to unplug a few connectors after you get it loose if you want to remove it entirely.
Once you do it a couple times, it takes about 10 minutes to do it all.
I'm prying the plastic up from the chrome correct? I can get under it but the fasteners(?) won't allow it to lift up feel like something is going to break, how does the chrome come up there's no way to wedge under it at all
Can you describe more clearly where exactly to start prying
I'm prying the plastic up from the chrome correct? I can get under it but the fasteners(?) won't allow it to lift up feel like something is going to break, how does the chrome come up there's no way to wedge under it at all
Can you describe more clearly where exactly to start prying
If you have a set of interior trim tools you should have a few that can fit under the chrome and also be strong enough to lift the chrome up. The black plastic piece on top of the chrome will not separate from the chrome until you have the chrome completely loose and can flip it all over to get the fasteners removed. So don't pry between the chrome and the black plastic top cover. Start prying under the chrome on the end farthest from the dash. Page 5 in the attached instructions shows exactly where to put the tools. The link I included earlier shows it all apart so study that to see how the parts are fastened together.