When you click on links to various merchants on this site and make a purchase, this can result in this site earning a commission. Affiliate programs and affiliations include, but are not limited to, the eBay Partner Network.
I got zero hits from the deadbeats on the General Tech Help Forum. I'm trying here.
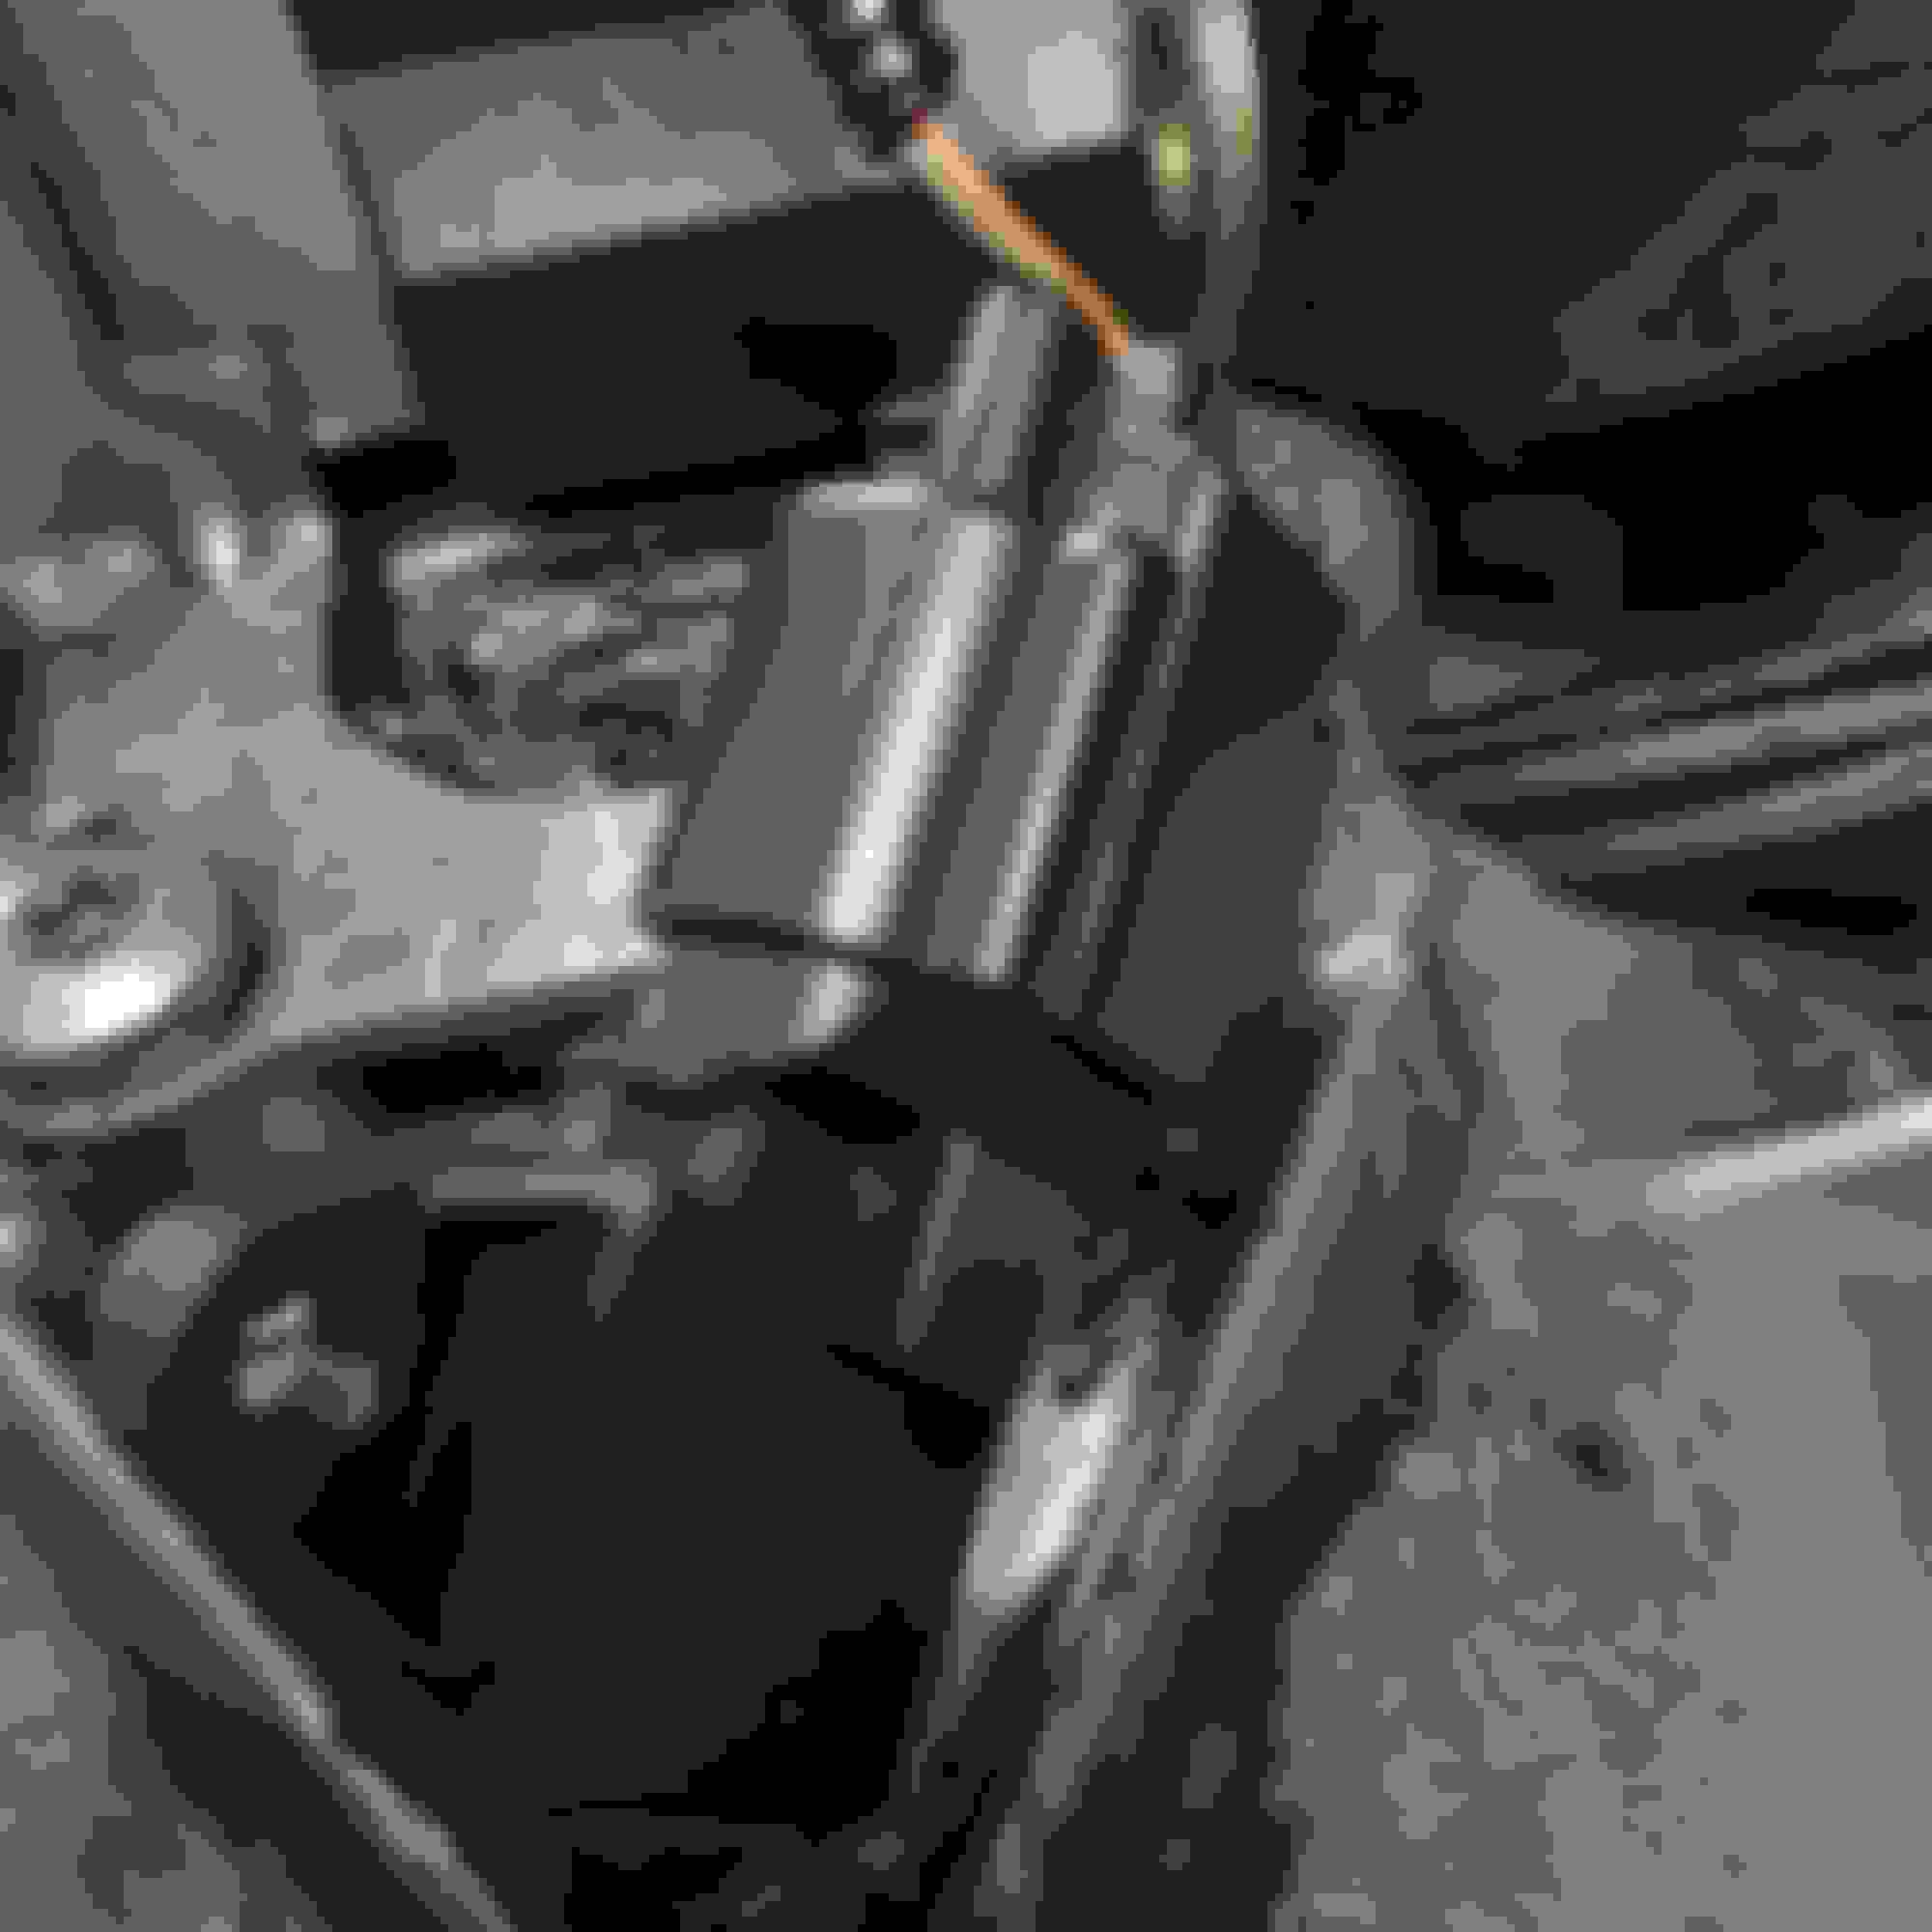
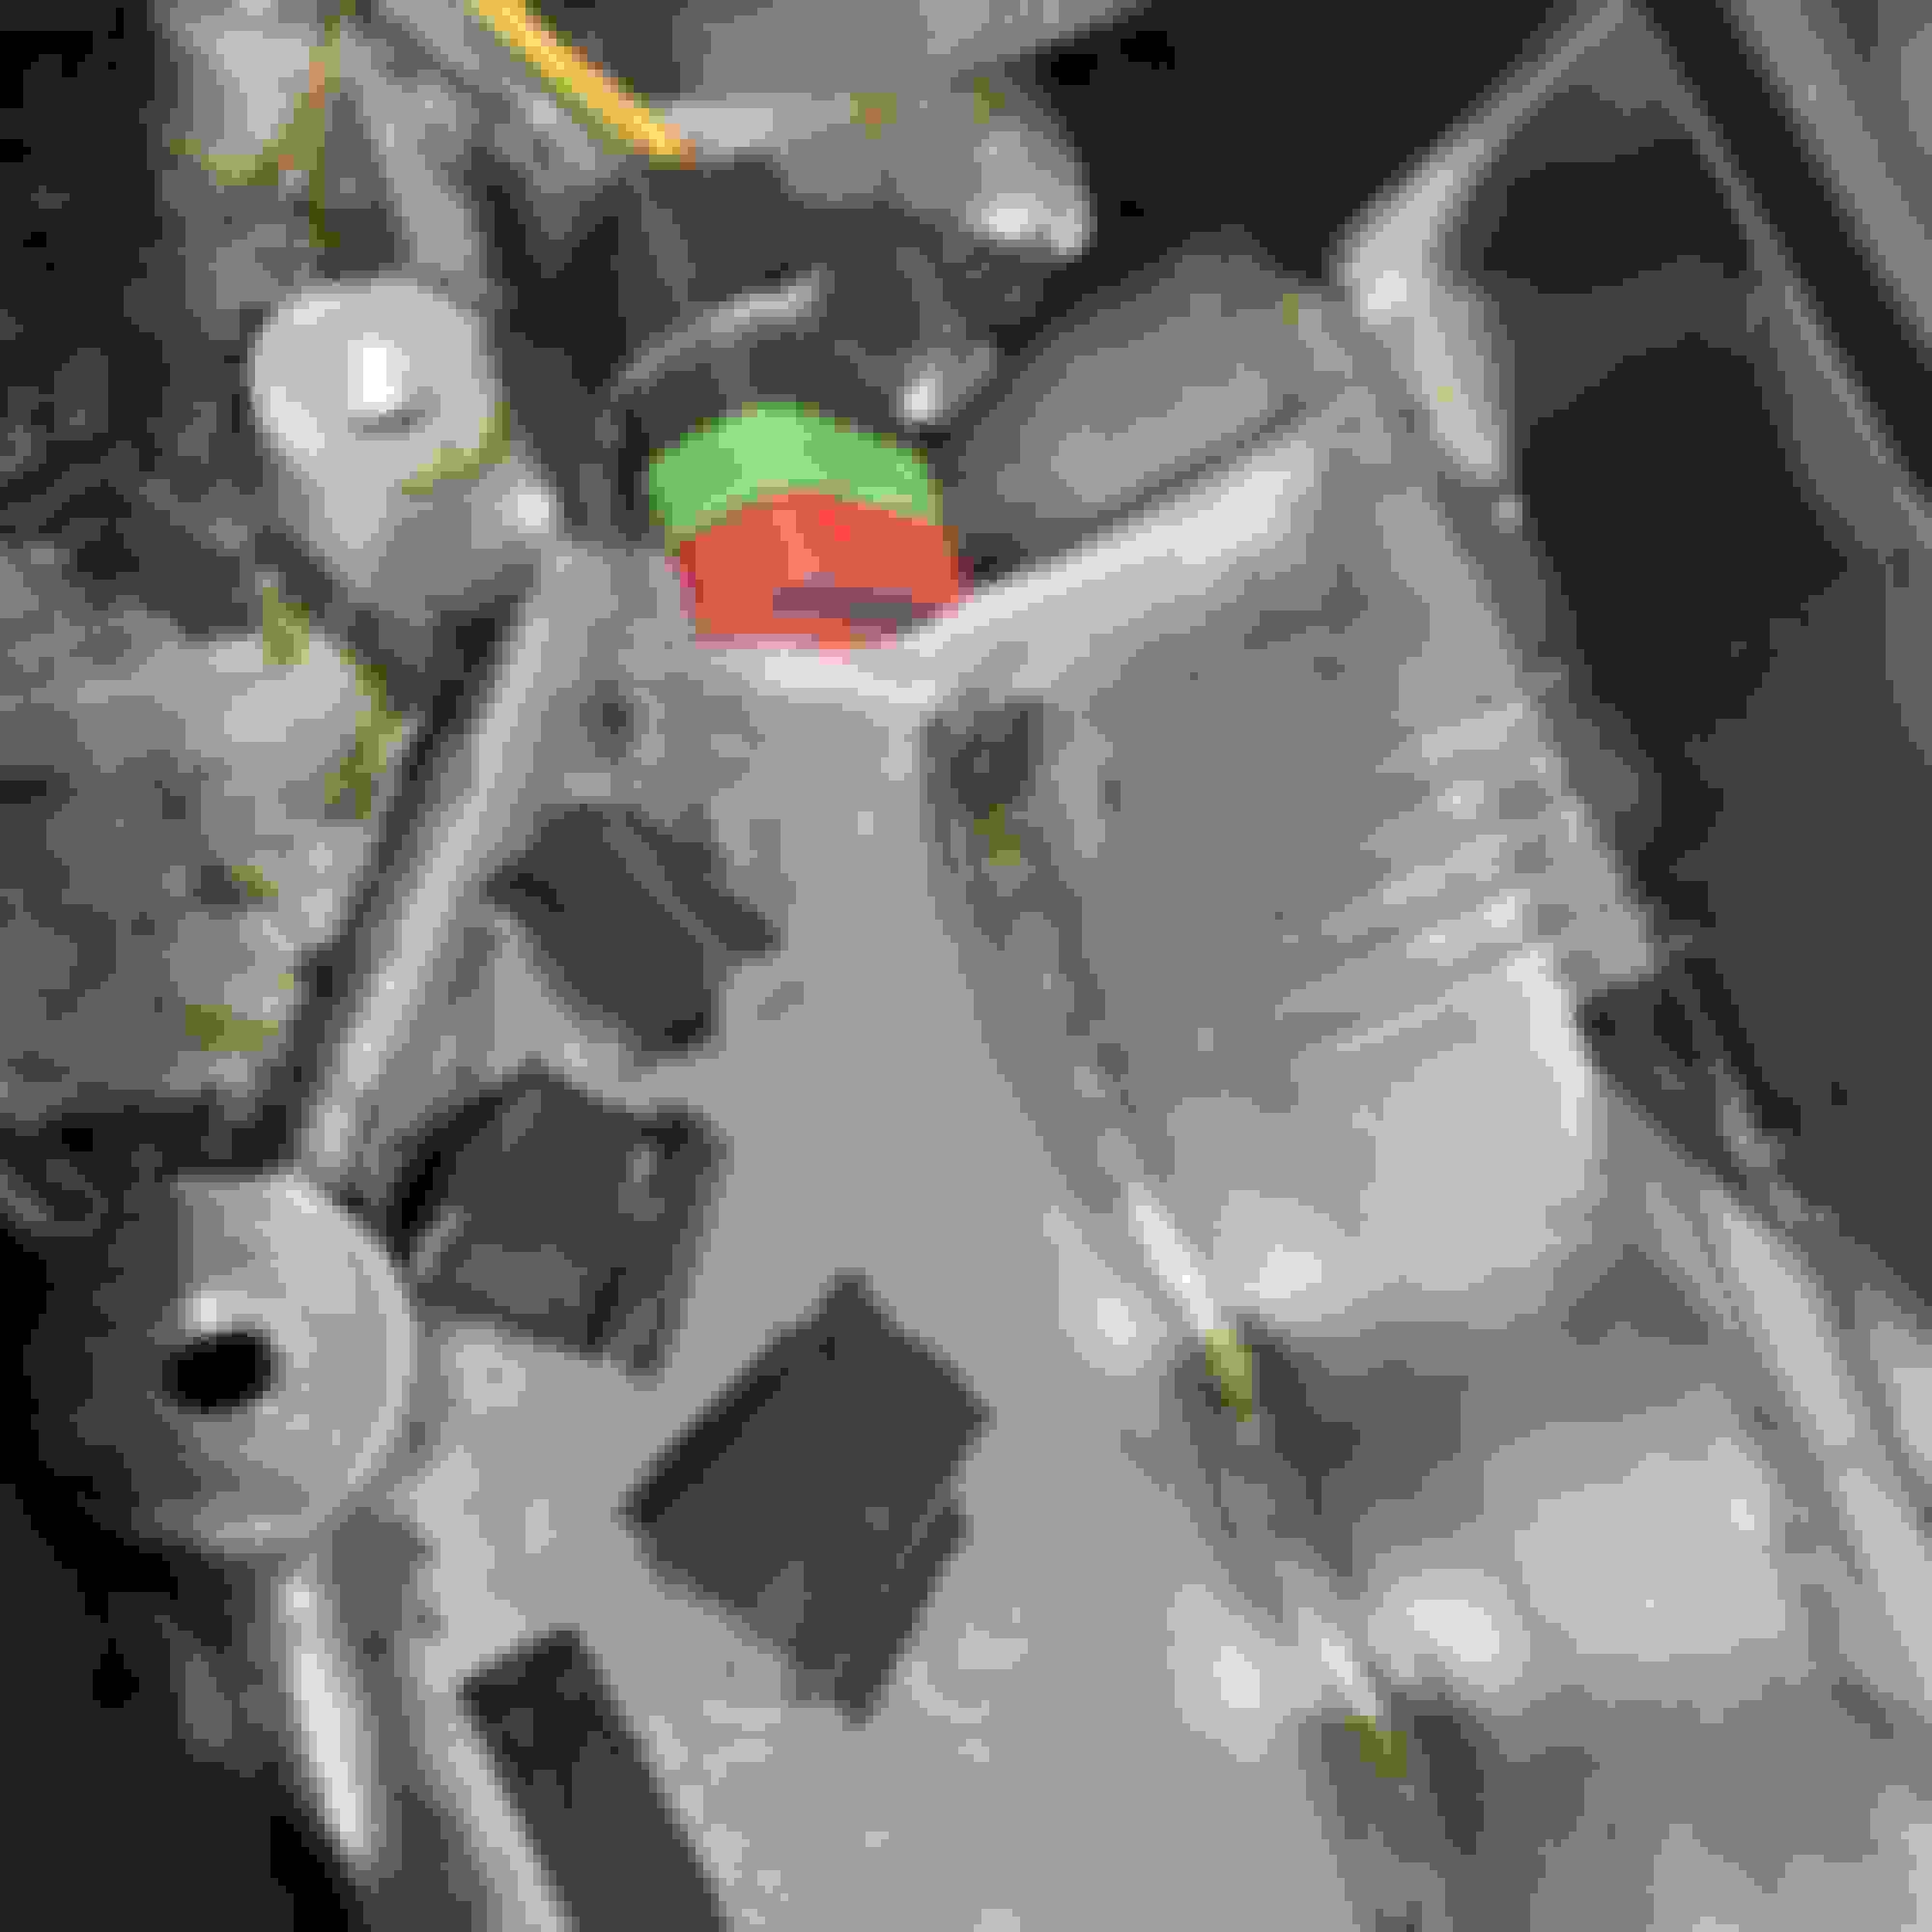
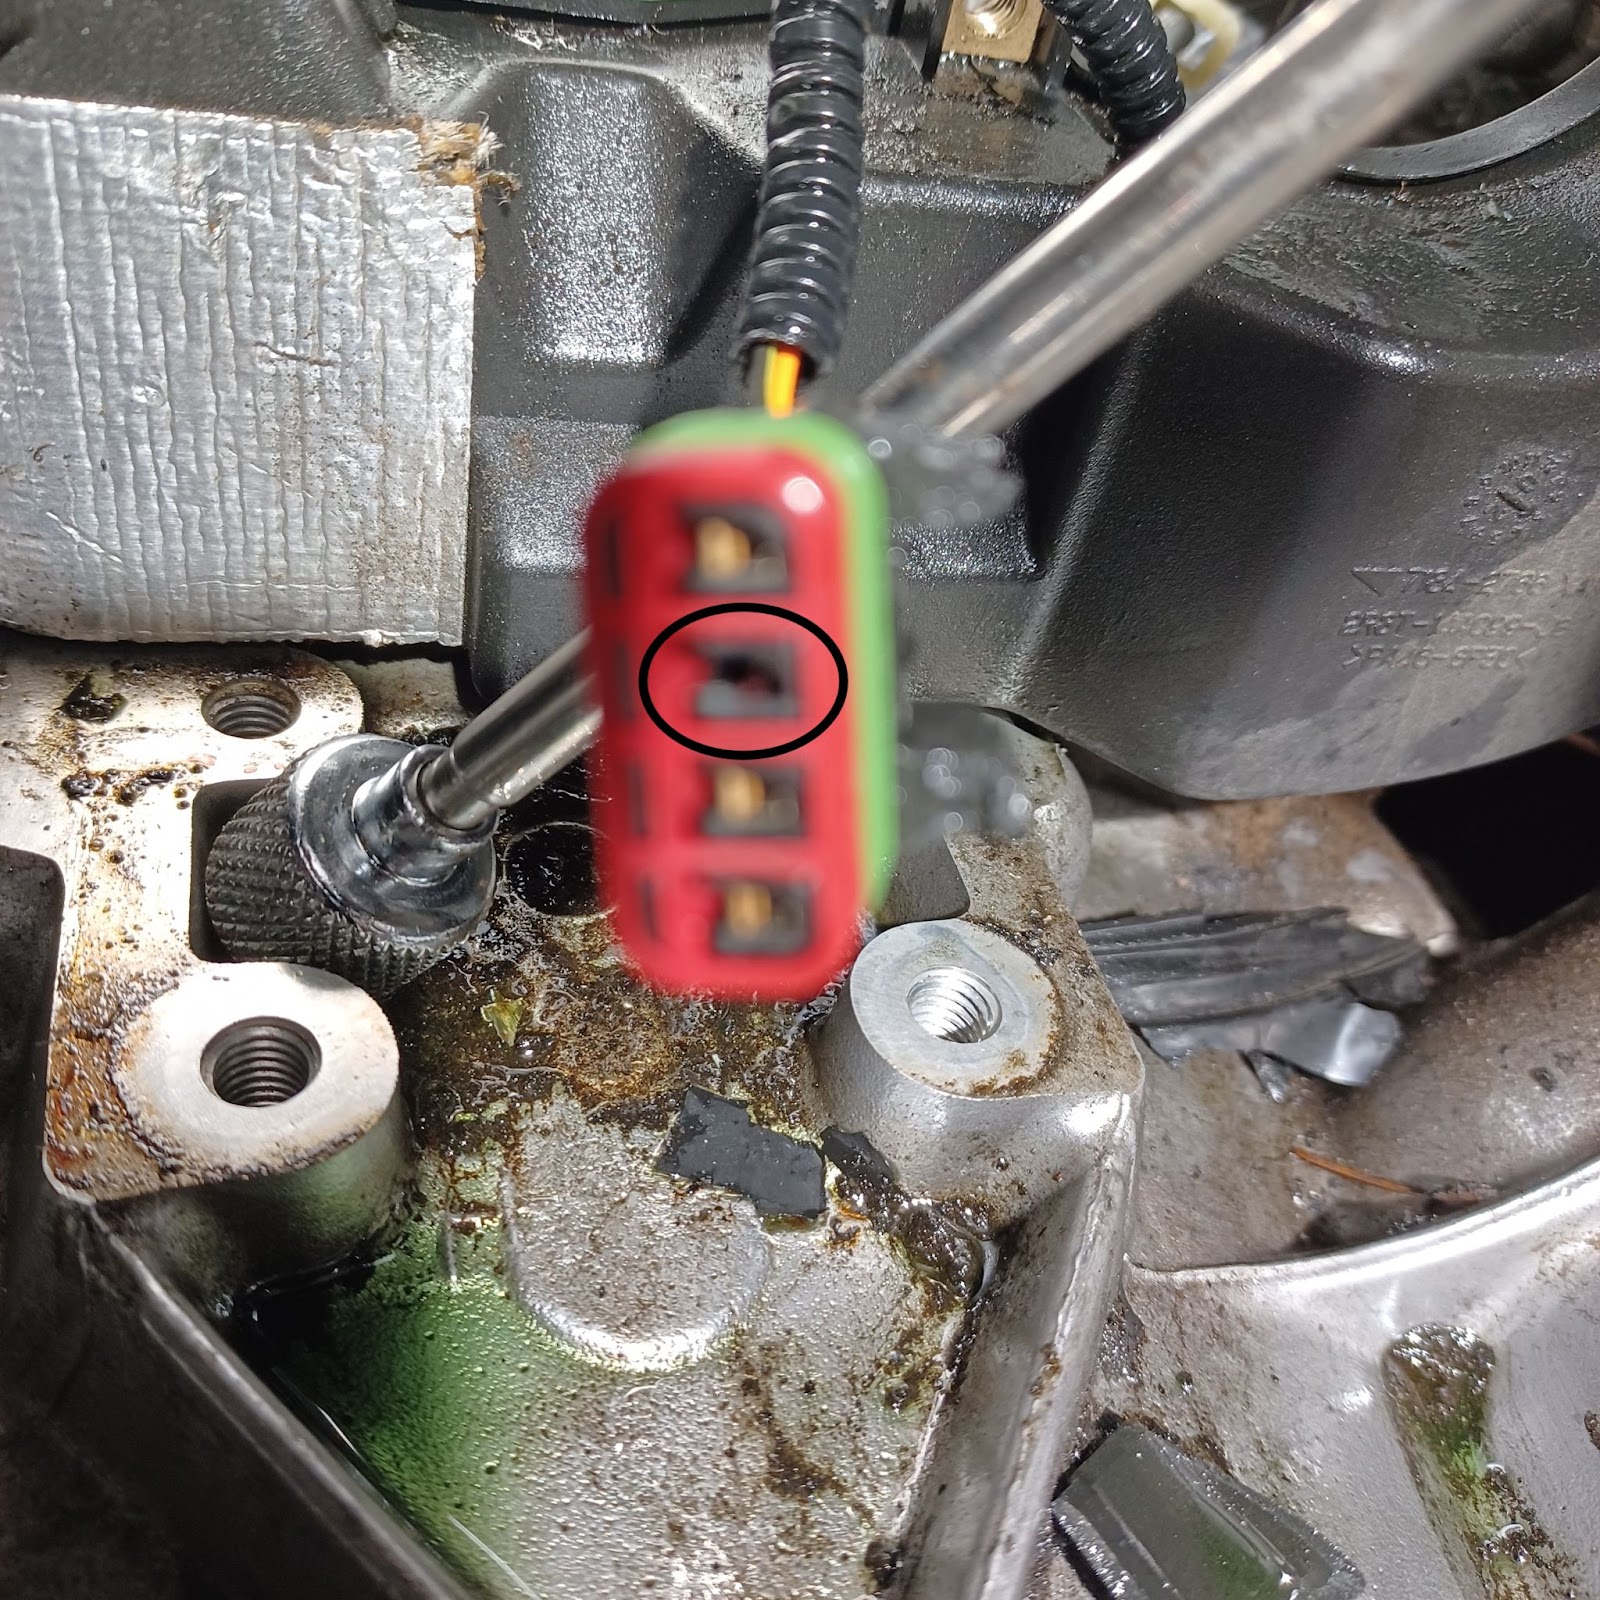
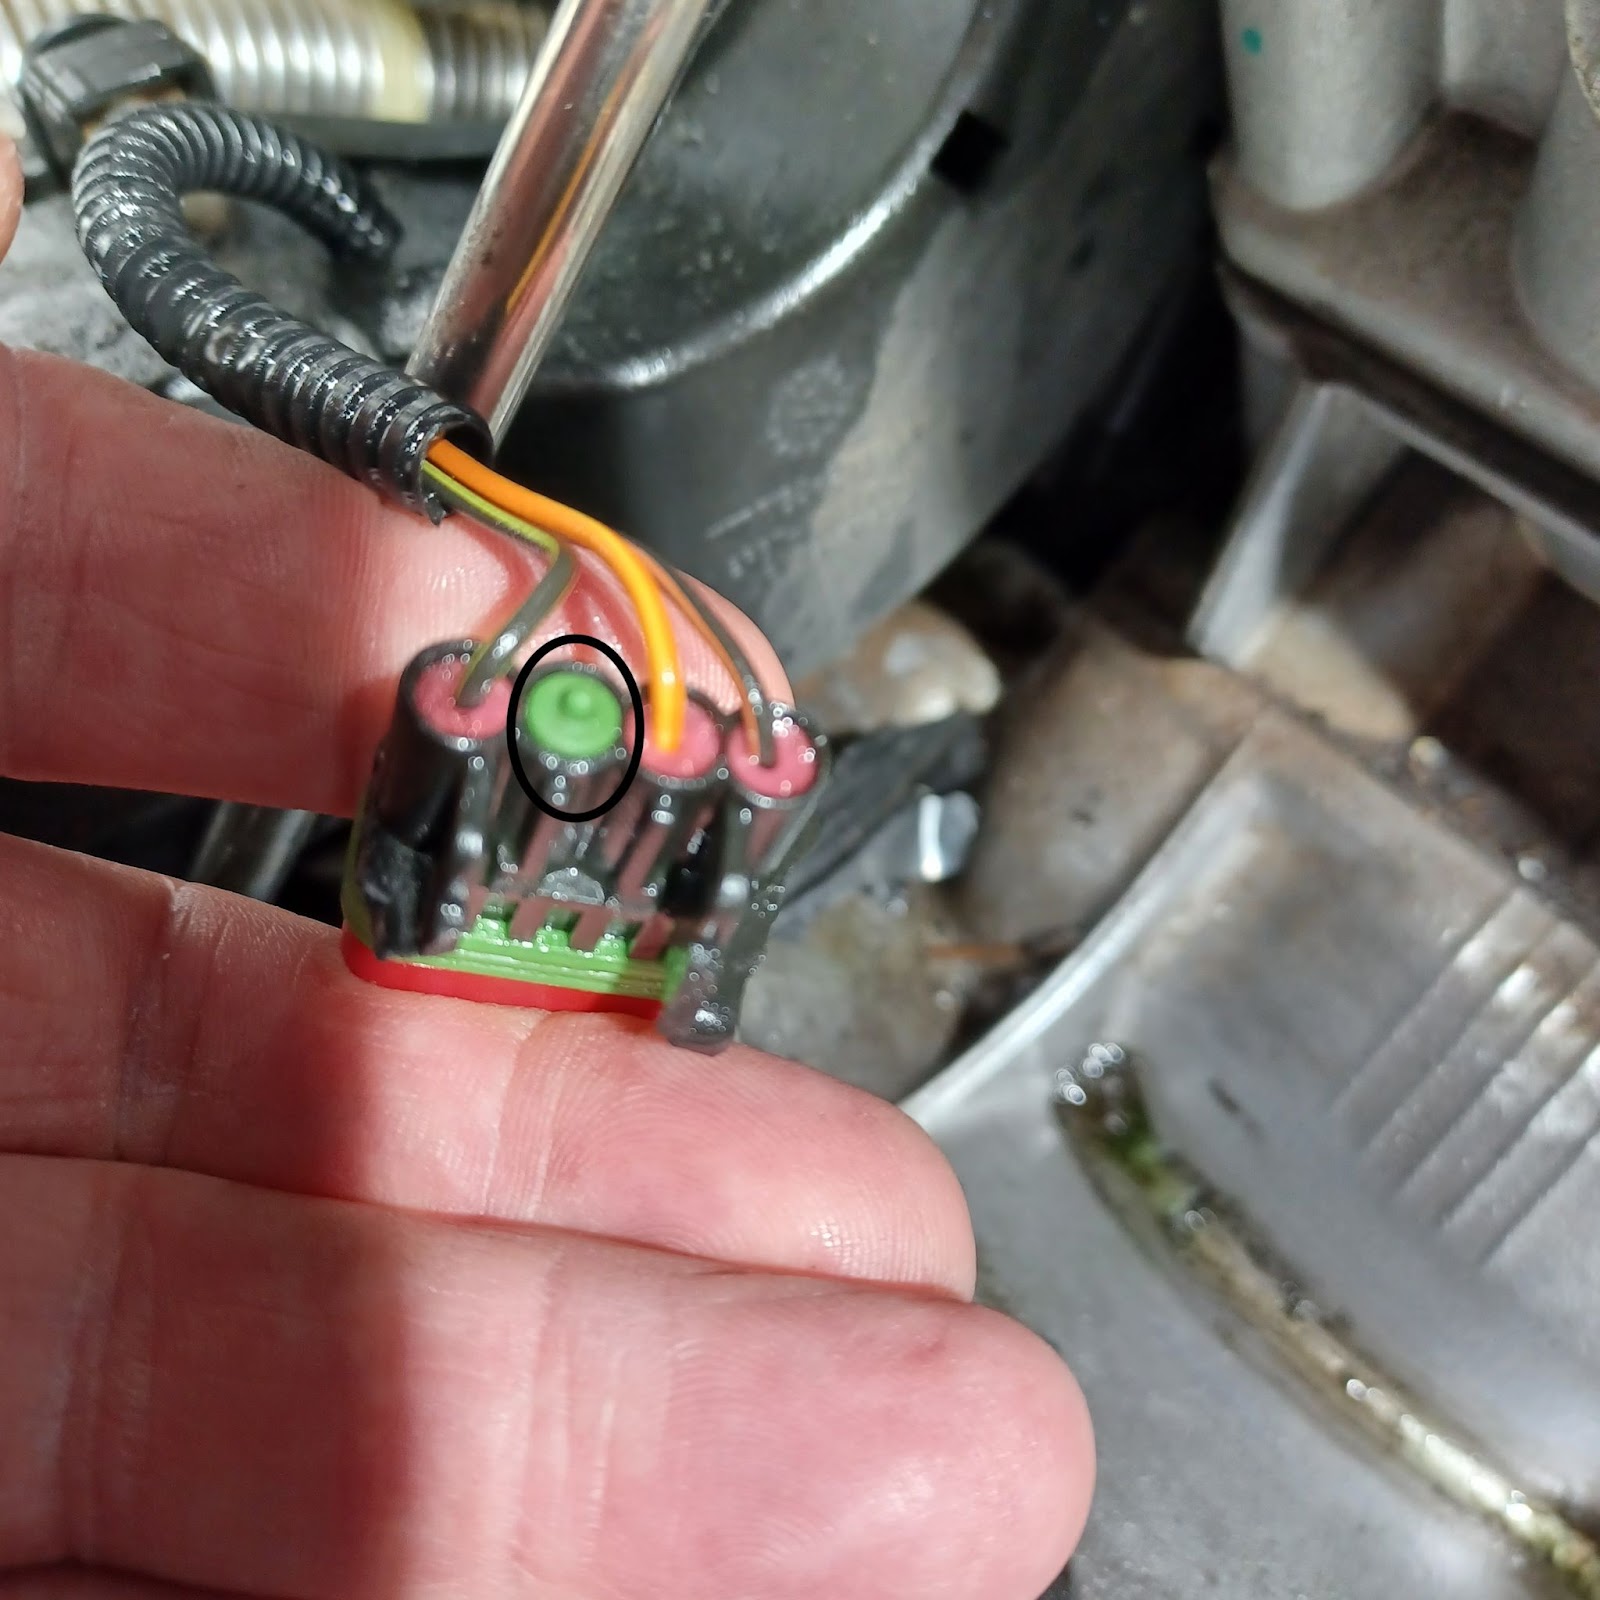
I�ve included a picture of the plug connected to the MAP Sensor near the rear of the engine compartment in my 2004 XJR. The second picture shows what I believe is the �push lever� that fits into the rectangular tunnel of the receptacle. Additionally, there seems to be a tit at one point inside the "tunnel".
Despite applying lubricant, I�ve been unable to separate the sensor from the plug. I hesitate to use force because I�m uncertain about the exact release trigger point.
Could anyone provide guidance? The MAP sensor requires replacement.
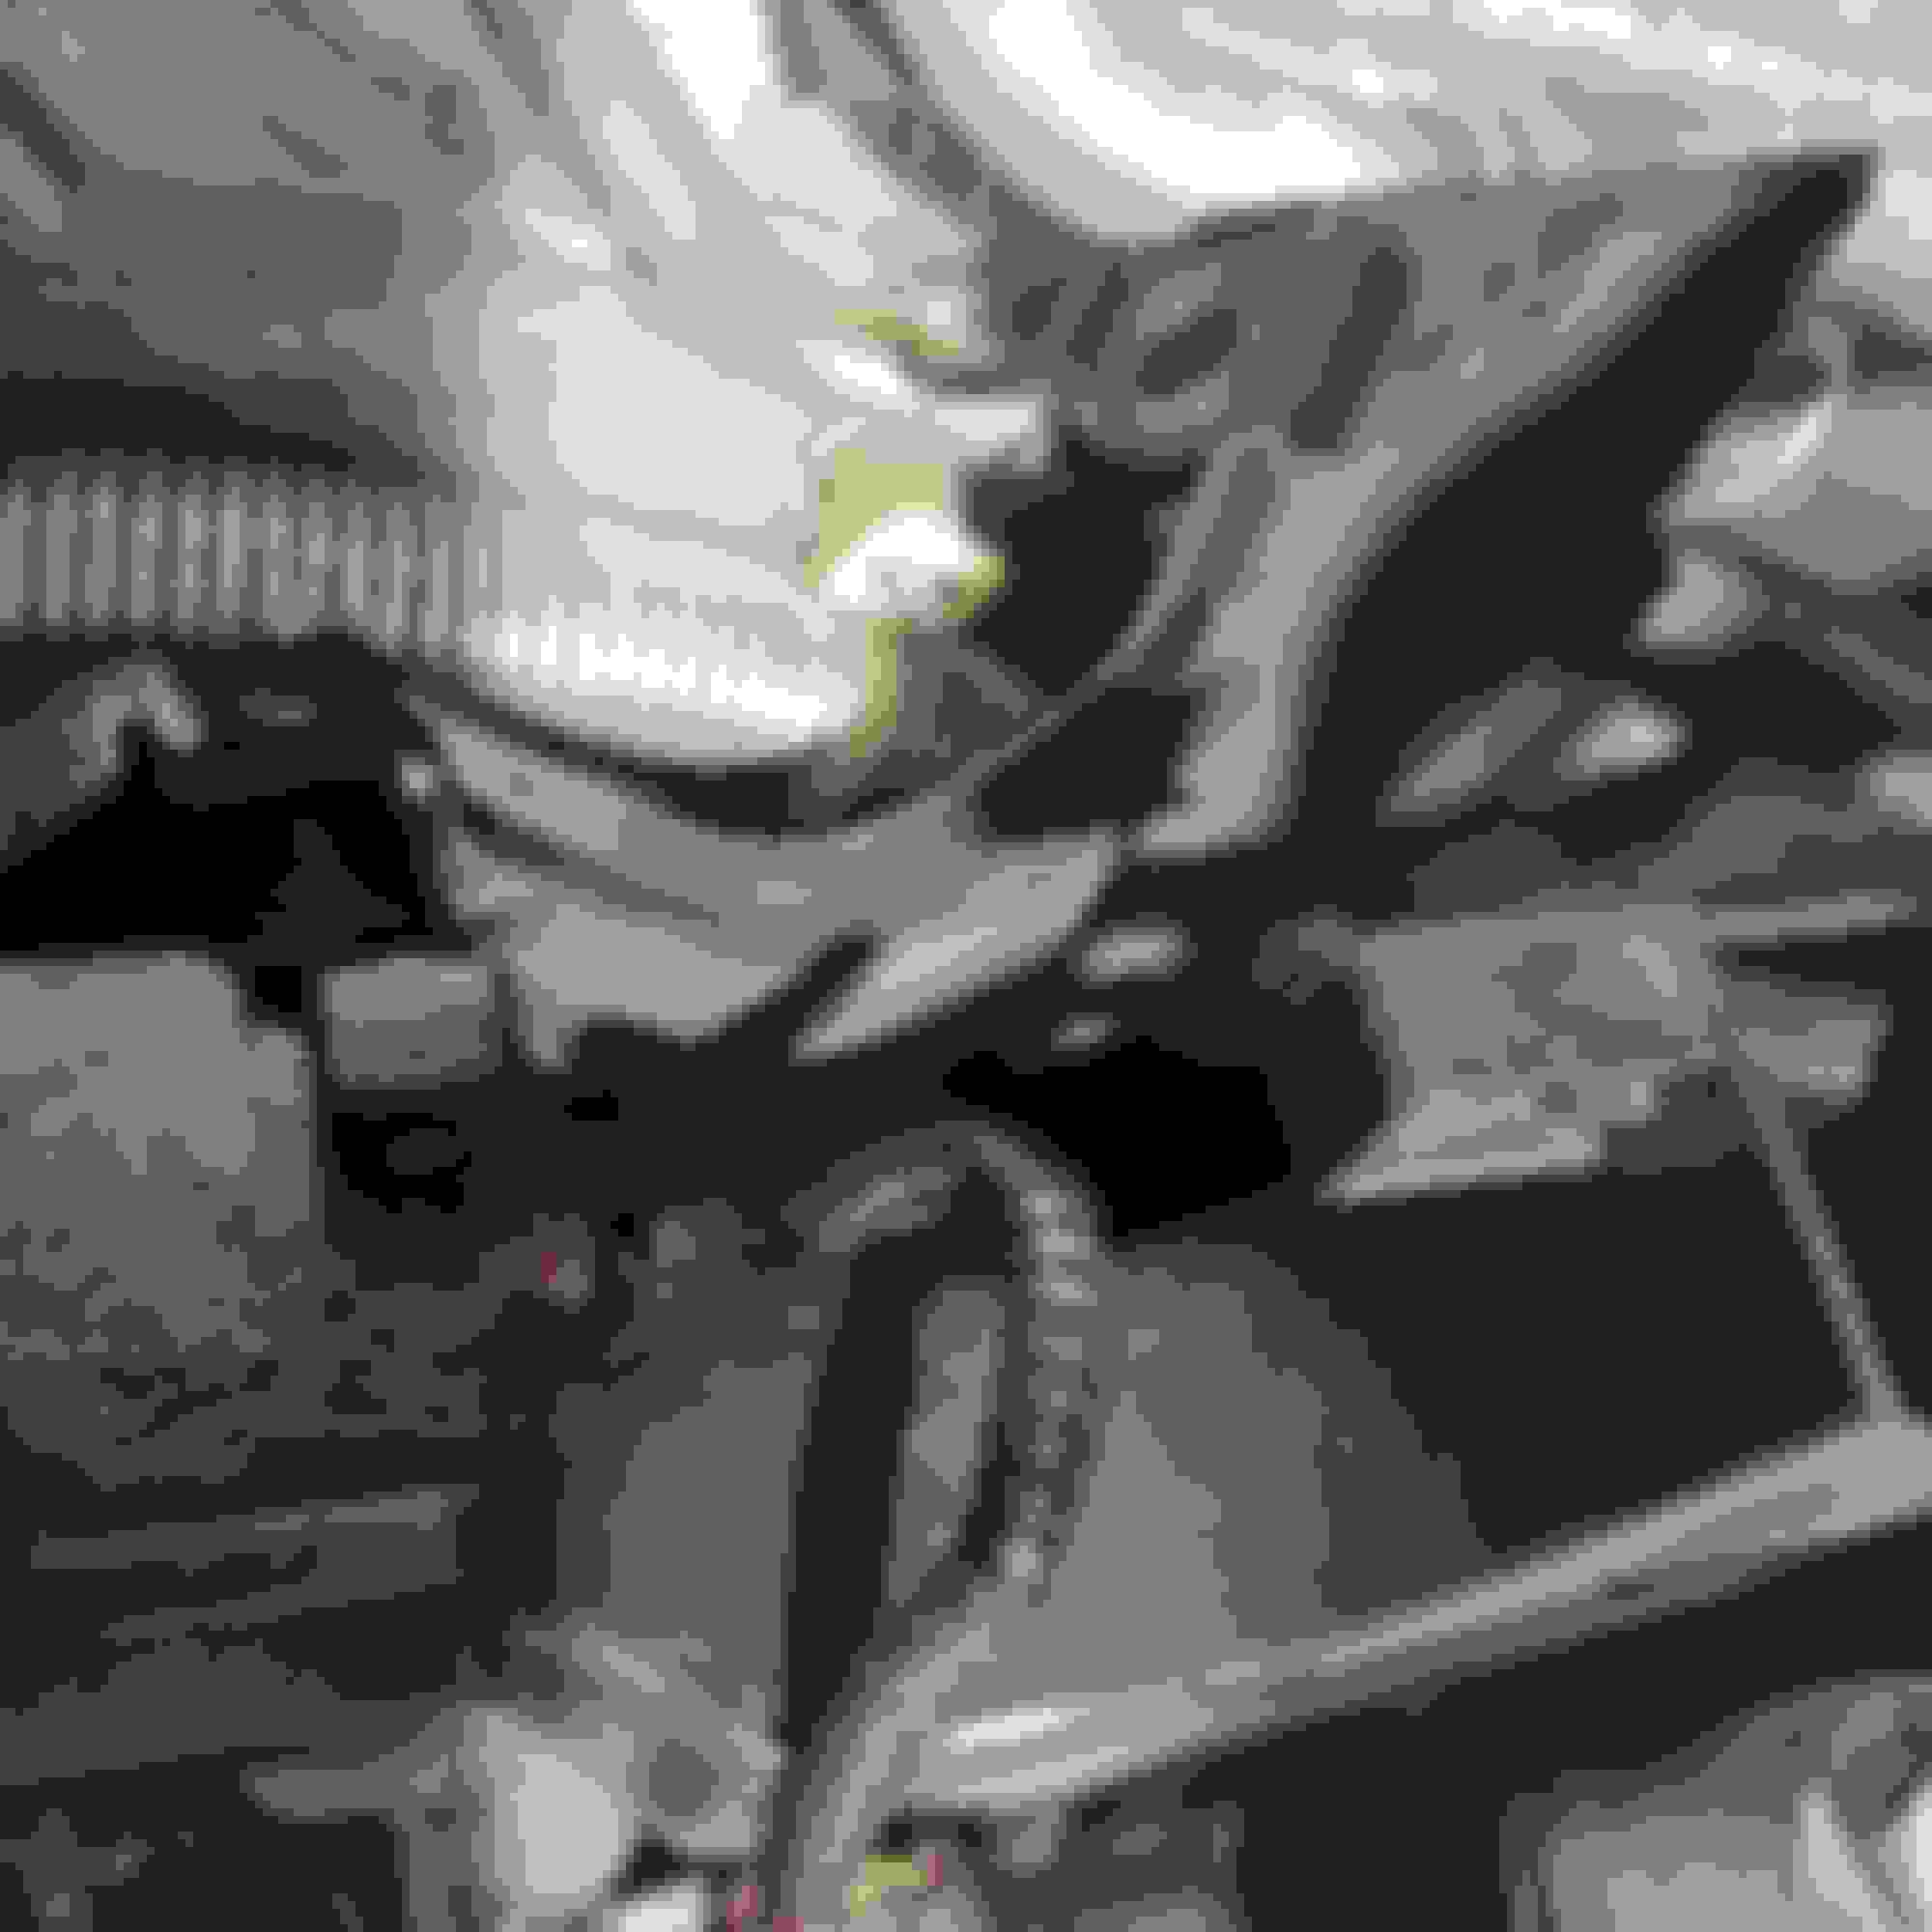
Since, the sensor needs to be replaced and there is nothing I can find to push, pull or press to release the connector, I thought that I would explore to see if I can unplug the pigtail holding the sensor. I am able to separate the protective plastic boot and spread it as shown in the picture; however on the other end of the boot is some kind of pivoting connection that is a mystery to me.
Does anyone know how to release the connector? If so, I can put this back to gether again.
If not, how does the pigtail attach behind the plastic boot? Is it a plug-in, solder joint, or crimp?
Of all the aggravating things, these damn switches are the worst! It should be a no-brainer to have a specific name for the receptacle with instructions as to how it is to be released! It is obvious that the rectangular piece no longer serves its purpose, that being the case, what cane be done to release it?
Well, after hours of needless travail, I finally fixed it! Behold, in glorious technicolor, the remnants of the brittle connector that I had to sacrifice to free the sensor. Ah, the age-old wisdom: to save the connector, one must first destroy it! I'll order the sensor and then resort to a high-tech solution�wrapping it all up in a bubble gum & spit concoction so elaborate, it would make Arthur Percival, Commander of British Forces in Malaysia, proud!
FORD
2S8A-9F479-BA
SIEMENS
5WK 9880
GERMANY
>PBT-GF30<
This, I think, is disgraceful. Not only could I not find one number on the sensor in the manual that you kindly sent, but, while the the connector has 3 wires, it is in a connector designed for 4! This seems to be planned obfuscation, second only to that found in the medical industry!
BTW: This is the same sensor used in a Ford Fiesta 1.6L 4-Cylinder EcoBoost!
BTW: This is the same sensor used in a Ford Fiesta 1.6L 4-Cylinder EcoBoost!
Yah. Got 'dimmer' wall-switches like that. Find 'em everywhere but wimmin's navels.
You think THAT is 'scary", you really don' wanna KNOW how many diverse things and places the Potter & Brumfield KA-11-D(?) relay found to build a nest in and brood its eggs!
Steve,
You have only one halve of connector; another half is integrated into sensor. You need exacly same connector, femail part, that will mate with integrated housing on sensor.
The information about sensor you posted, Steve, is Siemens part number for that sensor, not a connector, but you already know it.
Greatest of all times!! Thank you. My grandfather was known to say: "Reciprocity is the 1st law of business". Do you prefer blonds or brunettes? Or, one of each?
Seriously, I wll have to revist that catalogue and see how you figured it out. But now, it is a beaiuful day in the PNW & I'm headed with my bride to the Saiish Sea!
Thought I might get some help from the #3 Electrical Manual - NOT! But that is a subject for another day. Now, if the welder is successful, I am ready to start putting her back together. Since they aren't leaking, I'm not sure I want to do the valve covers, but, that too, is a subjest for another day!!
I really wish I had been able to contribute to this, but I had no recollection of how the connector separated, just that I had no difficulty whatsoever with it. My car is not supercharged, but here is the valley of my engine with the manifold removed, and the connector clearly visible at the top of the image.
Here's the back of my manifold, showing the sensor.
Here's the connector, as big as I can get it from the other photo. If I recall, that tab at the top simply pressed down and the connector slid right off. That tab seems to be missing from your picture. Broken? I can't imagine a completely different release being used for the supercharger version, but if that tab was actually broken, then yeah, you were screwed.
You're wellcome !
One piece of advise: instead of cutting pigtails off the harness and splicing new contacts. you can preserve your existing contacts and seals. When you get your new connector body in hands you will see how contacts are loaded into body and how they are locked in place. usually there is a tab on contact that gets snapped in the body, pretty much like arrow tip; sometimes there is a thin plastic retainer bar needs to be partually pulled out to releave contacts. Any way you will be able to figure that part out when you get new body.
Free contacts with seals and wires from connector, reload them with lithium grease and insert in to new housing. Keep rest of the parts as spares. No wire cutting, and keeping automobile to "factory original specs" !
Good luck with bputting it back together.
BTW, how long has it been since you started that endeavor?
Last edited by Big Koshka; May 11, 2024 at 04:57 PM.
Big Koshka found exactly what the Dr. ordered. It seems that only the company from his link sells it. Others show the connector with the wires already installed.
Since, I think/hope, it will take another month for me to finish, there is really no hurry; but, it would be nice to get sooner rather than later.
"Hi Steve. You can order on our website and checkout with Paypal or Credit Card. Generally allow about 3-6 working days for DHL Express Shipping. If you order it within the next couple of hours we should be able to get it on its way today."
From Mike at NZEFI.
Quick, courteous response. Will order tomorrow. Hope this works well because I would like to do business with these guys. Thanks for the referral, Big Koshka
Thank you, Big Guy! Today, I will be making lists of parts & ordering. I will start with aforementioned sensor and plug. Followed by valve cover gaskets & affiliated parts. The welder is supposed to do his thing this week.
As perverse as this may sound even to me, I'm getting satisfaction from seeing if I can do this. Without all of the help from you and others, she would be at the scrap yard. Not quitting yet! More later.
The new plug came yesterday. Does anyone know which spade terminals to order? I've never done this before. Any suggestions re crimping much appreciated. Thanks, Steve S