XJ40 ( XJ81 ) 1986 - 1994

Reflowing solder on my fuseboxes.

Thread Tools
 
Search this Thread
 
  #1  
Old 09-17-2019, 10:01 PM
Brewtech's Avatar
Veteran Member
Thread Starter
Join Date: Aug 2012
Location: LA
Posts: 1,496
Received 623 Likes on 412 Posts
Default Reflowing solder on my fuseboxes.

Hey guys. The time has come to reflow the fuseboxes. I took apart circuit 2 since Ive been experiencing a lot of intermittent issues with it this past summer. The power seats would stop working, blower motors, and the radio were also not present most of the time. So I took apart the cases and immediately noticed an obvious cracked point, then I took my loupe and inspected all of the points, only to see that theyre all developing cracks. So here we go! Im going to solder tonight and install it within a couple of days. Im going on a short trip, so wont have time finish the job tonight. Wish me luck!


Last edited by Brewtech; 09-17-2019 at 10:05 PM.
The following 3 users liked this post by Brewtech:
Don B (09-17-2019), Lawrence (09-17-2019), retroren (09-18-2019)
  #2  
Old 09-17-2019, 10:43 PM
Lawrence's Avatar
Veteran Member
Join Date: Sep 2012
Location: Victoria BC Canada
Posts: 2,610
Received 1,854 Likes on 1,180 Posts
Default

Do all the joints, even the ones that look ok!

Just heat 'em up and poke 'em with some rosin core solder wire - job done!

Larry
 
The following 2 users liked this post by Lawrence:
Brewtech (09-18-2019), Don B (09-17-2019)
  #3  
Old 09-17-2019, 11:07 PM
Join Date: Feb 2014
Location: Crossroads of America
Posts: 19,392
Received 12,739 Likes on 6,380 Posts
Default

Thanks for posting the great photos, Brewtech! They will be helpful to many others in the future. That cracked top solder joint in the last photo is as obvious as any I've ever seen.

Cheers,

Don
 
The following users liked this post:
Brewtech (09-18-2019)
  #4  
Old 09-18-2019, 08:18 AM
retroren's Avatar
Senior Member
Join Date: Sep 2018
Location: Metro Detroit
Posts: 482
Received 243 Likes on 140 Posts
Default

Ditto to everyone's comments. I'm not very adept at electrical issue but your thorough photographic documentation has given me a clear understanding of what to look for if and when I have to re-flow my fuse boxes. Thanks, Ren
 
The following users liked this post:
Brewtech (09-18-2019)
  #5  
Old 09-18-2019, 09:52 AM
Brewtech's Avatar
Veteran Member
Thread Starter
Join Date: Aug 2012
Location: LA
Posts: 1,496
Received 623 Likes on 412 Posts
Default

Great, glad it will help folks in the future. Ill post some more pics soon, and detail how to disassemble the clamshell construction of the box.
 
  #6  
Old 09-19-2019, 10:08 AM
Brewtech's Avatar
Veteran Member
Thread Starter
Join Date: Aug 2012
Location: LA
Posts: 1,496
Received 623 Likes on 412 Posts
Default


Pry the clamshell apart by unclipping the plastic ends with a flathead. I used paper clips to disengage them and keeping them from reengaging


Once unclipped the plastic clasps will clip on to the board. Carefully pry them off one by one.


The front of the box is clipped on via two spades, like a fuse. Just pull it straight off.


You can see the spades that simply slide into the board

A closer look
 
The following 4 users liked this post by Brewtech:
Don B (09-19-2019), Lawrence (09-19-2019), NTL1991 (09-20-2019), retroren (09-29-2019)
  #7  
Old 09-27-2019, 08:54 AM
katar83's Avatar
Senior Member
Join Date: Sep 2012
Location: Cambs
Posts: 545
Received 465 Likes on 267 Posts
Default

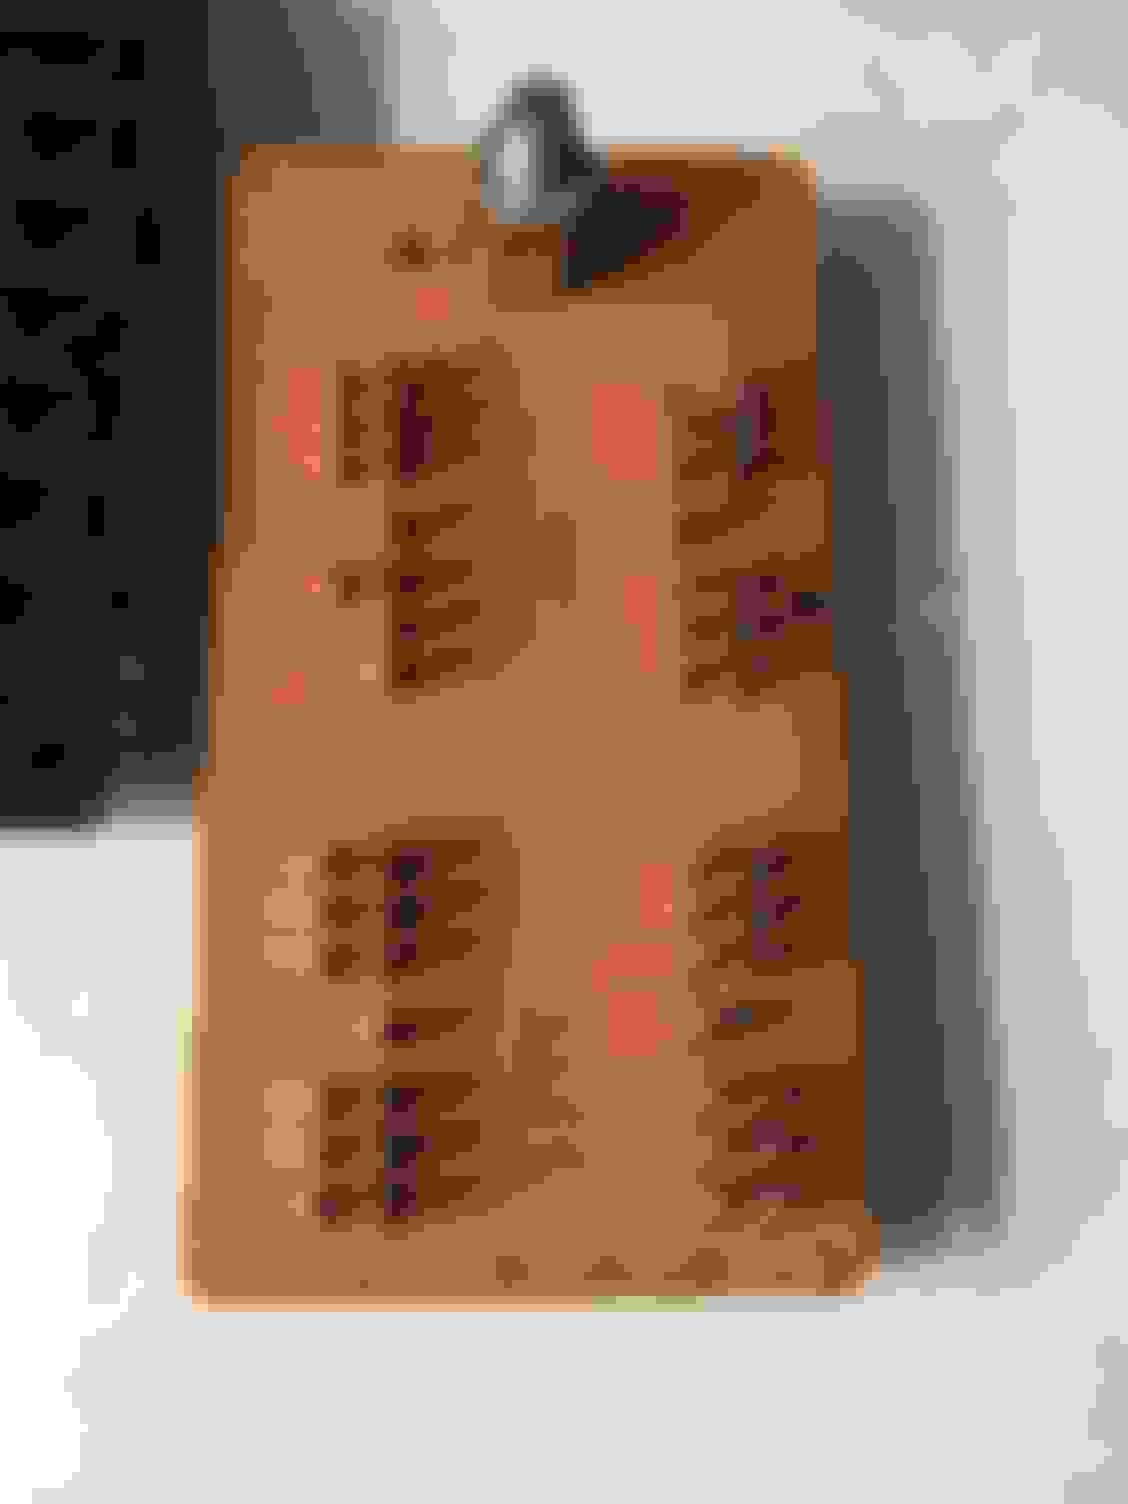
Fusebox needs to be split open to repair it properly, otherwise you might be left with this:


Its the main ground(or was it power?) point with the big nut, only accessible from inside. You will need to cut the sides and solder them back again later.


Sorry for the small pics, cant find bigger ones right now.

You'll also need a 100W soldering iron to resolder this. Any less than that and you'll struggle badly and you definitely wont be able to reflow solder on this big ground point.

Plenty of other cracked solder joints inside too of course, think there were 5 o 6 when I did mine but that main power point was the biggest issue.
 

Last edited by katar83; 09-27-2019 at 08:56 AM.
The following 3 users liked this post by katar83:
Don B (09-27-2019), Lawrence (09-27-2019), retroren (09-29-2019)
  #8  
Old 09-27-2019, 11:49 AM
Lawrence's Avatar
Veteran Member
Join Date: Sep 2012
Location: Victoria BC Canada
Posts: 2,610
Received 1,854 Likes on 1,180 Posts
Default

Cars that have severe corrosion (cars from the UK or any where in N.America with bad salty winters) will need Katar's solution, however most fuseboxes in reasonably clean condition, (say from West coast or the South), will be OK just reflowing without separating the boards. At least try that first!!

Larry
 
The following 2 users liked this post by Lawrence:
Don B (09-27-2019), retroren (09-29-2019)
  #9  
Old 09-28-2019, 03:38 AM
katar83's Avatar
Senior Member
Join Date: Sep 2012
Location: Cambs
Posts: 545
Received 465 Likes on 267 Posts
Default

It wasn't exactly corrosion at fault in that case Larry as there wasn't any signs of water on this despite the huge extra ventilation hole in the floor when I bought that 40, I'd say that this bolt solder cracked due to years of vibrations and driving with shot top shock absorber bushes

I've repaired at least 10 of these, 3 only last year(these were badly corroded too) and I'd say half of them had cracks on that main point and probably only one or two didn't have a cracked joint in-between layers so although it might be worth trying to fix just the outside it won't necessarily be a full repair and it doesn't really take that much extra time to investigate/split it despite how scary it might look at first

I can highly recommend the old school gun type soldering iron with the copper wire tips for this job as they are only $15 and are always 100W+
Soldering flux is also crucial. Any will do.
 
The following 3 users liked this post by katar83:
Don B (09-28-2019), Lawrence (09-28-2019), retroren (09-29-2019)
  #10  
Old 09-28-2019, 08:21 AM
Brewtech's Avatar
Veteran Member
Thread Starter
Join Date: Aug 2012
Location: LA
Posts: 1,496
Received 623 Likes on 412 Posts
Default

Hey Katar! I was looking into splitting them but it did look as if I would end up destroying it😁. Thanks for the info. How exactly do I go about splitting them? Thanks for the 100w suggestion!
 
  #11  
Old 09-28-2019, 08:37 PM
katar83's Avatar
Senior Member
Join Date: Sep 2012
Location: Cambs
Posts: 545
Received 465 Likes on 267 Posts
Default

Just use small pliers to cut all pins in the middle and then resolder all later on, its very easy, bit flux and some solder where you cut it open and repeat until all done


  #12  
Old 09-29-2019, 07:28 PM
Brewtech's Avatar
Veteran Member
Thread Starter
Join Date: Aug 2012
Location: LA
Posts: 1,496
Received 623 Likes on 412 Posts
Default

Just for clarification purposes, do you mind circling where I should cut?
 
  #13  
Old 10-02-2019, 03:39 AM
katar83's Avatar
Senior Member
Join Date: Sep 2012
Location: Cambs
Posts: 545
Received 465 Likes on 267 Posts
Default


Make sure you do have a proper soldering iron though first, without it, you'll struggle to put it back together and fix any cracks inside.


Doesn't have to be a Weller but you get the idea, like I said these are normally 100W and very useful/cheap
 
The following users liked this post:
Don B (10-02-2019)
  #14  
Old 10-02-2019, 10:17 AM
Brewtech's Avatar
Veteran Member
Thread Starter
Join Date: Aug 2012
Location: LA
Posts: 1,496
Received 623 Likes on 412 Posts
Default

Great work! Thanks mate!
 
  #15  
Old 10-02-2019, 10:30 AM
Join Date: Feb 2014
Location: Crossroads of America
Posts: 19,392
Received 12,739 Likes on 6,380 Posts
Default

Just my two cents: a soldering gun is fine for those pins, but I would not recommend using it on a circuit board. It generates so much heat that it is very easy to damage circuit board traces and sensitive electronic components. A 25W pencil-type soldering iron is better for that type of work. I personally prefer a flat chisel-shaped tip that is about 1/8 inch wide instead of a pencil point tip. My iron is an old Radio Shack model made by Ungar that is unfortunately no longer available, but this is the current Weller version:


The wider tip allows the simultaneous heating of the circuit board pad and component lead so the reflowing is accomplished as quickly as possible, reducing the chances of damaging anything.

Cheers,

Don
 

Last edited by Don B; 10-02-2019 at 10:36 AM.
The following users liked this post:
Lawrence (10-02-2019)
Related Topics
Thread
Thread Starter
Forum
Replies
Last Post
Addicted2boost
XJ XJ8 / XJR ( X308 )
15
03-18-2022 08:04 AM
Uncle Fishbits
F-Type ( X152 )
26
12-03-2018 01:49 PM
geekman
XJ XJ6 / XJ8 / XJR ( X350 & X358 )
6
06-06-2015 07:18 AM
AussieTimmeh
Photography
18
02-13-2013 03:50 PM
H20boy
XK8 / XKR ( X100 )
9
08-04-2009 09:07 AM

Currently Active Users Viewing This Thread: 1 (0 members and 1 guests)


Quick Reply: Reflowing solder on my fuseboxes.


All times are GMT -5. The time now is 01:28 PM.