When you click on links to various merchants on this site and make a purchase, this can result in this site earning a commission. Affiliate programs and affiliations include, but are not limited to, the eBay Partner Network.
Two years ago as part of my chasing my steering shimmy, I fitted a new front subframe - possibly the last one in Europe.
On top of this I fitted new springs as I had ride height differences caused by springs going home. Incidentally, finding new springs to OEM specs is extremely difficult and I think will become increasingly so as time goes by. My advice is to hold on to your factory springs if at all possible.
Anyway, back to camber: When I fitted the new subframe, I placed the camber shims from the old one onto the new one, imagining that this would give me a reasonable approximation. Then of course, the shimmy did not go and I continued the hunt, eventually finding the true cause as explained in my "Dana differential demystified" thread.
That problem having been solved I went back to the entirely more enjoyable task of fiddling about with the alignment settings. What i found was that I had, in fact, the following camber data:
RHS front wheel camber: 1.8 degrees negative (ie the top of the front wheel tilted inwards).
LHS front wheel camber: 1.9 degrees negative. Factory spec is 0 to 0.5 degrees negative.
In cross-section how the camber works on the XJS is as follows: from the INSIDE to the outside the order is:
Top wishbone fulcrum spindle; camber shims; subframe tower, with two 716ths inch bolts through the lot holding it all together.
It therefore follows that EXTRA thickness in the shims = EXTRA negative camber, as the top wishbone fulcrum is pulled INWARDS by the extra shim thickness.
Equally, FEWER camber shims = LESS negative camber, as the wishbone fulcrum is further outwards because the shim pack is thinner.
So nothing for it but to get stuck in to removing the spindles and adjusting the shim thicknesses. The procedure I used is as follows:
raise car and place thick wood blocks under the spring pan
remove road wheel and lower car until the top wishbone bump stops are clear of their stops on the subframe
remove top wishbone balljoint bolts
undo wishbone arm inner fulcrum nuts and remove wishbones
place 11/16th spanner on the nut behind the fulcrum spindle; there is JUST room to get a spanner in there between the wing and the nut
place 5/8ths socket on the bolt head visible on the outer side of the subframe, Undo the two bolts.
remove spindle and camber shims. (note: I removed the spindles from my old subframe two years ago with GREAT difficulty. It took Orangeblossom's one kilowatt rattle gun plus a two foot lever on the nut to get them off. They had been there for 33 years mind, many of them in the UK salt. My belief is that they would have been impossible to remove, subframe in car.)
each spindle bolt had ONE shim, in the form of a steel tube 7.27mm deep and about 5mm wall thickness. These were the OEM shims transferred to the new subframe.
The question now arose, how much to reduce the shim pack by? Trial and error being a pain, I wanted a calculation. I measured the length of the upright between balljoints and that equalled 280mm. I reasoned that if I took a triangle with two sides of 280mm and an included angle of 1.8 degrees, I could calculate the length of the third side. Then I could take a triangle with two 280mm sides and an included angle of 0.5, and recaluate the length of the third side. The difference would be the camber shim reduction. I used the internet cheat site here: CosSinCalc � Triangle Calculator
Anyway, it worked! In fact i removed the entire 7.25mm shim, which the calculation said I should, and buttoned up the car and took it for a drive. Remeasured and the camber is right in spec.
Question you may have: How did I measure the camber. Well had in stock one of these, bought years ago and never used (not this exact model but this type of thing): https://www.ebay.co.uk/itm/LCD-Digit...cAAOSwALBb1ssQ
Then I took a length of extruded aluminium 1 inch square tube and cut it to length to go across the wheel rim just to one side the the hub, top to bottom (the hub bulges out too much to go straight across the wheel centre). The gizmo produced repeated accurate measurements no bother at all!
FYI: the important adjustment rule of thumb here is as follows: each 1mm change in shim thickness gives a 0.2 degree camber change. On the XJS BOTH bolts MUST have the same shim depth. You must NOT adjust castor using the camber shims.
__________________
Greg: XJS V12 1985
Last edited by Greg in France; Sep 5, 2020 at 06:40 AM.
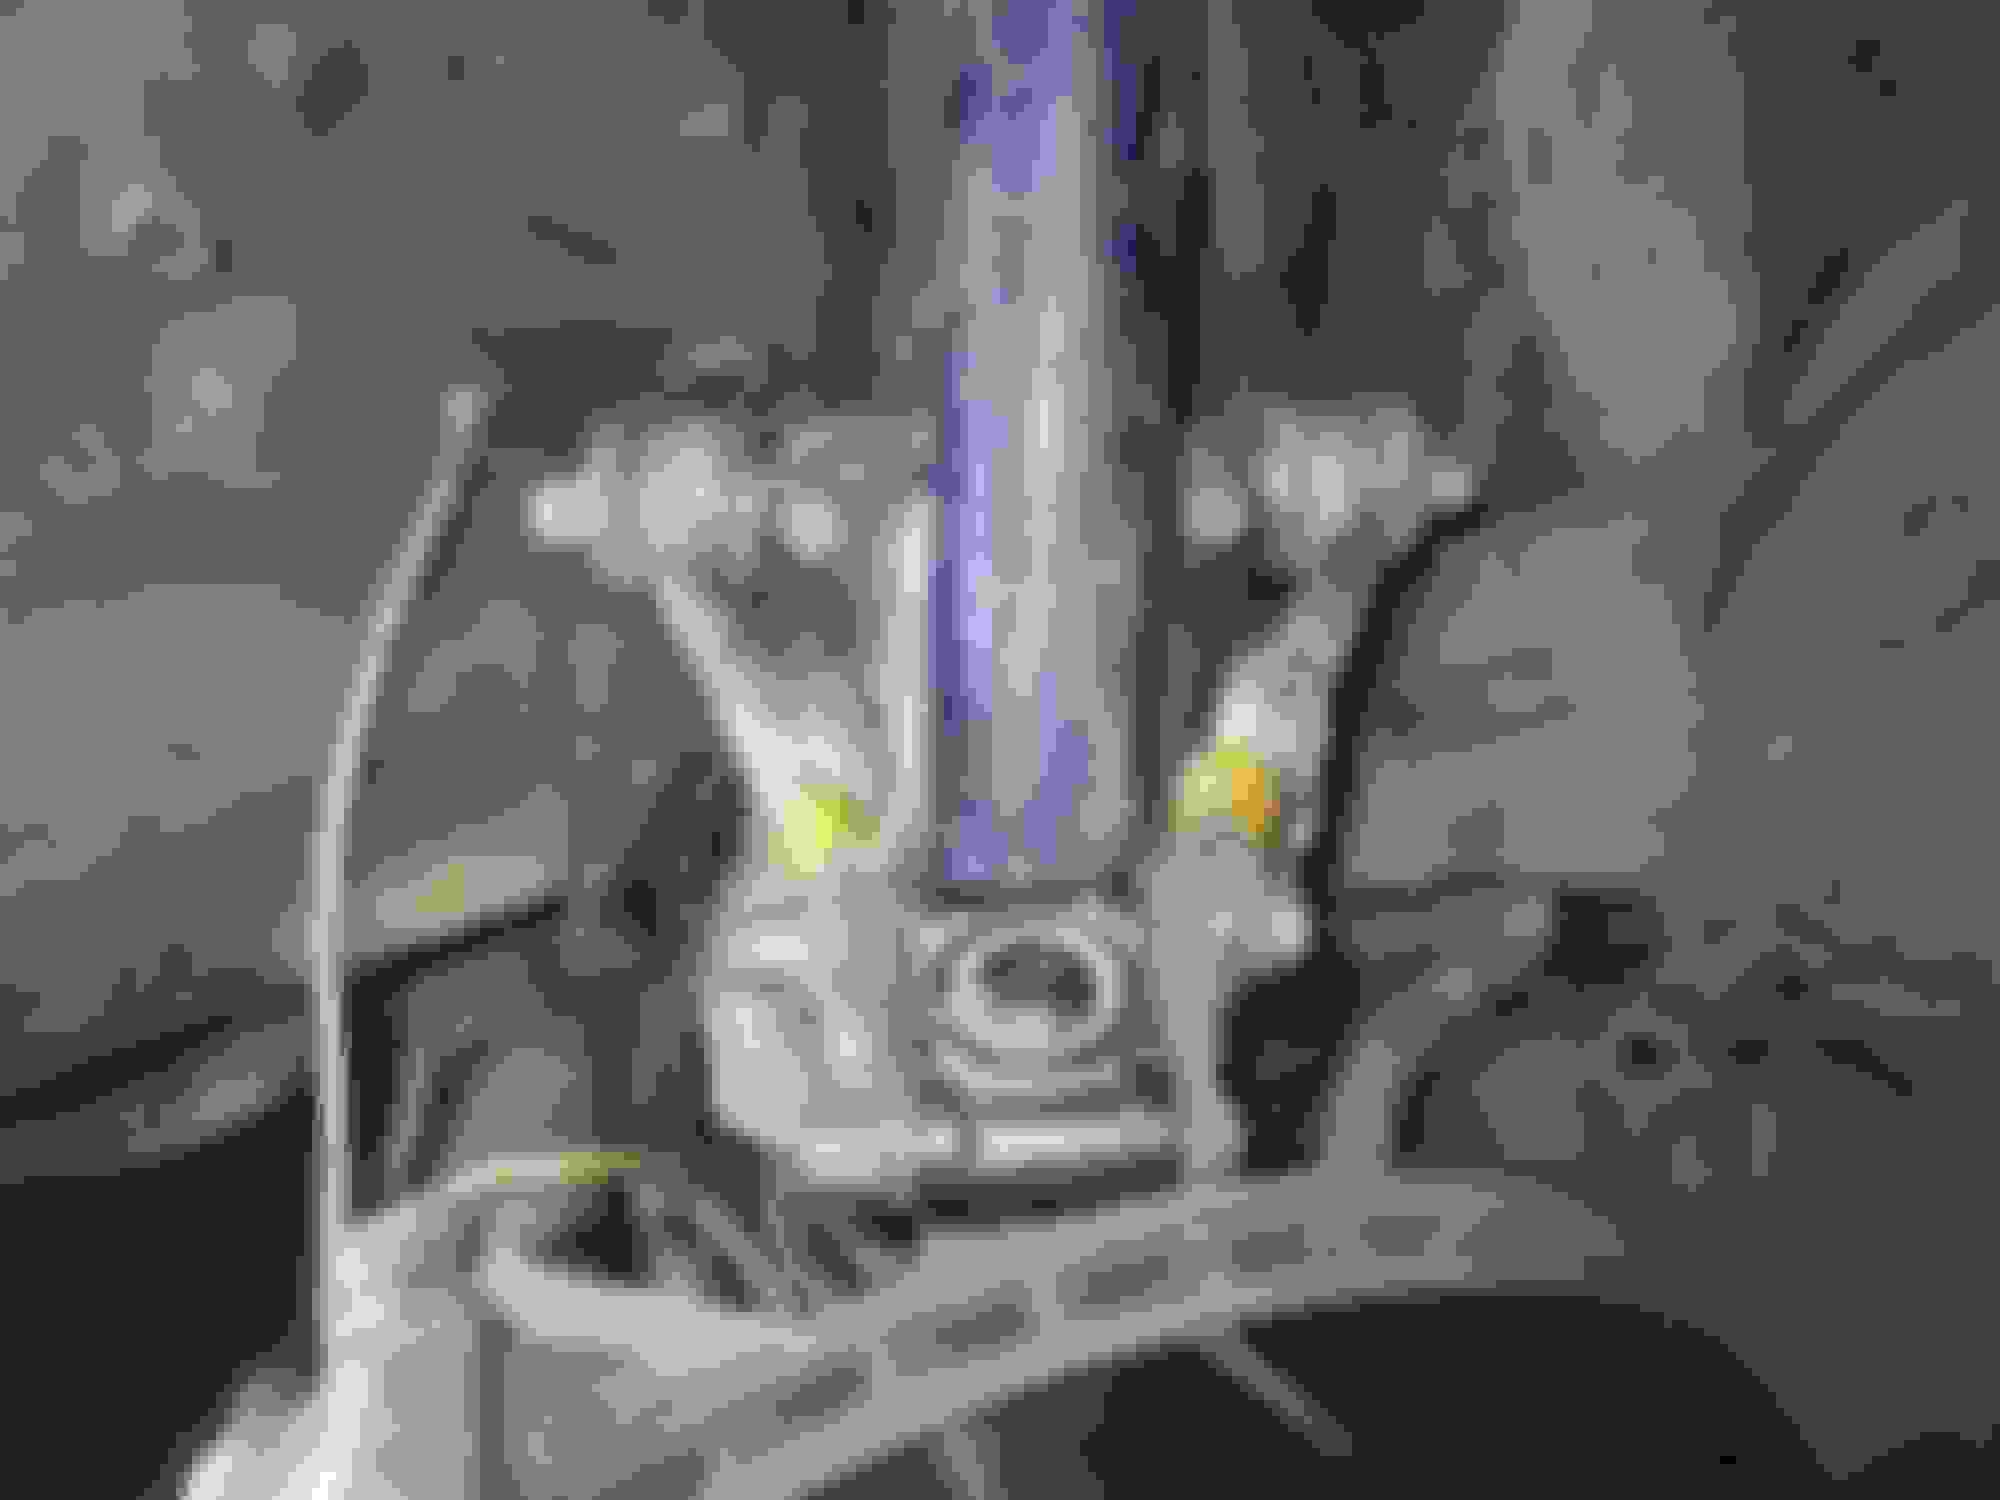
A few pics Camber shims, original on the right Bolt going through the subframe through the spindle, nut on inner end. Note: the cabin end wishbone does not have to be removed to get out the spindle. Forward end easier to get at. 11/16th on nut, ring spanner to hold it against the torque, 5/8ths bolt head. Spindle and wishbone inner fulcrum back on, balljoint about to be mounted on outboard end of the wishbones. All back together Camber gauge kit: square ally tube and electronic angle gizmo System mock up demo on rear wheel, wheels must be on the ground, of course!
Last edited by Greg in France; Sep 8, 2020 at 01:26 AM.