When you click on links to various merchants on this site and make a purchase, this can result in this site earning a commission. Affiliate programs and affiliations include, but are not limited to, the eBay Partner Network.
Looks like the '3227' is correct for even the older models
If you click this link and flip the pages of the catalog you'll see (what I assume to be) earlier and later automatic gearbox mountings (presumably covering both the BW trans and the GM trans?)
So we've had a break this weekend from snow and sub zero temperatures so I decided to work on the jag. It wasn't running last time I worked on it. My Dad rebuilt the alternator for me. Still didn't start or even crank. I didn't have a voltmeter, but I did have a rat in my valley. It chewed the 3 wires for the distributor. I temporarily fixed those to see if that was the culprit, still didn't crank.
getting a little frustrated I thought it could be either another wire or the starter. Turned out with these stupid connectors I had one off from the starter relay. Plugged that back in, charged the battery and it FINALLY fired back up.
I also noticed the tachometer wasn't working. Got out my book and found the white slate and blue wire was not connected to the ballast resistor. They had some weird connection on the end, so I jumped the wire to see if it worked...and it did!
so I will have to reconnect that wire to the connector. Next will be my fuel Guage that doesn't register. Looking through my book it could be maybe the light green with orange, green or brown pink wire I'm hoping. Not sure where to start on this one though. Hopefully it's another connector that's fallen off.
I wired in my heater and lights for the garage. I'll probably start on the emergency brake pads next and the Trans bushing last before it goes in for another safety attempt
Finally getting back on the swing of this project but i've hit a "whole f*ing designed this" stage.
so I got the emergency brake mechanism out, swapped for new pads but now I can't for the life of me get it back in.
I can not align the bolts into the caliper while also getting that fork piece in the two holes. I am doing this on jack stands and my roller, but what a pain to do this. I've spent 3 seperate days and probably 6 hours to try to get these 2 bolts in. I did have them in, but the forks weren't in the little holes.
any tips or should I simply drop the rear end to fix my one stupid emergency pad for safety?
FWIW, I have never been able to do anything with my rear brakes without dropping the cage. Also you can check a lot of other things while it is out, do a thorough grease, etc. Just in case you never want to do the handbrake again, this is how to get a modern-standard handbrake. I got sick of the pads being torn off each time I had to have a roadworthiness test. I realise people might (correctly) diagnose this is XJS barminess to the extreme, but I tell you, having a reliable and powerful handbrake is surprisingly nice!
Well I had my Dad come and help me out today. Still a PITA but we got the rear handbrake on. We did an unconventional route, and removed the cotter pin to get everything in, then slide the pin back in for the adjustment piece afterwards. It does not fully stop the wheel but I think I need to pull the seat out and adjust the tension on the cable and that should be fixed.
We also got the suspension bushing replaced as well. Not a terrible job but still over engineered for a simple transmission mount.
Other than a new battery and adjust the cable I think I should be able to take it in for a safety within a week or two!
You shouldn't have to take the Seat out to adjust the Handbrake Cable, as its just behind the Seat and tucked inside the inner sill where in order to get to it, you have to lift up the Carpet (near the sill) where its hard to believe its there until you've found it
The hardest part could be undoing the 'Lock Nut' and as the adjuster is on a fine thread, you could be there for ever and a day
Thanks orange blossom good to know. I thought it would have been behind the black plastic cover.
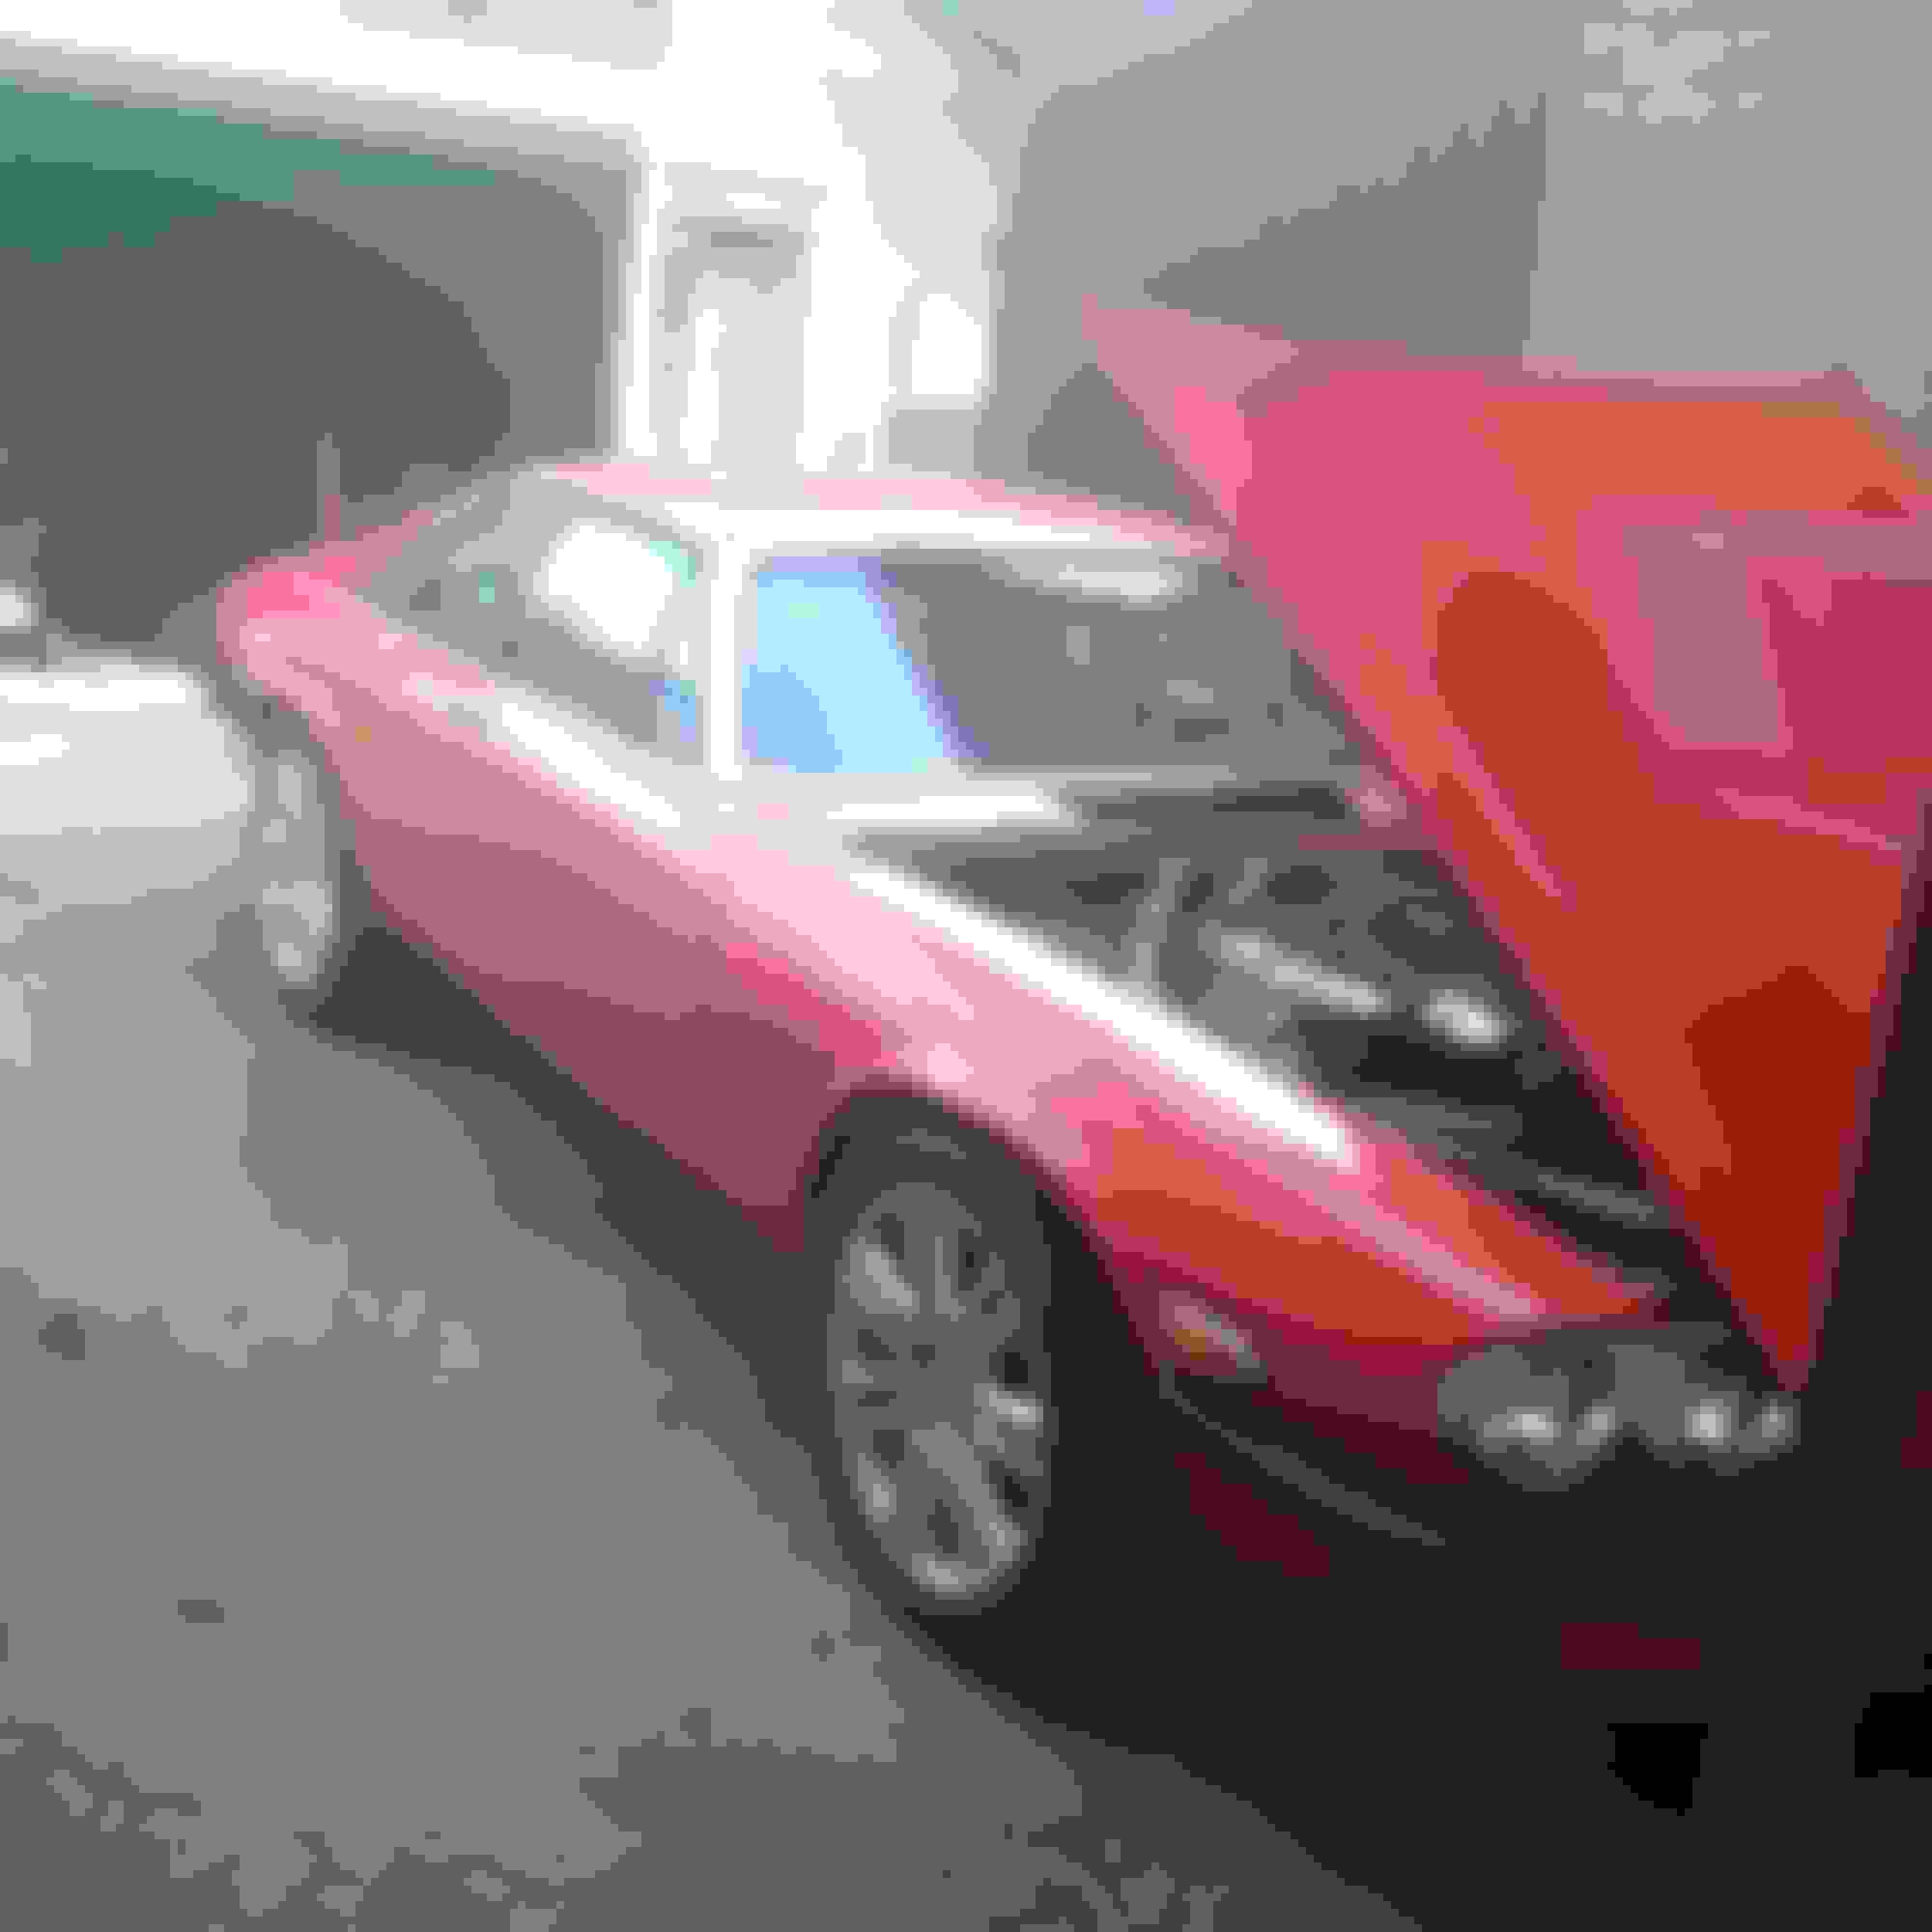
side note, my chrome on the headlights and grille are coming off. It seems like a pretty thick coating. I'm trying to remove it all as it looks terrible currently. I've watched the typical youtube videos to find solutions like oven cleaner or bleach, of which they haven't worked yet. Does anyone have a solution to remove the chrome plating on the plastic? I emailed a chrome place, they said blasting it will most likely ruin the plastic.
anyone know how to remove the chrome on the headlights and grille? Mine are peeling off, looking to strip it down to the plastic so I can refinish them
so I thought I had everything done from my previous safety over a year ago. I took it in and it failed again.
This time I have some small ones like bulbs out and 2 front tires I was skeptical would pass. Now my wipers or fluid doesn't work. I replaced my steering wheel with an aftermarket one, it doesn't somehow tie into the horn does it? I see under the steering wheel there is a "fuse 11"which is windscreen wipers, air conditioner relay and clutch, windscreen washer, horn relay, cooling fan relay which is a 35 amp fuse. I tried it with a different fuse and didn't do anything.
Anyone have some insight to no wipers? I am also having a hard time with the hood full latching. Apparently on the road test it popped open to the safety latch twice. It seems to be sitting higher than the fenders.
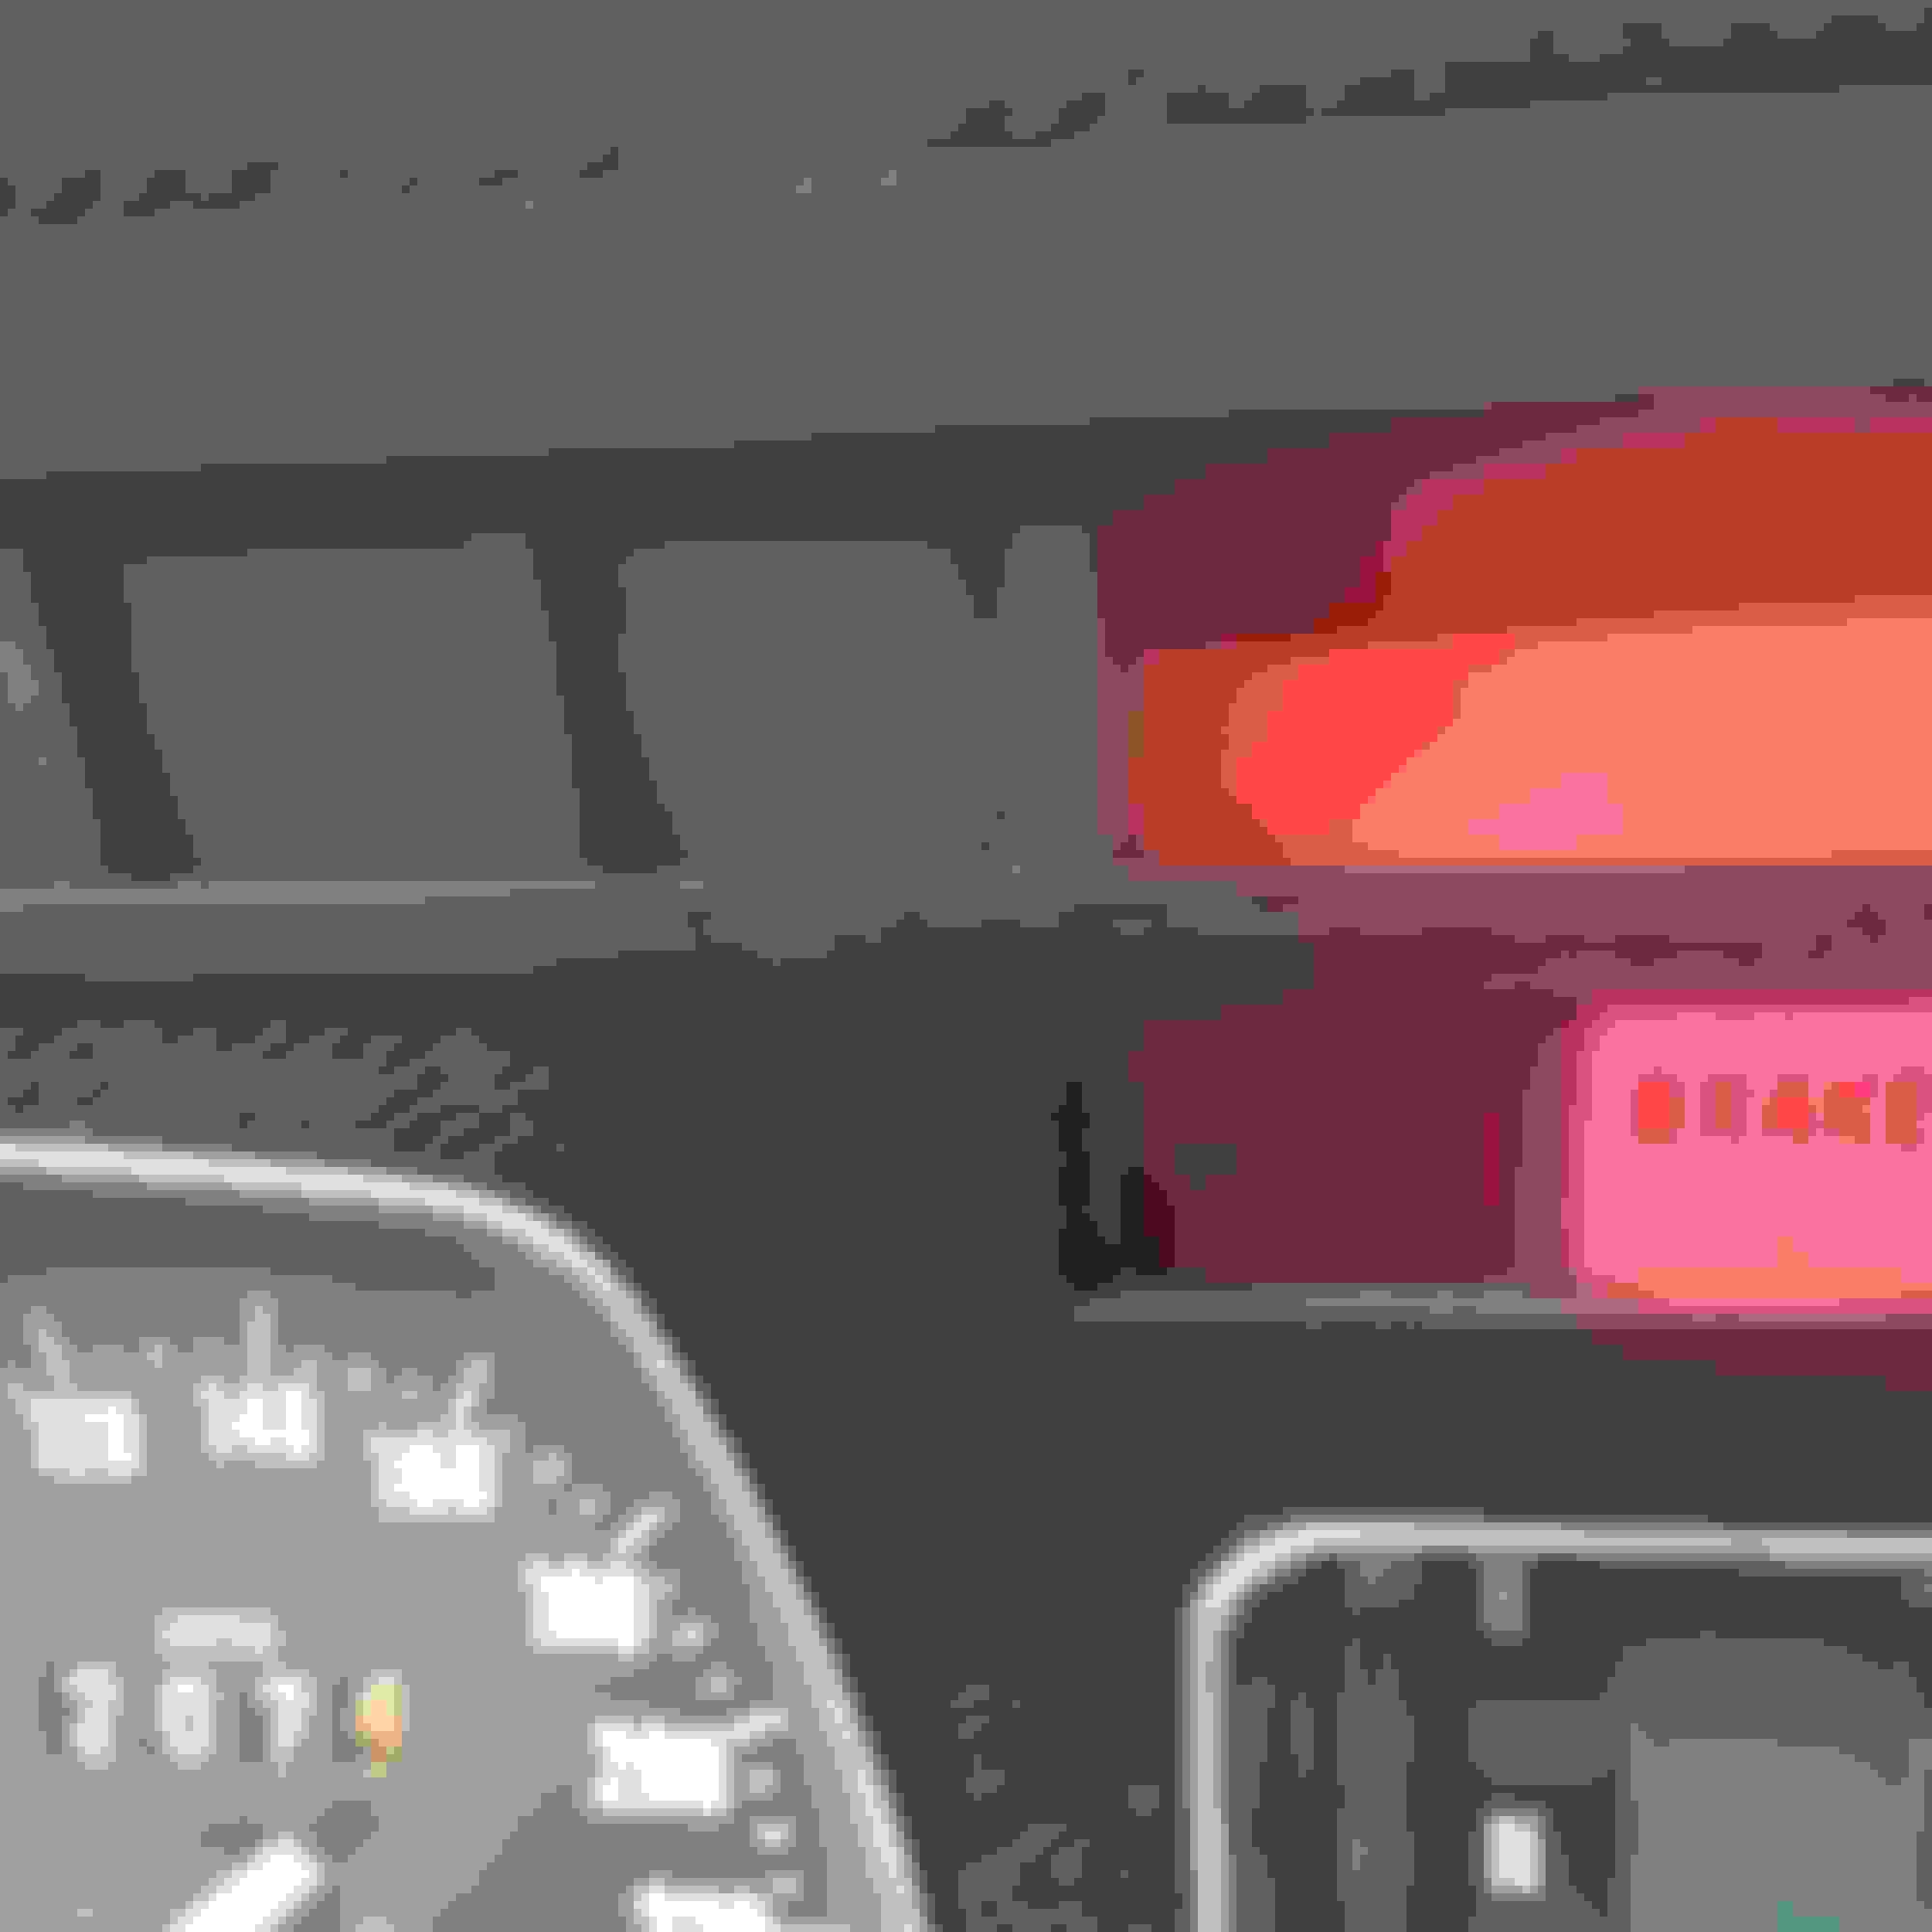
still picking away at the car. I have the brake light on in the dash. My book says its a brake stoplamp switch that can be adjusted on the pedal. I tried adjusting it with no luck. Does anyone else know what could possibly be keeping the light on or a way to bipass it?
That red brake warning light is the low fluid warning light. There is no red warning light to say you are pressing the brake pedal. Look at the reservoir and see if it is low on fluid, or the switch has closed permanently.
That red brake warning light is the low fluid warning light. There is no red warning light to say you are pressing the brake pedal. Look at the reservoir and see if it is low on fluid, or the switch has closed permanently.
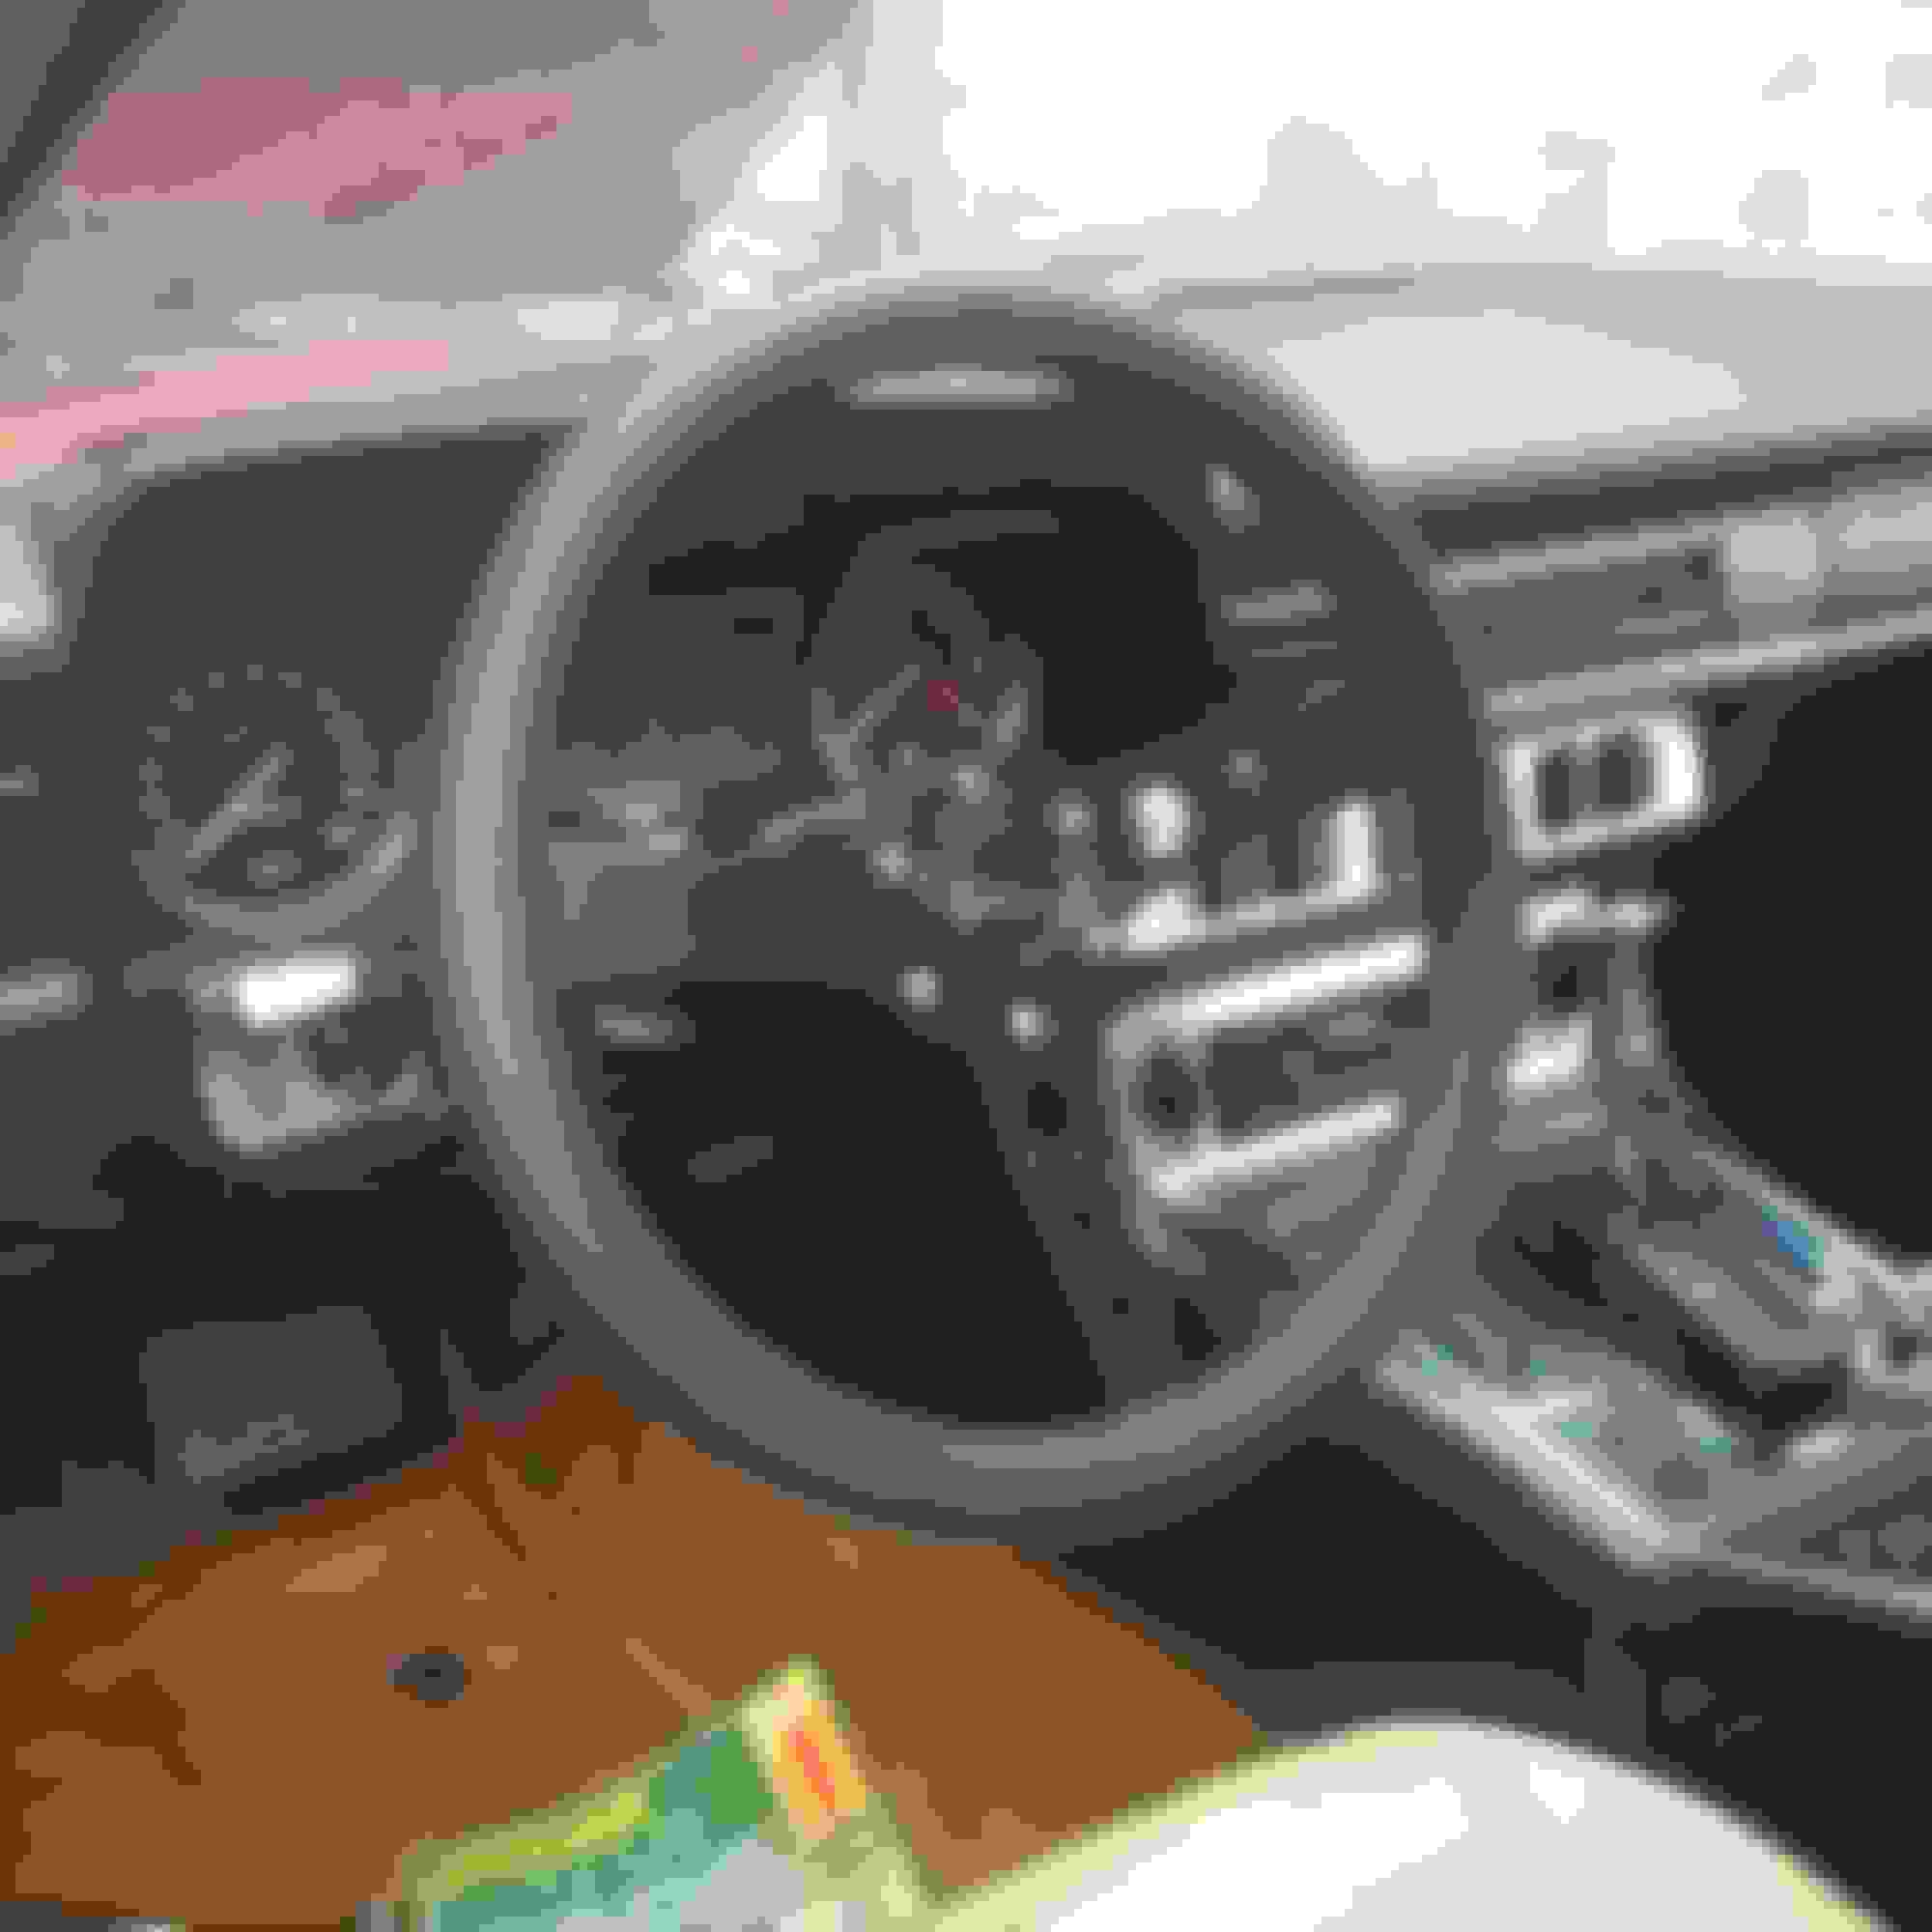
tried to go back at it today. I still can't figure out the tachometer and the brake light being on in the dash.
The brake reservoir is full, so maybe it is the wiring that is an issue, or the float inside is possibly sticking? The handbrake...switch I suppose it is is broken so the wires going to it have no place to go.
Tach is still not working, although it did work for a little bit. Is there a way to bipass and run a new wire for testing it to the tach? I pulled the cluster out, and thinking now I'm sure it needed a ground, but I ran a wire from the negative terminal of the capasitor? I think to the tach with no luck. I don't have my jag book at my house currently so I was just guessing. Any way I can try to resolve the tach issue? I have seen one person say the amplifier is what was wrong with their issue. If I bypass it do I need a resistor or capasitor to run it straight to the cluster?