When you click on links to various merchants on this site and make a purchase, this can result in this site earning a commission. Affiliate programs and affiliations include, but are not limited to, the eBay Partner Network.
Yes, it does. I am guessing that the slightly wider barrel under the hex ensures that the bolt is a very tight solid fit into the output flange. Therefore, reversing the bolt would not work as intended by the factory. I would see if you can grind a hair off something to wiggle that bolt in as intended. Even shaving a hex point off a touch would be OK.
Yes, it does. I am guessing that the slightly wider barrel under the hex ensures that the bolt is a very tight solid fit into the output flange. Therefore, reversing the bolt would not work as intended by the factory. I would see if you can grind a hair off something to wiggle that bolt in as intended. Even shaving a hex point off a touch would be OK.
my local guy is taking a look to see if he has one before I drop 50 bucks to get one lol.
On a good not I was looking at the calipers. The oil/grease that covered them must have helped with the rust because they ain't that bad. I'm gonna order new pistons and the repair kit.
Also gonna grab some speed blenders for the rears. Is therIs decent one. I'll google some but need to know the thread type. I think its 10 something lol.
Last edited by Rescue119; Apr 27, 2020 at 09:28 AM.
3/8 x 24 UNF is the rear thread size
M10 x 1 is the front.
looking good.
Thanks
It's coming. I'm at a point now where I'm cleaning and waiting for stuff to slowly come in.
Rumor is I'll be back to work early May so if I can get the rear end in by then would be great.
I did give the rear calipers a nice first cleaning today.
picked up lumber to build two garden boxes for the misses today so that will be my tomorrow project.
Also ordered some hardware from SNG B today..from the UK warehouse as it was cheaper than the US one and shipping is the same time. So we'll see how that goes.
Might be a little slow with updates but I'll try once a day.
Only think I'm gonna paint is the cage frame/plate and the trail arms to make it look cleaner from the outside lol.
Now that I've dropped the cage once I'm learning from my mistakes and I'm sure I'll drop it again because I want to put in a 3.* diff.
I need to start trying to get the car ready for a safety first. No sense really refreshing everything until I can get it road legal.
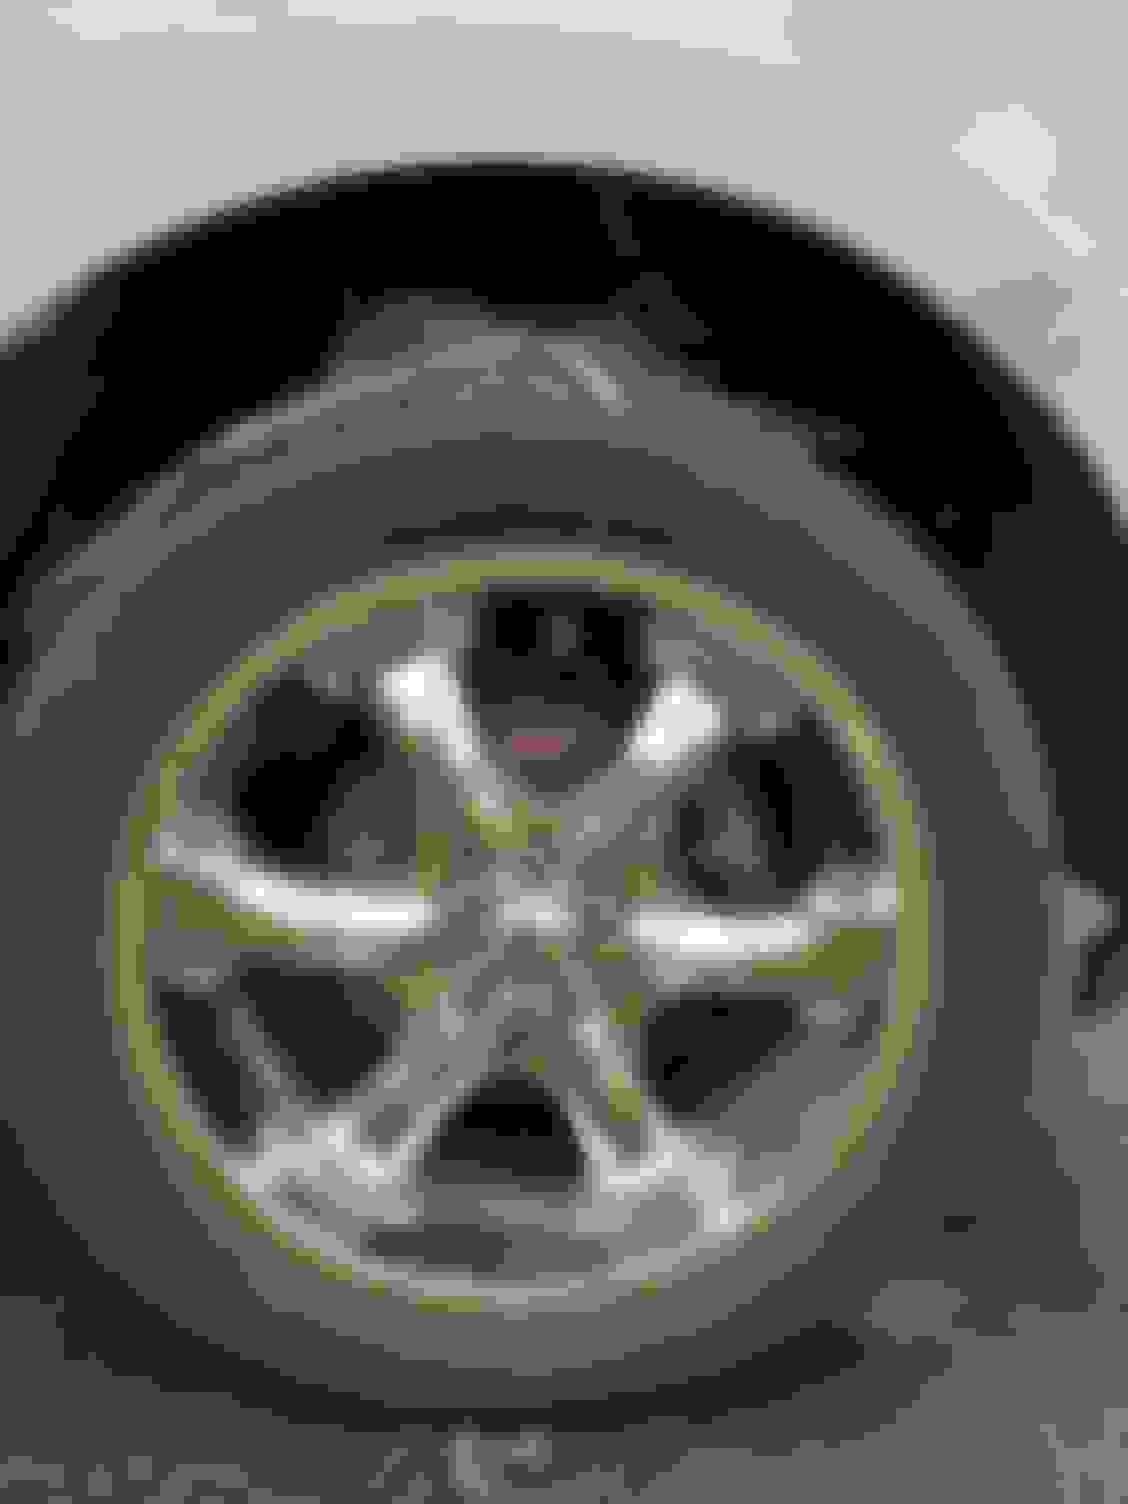
so after cage goes back in I'm changing the transmission filter (should be fun), then I'll see what else I need for safety. I know I'll need 4 new tires as well. But all the lights work. Engine runs ok lol. Dont need emissions so I just need to hide some leaks as if it's a high rated leak it wont pass safety. A small leak it will pass.
Duke
A nice videao, just one warning to anyone who follows it: as far as I can see that video has missed out one very important step, namely the measurement and installation of the inner bearing shim that ensures the bearings are tight to the specified preload/endfloat. The shim I mean is this phosphor-bronze one in this snap:
Im not taking the hub off unless theres a serious issue and I won't know until.i drive it lol.
As for the spring removal we use to set the shock on a curb to use the car weight to compress it then smack it with a hammer lol. Young and dumb but it worked.
Now I just take it to a shop that has a wall mounted spring compressor where they can remove the springs super quickly and re add them.
Last edited by Rescue119; Apr 28, 2020 at 06:50 AM.
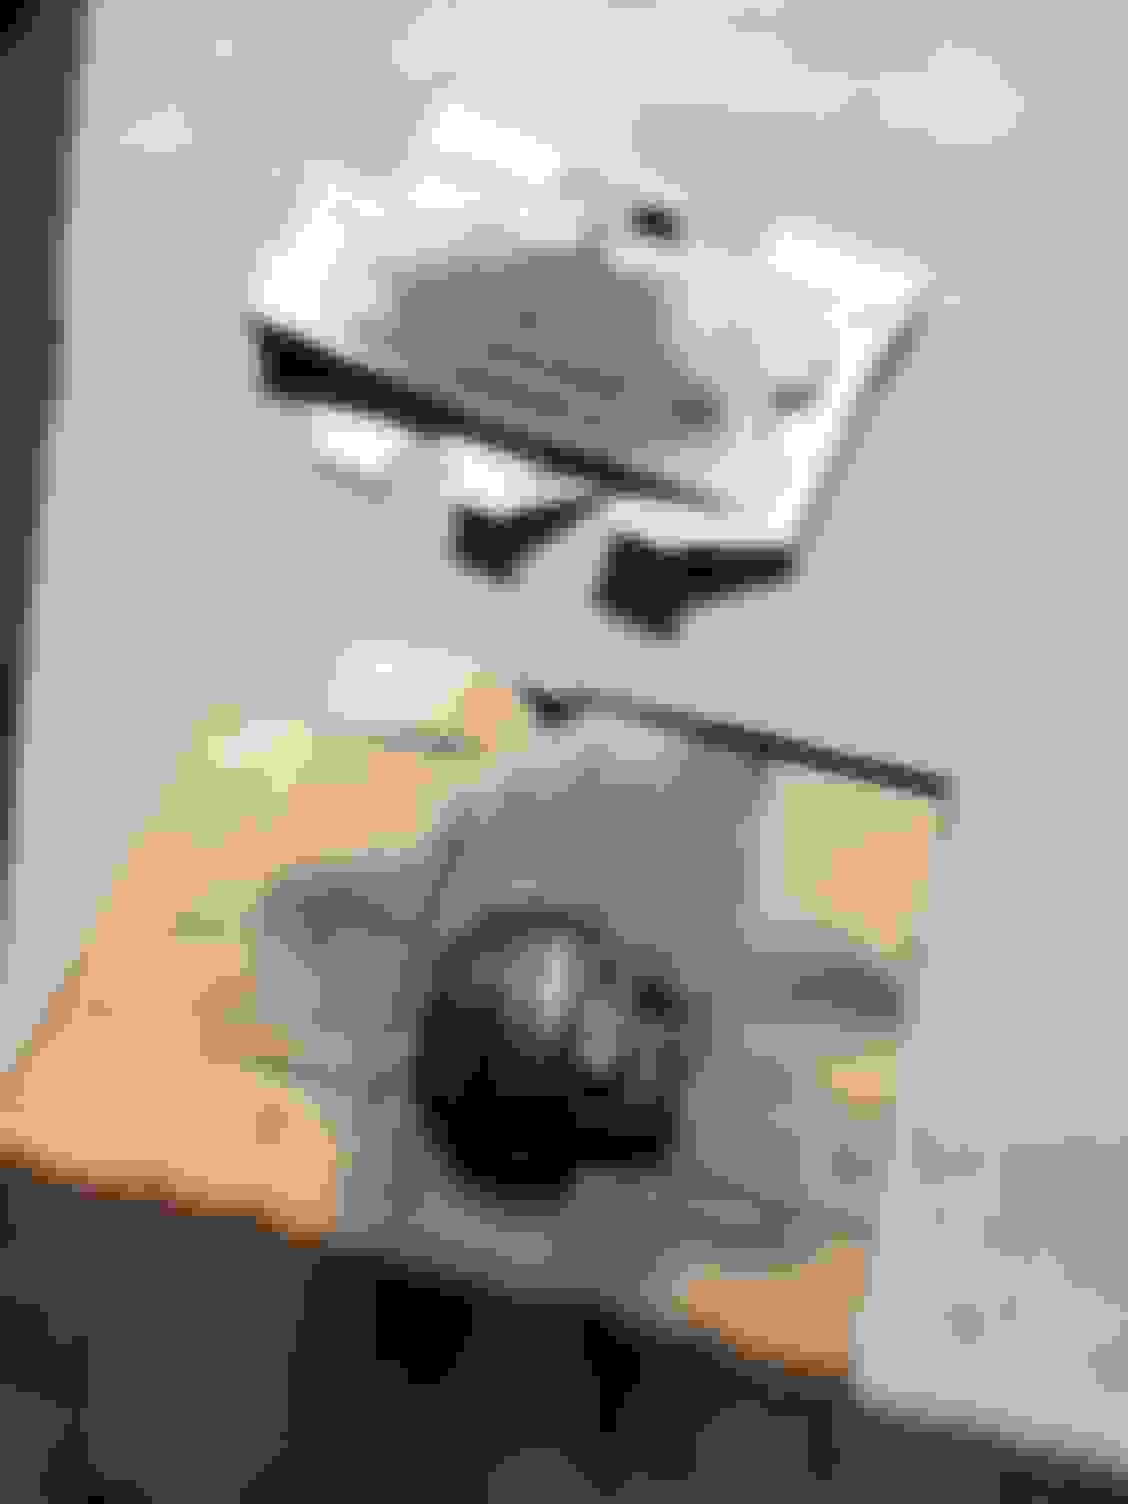
Also noticed this. All from the front of the transmission pan. Good thing I'll be replacing the filter and gasket after the cage. I guess it doesn't like being jacked up 2 feet in rear lol.
Got the cage frame, diff cover all cleaned up today. Didn't get any pics though. Tomorrow I plan on painting the diff cover and the bolt heads. Nothing fancy. Just a nice grey.
Once that's done I can put the diff cover back on in a few days once the paint cures a bit. Then I'm gonna remove the bushings from the radius arms and get those cleaned up a little more then repaint those and the cage cover (black)
The one bolt I need to start putting everything back together is 2 weeks away. Im expect an order Wednesday from rockauto so then i'll rebuild the calipers and just keep cleaning stuff.
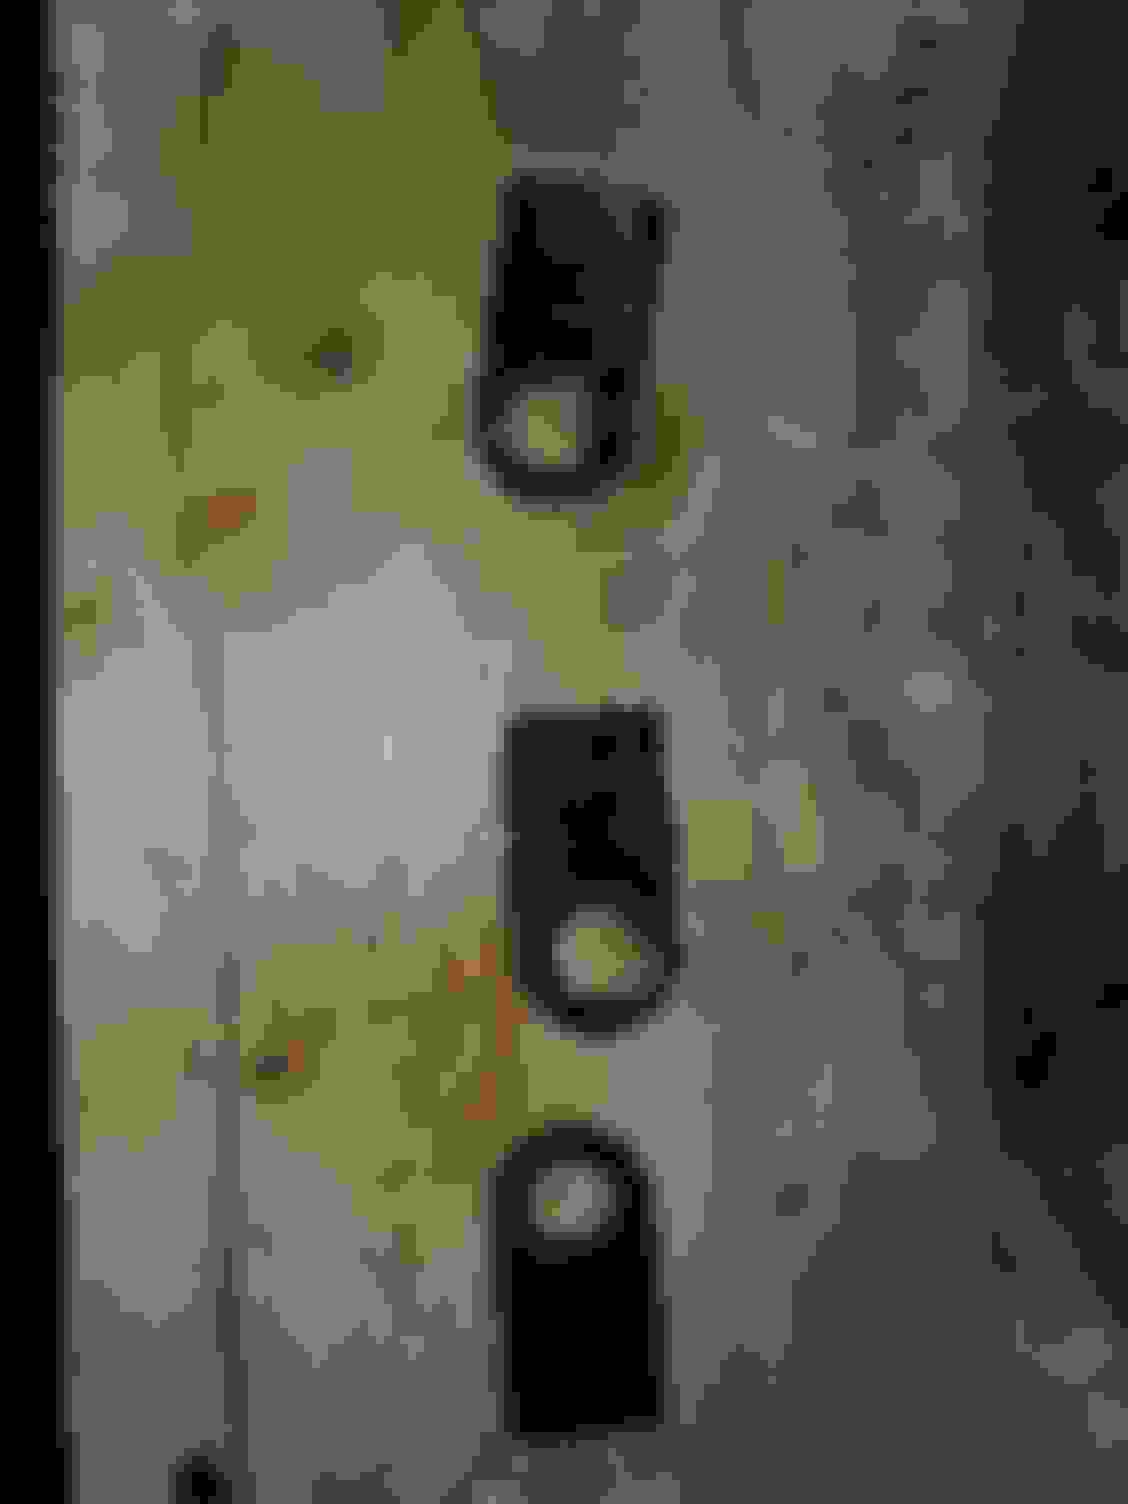
I do have a question, those metal tags that were on the diff cover bolts, do they have to go back on? Or can I leave them off? Whats their purpose?
[QUOTE=Rescue119;2226951I do have a question, those metal tags that were on the diff cover bolts, do they have to go back on? Or can I leave them off? Whats their purpose?
Cheers[/QUOTE]
You have noooooooo idea how much I envy y'all good folks who have garage and an ability to leave things in mid state. Most everytime I work on things I have to have it back "together" by the end O the day. Doing my rear axle was a crazy affair. Anyways,,,,
Mine had tags that supplied some information about the type and history of the axle. Can you make out any of the numerals on the tags? They tell a story.
I do have a question, those metal tags that were on the diff cover bolts, do they have to go back on? Or can I leave them off? Whats their purpose? Cheers
If you have them, the small metal tags that are about an inch long and 1/2 inch wide and go under a single bolt are identifying ones. Or of them will have two sets of numbers on it (eg 47: 15 sort of thing) or have a ratio number, eg: 2.88. This identifies the crownwheel to pinion ratio, ie the differential ratio. Forgotten what the other ones is.
The green oblong tab is just a Jaguar ID tag. Nice to keep it, I feel.
Last edited by Greg in France; May 3, 2020 at 02:20 AM.
If you look at Jaguar parts catalogs they often show a part number with an "R" suffix. These were the remanufactured parts.
My first Jag, an XJ6, had a similar tag on the engine. From memory it was stamped with a part number and a serial number, a Jaguar logo, and some wording such as "exchange unit" or "remanufactured" or some such
The "PL" tag means Powr Lok, i.e. limited slip. It's a trademark, thus the odd spelling. The 2.88 tag indicated the axle ratio. I suspect the other tag is the Jaguar part number.
For putting the diff cover on I like Loctite flange sealer #515 or 518 much better than silicone. It's basically a zero clearance product, so doesn't take up space like silicone does. It cures in the presence of metals and absence of air, so it basically sets up in a couple of min after assembly. I use the flange sealer is almost all metal to metal joints now.
I figured as much as that for the tags.
I'm using permatex the right stuff gasket maker. Its good stuff.