When you click on links to various merchants on this site and make a purchase, this can result in this site earning a commission. Affiliate programs and affiliations include, but are not limited to, the eBay Partner Network.
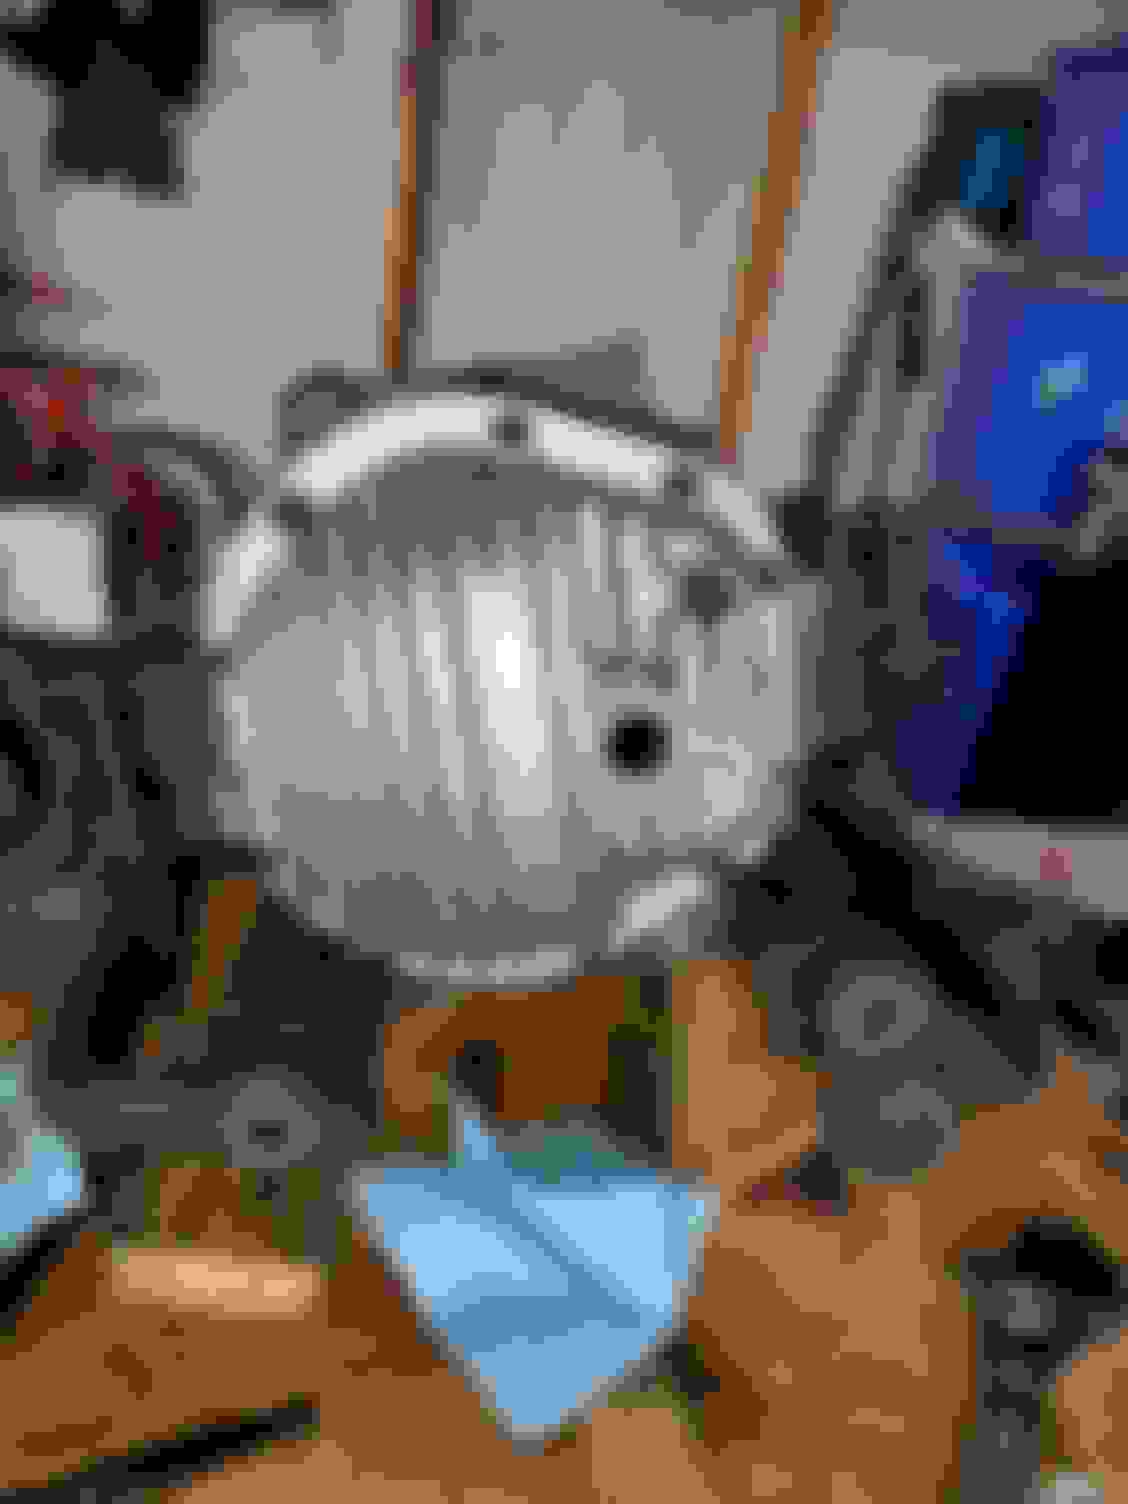
Got the aluminum color engine paint on the diff cover today. Looks very nice.
I might do the calipers the same color.
I also tried to burn out the bushings of the radius arm but it was too windy today and my small torch kept blowing out lol
Tomorrow i got 7 yards of soil coming plus I got to go to work in the morning so I don't expect to do any jag related stuff tomorrow.
Don't bother trying to burn out the radius arm bushing, it makes a mess and there is a steel ring that needs to come out anyway. Either press it out, or use a cold chisel to partially collapse the outer ring and then it can come out.
Note that the bushings ( I assume we are talking about the large end?) only comes out one way, there is a lip that is part of the arm that the bushing seats against. When reinstalling them, put the bushing with the holes at the left and right sides, not front and back, it makes the joint stiffer. You'll need a press to install the new bushings. I got one on sale at Canadian Tire and it's very handy to have.
Yes it does make a mess. And it wasn't successful. I'll look at a cold chisel...or would an air chisel work too?
I know about the lips saw it in a video....also about the bushings turned 90degrees. They did that on the sport packs. Im also putting a poly bushing in the smaller one as recommended.
Yes, air chisel would probably work too, Just be careful not to damage the arm itself. You could use a die grinder with a cutoff wheel to cut a slit in the inner ring too, then it would come out easily.
Whenever I have to remove a long sitting pressed in bushing, before I chisel, I make 2 or 3 cuts in the bushing sleeve after drilling a ton of holes with a large drill bit in the rubber surround. The bushing easily caves and comes right out.
I did cut the inner ring but that rubbers holding on like a ****.
To confirm the side with the lip for the bug bearing is the side that has that extra bracket on it to hold the abs cable right? You can tell one side of the outer is thicker than the other. The thicker side has the lip right?
Yes, air chisel would probably work too, Just be careful not to damage the arm itself. You could use a die grinder with a cutoff wheel to cut a slit in the inner ring too, then it would come out easily.
What size dies did you use? There's a press at work but no one thats there has used it so they're not sure what dies are available.
Years ago I had a machine shop build machinery parts for me, and they let me rummage through their offcuts bin and I found pieces of pipe that were just right. They did lots of oil and gas work, so it was probably pieces of wellbore casing. I just looked until I found a piece big enough to support that arm, and one small enough to fit through the lip opening and it actually presses on the rubber, but the bond was strong enough to take the steel ring with it. The rubber stretched a whole bunch, but eventually it moved the steel ring out.
Pretty much any piece of metal the right sizes will work, doesn't have to be fancy.
I also read to let the bushing sit in some gas for a few days and it breaks down the rubber
If you take a drill, with a large bit, and unscientifically start punching a ton of holes in the rubber,,, then, use a hacksaw blade - string it thru one of the many holes you have made, it will take 5min tops to carefully cut thru the the steel bushing ring that comes up against the trailing arm frame. Be careful not to cut PAST the bushing ring and into the trailing arm, is all. I usually make my cut at the MEATIEST part of what the bushing is inserted into. Easy. Make 2 or 3 cuts.
The 1mm (x2 or 3) difference that the hacksaw blade CUT makes in the bushing frame alone makes a huge difference in its over all diameter and how it fits into the arm. It becomes easy to push out. Specially if you then take a small screwdriver, chisel or wedge to partially collapse the bushing, further.
Well I took one of the arms to work and checked out the press. Man its got to be from the 50s. No one knew how to use it but I figured it out. I got the large bushing out except for the outer ring. I didn't attempt the smaller one as I couldn't get it to sit in the press safely and properly.
So ill cut out carefully the ring and same with the other arm.
then when I get all my bushings in i will take it to a shop and they can pop out the small ones and put in all 4 new ones.
Also my bolt i needed is getting sent from the UK today so hopefully i can start reassembly late next week.
I think those are 5/16" bolts, if so torque spec is 14 ft lbs
Everywhere I read was 21 to 28 ft lbs for diff case bolts. so I went with 25 ft lbs. Which was the lowest number on my 3/8 torque wrench. Definitely not as much force as I used to break them off lol
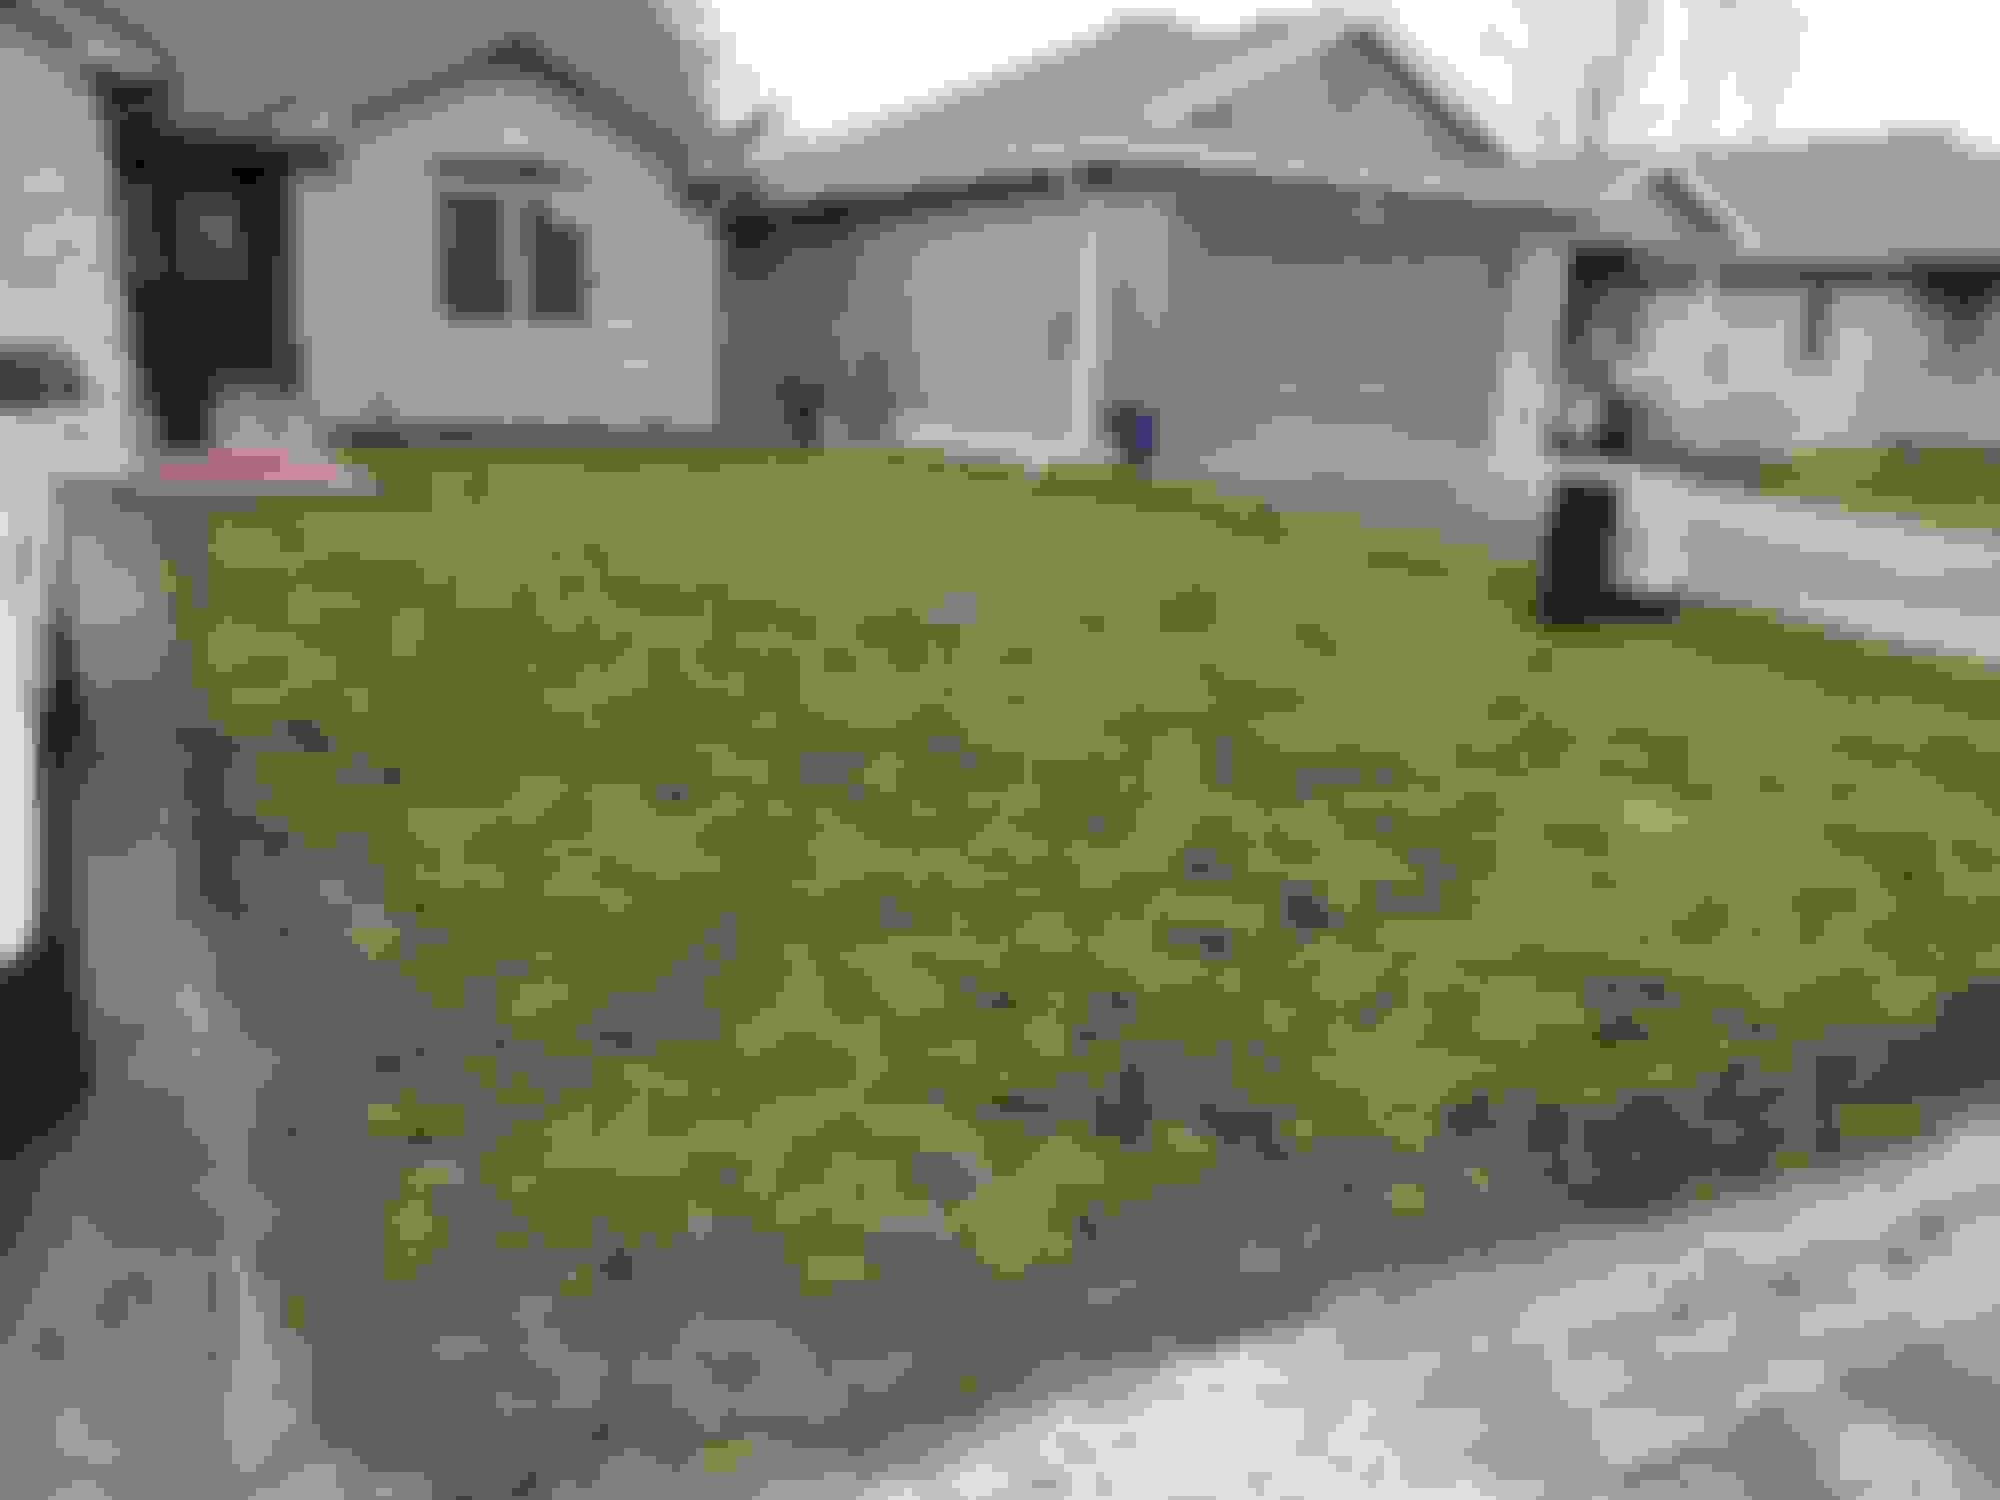
Daily update. No work on the Jag today. Instead I decided to weed, cut, add soil, seed, and then water my front lawn. Its was never taken care of by the previous owner as he was mil to and deployed all the time. And usually I'm deployed this time of year so don't get to do any spring yard stuff. Well not this year. Hopefully I can get the grass to come back.
Thanks. Got the 2nd one done. I think it was a remag one because the pistons etc showed barely any wear or rust and the caliper itself is in good shape.
Oh well.
Also now own a pair of channel locks i bought today. I wonder what tool will be next lol.