When you click on links to various merchants on this site and make a purchase, this can result in this site earning a commission. Affiliate programs and affiliations include, but are not limited to, the eBay Partner Network.
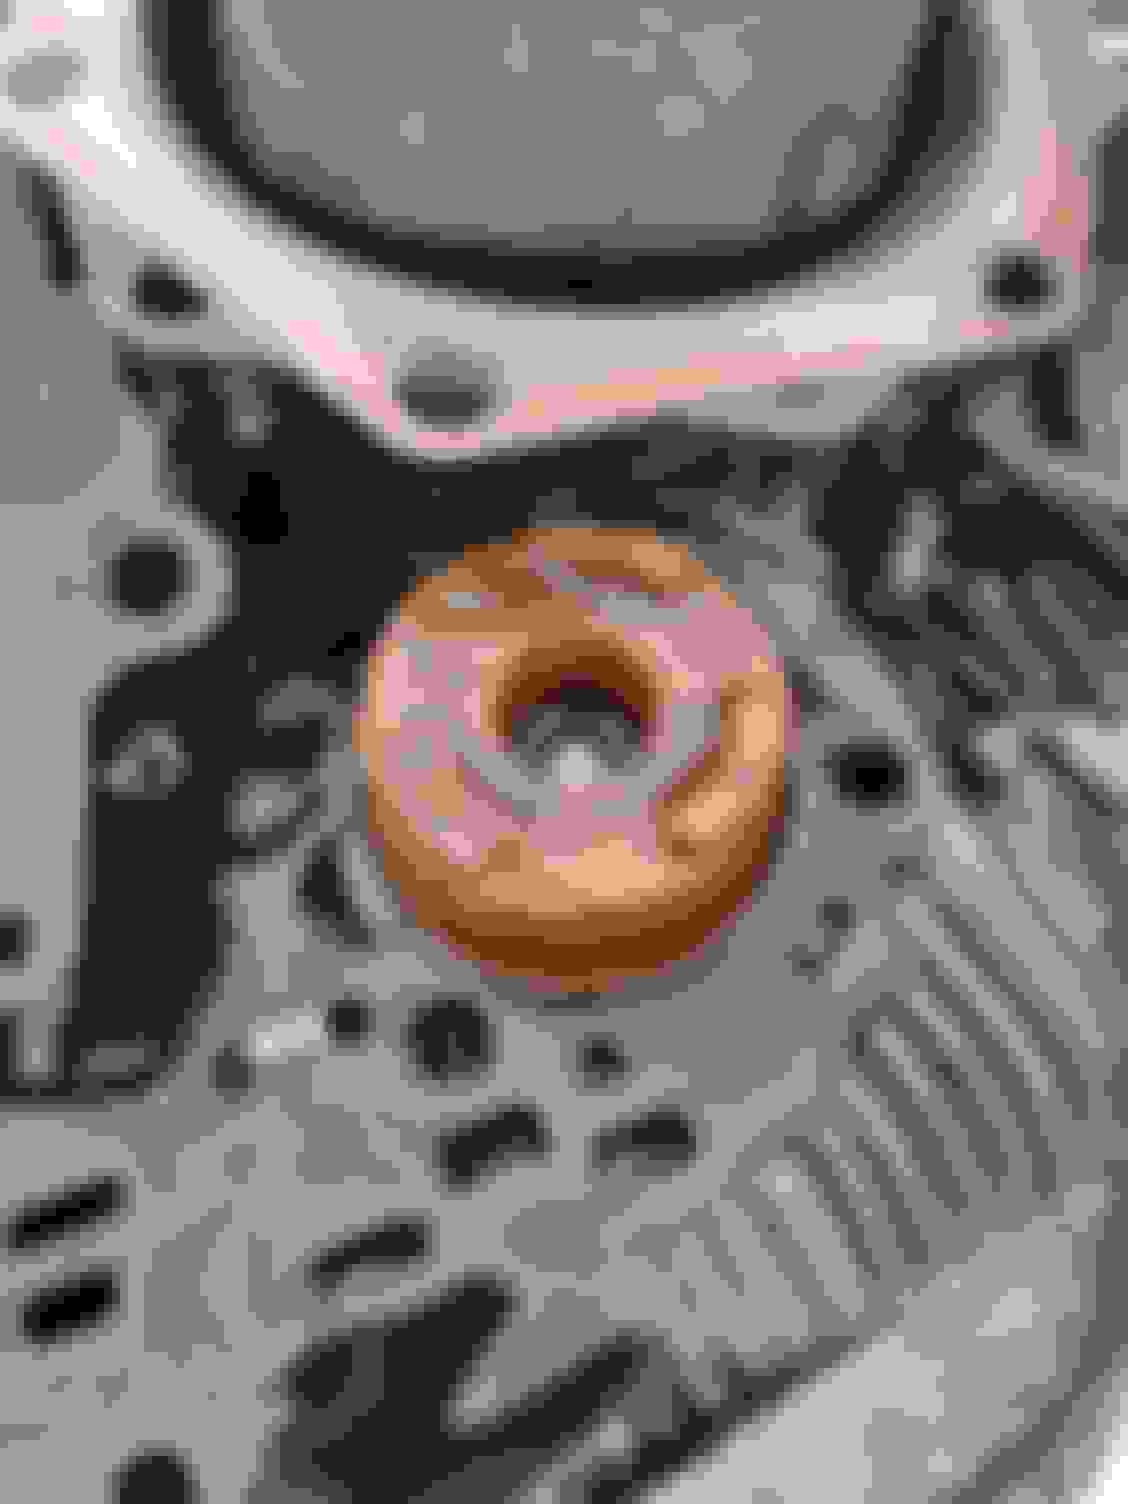
Started disassembly this morning and things just get better and better. The filter somehow had the wrong bolt and was just flopping around in there. Every gasket surface shows signs of scoring. I'd wager they scraped off the old gasket with a chainsaw. The valvebody was definitely not torqued to spec as half the bolts were finger tight. And then there's this(picture below). Basically the only positive thing I found was that the governor and speedometer plastic gears are not in bad shape at all.
That was pretty well the plan the moment I had to take it apart. I've already got a rebuild kit and I'll be doing some minor modifications - nothing too crazy since I am not building this for racing. I was really hoping to not have random broken stuff so I am hoping that accumulator is not a sign of things to come. This project could be sitting for awhile if a bunch of hard parts need replacing. Can't find my slide hammer right now so pulling the pump will have to wait til later. I am hoping to at least get the case empty today for pressure washing and paint.
You can feel it with a fingernail it's toast - check for flatness too - looks bad though I don't envy you - seems like par for the course with XJS projects, the straightforward rarely is.
It feels like years lol but things are finally coming together, transmissions in the car waiting on a few last minute hook ups, the rear end is almost reassembled and ready to go back in, I am hoping by tomorrow evening the old girl will be back on her own feet again. I upgraded the pan to the moroso deep pan and I am curious to know how much fluid im probably going to need. I did not get a new torque converter, but I did blow out the cooler, not sure how much the cooler holds but figured I'd mention it.
Everything is back together, and the last thing on my list was to replace the fan because the old one was cracked and I wasnt just going to wait until it decided to fly apart before doing away with it. Got the old one out, new metal blades installed on the clutch, and was just 4 delightful nuts away from being done and ready for the cars maiden voyage. Its the wrong fan. There is a pulley of some kind almost immediately below where the fan mounts and the blades hit that. I will take a picture tomorrow. A maddening way to end a days work.
Thank you for the part number, the one I have is EBC4553T - I assumed the addition of the T at the end was just because it was metal instead of plastic.
I suspect the "T" has been added on by Terry's to indicate that it's one of their own manufacture rather than a Jaguar part. A lot of independent part sellers put extra characters on the end of Jaguar parts numbers, such as * or # to indicate OEM, aftermarket or their own parts. The official Jaguar part number is just EBC4553.
I just wanted to thank everyone for all the help during this project. It turned out to be quite the undertaking between the transmission and the rear suspension stuffs, and I couldn't have done it without you guys. It is finally done though - all but for some welding i need to do on the final mufflers. I am super excited to say that for the first time since I have owned this car it goes in reverse. Getting all this back together is a huge victory, and while its going to be a long hard road returning this car to its former glory, this step was a giant one.
I just wanted to thank everyone for all the help during this project. It turned out to be quite the undertaking between the transmission and the rear suspension stuffs, and I couldn't have done it without you guys. It is finally done though - all but for some welding i need to do on the final mufflers. I am super excited to say that for the first time since I have owned this car it goes in reverse. Getting all this back together is a huge victory, and while its going to be a long hard road returning this car to its former glory, this step was a giant one.